This content originally appeared on justmarkup and was authored by justmarkup
From time to time people ask me on which devices and with which browsers I usually do testing. Simple answer: It depends – There are just too many aspects involved to give a straight answer. Nevertheless, within the last months I defined myself a basic test setup, which works out really well so far. It consists of four parts – Mockups, Design, User Interface and Final Check.
Mockups #
To get a first glimpse how the site should look like I usally start by producing Mockups with HTML and CSS. This part is taking place completely in the desktop browser, I prefer Firefox, because I love the “Responsive Design” feature. I usually test them starting from about 280 – 320px up to ~ 1600px. I try to spend not to much time in details in this step, it’s really just to get a basic idea.
Design #
With the mockups in place, it’s time to go and do the actual design. That’s the stage where my little device friends enter the game. In my case that’s a Samsung Galaxy Ace running Android 2.2 (The old Droid) an iPad running iOS 6 (The Princess) and a Nexus 7 running Android 4.2 (The Fudge). Adding Firefox and Internet Explorer 7 via Browserstack and my test setup for the design part is complete.
You may argue that you can to the design part completely in your desktop browser using Responsive Design View and eg. Browserstack as an addition, but by doing so you will for sure overlook many critical design parts. Just think about different pixel densities and screen contrasts. Start testing on real devices early in the process is crucial and avoids the problem of overseeing wrong design decisions, which may be a pain in the ass if you stick to your desktop at this part.
User Interface #
The term Responsive Design may sound that it’s mostly about design, but in fact that’s just a tiny part of the process. Just think about input types – keyboard, mouse, finger, keypad, game controller, remote control, just to name some. Testing a design by actually using different devices, with different input types, shapes and forms is a very important part for everyone.
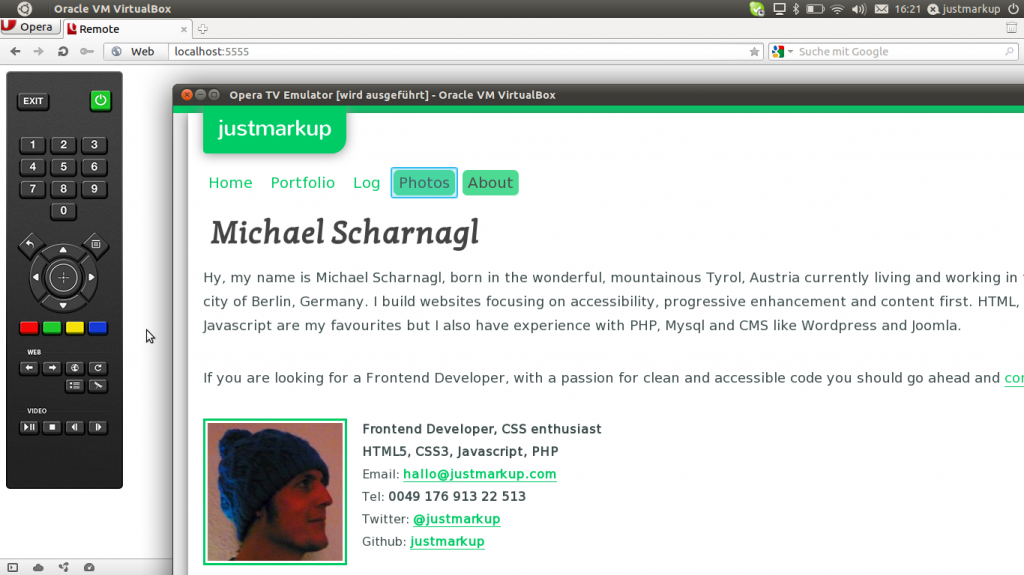
My test setup consists of the same as in the design part, but most of the time I add an phone with a Trackwheel and a Keyboard. In some projects I also use the Opera TV Emulator, not just because I like the virtual remote control, but mostly to get a harsh dent what it feels like to surf on such a device. So in summary, in this process I actually do a lot of testing, sometimes I also switch from my personal phone to another for a longer period to get a better feeling of the device.
Final Check #
So, the design looks gorgeous, surfing around the site works like a charm and you are ready to ship the baby. Before releasing a new site however, be sure not to miss the beloved testing fun. I can’t help myself, but I really enjoy the final testing part. That’s the time where I mostly hang around at the Open Device Lab berlin and spend hours of testing and debugging on as many devices I can get my fingers on. Furthermore I also try to test not only on the pre installed browsers but also on other available browsers, you shouldn’t miss Opera Mini for example. The great thing is that their isn’t so much debugging involved, simple because I already tested a lot the whole way through and fixed issues early.
So, what is your test setup?
This content originally appeared on justmarkup and was authored by justmarkup
justmarkup | Sciencx (2013-02-03T14:45:58+00:00) Just my test setup. Retrieved from https://www.scien.cx/2013/02/03/just-my-test-setup/
Please log in to upload a file.
There are no updates yet.
Click the Upload button above to add an update.

