


This content originally appeared on Envato Tuts+ Tutorials and was authored by Andrew Childress
The many views of PowerPoint will help you prepare for your big presentation.
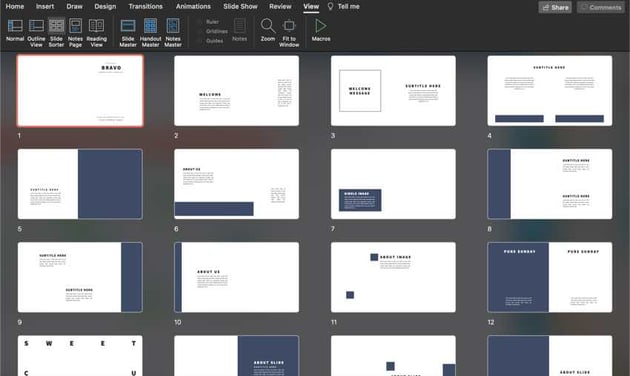
You're probably accustomed to views like Normal view. But in this tutorial, you'll learn more ways of working with your presentation such as Slide Sorter view, shown here:


Master PowerPoint Views
Here are the most popular views in PowerPoint:
- Normal View. The default PowerPoint workspace, which includes thumbnails for each slide and a larger view of a single slide in the center.
- Outline View. Shows your presentation in an outline style, which is great for reviewing content.
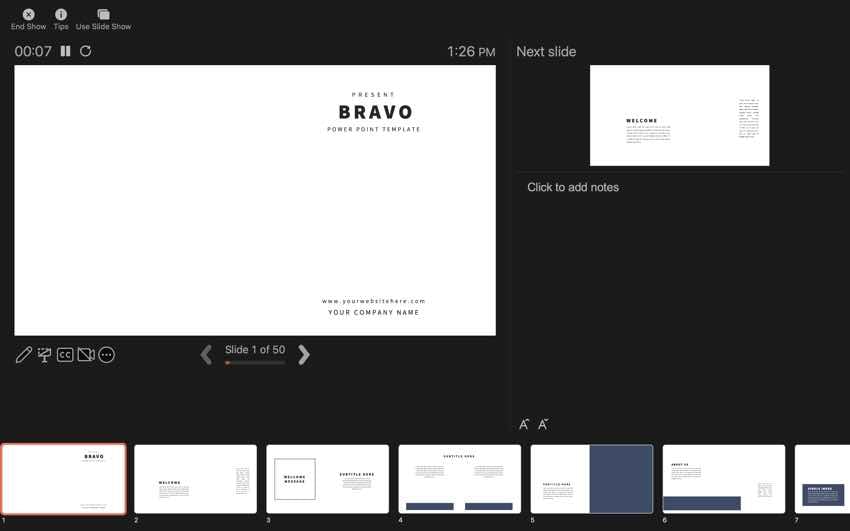
- Slide Sorter View. Perfect for reviewing the order of your slides and re-sequencing them.
- Reading View. An in-window preview of how your presentation will appear, including transitions and animations.
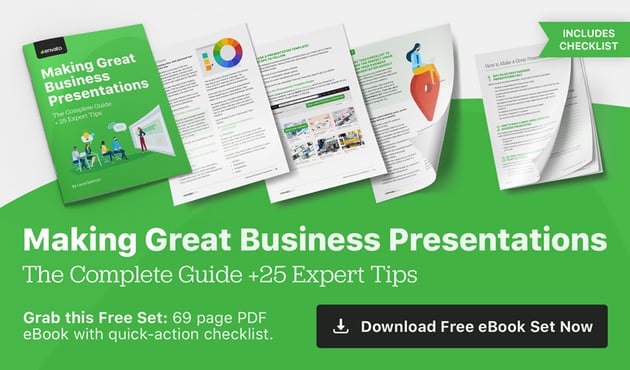
Need Help? Download Our eBook on Making Great Presentations (Free)
We also have a useful compliment to this tutorial. Quickly grab it before you read on. Download our FREE eBook: The Complete Guide to Making Great Presentations. It'll help you write, design, and deliver the perfect presentation.


How to Work With PowerPoint Views (Quick Video Tutorial)
PowerPoint is a great tool for creating presentations. Views allow you to make edits, reorders slides, edit notes, and work efficiently in PowerPoint. Learn how to use PowerPoint Views in this short video:
Working With Microsoft PowerPoint Views
In the rest of this tutorial, I cover more details about the major views in PowerPoint for mastering your presentation files and how to get the most out of them. I also touch on more views you can use in PowerPoint as well.
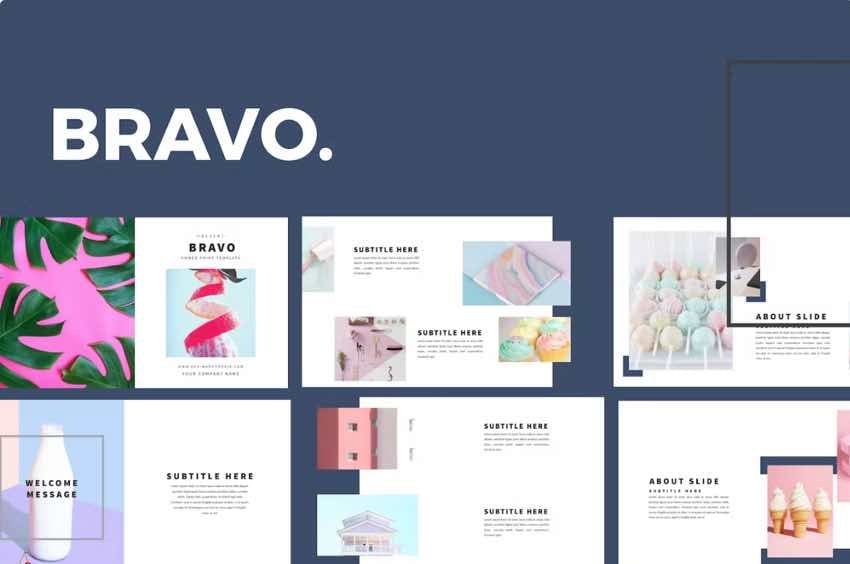


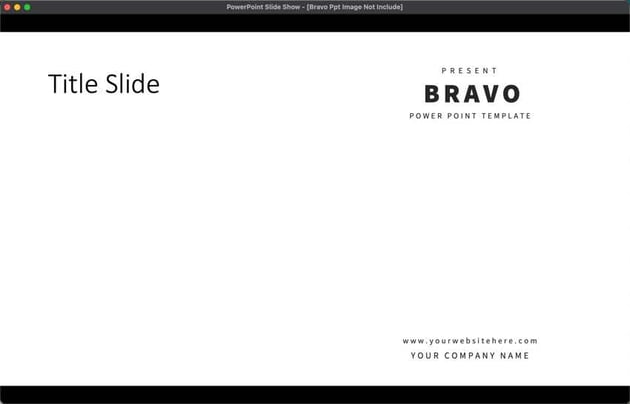
The Bravo PowerPoint Template has over 50 unique slides. It has picture placeholders that make adding images to the slide easy. Plus, this template comes with icons and device mockups.
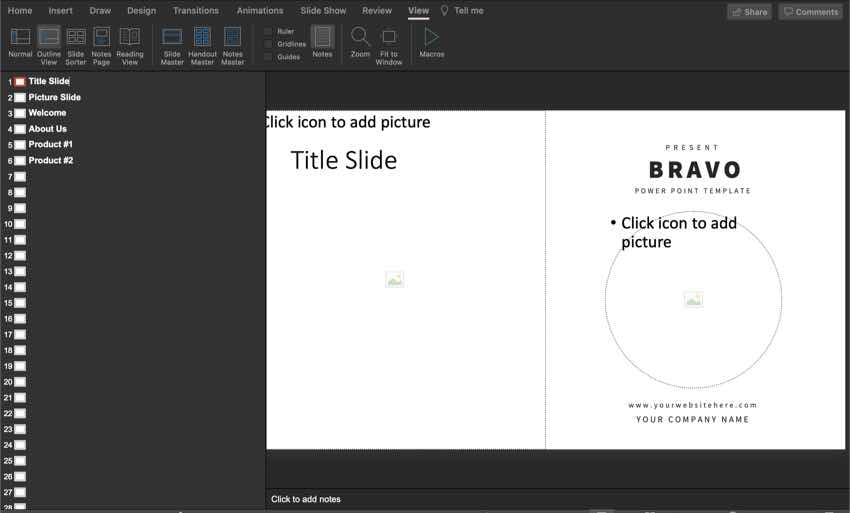
How to Change Views in PowerPoint
To change views, find the View button on PowerPoint's ribbon and click on it. Then, find the section on the left labeled Presentation Views. This tutorial will walk you through each of these views and how you can use them.


Now that you know how to switch views, let's find out more about the different PowerPoint views and why you should work through them while building a presentation.
How to Use PowerPoint Normal View
Normal View is typically the default view for working in Microsoft PowerPoint. This is a general purpose, do-it-all view that you're likely accustomed to. You can think of it as the primary editing view in PowerPoint.
On the left side of PowerPoint's Normal View are thumbnails for each of the slides. You can click to switch between slides, and even drag and drop to reorder them right inside of the sidebar.


I use Normal View in PowerPoint as a starting point for my presentations. It's a general view for creating your presentations from. The stage area is used for building and styling your slides, and you can easily move to a different slides from the sidebar.
After I've spent time putting together my content, it might be time to rethink the sequence of the material. That's where Slide Sorter View comes into play.
Normal View is the default view in PowerPoint, but if you're working in another view you can switch back to Normal View in PowerPoint. Click on View in the PowerPoint ribbon. Then Click the Normal icon.
Using PowerPoint Outline View
The Outline View in PowerPoint shows your presentation in a traditional, easy-to-read outline. This view puts your main points in the sidebar.

When you switch to Outline View, the sidebar changes its focus to the content of your slides. The sidebar doesn't show all the text from the slides, just the major points from your presentation. You can even double click in the sidebar on the outline text to update the slide itself.
I like to use Outline View to review the major points that my presentation should make. As I'm working in Outline View, I'm asking myself a few key questions, like:
- Are my main ideas clear?
- Do I focus on them, and not the details?
Outline View is perfect for this purpose, as it leaves only your key points showing in the sidebar.
Slide Sorter View in PowerPoint
You've nailed down the content in Normal View, and now it's time to think about the order that you'll present your slides.
Slide Sorter View is a helpful way to re-order the slides in your PowerPoint presentation. Click on Slide Sorter to enter into this view.

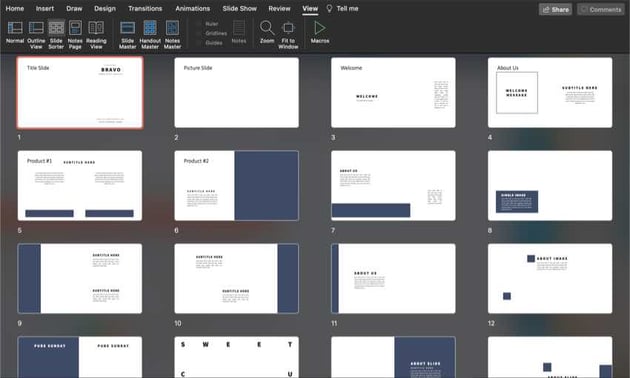

When you switch to Slide Sorter View, all your slides will be represented as thumbnails on the stage. You can even change the size of the slides by pulling the zoom slider and view your slides large enough to read their contents.


The great thing is that you can drag and drop these thumbnails to reorder your presentation. I'm often surprised by how much my presentations benefit from simple reordering of the slides.
There's a presentation principle called BLUF, or "bottom line up front." Basically, lead off with the most important point in your entire presentation. Your audience may not have the patience or attention span to follow multiple slides to a conclusion
When you switch to Slide Sorter View, it's a great time to apply the BLUF principle. Make sure that the bottom line (most important facts) are at the very beginning of the presentation. If you've buried the heart of the presentation deep in the slides, drag and drop the key slides closer to the front.
5. PowerPoint Notes Page View
Speaker notes are one of my favorite PowerPoint tools. Instead of writing your notes down on notecards, you can add them to each slide. You can add speaker notes from either Normal View, or more easily in Notes Page View.
Best of all, these notes won't be viewable to your audience when presenting. You can either print note pages, or they'll be visible in Presentation View (more on that in a moment.)

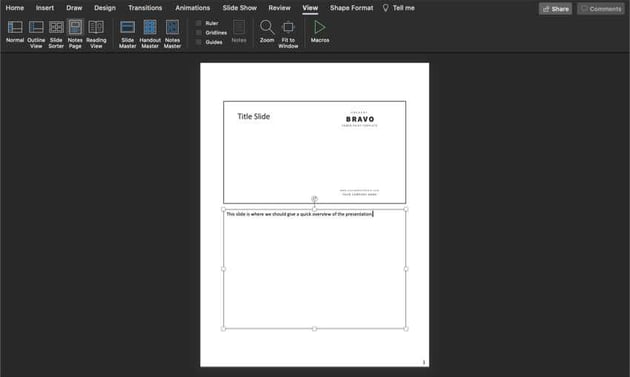
When you're working in PowerPoint Notes Page View, you'll see the notes you've added to a slide underneath it. You can also double click in the box and add notes on the fly. This preview is what you'll see when you print your notes pages.
If you'd like to find out more about the power of speaker notes, check out this 60 second tutorial on how to use them to your advantage:
6. When to Use Reading View
You've nailed the sequence, content, and speaker notes for your presentation. Now, it's time to review what your audience will see with PowerPoint Reading View.
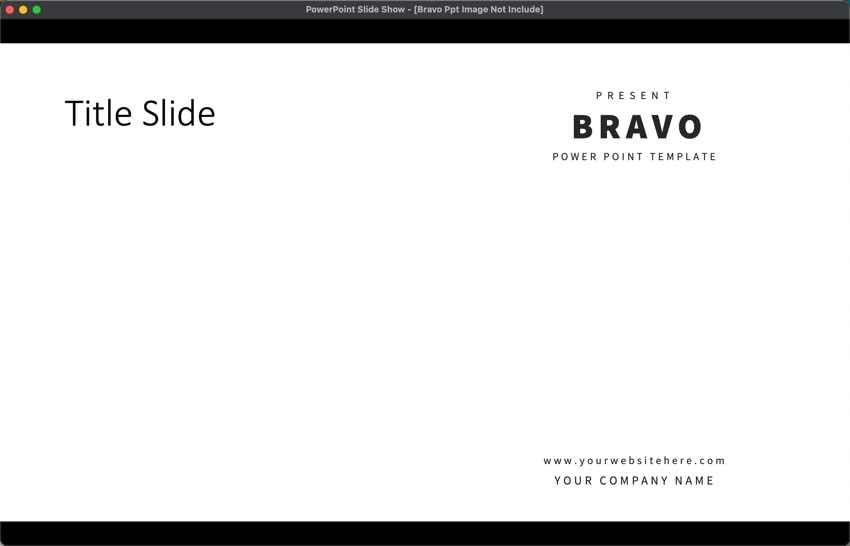
Once you enter Reading View, your PowerPoint presentation will cover the entire window. You can use the arrow keys on your keyboard to switch slides. As you progress through the presentation, PowerPoint will play any transitions or animations that you've added to your slides.
Reading View should be your final step while preparing for your presentation in PowerPoint. I always go through each slide in my deck to make sure it appears exactly the way I expect.
To leave Reading View, press the Escape key on your keyboard. There's one more view worth checking out.
7. Presentation View in PowerPoint
Presentation View is what you'll use when sharing your PowerPoint slide deck with an audience. In practice, Presentation View is very similar to what you'll see in Reading View. Use Presentation View when you're ready to share.


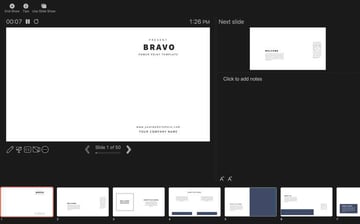
One option worth checking out is Use Presenter View, which you can toggle on from the Slide Show tab. Presenter View is great for dual display options, such as when you're using an external monitor. Your screen will show a preview of the slide, as well as the speaker notes and next slide.

Make Great Presentations (Free eBook Download)
We've got the perfect complement to this tutorial, which will walk you through the complete presentation process. Learn how to write your presentation, design it like a pro, and prepare it to present powerfully.
Download our eBook: The Complete Guide to Making Great Presentations. It's available for free with a subscription to the Tuts+ Business Newsletter.


Recap and Keep Learning
Think of the various PowerPoint views in this tutorial as different ways to view your presentation. Here's a possible workflow:
- Build your PowerPoint presentation in Normal View.
- Re-sequence the slides in Slide Sorter.
- Review content in Outline View.
- Preview the presentation in Reading View.
PowerPoint sometimes gets a bad rap as an ineffective tool, but when used correctly, it's great for building visual aids for your presentation. If you want to learn more about PowerPoint, check out the resources below:
- Envato Elements has over 350 templates for PowerPoint available for a flat rate with unlimited download.
- The PowerPoint in 60 Seconds series has a great selection of easy-to-learn skills for PowerPoint.
- If you want to learn more about how to build great-looking slides, check out How to Get Started With Using SmartArt.
More PowerPoint Templates
As you experiment with PowerPoint views, you may be looking for other PowerPoint templates to work with. Here are some curated lists of templates:

 27 Best Mind Map PowerPoint PPT Templates for Creative Teams
.jpg)
.jpg)

 25 Best PowerPoint Proposal Templates for Business PPT Project Presentations 2022


 25+ Best Free Cartoon PowerPoint Templates With Cute Characters 2022


 34 Simple PowerPoint (PPT) Templates to Design Basic Presentations Quickly

The Top Source for PowerPoint Templates (With Unlimited Use)
Envato Elements is a top source for premium PowerPoint templates. It has more than just PowerPoint templates. It has many digital assets. They include images, audio, font, and more.

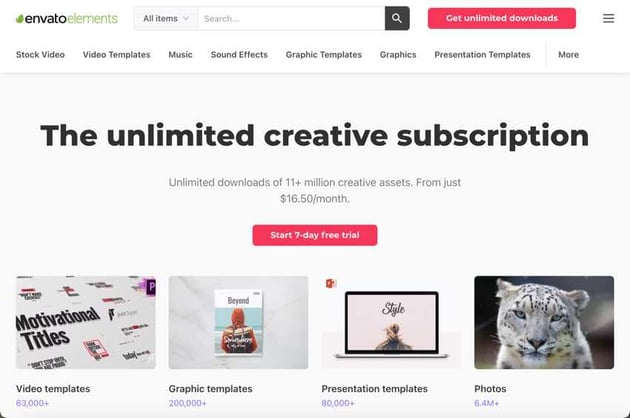
A subscription is a good value if you make PowerPoint presentations often. To become a subscriber, you need to pay a low monthly fee and have unlimited access to any digital asset you want.
Using a premium template saves you time because it's already mostly made. All you need to do is add your information and images. But if you’re a creative person and are worried that with a premium template, you won’t get to be creative, then don’t be. A good template is fully customizable. You can change the colors, font, or anything else you need.
Use a Premium PowerPoint Template in Your Next Project Today!
Now that you know more about the different views in PowerPoint. Knowing how to use the different views can help you fully use PowerPoint. If you use PowerPoint, try signing up for Envato Elements.
Editorial Note: This tutorial was originally published in March of 2017. It's been updated for accuracy with help from Sarah Joy.
This content originally appeared on Envato Tuts+ Tutorials and was authored by Andrew Childress
Andrew Childress | Sciencx (2017-03-12T19:32:34+00:00) How to Work With Views in Microsoft PowerPoint. Retrieved from https://www.scien.cx/2017/03/12/how-to-work-with-views-in-microsoft-powerpoint/
Please log in to upload a file.
There are no updates yet.
Click the Upload button above to add an update.