
This content originally appeared on Envato Tuts+ Tutorials and was authored by Andrei Marius


In the following steps, you will learn how to create an old-school barber shop logo in Sketch.
For starters, you'll learn how to create a custom artboard and how to set up a simple grid. Using simple shapes and paths and some stroke styling techniques, you will learn to create the main components of your barber shop logo. Moving on, you will learn how to add simple text and place it on a path.
Finally, you will learn how to import a vector outline and incorporate it into your old-school barber shop logo.
Cut out the hassle of creating logos and try a barber shop logo maker. Explore an amazing collection of barber shop logo ideas from Envato Elements for your barber shop logo design!
What You'll Learn in This Barber Shop Logo Tutorial
- How to create an artboard and set up a grid
- How to create the background and the main pieces of the barber shop logo
- How to add a horizontal ribbon to your barber shop logo
- How to add the central pieces of your barber shop logo
- How to add text on a path
- How to add text and the scissors outline to your barber shop logo
What You'll Need
You will need the following resources in order to complete this barber shop logo design:
- Ponds Grunge font
- Barbershop vector set
1. How to Create an Artboard and Set Up a Grid
Step 1
Go to Insert > Artboard from the toolbar or menu (or press A). The Inspector will reveal a list of presets, but we'll create a custom size artboard. Simply click and drag inside your canvas to create a new artboard.
Set the Width and Height to 850. Once you're done, hit Escape to deselect your artboard.


Step 2
You'll need a grid so that you can easily create pixel-perfect objects. First, go to View > Canvas > Show Grid (Control-G) to enable the grid.
Next, go to View > Canvas > Grid Settings... to edit your grid. Enter 10 px in the Grid block size box and 1 in the Thick lines every box to get a gridline every 10 px. Click the Dark Color box, set the color to black (#000000) and lower the Opacity (Alpha) to 10.


2. How to Create the Background and the Main Pieces of the Barber Shop Logo
Step 1
Go to Insert > Shape > Rectangle from the toolbar or menu (or press R). Create an 850 px square and make sure that it covers your entire Artboard. Hold down the Shift key while dragging to create a perfect square. Go to View > Canvas > Show All Guides to enable the Smart Guides that will help you see when your shape is perfectly centered.
Uncheck that little box to disable the existing Border and then change the Fill color to #E7C891.


Step 2
Go to Insert > Shape > Oval from the toolbar or menu (or press O). Create a 520 px circle and make sure that it stays selected. Hold down the Shift key while dragging to create a perfect circle.
First, focus on the top of the Inspector panel and use the X and Y input fields to position your selection on the artboard. Enter 160 in both boxes, and then move the Style section from the Inspector panel. Disable the Border and set the Fill color to #222129.


Step 3
Go to Insert > Shape > Oval from the toolbar or menu (or press O). Create a 500 px circle, make sure that it stays selected, and place it as shown in the following image. Once again, the Smart Guides will make this easier.
Go to the Style section from the Inspector panel, disable the Fill, and focus on the Border. Check the Inside button and increase the Width to 10. Enter 5.0 in the Dash and Gap boxes, and then click the color button and change it to #E7C891.


3. How to Add a Horizontal Ribbon to Your Barber Shop Logo
Step 1
Go to Insert > Shape > Rectangle from the toolbar or menu (or press R). Create a 540 x 80 px circle, make sure that it stays selected, and place it as shown in the following image.
Focus on the Style section from the Inspector panel, disable the Border, and change the Fill color to #E7C891.


Step 2
Make sure that the Rectangle Tool (R) is still active. Create a 20 x 30 px rectangle, make sure that it stays selected, and place it as shown in the following image.
Focus on the Style section from the Inspector panel, disable the Border, and change the Fill color to #222129.


Step 3
Double-click inside the rectangle made in the previous step to activate Edit mode. Select the top-right anchor point and remove it using the Delete key.
Hit Esc to leave Edit mode, and then hit Command-C to copy your selection. Hit Command-V to add a copy of your triangle, and place it as shown in the third image. Make sure that it stays selected, and go to Layer > Transform > Flip Vertically.


Step 4
Go to Insert > Shape > Rectangle from the toolbar or menu (or press R). Create a 10 x 20 px rectangle, make sure that it stays selected, and place it as shown in the following image.
Focus on the Style section from the Inspector panel, disable the Border, and change the Fill color to #222129.


Step 5
Double-click inside the rectangle made in the previous step to activate Edit mode. Select the top-left anchor point and delete it, and then select the bottom-left anchor point and drag it 10 px up, as shown in the third image.


Step 6
Select your three triangle shapes and duplicate them (Command-C > Command-V).
Go to Layer > Transform > Flip Horizontally to flip your selection, and then go to the top of the Inspector panel and click the Align layer to left button. In the end, things should look like in the fifth image.


4. How to Add the Central Pieces of Your Barber Shop Logo
Step 1
Go to Insert > Shape > Oval from the toolbar or menu (or press O). Create a 280 px circle, make sure that it stays selected, and place it as shown in the following image.
Focus on the Style section from the Inspector panel, disable the Border, and change the Fill color to #E7C891.


Step 2
Using the Oval tool (O), create a 260 px circle, make sure that it stays selected, and place it as shown in the following image.
Go to the Style section from the Inspector panel, disable the Fill, and focus on the Border. Check the Inside button and increase the Width to 10. Enter 5.0 in the Dash and Gap boxes, and then click the color button and change it to #222129.


Step 3
Using the Oval Tool (O), create a 220 px circle.
Focus on the Style section from the Inspector panel, disable the Border, and change the Fill color to #222129.


5. How to Add Text on a Path
Step 1
Using the Oval Tool (O), create a 420 px circle, make sure that it stays selected, and place it as shown in the following image.
Go to the Style section from the Inspector panel, disable the Fill, change the Border color to white (#FFFFFF), and increase its Width to 5. Once you're done, hit Option-Command-C to copy the Style attributes of your selection. You'll learn how to easily paste these attributes to a new shape in one of the next steps.


Step 2
Make sure that your white stroked circle is still selected, and go to Layer > Path > Scissors. Use simple clicks to remove the top sides of your selected shape, as shown in the following images.


Step 3
Go to Insert > Text from the toolbar or menu (or press T). Click once on your artboard to create a text field and focus on the Text section from the Inspector panel.
Select the Ponds Grunge font, set the size to 65 and the Character spacing to 3, change the color to #FDEDD1, and then simply type "SHAVES & CUTS".
Make sure that this piece of text stays selected and go to Text > Text on Path. Drag your text towards the white stroked path and let it snap into place.


Step 4
Reselect the white stroked path, go to the Style section from the Inspector panel and simply disable the Border.


Step 5
Using the Oval Tool (O), create a 340 px circle. Make sure that it stays selected, place it as shown in the following image, and hit Option-Command-V to instantly paste the Style attributes copied a few steps ago.


Step 6
Make sure that your white stroked circle is still selected, go to Layer > Path > Scissors, and delete the bottom sides of your selected shape, as shown in the following images.


Step 7
Go to Insert > Text from the toolbar or menu (or press T) and add a new text field.
Make sure that the Ponds Grunge font is still selected, set the size to 75 and the Character spacing to -4, keep the existing color (#FDEDD1), and then type "BARBER SHOP".


Step 8
Make sure that your new piece of text stays selected and go to Text > Text on Path. Drag your text towards the white stroked path and let it snap into place. Now, your text will snap on the inner side of that path. To move it to the outer side of the path, simply go to Layer > Path > Reverse Order.


Step 9
Reselect the white stroked path, go to the Style section from the Inspector panel, and disable the Border.


6. How to Add Text and the Scissors Outline to Your Barber Shop Logo
Step 1
Use the Text Tool (T) to add the "EST." and "1987" text. Use the same font, set the size to 40 and the Character spacing to 2, and change the color to #222129. Place this new text as shown in the following images.


Step 2
Copy the scissors outline from this Barber Shop vector set and paste it inside your Sketch document. Select it, click the Rotate button from the Toolbar, and rotate your selection as shown in the following image. Hit Esc to exit Rotate mode, and scale your selection to fit that dark inner circle, as shown below. Once you're done, change the color of your scissors to #E7C891.


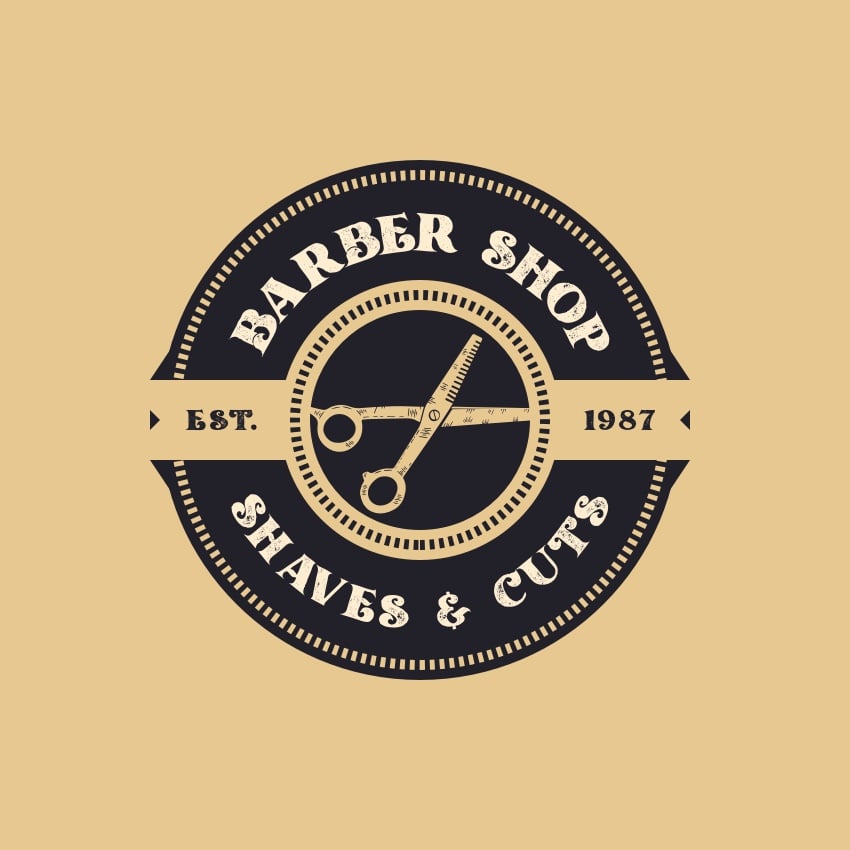
Congratulations! Your Barber Shop Logo Is Done!
Here is how your old-school barber shop logo should look. I hope you've enjoyed this tutorial and can apply these techniques in your future projects. Don't hesitate to share your vintage barber shop logo in the comments section.
Feel free to adjust this barber shop logo design and make it your own. You can find some great barber shop logo ideas at Envato Elements, with interesting solutions to improve your design.


Barber Shop Logo Ideas From Envato Elements
Cut out the hassle of creating logos from scratch and try a barber shop logo design template. Explore an amazing collection of barber shop logo ideas from Envato Elements for your next barber shop logo!
Looking for more barber shop logo ideas? Let's take a look at five cool barber logos from Envato Elements:
1. Barber Brosh (AI, EPS)


The components of many barbershop logos may include bold typography and a vintage aesthetic. This barber shop logo design has exactly that. It comes with a cool barber shop drawing to make your brand look approachable. Easily customize it in Adobe Illustrator to change the colors, shapes, text, and font. This is way better than any free barber logo you'll find online.
2. Flat Retro Barber Shop Design Logo (AI, EPS, PDF, PNG, JPG)
If you're looking for barber designs for a logo with a retro vibe, this one is a good choice for you. This download features a 100% editable vector file. Adjust the colors, text, and shapes of the barber shop drawing to match your design needs. You'll also get a link to download the font included. Get the best barber logo ideas working with this design.
3. Barber Shop Logo Design (AI, EPS, PDF)
Check out this elegant barber logo design. This logo is vector-based and built in Adobe Illustrator. It's fully editable and scalable for you to experiment and find the best format for you. Cool barber logos usually come with loads of style, and this one is no exception.
4. Retro Set of Barbershop Emblem Logo Badge (AI, EPS)
With this download, you'll get a variety of barber shop logo ideas. Create your next barber shop logo design by customizing any of these designs. You'll get a fully editable Adobe Illustrator and EPS file for you to scale and adjust to match your brand.
5. Gentleman Styles Logo Set (AI, EPS)
Check out this elegant barber logo design. It's a simple vector silhouette of a bearded man. You can easily resize and adjust the elements in Adobe Illustrator. This download comes with the main components of many barbershop logos. Start creating cool barber logos with this template!
Want to Learn More?
Do you have enough barber shop logo ideas? Find inspiration in other types of logo design. Check out the following logo design tutorials and videos from the Envato Tuts+ YouTube channel:

 What Makes a Good Logo? 7 Top Logo Design Tips & Guidelines


 How to Design Gradient-Based Logos in Adobe Illustrator


 How to Create a Jack Daniel's-Inspired Whiskey Label in Adobe InDesign & Illustrator


 How to Create a Nautical-Themed Logo in Adobe Illustrator


 How to Create Your Own Brand Guidelines

 Mastering Logo Design in Adobe Illustrator

 35 Creative Logo Design Ideas (Cool + Modern Inspiration for 2023)

 How to Create the Looney Tunes Logo

This content originally appeared on Envato Tuts+ Tutorials and was authored by Andrei Marius
Andrei Marius | Sciencx (2019-11-27T16:18:47+00:00) How to Create a Barber Shop Logo. Retrieved from https://www.scien.cx/2019/11/27/how-to-create-a-barber-shop-logo/
Please log in to upload a file.
There are no updates yet.
Click the Upload button above to add an update.