This content originally appeared on The AMP Blog and was authored by The AMP Project

AMP Packager is a tool to improve AMP URLs by serving AMP using Signed Exchanges. Since its launch in 2018, we’ve seen a number of websites using the tool to deploy Signed Exchanges. As part of our investment in ensuring publishers are making the best AMP content possible, we are continuously making improvements to increase the ease of deployment of AMP Packager in a production setting.
We recently published a guide to deploy AMP Packager using unix shell scripts and Docker containers. While this eases the deployment burden on users, it still requires a fair amount of technical knowledge to execute these instructions.
Now, in an effort to further reduce the complexity, we are announcing the new AMP Packager Google Cloud Click-to-Deploy Installer, now available on the Google Cloud Marketplace.
Getting started
Installation
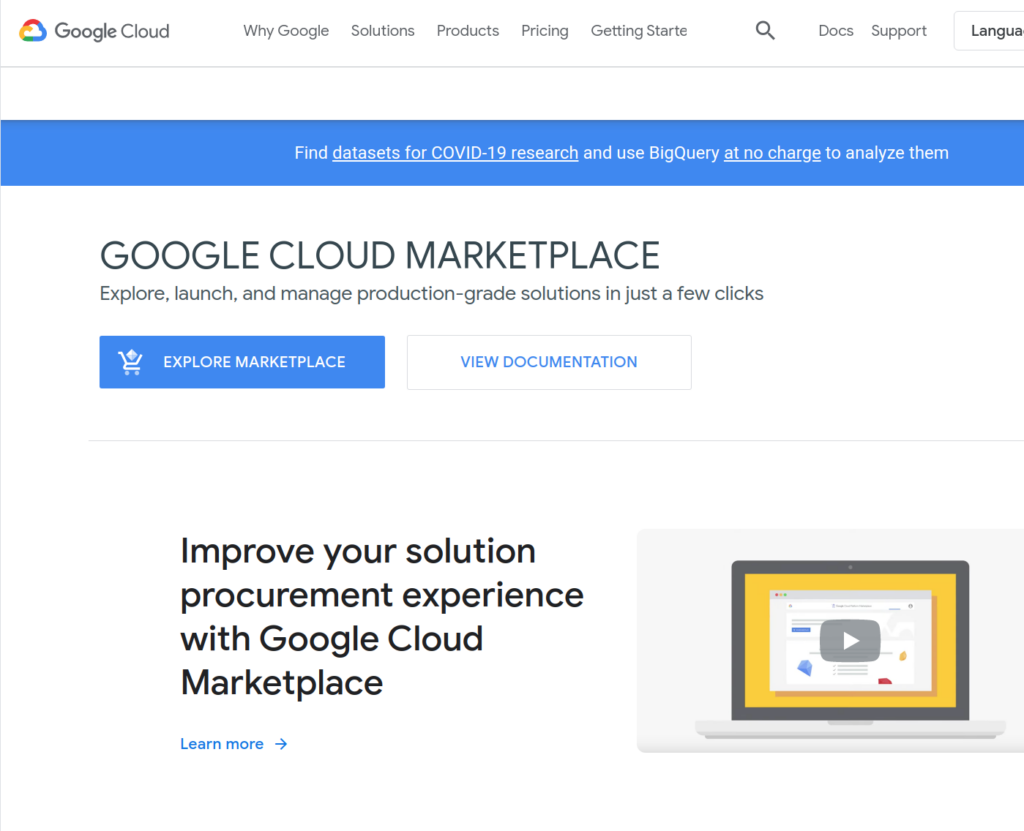
Go to https://cloud.google.com/marketplace and click on “Explore Marketplace”.

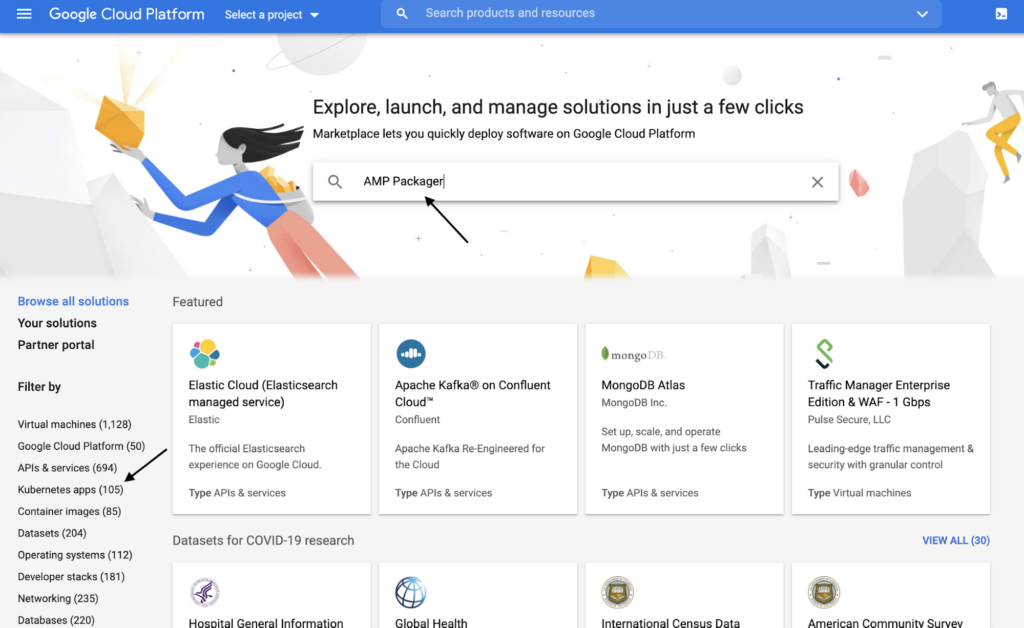
In Marketplace, either search for “AMP Packager” or click on “Kubernetes Apps” to look for the AMP Packager in the listings.

Configuration
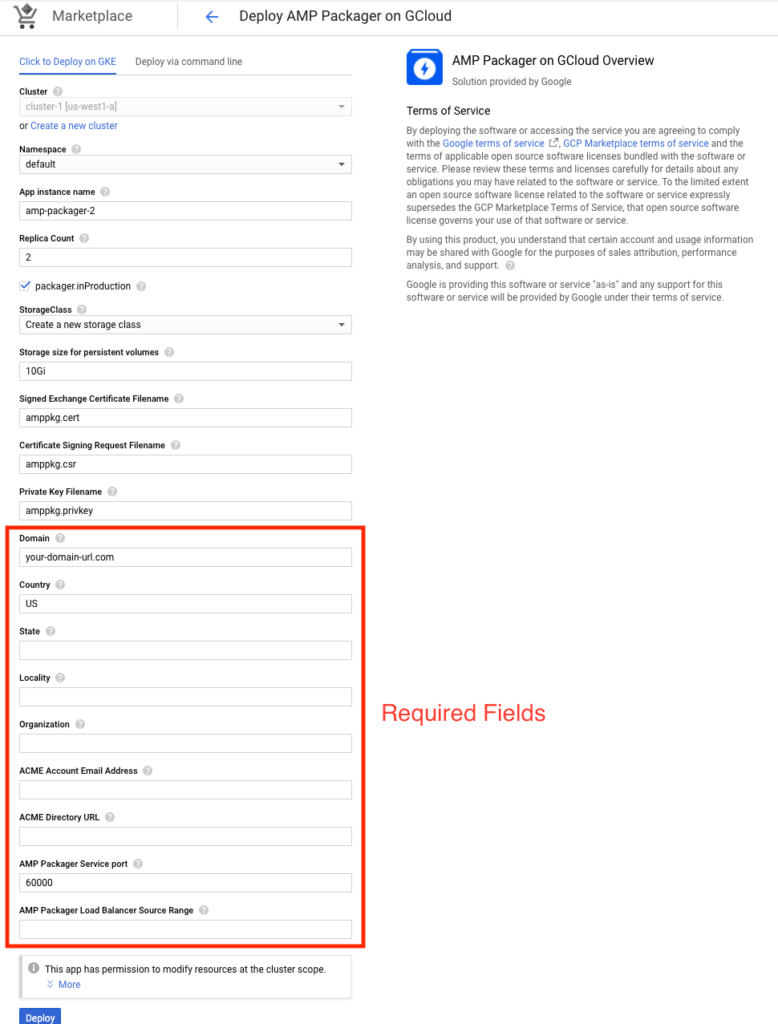
Once you find the listing, click on it to bring up the deployer interface. Click-to-deploy presents the instructions entirely from within the browser and does everything needed for the installation with minimal user intervention. Items marked with the red box below are required fields.
If you don’t have an existing Kubernetes cluster, select the Cluster zone and click “Create Cluster”. The same applies with the Storage Class, you can either choose an existing one (usually called “standard”) or create your own.
- The domain is the domain name you want to generate Signed Exchanges for.
- The Country, State, Locality and Organization fields are what you need to generate your Signed Exchange certificate, typically with a company like DigiCert. These fields are necessary to request to create a Certificate signing request.
- The ACME Account Email Address and Directory URL also come from your certificate generation setup with DigiCert or other SXG certificate providers.
- The AMP Packager Load Balancer Source Range is described here. Note that the AMP Packager will only be visible to the Load Balancer Source Range that you specified in the configuration.

Once everything is filled in, you can click the “Deploy” button on the bottom of the form. You should see this screen:

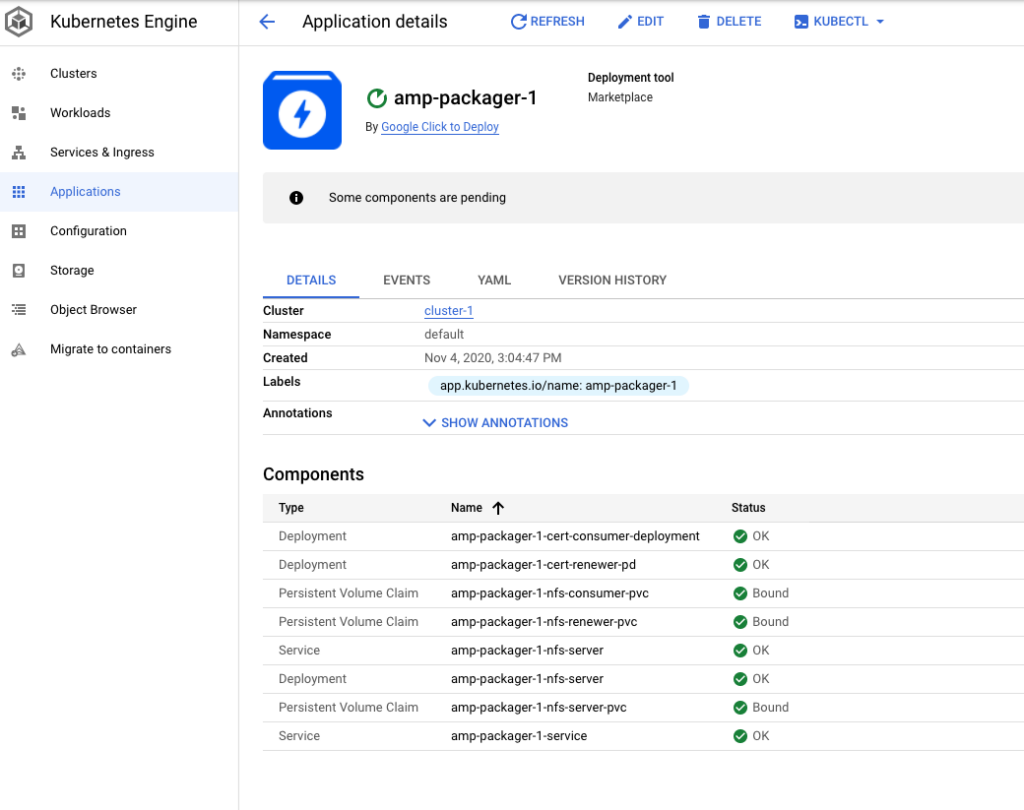
Once everything is installed correctly, you should see the following screen:

You will need to configure your reverse proxy server to point to the AMP Packager external IP address / port. This enables the AMP Packager to package your AMP documents into Signed Exchanges as described in these instructions.
We hope that this new way of deploying the existing tool will make creating AMP documents using Signed Exchanges a lot easier even for non-technical users. Together with ACME automatic certificate renewal support, maintaining your deployment just got less complicated.
Posted by Allan Banaag, Software Engineer, AMP Project
This content originally appeared on The AMP Blog and was authored by The AMP Project
The AMP Project | Sciencx (2020-11-23T20:49:17+00:00) AMP Packager is now available on Google Cloud Marketplace. Retrieved from https://www.scien.cx/2020/11/23/amp-packager-is-now-available-on-google-cloud-marketplace/
Please log in to upload a file.
There are no updates yet.
Click the Upload button above to add an update.
