This content originally appeared on Bits and Pieces - Medium and was authored by Chameera Dulanga
Introduction to Remotion — Create Videos and Animations with React
How I created a Video with React Remotion

Remotion is a recently launched library that allows you to create videos and motion graphics using React. As a web developer, I found it very interesting since it opens a new door to create videos and animations on our own.
However, it’s only been days since Remotion was introduced, and I gave it a try. So in this article, I will put Remotion to the test, revealing some of its core features and walk you through creating a simple video.
Introduction to Remotion
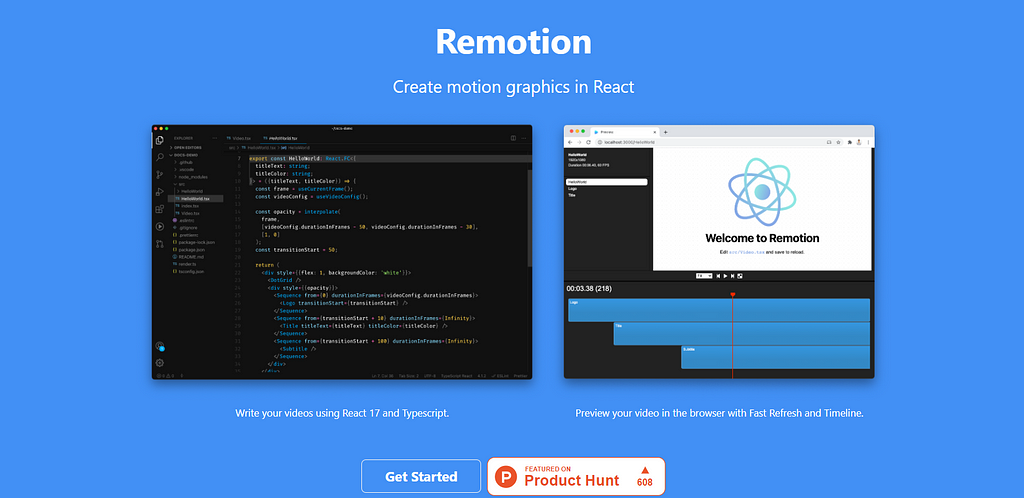
As I mentioned, Remotion is an exciting library introduced a few days back which allows you to create videos and animations using your favorite web technologies such as HTML, CSS, JavaScript, TypeScript, etc.
In addition to that, you can use all your knowledge about programming, functions, algorithms, APIs to add various effects to videos. Being a React-based library enabled Remotion to get the maximum out of Reacts features like reusable components, powerful compositions, and quick reload.
Remotion is also equipped with a player known as Remotion Player, which gives you the feeling of a real video editor, and it can be used to play and review your video using your browser.
You can export your video into .mp4 or even share it, as a component, on Bit.dev’s component hub, to use it across your web projects.
How to Setup Remotion?
Creating a new Remotion project is very straightforward. But there are 2 dependencies you should install first.
Step 1: Installing NodeJS and FFMPEG
Since installing NodeJS is very common, I will focus on installing FFMPEG. First, you need to download the suitable version of FFMPEG from their downloads page.
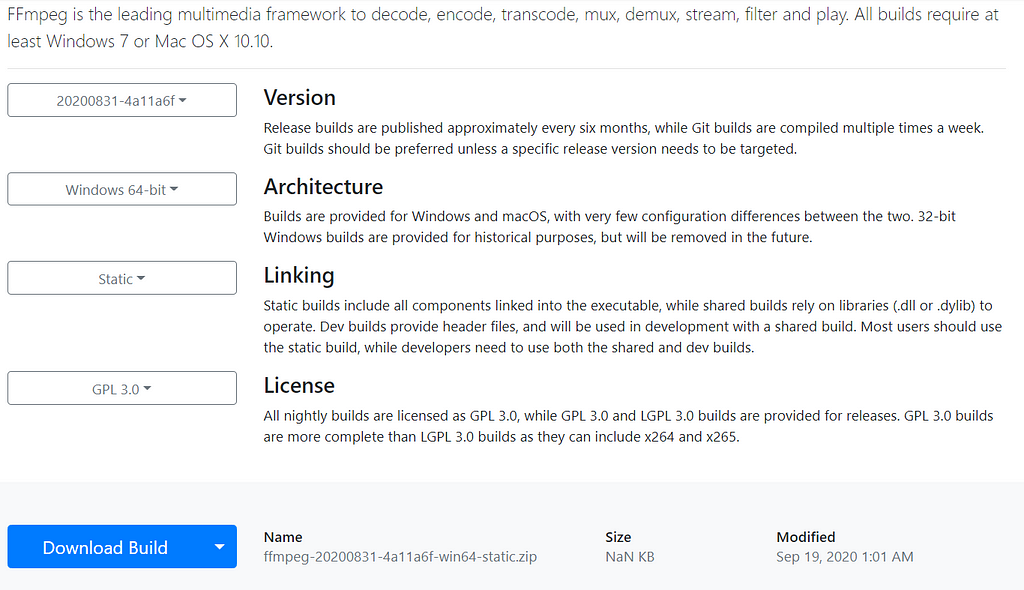
Then extract it to a folder of your choice and run the below command in CMD (In windows) with admin privileges to update your path variables.
setx /M PATH "path\to\ffmpeg\bin;%PATH%"
Step 2: Initiating New Project
After installing the above dependencies, initializing a new Remotion video is just one command away, and you can use yarn or npm for that.
yarn create video
or
npm init video
That's it. You have successfully initialized your first Remotion project, and you can start the project using npm run start .
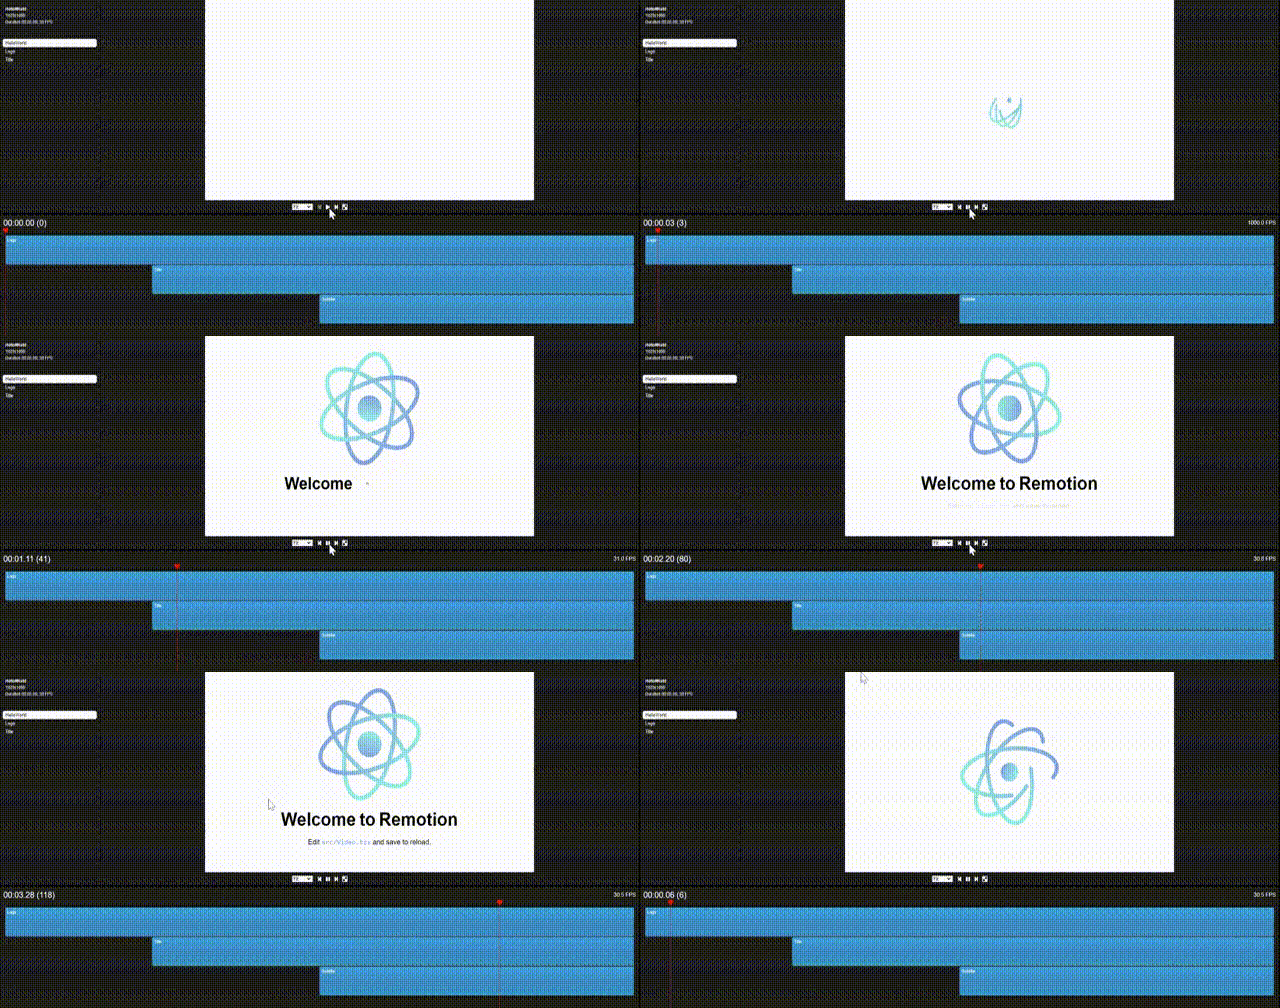
Basics of Remotion
Since you have initiated your Remotion project, You can start creating your video. But I think it would be better if you have some understanding of Remotion basics before that.
Video Properties
Width, height, durationInFrames, and fps are the video properties provided by Remotion.
You can use those properties within components to configure the component’s size in terms of pixels, how many frames that component should play, and the number of frames per second.
import { useVideoConfig } from “remotion”;export const ExampleVideo = () => {
const { fps, durationInFrames, width, height } = useVideoConfig();return (
<div style={{ flex: 1, justifyContent: “center”, alignItems: “center” }}>
This video is {durationInFrames / fps} seconds long.
</div>
);
};
It is advised to derive those properties using useVideoConfig like the above example to make your components reusable.
Compositions
Compositions are also a type of component in Remotion where you can use the above properties as metadata.
import {Composition} from 'remotion';
import {HelloReaders} from './HelloReaders';
export const RemotionVideo: React.FC = () => {
return (
<>
<Composition
id=”HelloReaders”
component={HelloReaders}
durationInFrames={150}
fps={30}
width={1024}
height={720}
defaultProps={{
titleText: ‘Welcome to My Blog’,
titleColor: ‘black’,
}}
/>
<Composition
...
/>
<Composition
...
/>
</>
);
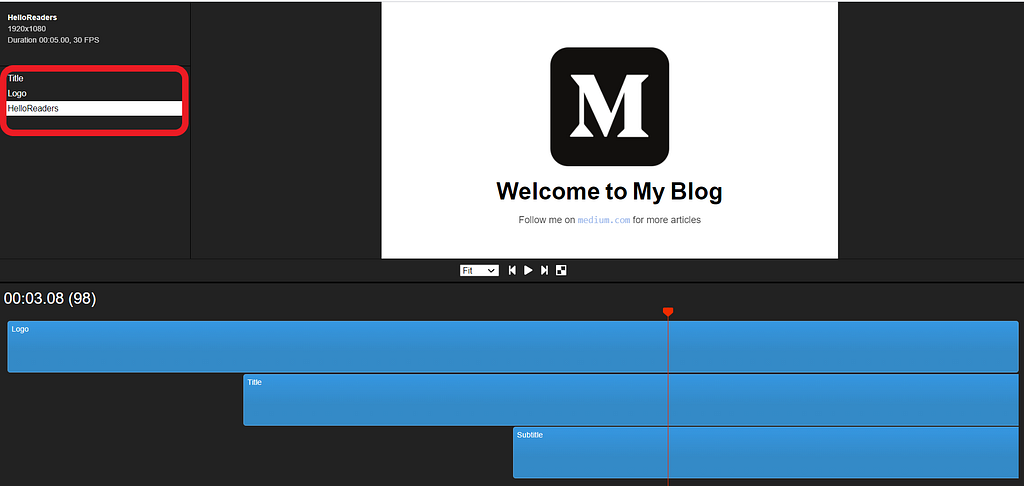
}If you observe the Video.tsx file in your project, you will see 3 Composition components with metadata passed into each of them, including video properties.
Also, those Compositions are shown in the top left corner of the Remotion Player as well.
Animation Properties
Animations are the most important thing when it comes to videos, and Remotion gives you the freedom of configuring some amazing animations.
For example, If you need a simple face in effect, you can adjust the frame’s opacity frame by frame.
const frame = useCurrentFrame();
const opacity = frame >= 20 ? 1 : (frame / 20);
return (
 <div style={{
   opacity: opacity
 }}>
  Hello Readers!
 </div>
)
In addition to that, Remotion has 2 inbuild functions named interpolate and spring, which you can use to build more advanced animations.
Interpolate function accepts 4 input parameters, including input value (mostly the frame), range values that the input can assume, The range of values you want to map the input to, and an optional parameter.
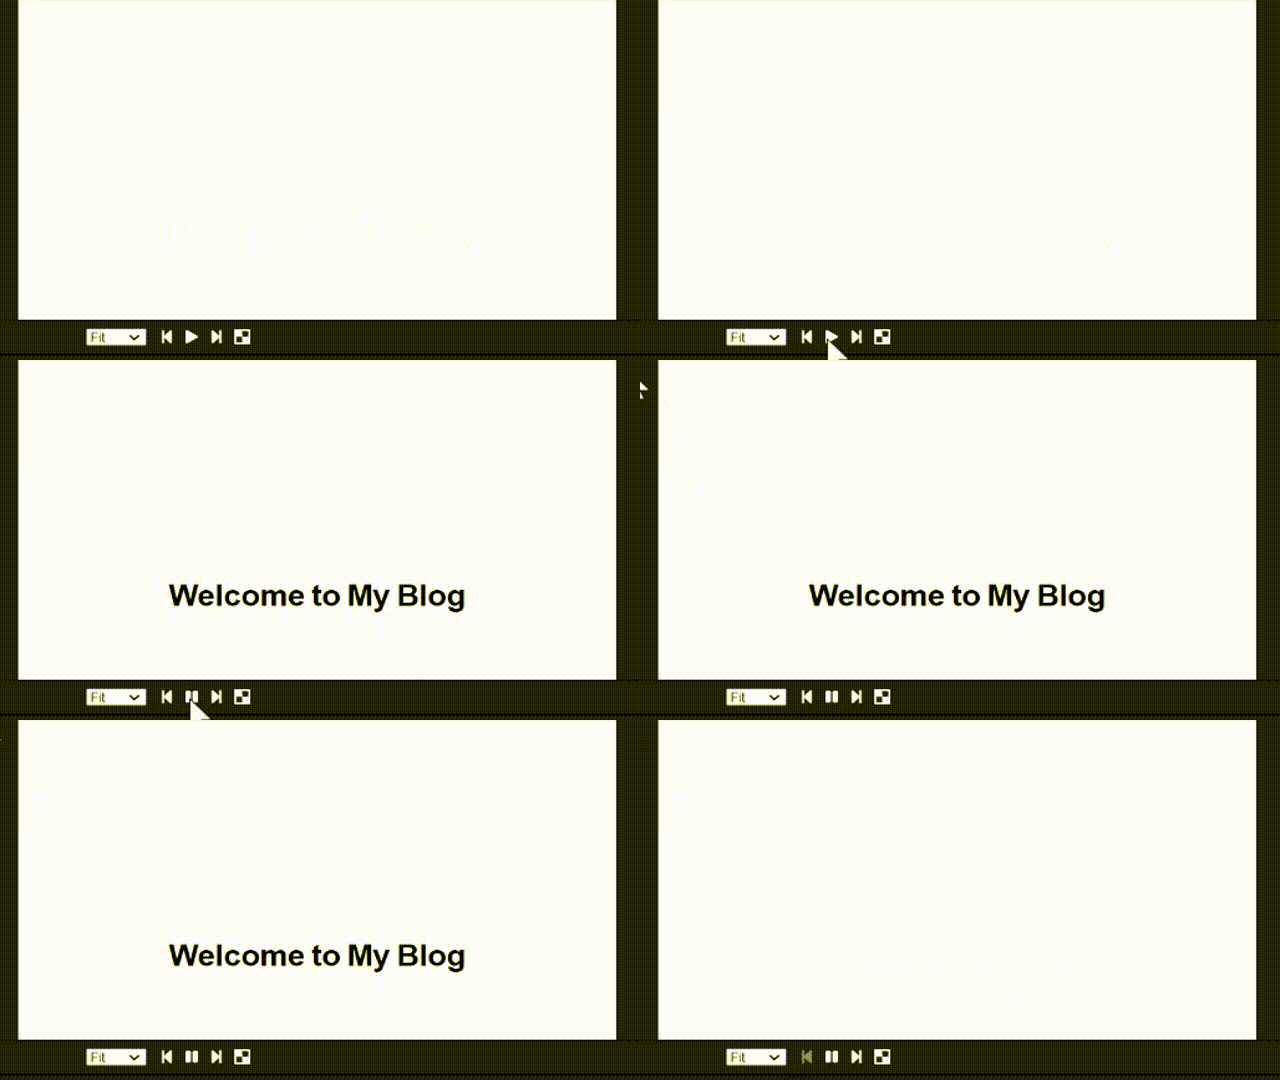
Spring animations allow you to be more creative with your presentation by making animation more natural. For example, the below spring animation configuration will add a small scaling effect to your text.
const {fps} = useVideoConfig();
const scale = spring({
  fps,
  from: 0,
  to: 1,
  frame
});
return (
<span
style={{
color: titleColor,
marginLeft: 10,
marginRight: 10,
transform: `scale(${scale})`,
display: ‘inline-block’,
}}
>
Welcome to My Blog
</span>
)
Sequence Component
Sequence components in Remotion fulfill 2 major tasks. Mainly it is used to assign different time frames to elements in videos. While maintaining the connection between elements, it also allows you to reuse the same component repeatedly.
The sequence component is a higher-order component, and it has the ability to hold child components. In addition to that, it accepts 3 props, including 2 required props and 1 optional prop.
- name: This is an optional prop, and the name you specify will appear in the Remotion player timeline. You will be able to understand how each component is linked if you use a proper naming pattern.
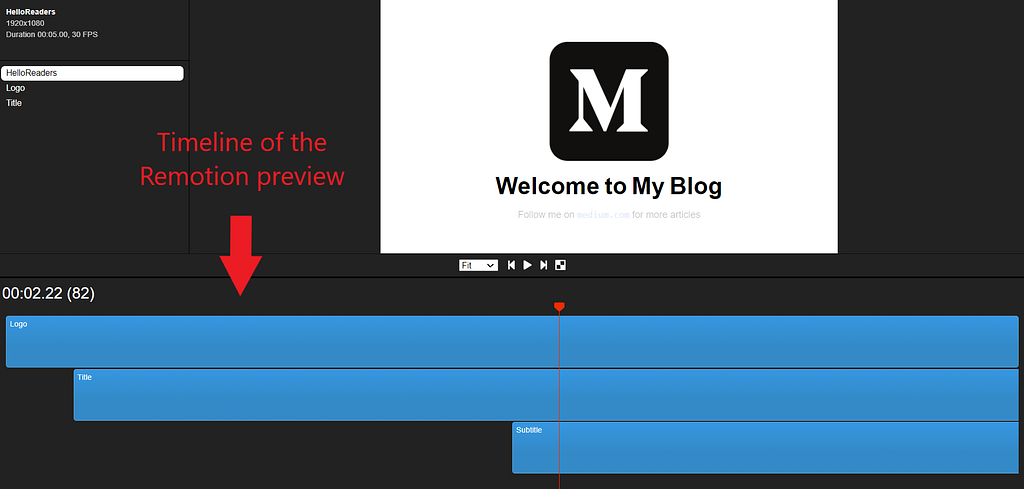
- from: This defines the frame, which component should appear in the video.
- durationInFrames: Length of the sequence component in terms of frames.
For example, the below Sequence component will appear in the video after 20 frames, and it will last till the end since durationOnFrames is Infinity.
<Sequence from={20} durationInFrames={Infinity}>
   <Title titleText={titleText} titleColor={titleColor} /></Sequence>
Since you now have a basic understanding of several essential properties and components in Remotion, we can start creating the first video using Remotion.
Let's Create a Simple Video with Remotion.
As you have already seen in the above examples, I’m going to create a simple video to display a logo and a welcome message with some animations for my blog.
I will be using the default project layout which we created at the beginning of the article.
Step 1
First, I created 3 components as Logo.tsx, Title.tsx and SubText.tsx for 3 elements in my video.
Logo.tsx file:
import {spring, useCurrentFrame, useVideoConfig} from ‘remotion’;
import {Img} from ‘remotion’;
import image from ‘./logo.png’
export const Logo: React.FC<{
transitionStart: number;
}> = ({transitionStart}) => {
const videoConfig = useVideoConfig();
const frame = useCurrentFrame();
return (
<div
style={{
textAlign: ‘center’,
marginTop: ‘10%’,
width: videoConfig.width,
height: videoConfig.height,
}}
>
<Img
style={{
transform:`scale(${spring({
fps: videoConfig.fps,
frame: frame — transitionStart,
config: {
damping: 100,
stiffness: 200,
mass: 0.5,
},
})})`,
}}
src={image}></Img>
</div>
);
};Title.tsx file:
import {spring, useCurrentFrame, useVideoConfig} from 'remotion';export const Title: React.FC<{
 titleText: string;
 titleColor: string;
}> = ({titleText, titleColor}) => {
const videoConfig = useVideoConfig();
const frame = useCurrentFrame();
const text = titleText.split(‘ ‘).map((text) => ` ${text} `);
return (
<h1
style={{
fontFamily: ‘Helvetica, Arial’,
fontWeight: ‘bold’,
fontSize: 110,
textAlign: ‘center’,
position: ‘absolute’,
bottom: 160,
width: ‘100%’,
}}
>
{text.map((text, i) => {
return (
<span
key={text}
style={{
color: titleColor,
marginLeft: 10,
marginRight: 10,
transform: `scale(${spring({
fps: videoConfig.fps,
frame: frame — i * 5,
config: {
damping: 100,
stiffness: 200,
mass: 0.5,
},
})})`,
display: ‘inline-block’,
}}
>
{text}
</span>
);
})}
</h1>
);
};
SubText.tsx file:
import {interpolate, useCurrentFrame} from 'remotion';export const Title: React.FC<{
titleText: string;
titleColor: string;
}> = ({titleText, titleColor}) => {
const frame = useCurrentFrame();
const opacity = interpolate(frame, [0, 30], [0, 1]);return (
<div
style={{
fontFamily: 'Helvetica, Arial',
fontSize: 40,
textAlign: 'center',
position: 'absolute',
bottom: 140,
width: '100%',
opacity,
}}
>
Follow me on{' '}<code> medium.com </code>{' '} for more articles
</div>
);
};
Step 2
Then, I have imported these 3 components to MyVideo.tsx and wrapped with Sequence components to assign the relevant time frames for each component. In addition to that, I have also passed several props and animations to the child components as well.
import {interpolate, Sequence, useCurrentFrame, useVideoConfig} from ‘remotion’;
import {Logo} from ‘./components/Logo’;
import {SubText} from ‘./components/SubText’;
import {Title} from ‘./components/Title’;
export const MyVideo: React.FC<{
titleText: string;
titleColor: string;
}> = ({titleText, titleColor}) => {const frame = useCurrentFrame();
const videoConfig = useVideoConfig();
const opacity =
interpolate(
frame,
[videoConfig.durationInFrames — 25,
videoConfig.durationInFrames
15
],
[1, 0],
{extrapolateLeft: ‘clamp’,extrapolateRight: ‘clamp’,}
);
const transitionStart = 0;
return (
 <div style={{flex: 1, backgroundColor: ‘white’}}>
 <div style={{opacity}}>
  <Sequence
   from={0}
   durationInFrames={videoConfig.durationInFrames}>
    <Logo transitionStart={transitionStart} />
  </Sequence>
  <Sequence
   from={transitionStart + 35}
   durationInFrames={Infinity}>
    <Title titleText={titleText} titleColor={titleColor} />
  </Sequence>
  <Sequence
   from={transitionStart + 75}
   durationInFrames={Infinity}>
    <SubText />
  </Sequence>
 </div>
 </div>
);
};
Step 3
Finally, I have imported all the above files to Video.tsx and passed relevant metadata using Composition components.
import {Composition} from ‘remotion’;
import {MyVideo} from ‘./MyVideo’;
import {Logo} from ‘./components/Logo’;
import {SubText} from ‘./components/SubText’;
export const RemotionVideo: React.FC = () => {
return (
<>
<Composition
id=”HelloReaders”
component={HelloReaders}
durationInFrames={150}
fps={30}
width={1920}
height={1080}
defaultProps={{
titleText: ‘Welcome to My Blog’,
titleColor: ‘black’,
}}
/>
<Composition
id=”Logo”
component={Logo}
durationInFrames={200}
fps={30}
width={1920}
height={1080}
/>
<Composition
id=”Title”
component={SubText}
durationInFrames={100}
fps={30}
width={1920}
height={1080}
/>
</>
);
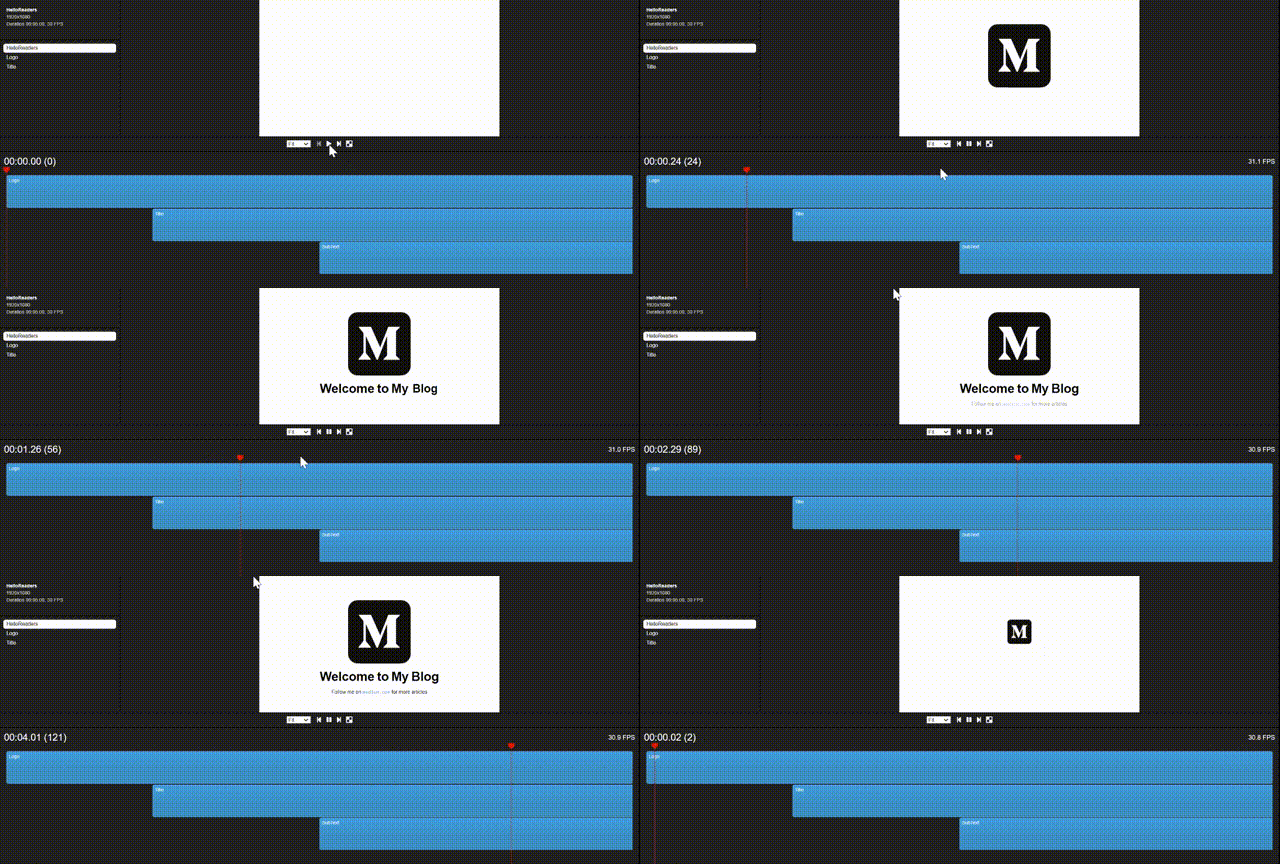
};Now, you are all set to run your first Remotion video. You can either use npm run start to see it in the development mode or npm run build to save as an mp4 file.
Conclusion
Although Remotion is very young, it already has some amazing features. It might not be up to the quality of professional video editors yet. But we can surely expect some surprises ahead.
Also, Remotion has features like Parametrized rendering, Server-Side Rendering, and Data fetching, which are very familiar to developers. They can use their experience to get the maximum from this tool.
Most importantly, it is an excellent option for people who seek ways to create small videos or animations for personal use.
In my opinion, we can use Remotion to create simple videos and animations with the knowledge we have on web development. But many things need to be improved and simplified in terms of video editing features.
However, highly encourage you to download Remotion and give it a go. It will be a whole new experience.
Thank you for Reading !!!
Learn More
- Build Scalable React Apps by Sharing UIs and Hooks
- How we Build a Design System
- New JSX Enhancements in React 17
Introduction to Remotion — Create Videos and Animations with React was originally published in Bits and Pieces on Medium, where people are continuing the conversation by highlighting and responding to this story.
This content originally appeared on Bits and Pieces - Medium and was authored by Chameera Dulanga
Chameera Dulanga | Sciencx (2021-02-25T17:58:03+00:00) Introduction to Remotion — Create Videos and Animations with React. Retrieved from https://www.scien.cx/2021/02/25/introduction-to-remotion%e2%80%8a-%e2%80%8acreate-videos-and-animations-with-react/
Please log in to upload a file.
There are no updates yet.
Click the Upload button above to add an update.
