This content originally appeared on DEV Community and was authored by eons
Imagine accidentally closing the browser tab after filling a mandatory and boring survey form. All your responses are lost now.
Frustrating, isn't it?
You would not want to give such an experience to your users, here's how you can fix it.
Problem:
How to prompt the user when they accidentally...
- Reload the page.
- Close the browser tab or window.
- Press the browser back button.
- Click a link/change the route.
Solution:
Part 1. Detecting Page Reload and Browser Tab Close
A tab/window close or a page reload event mean that the current document and its resources would be removed (unloaded). In this case, beforeunload event is fired.
At the point at which the beforeunload event is triggered, the document is still visible and the event is cancellable, meaning the unload event can be prevented as if it never happened.
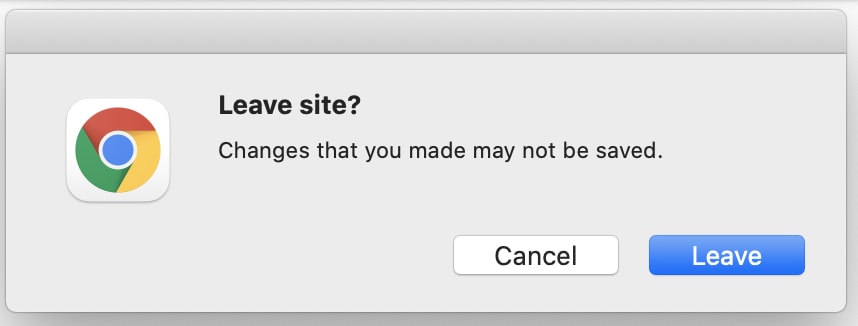
This event enables a web page to trigger a confirmation dialog asking the user if they really want to leave the page. If the user confirms, the browser navigates to the new page, otherwise, it cancels the navigation.
Preventing beforeunload event
window.onbeforeunload = (event) => {
  const e = event || window.event;
  // Cancel the event
  e.preventDefault();
  if (e) {
    e.returnValue = ''; // Legacy method for cross browser support
  }
  return ''; // Legacy method for cross browser support
};
All the 3 methods above e.preventDefault(), e.returnValue = '' and return '' prevent the event from executing.
Example of the confirm box displayed:
Note: Unfortunately, a customized message is not supported in all the browsers
Show the prompt based on state
#1 Create a function with a React state showExitPrompt as a parameter and initialize the onbeforeunload listener inside the function. Use the state inside the event listener.
Why pass the React state as a parameter?
Because the onbeforeunload is a vanilla javascript event listener and any React state change will not update the state inside its callback.
import { useState } from 'react';

const initBeforeUnLoad = (showExitPrompt) => {
  window.onbeforeunload = (event) => {
    // Show prompt based on state
    if (showExitPrompt) {
      const e = event || window.event;
      e.preventDefault();
      if (e) {
        e.returnValue = ''
      }
      return '';
    }
  };
};
#2 Create the state showExitPrompt to manage the prompt and register the event listener on page load.
function MyComponent() {
  const [showExitPrompt, setShowExitPrompt] = useState(false);

  // Initialize the beforeunload event listener after the resources are loaded
  window.onload = function() {
    initBeforeUnLoad(showExitPrompt);
  };
}
#3 Reinitialize the event listener on state change.
import { useState, useEffect } from 'react';

const initBeforeUnLoad = (showExitPrompt) => {
  // … code
}

function MyComponent() {
  const [showExitPrompt, setShowExitPrompt] = useState(false);

  window.onload = function() {
    initBeforeUnLoad(showExitPrompt);
  };

  // Re-Initialize the onbeforeunload event listener
  useEffect(() => {
    initBeforeUnLoad(showExitPrompt);
  }, [showExitPrompt]);
}
Now you are ready to use it inside your component. BUT it is efficient to create a custom hook for setting and accessing the state anywhere in the application.
Use a Custom Hook
#1 Hook file useExitPrompt.js
import { useState, useEffect } from 'react';

const initBeforeUnLoad = (showExitPrompt) => {
  window.onbeforeunload = (event) => {
    if (showExitPrompt) {
      const e = event || window.event;
      e.preventDefault();
      if (e) {
        e.returnValue = '';
      }
      return '';
    }
  };
};

// Hook
export default function useExitPrompt(bool) {
  const [showExitPrompt, setShowExitPrompt] = useState(bool);

  window.onload = function() {
    initBeforeUnLoad(showExitPrompt);
  };

  useEffect(() => {
    initBeforeUnLoad(showExitPrompt);
  }, [showExitPrompt]);

  return [showExitPrompt, setShowExitPrompt];
}
#2 Component file MyComponent.js
Note: You will have to reset the value of showExitPrompt state to default when the component is unmounted.
import useExitPrompt from './useExitPrompt.js'

export default function MyComponent() {
  const [showExitPrompt, setShowExitPrompt] = useExitPrompt(false);

  const handleClick = (e) => {
    e.preventDefault();
    setShowExitPrompt(!showExitPrompt)
  }

  //NOTE: this similar to componentWillUnmount()
  useEffect(() => {
    return () => {
      setShowExitPrompt(false)
    }
  }, [])

  return (
    <div className="App">
      <form>{/*Your code*/}</form>
      <button onClick={handleClick}>Show/Hide the prompt</button>
      <Child setShowExitPrompt={setShowExitPrompt} />
    </div>
  );
}
OR
#2 Component file App.js
Pass it down to your child components via Context.Provider and access the value using the useContext() hook anywhere in your application.
import useExitPrompt from './useExitPrompt.js'
import MyContext from './MyContext.js'

export default function App() {
  const [showExitPrompt, setShowExitPrompt] = useExitPrompt(false);

  return (
    <div className="App">
      <MyContext.Provider value={{showExitPrompt, setShowExitPrompt}}>
        <MyMainApp />
      </MyContext.Provider>
    </div>
  );
}

export default function MyComponent() {
  const { showExitPrompt, setShowExitPrompt } = useContext(MyContext);

  //NOTE: this works similar to componentWillUnmount()
  useEffect(() => {
    return () => {
      setShowExitPrompt(false);
    }
  }, [])

  return (
    <div>{/* your code */}</div>
  );
}
Part 2. Detecting Route/Page change and Browser Back
Similar to the above-mentioned actions, when the user clicks on a link, they are redirected to a new page, and the document and its resources will be unloaded.
But, React Router works differently, it implements the History API which provides access to the browser's session history. By clicking a regular link - you'll end up on the new URL and a new document(page), meanwhile history lets you "fake" the URL without leaving the page.
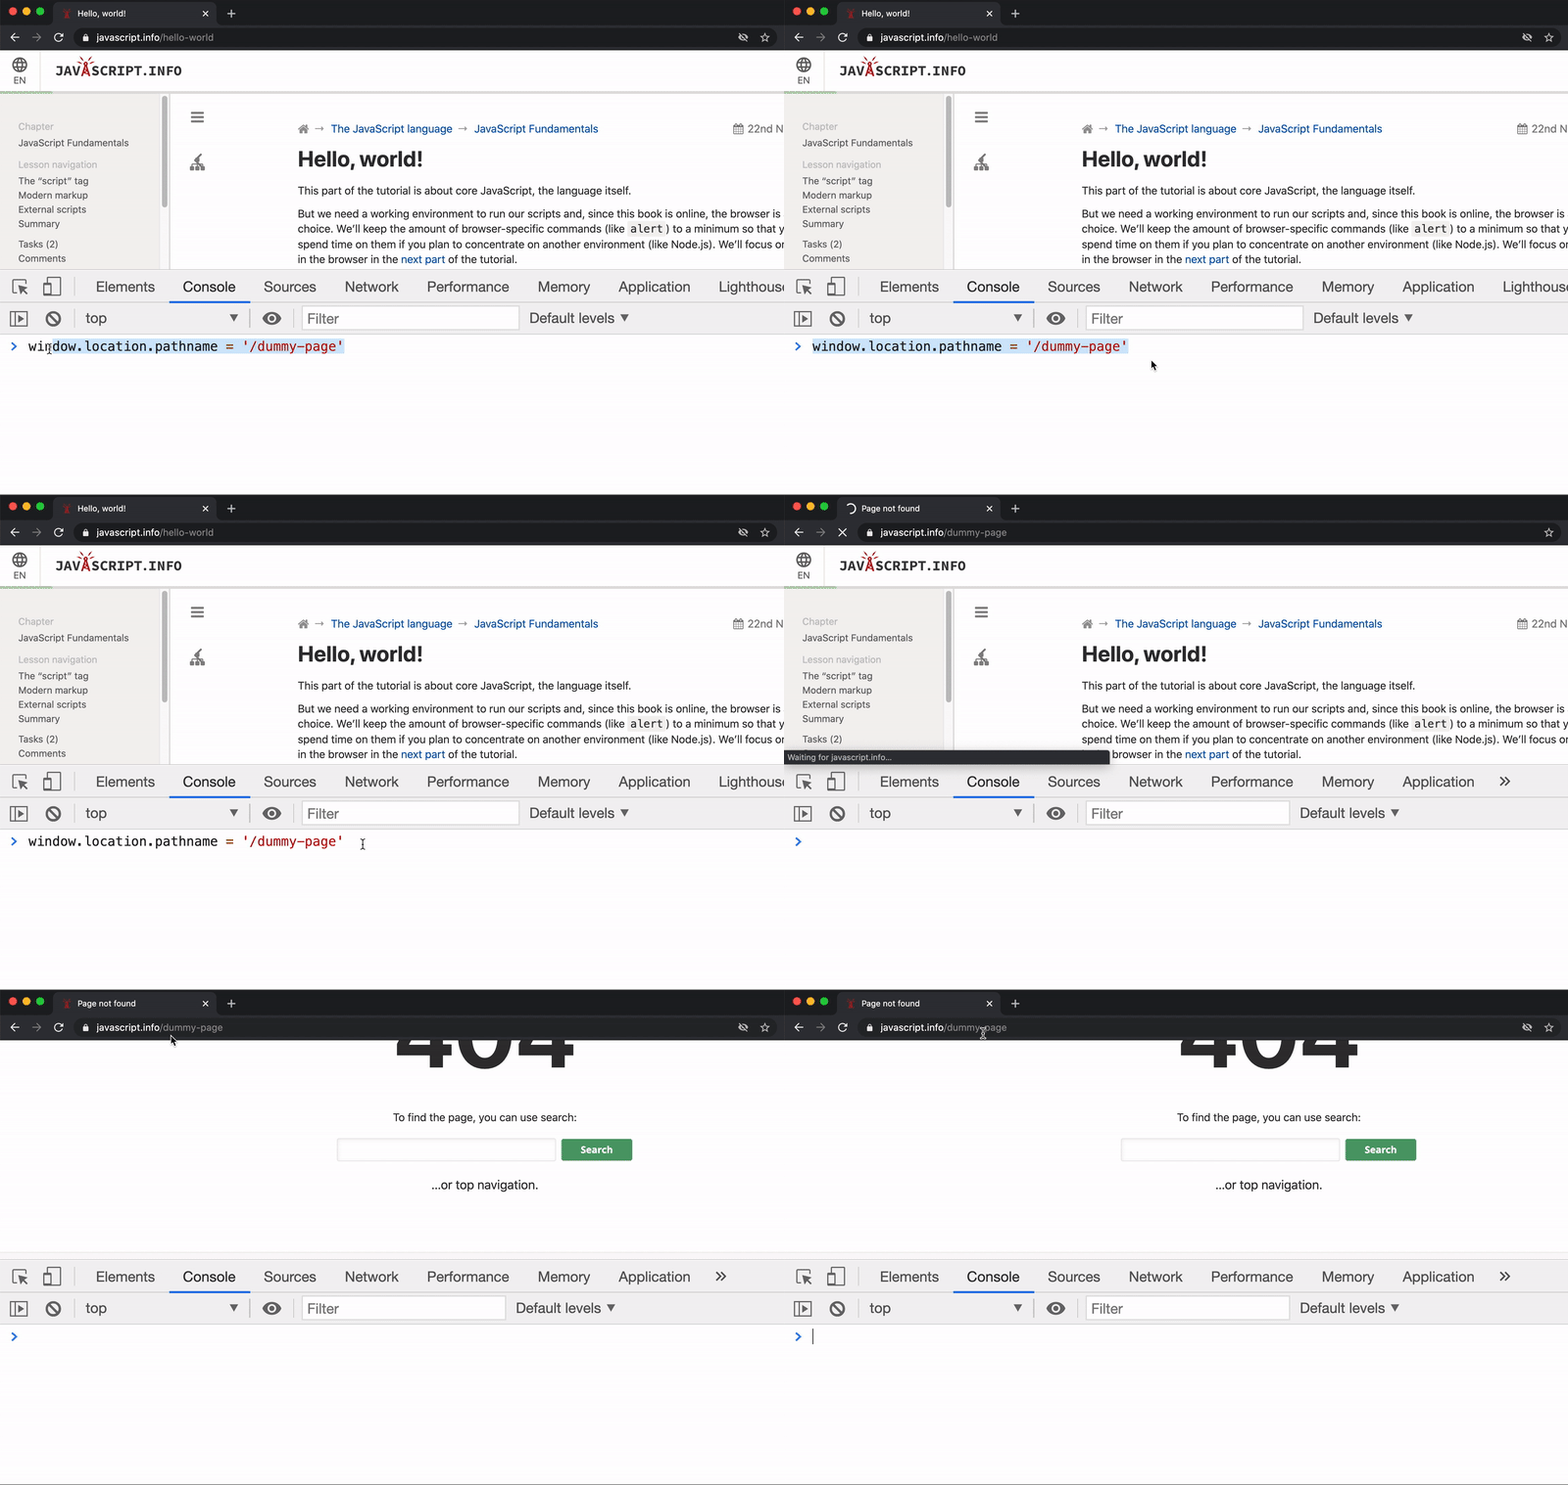
location.pathname vs history.pushState()
window.location.pathname = '/dummy-page'
V/S
window.history.pushState({}, '', '/dummy-page')
Do you see the difference? history.pushState() only changes the URL nothing else, the whole page stays intact while location.pathname redirects you to that new page, probably giving a 404 error because such a route does not exist.
Displaying prompt with getUserConfirmation() and <Prompt/> component
React Router provides a prop getUserConfirmation() in <BrowserRouter> to confirm navigation and a component <Prompt/> to display a custom message from your child components.
#1 Root file App.js
import { BrowserRouter } from 'react-router-dom';

function App() {
  return (
    <BrowserRouter getUserConfirmation={(message, callback) => {
      // this is the default behavior
      const allowTransition = window.confirm(message);
      callback(allowTransition);
      }}
    >
      <Routes />
    </BrowserRouter>
  );
}
window.confirm() will display the message you pass in React Router’s <Prompt /> component from your respective children components. The callback() function requires a boolean parameter to prevent the transition to a new page.
#2 Component File MyForm.js
<Prompt /> has 2 props, when and message. If when prop’s value is set to true and the user clicks on a different link, they will be prompted with the message passed in the message props.
import { Prompt } from 'react-router-dom';

function MyForm() {
  const [isFormIncomplete, setIsFormIncomplete] = useState(true);
  return (
    <div>
     <form>{/*Your code*/}</form>

     <Prompt
       when={isFormIncomplete}
       message="Are you sure you want to leave?" />
    </div>
  )
}
Example of the confirm box displayed:

Summary
If the user’s action...
- Removes page’s resources, use
beforeunloadvanilla JavaScript event to prompt the user. - Change only the view, use
getUserConfirmation()in<BrowserRouter/>along with<Prompt />component to prompt the user.
This content originally appeared on DEV Community and was authored by eons
eons | Sciencx (2021-03-09T10:52:12+00:00) Detect Page Refresh, Tab Close and Route Change with React Router v5. Retrieved from https://www.scien.cx/2021/03/09/detect-page-refresh-tab-close-and-route-change-with-react-router-v5/
Please log in to upload a file.
There are no updates yet.
Click the Upload button above to add an update.


