This content originally appeared on Level Up Coding - Medium and was authored by Rany ElHousieny
In this article, we will create a CloudFront distribution and link it to a registered domain (microfrontends.info). We will work with AWS CloudFront, Route 53, S3, and Certificate Manager. This article builds over the previous article (https://www.linkedin.com/pulse/creating-web-site-aws-s3-step-rany-elhousieny-phd%E1%B4%AC%E1%B4%AE%E1%B4%B0).
Creating a web site on AWS S3: Step By Step
After we deployed to the web-enabled AWS S3 bucket, we can browse to the bucket through the following URL http://mfe1.s3-website-us-east-1.amazonaws.com/
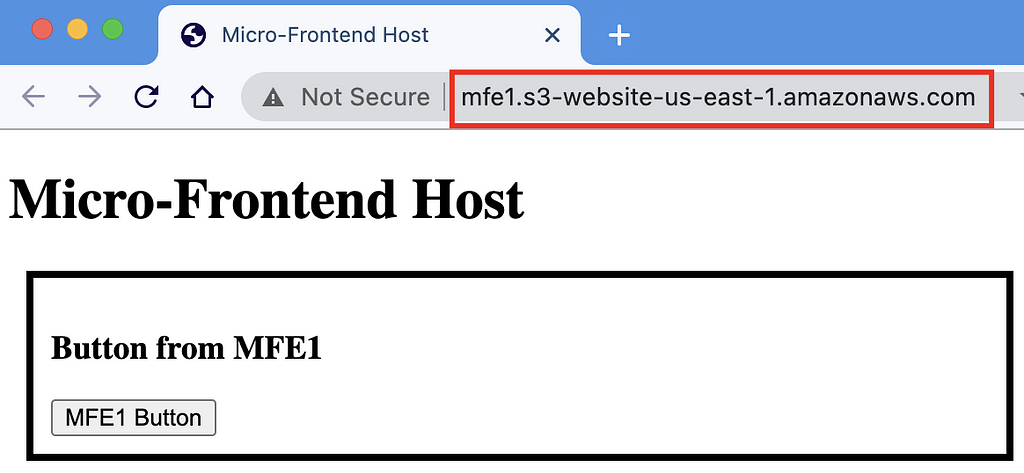
You noticed that next to the URL it says “Not Secure”. This is because we are using HTTP instead of HTTPS. To be able to get a certificate, we need to create a CloudFront distribution, first. CloudFront, which is also known as CDN or Edge Servers, is responsible for Caching your content globally and provide less traffic travel. Let’s add AWS CloudFront to our S3 bucket
Create CloudFront Distribution
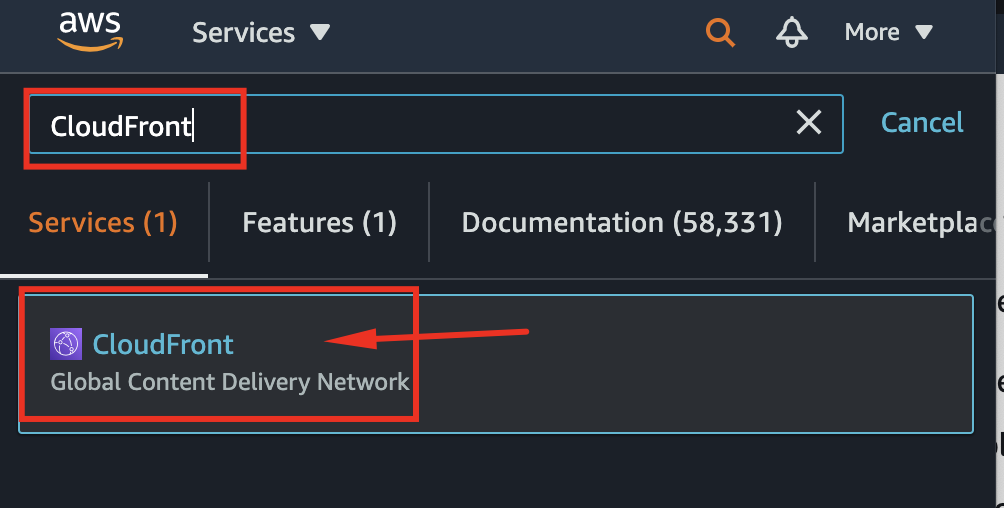
- Go to AWS Console and search for CloudFront then click on it as follows:
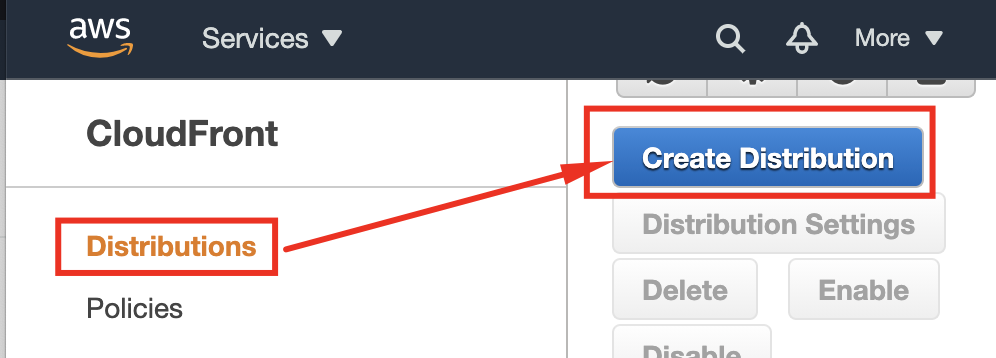
2. Click on “Create Distribution”
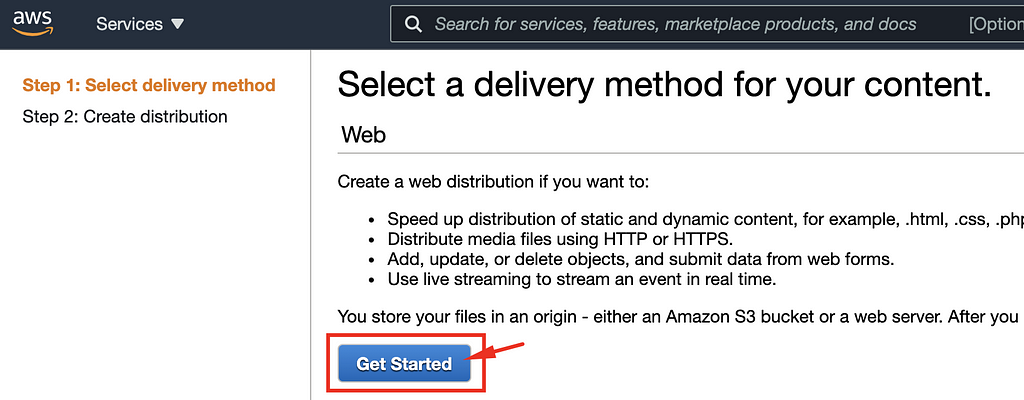
3. Click “Get Started” under Web as follows:
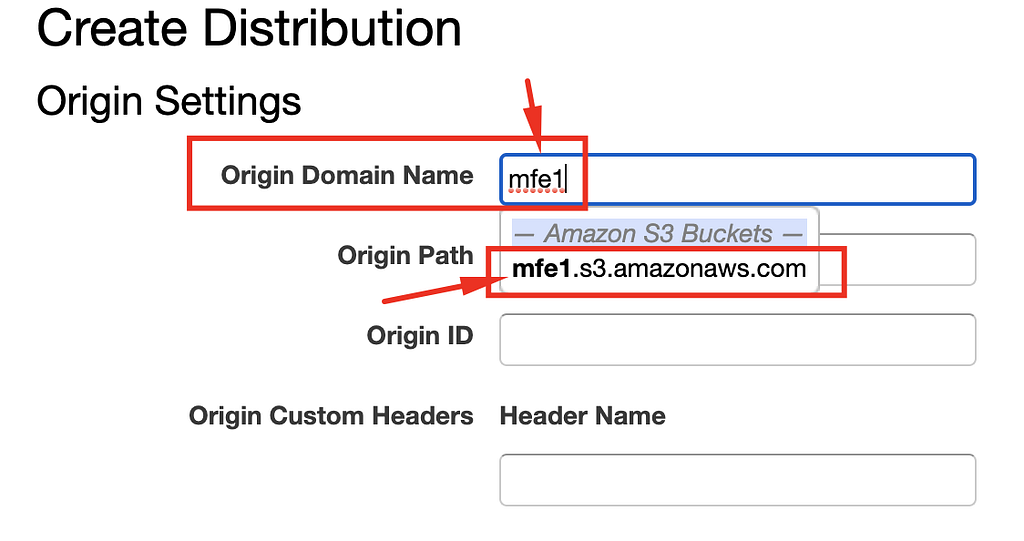
4. For now, let’s just point it to our S3 Bucket as follows:
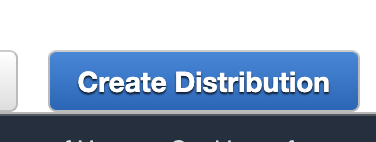
5. Scroll down until you find “Create Distribution” and click on it
6. You will be routed to the list of the Distributions and the new one will be in progress

7. Wait few minutes until it shows Deployed as follows:


Select the Distribution and copy the domain name (in my case d1tsn16diydefl.cloudfront.net), as follow:
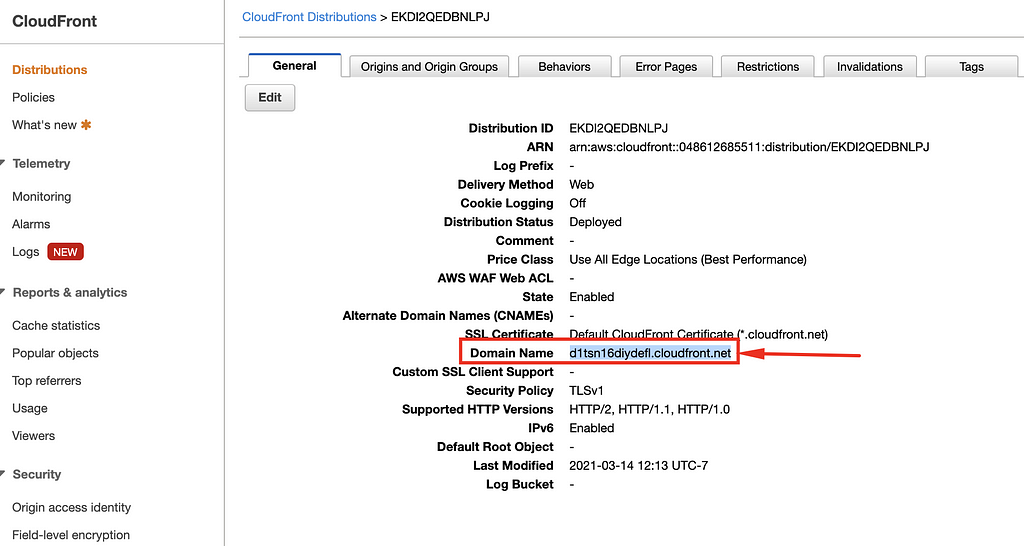
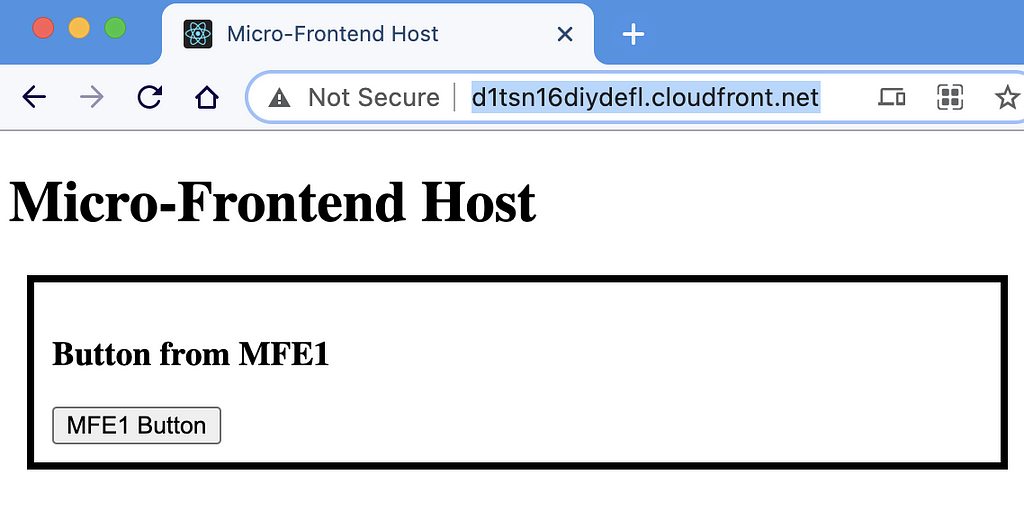
Now you should be able to browse to http://d1tsn16diydefl.cloudfront.net/
If you receive an access denied similar to the following:

Try the following two steps:
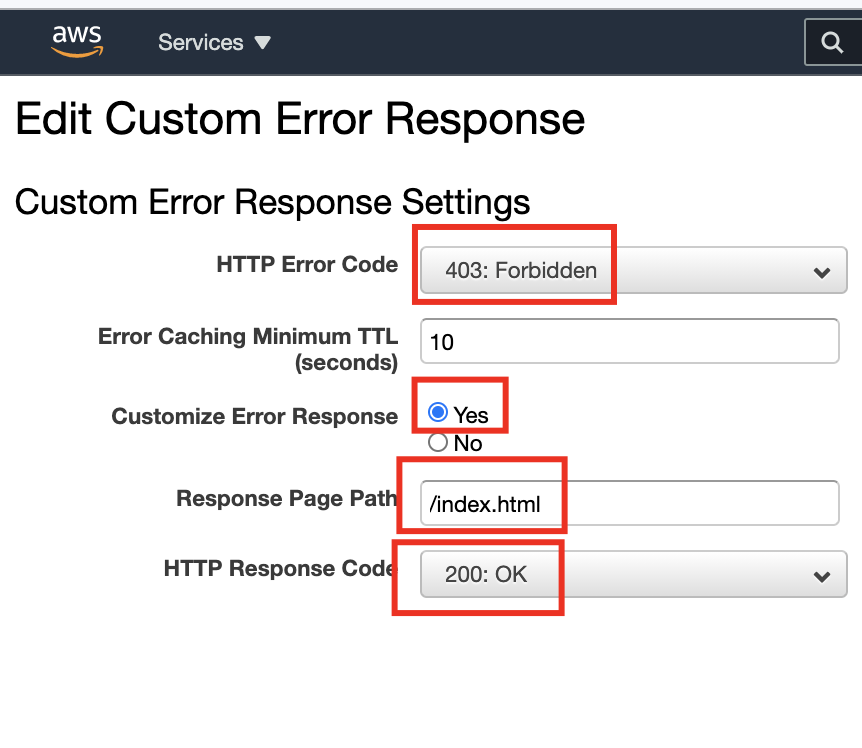
- Add a custom error to the CloudFront as follows:

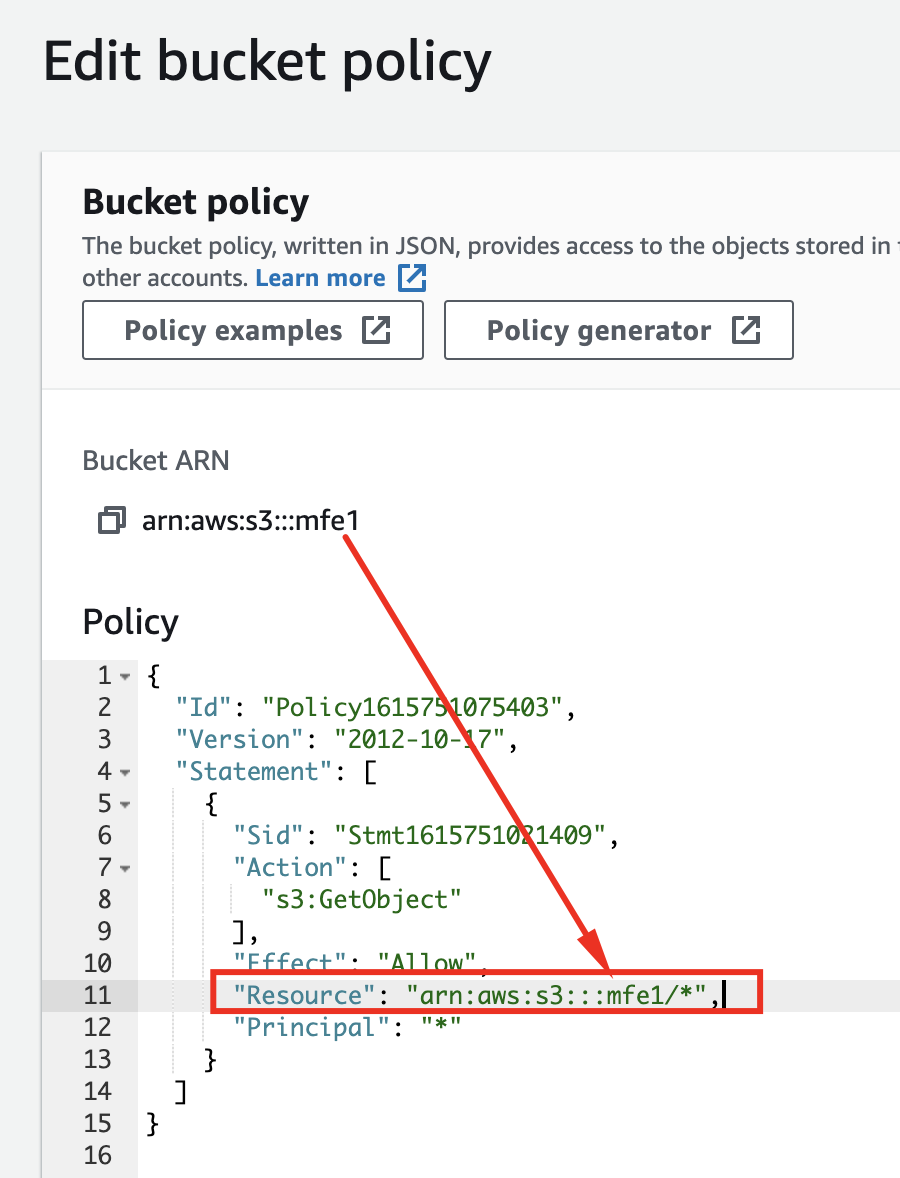
2. Review your S3 bucket policy, again, and make sure it is similar to the following (replace xxxxx with your bucket name)
{
  "Id": "Policy1615751075403",
  "Version": "2012-10-17",
  "Statement": [
    {
      "Sid": "Stmt1615751021409",
      "Action": [
        "s3:GetObject"
      ],
      "Effect": "Allow",
      "Resource": "arn:aws:s3:::xxxxx/*",
      "Principal": "*"
    }
  ]
}
Adding a Domain
In this step, we will buy a domain (microfrontends.info) and link it to the CloudFront (http://d1tsn16diydefl.cloudfront.net/) that we just created
Buy a domain using Rout53
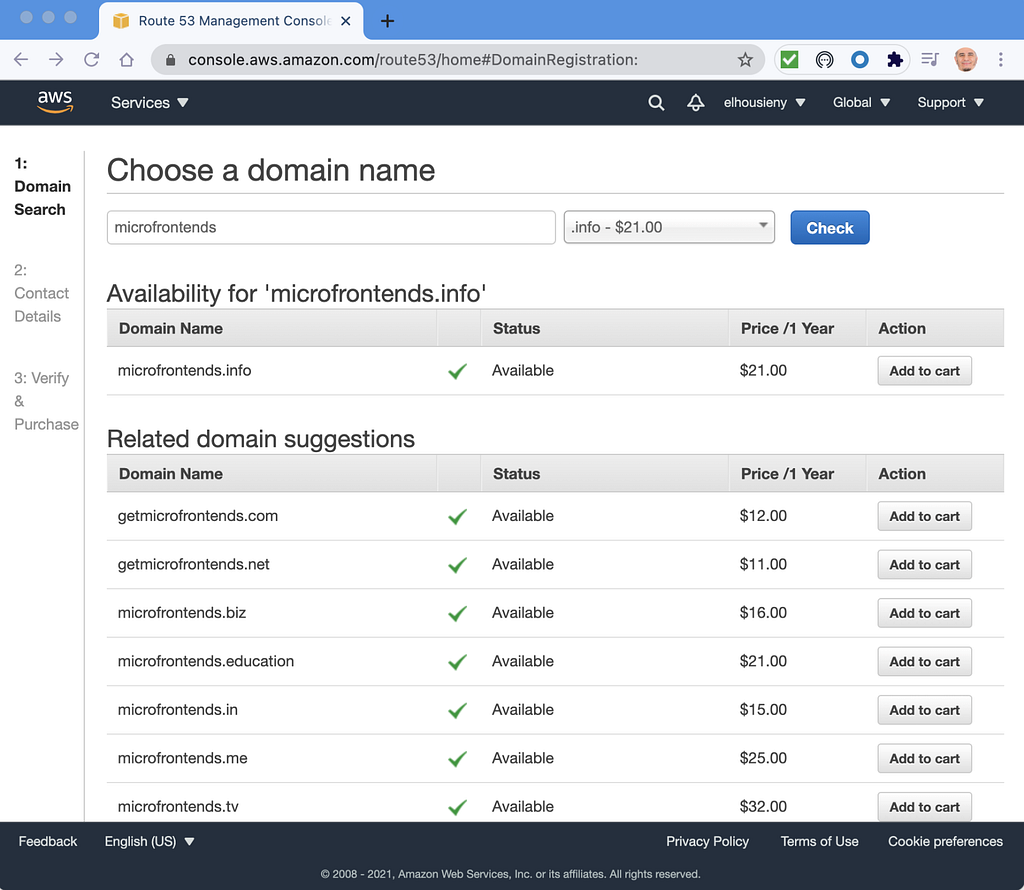
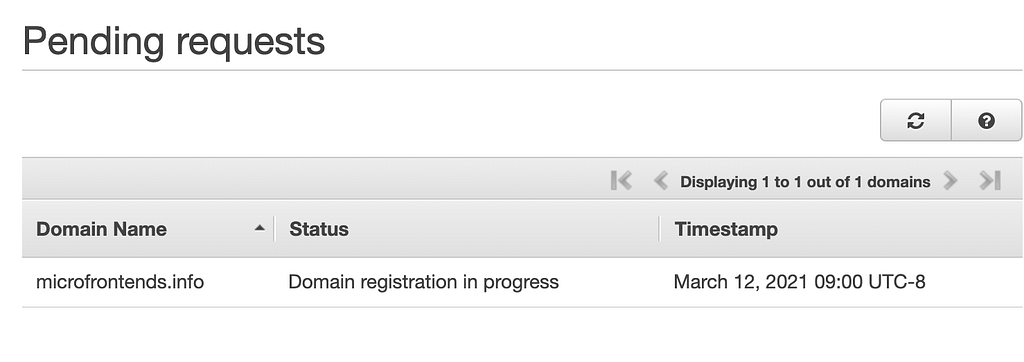
I will purchase a domain (microfrontends.info) that I am using to publish learning material for Micro Frontends (https://microfrontends.info/). You can purchase any domain you like. It usually costs as low as $12. You can also get a free domain for a year from freenom.com but the configuration will be different.
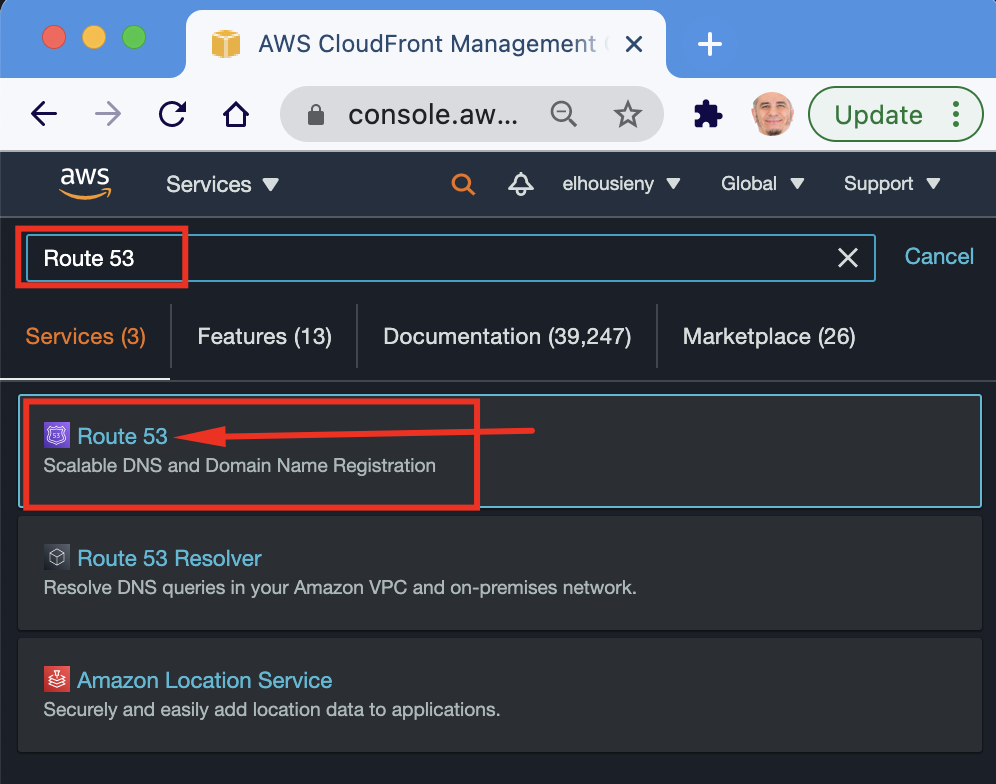
1 — Open AWS Console and navigate to Route 53 and select register a domain
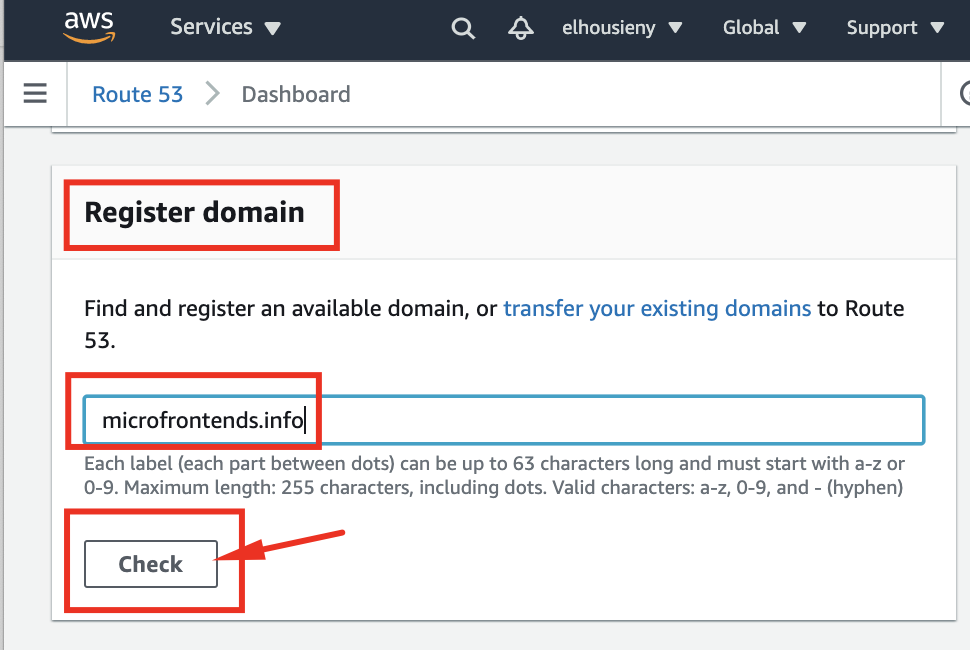
2 — Write the domain you want to buy and Click Check as shown below
Add the Record to link the new domain to CloudFront
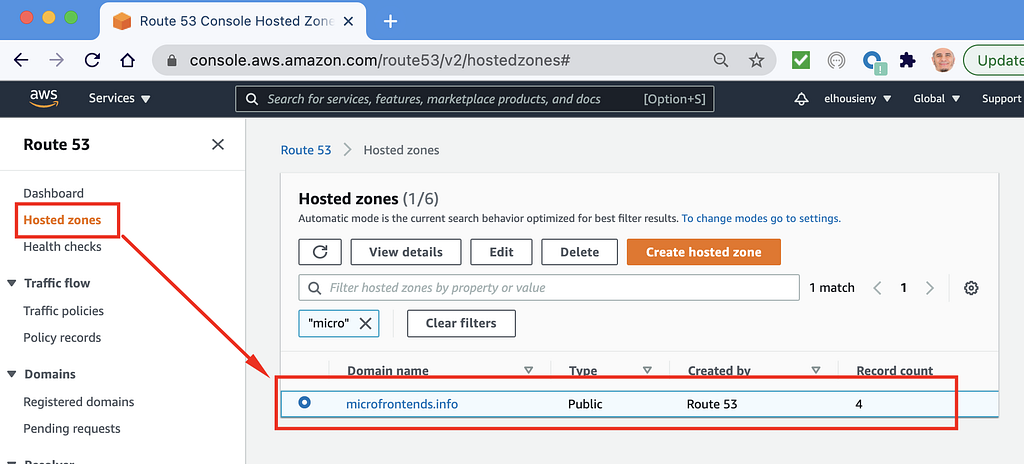
Go to hosted zones and select the domain you purchased
Click “Create Record”
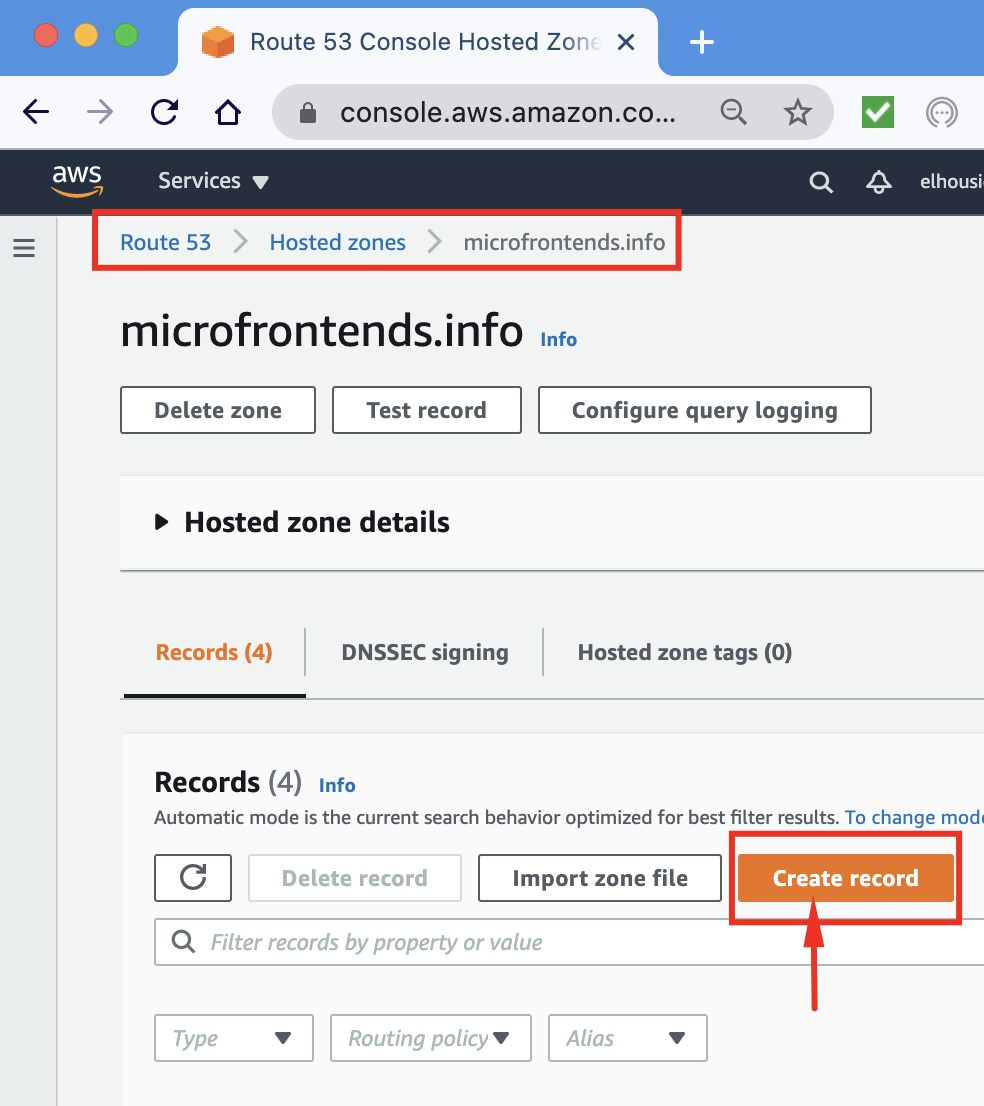
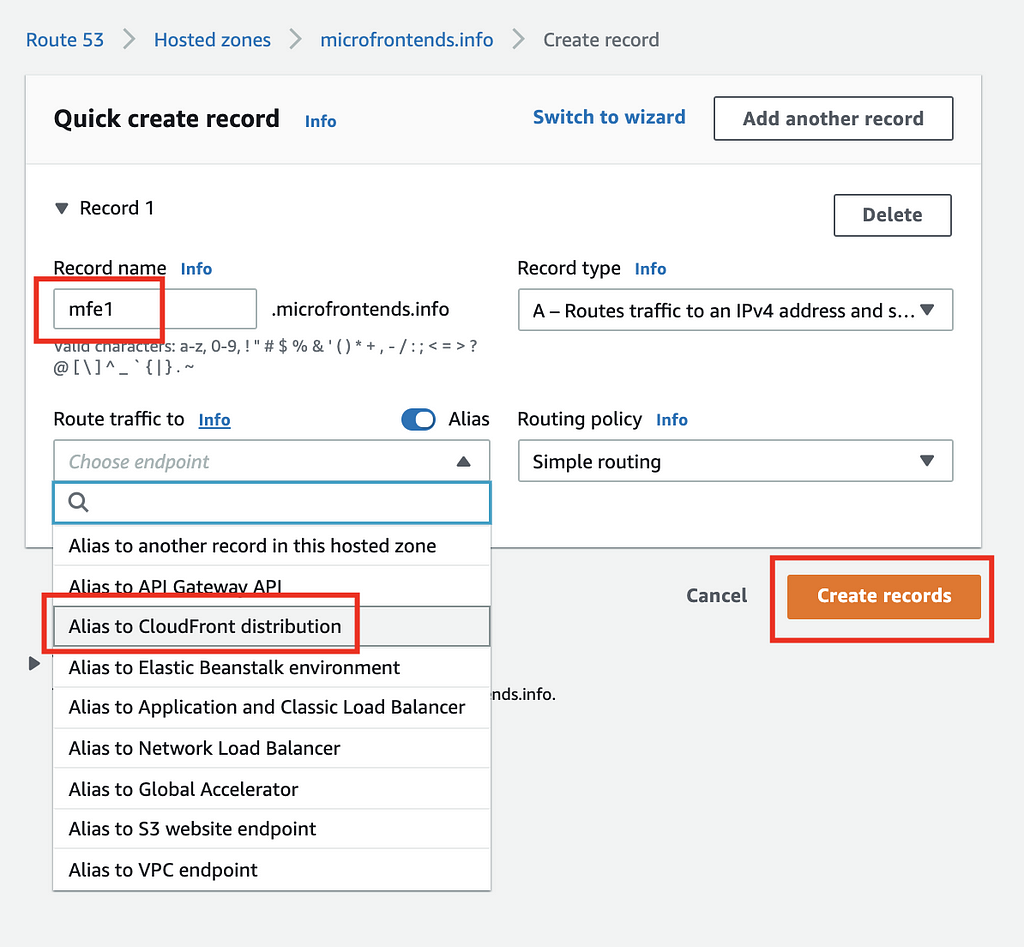
In the previous image,
- I added a prefix mf1 to have the alias = mfe1.microfrontends.info
- Select Route Type = A
- Enable Alias
- Route traffic select “Alias to ClouFront distribution”
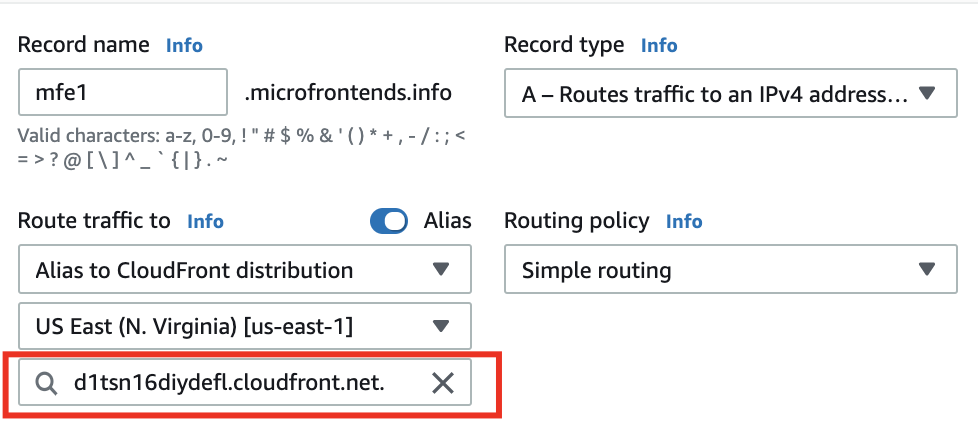
- Add the distribution we created in the previous article d1tsn16diydefl.cloudfront.net as shown below
Click “Create Record”

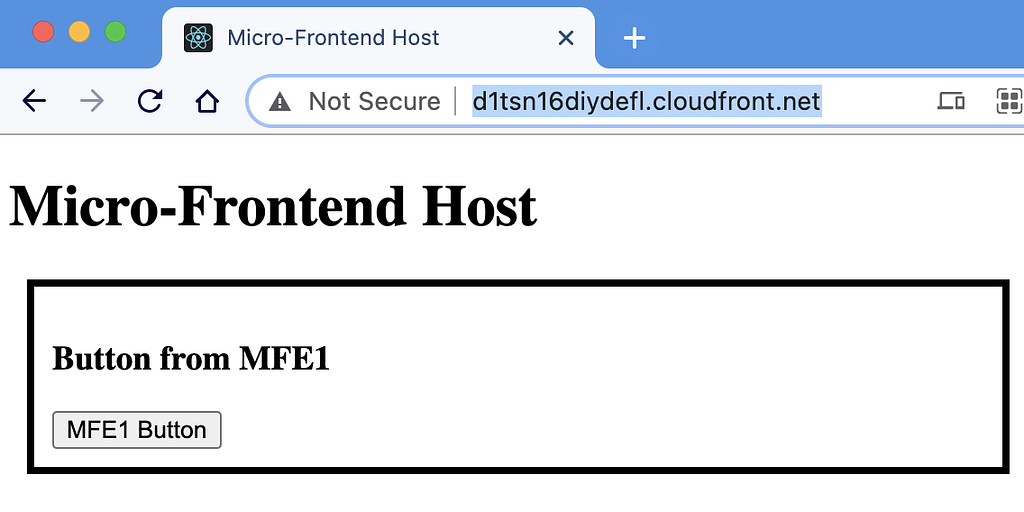
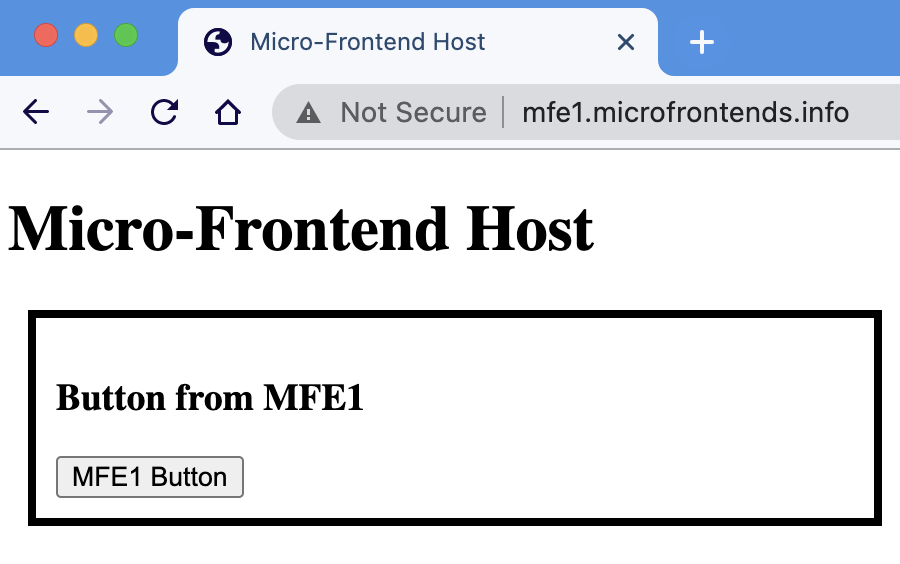
Now, you should be able to browse to http://mfe1.microfrontends.info/
References
Adding CloudFront to Web-Enabled AWS S3 Bucket
https://www.linkedin.com/pulse/adding-domain-certificate-website-aws-s3-web-enabled-rany
Adding CloudFront and a Domain to Web-Enabled AWS S3 Bucket was originally published in Level Up Coding on Medium, where people are continuing the conversation by highlighting and responding to this story.
This content originally appeared on Level Up Coding - Medium and was authored by Rany ElHousieny
Rany ElHousieny | Sciencx (2021-03-15T12:38:06+00:00) Adding CloudFront and a Domain to Web-Enabled AWS S3 Bucket. Retrieved from https://www.scien.cx/2021/03/15/adding-cloudfront-and-a-domain-to-web-enabled-aws-s3-bucket/
Please log in to upload a file.
There are no updates yet.
Click the Upload button above to add an update.
