This content originally appeared on Telerik Blogs and was authored by Nwose Lotanna Victor
In this post, you will be introduced to looping through lists in Angular using the ngFor directive and keywords like index, first and last.
Before You Start
To be able to follow through in this article’s demonstration, you should have:
- An integrated development environment like VS Code
- Node version 11.0 or higher installed on your machine
- Node Package Manager version 6.7 (usually ships with Node installation)
- Angular CLI version 8.0 or higher
- The latest version of Angular
Download this tutorial’s starter project here to follow through the demonstrations. Unzip the project and initialize the node modules in your terminal with this command:
npm install
Other things that are nice-to-haves are:
- A working knowledge of the Angular framework at a beginner level
Conditionals
When building your applications and creating logic, there are times when you want to make comparisons between two or more things. They can be abstract things; they can be items in a list or array or even an object. Angular provides directives to handle these situations called conditionals. So there is ngIf for times when you want to check for a true or false value, and there is ngFor mostly for a list of items either in an object or an array.
For Statement
In JavaScript there is the for statement, and in Angular this for statement is called the ngFor directive. It is used to loop through a list of items and it is appended on the HTML element where the list is to be displayed. The syntax looks like this:
<li *ngFor="value in values">Demo: What We Are Building
To fully understand how the ngFor directive works, let us see a simple application displaying a list of popular cereals. If you followed this post from the start, you would have downloaded and opened the canvas application in your VS Code app.
Go to the app component HTML file and replace the content with the code block below:
<div style="text-align:center">
 <h1>
   Welcome
 </h1>
</div>
<h2>Top 10 Cereal Brands</h2>
<app-test></app-test>
<router-outlet></router-outlet>
To make our illustration, create a new test component in the project with the CLI by running the command below:
ng generate component testThis generates a new component and sets it up in the app module. Your test.component.ts file should look like this one below:
import { Component, OnInit } from '@angular/core';
@Component({
  selector: 'app-test',
  templateUrl: './test.component.html',
  styleUrls: ['./test.component.css']
})
export class TestComponent implements OnInit {
  cereals: any[]= [
    {
      name:'Honey Nut Cheerios',
      maker: 'General Mills'
    },
    {
      name:'Frosted Flakes',
      maker: 'Kelloggs'
    },
    {
      name:'Honey bunches of Oats',
      maker: 'Post'
    },
    {
      name:'Cheerios',
      maker: 'General Mills'
    },
    {
      name:'Cinnamon Tosat Crunch',
      maker: 'General Mills'
    },
    {
      name:'Special K',
      maker: 'Kelloggs'
    },
    {
      name:'Frosted Mini Wheats',
      maker: 'Kelloggs'
    }
  ]
constructor() { }
ngOnInit() {
  }
}
To display these Cereals without the ngFor directive, open your test.component.html file and replace the content with the code block below:
<ul>
  <li>
   <h2>
    {{cereals[0].name}}
   </h2>
  </li>
  <li>
    <h2>
     {{cereals[1].name}}
    </h2>
   </li>
   <li>
    <h2>
     {{cereals[2].name}}
    </h2>
   </li>
   <li>
    <h2>
     {{cereals[3].name}}
    </h2>
   </li>
   <li>
    <h2>
     {{cereals[4].name}}
    </h2>
   </li>
   <li>
    <h2>
     {{cereals[5].name}}
    </h2>
   </li>
   <li>
    <h2>
     {{cereals[6].name}}
    </h2>
   </li>
</ul>
If you run the application now in your development server with the serve command:
ng serveYou see that it shows a list of cereals in heading fonts. Looking back at the code block in the HTML file, you can see that there is a lot of repetition. The ngFor directive ensures that you can display list items in a more dynamic and efficient way with much fewer lines of code and no repetition.
Replace the content of your test.component.html file with the code block below:
<ul>
  <li *ngFor="let cereal of cereals">
   <h2>
    {{cereal.name}}
   </h2>
  </li>
</ul>
This returns the same exact list when you re-run the app in the dev server but with way less code. With ngFor directive, you can loop through a list of items in a collection (an array in our case) and output them just as you would single elements.
The keywords let and of are always going to be present in your ngFor declaration. The cereals section is the name of your collection. If you check in the test.component.ts file, you will see that the array name is cereals. The cereal is the new name you want to assign to the element at every single iteration just as you would have cereals[0]. The new name is important, as that is what you will now use to access list items.
Index in ngFor Directives
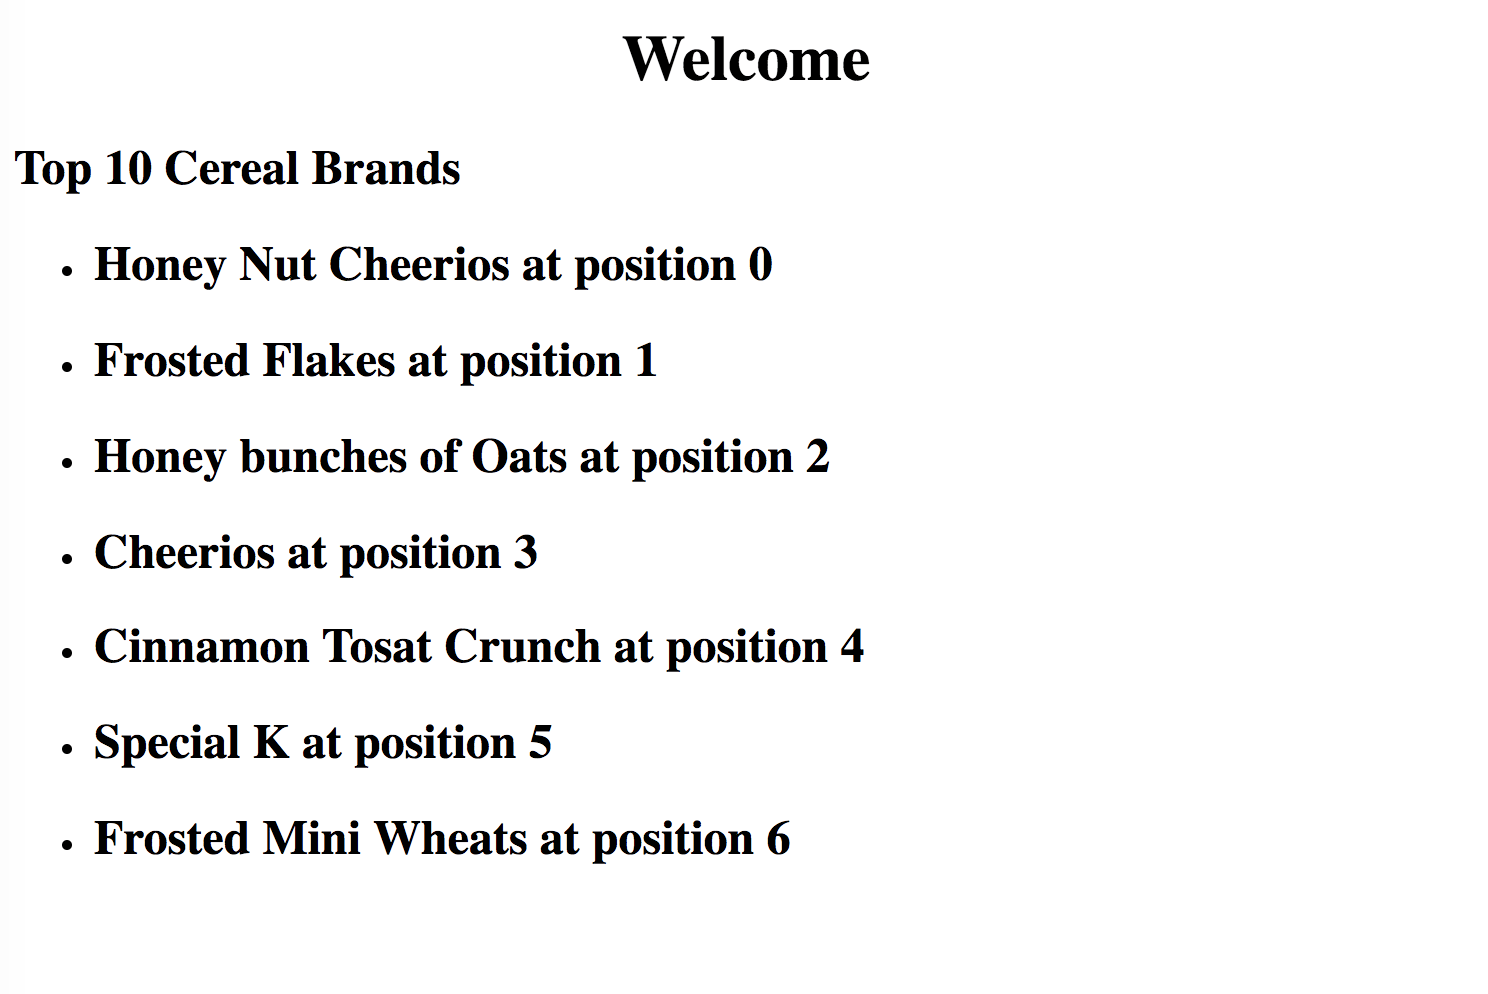
Angular also provides additional capabilities for the ngFor directive—one of them is the index. This is used to specify index for the looped over items. So if you wanted to count the index of the list items, you can use it like this:
<ul>
  <li *ngFor="let cereal of cereals; let i = index">
   <h2>
    {{cereal.name}} at position {{i}}
   </h2>
  </li>
</ul>
The output will now look like this in the browser:

To correct this to count from one instead of zero, make the changes below:
<ul>
  <li *ngFor="let cereal of cereals; let i = index">
   <h2>
    {{cereal.name}} at position {{i+1}}
   </h2>
  </li>
</ul>
First and Last in ngFor Directives
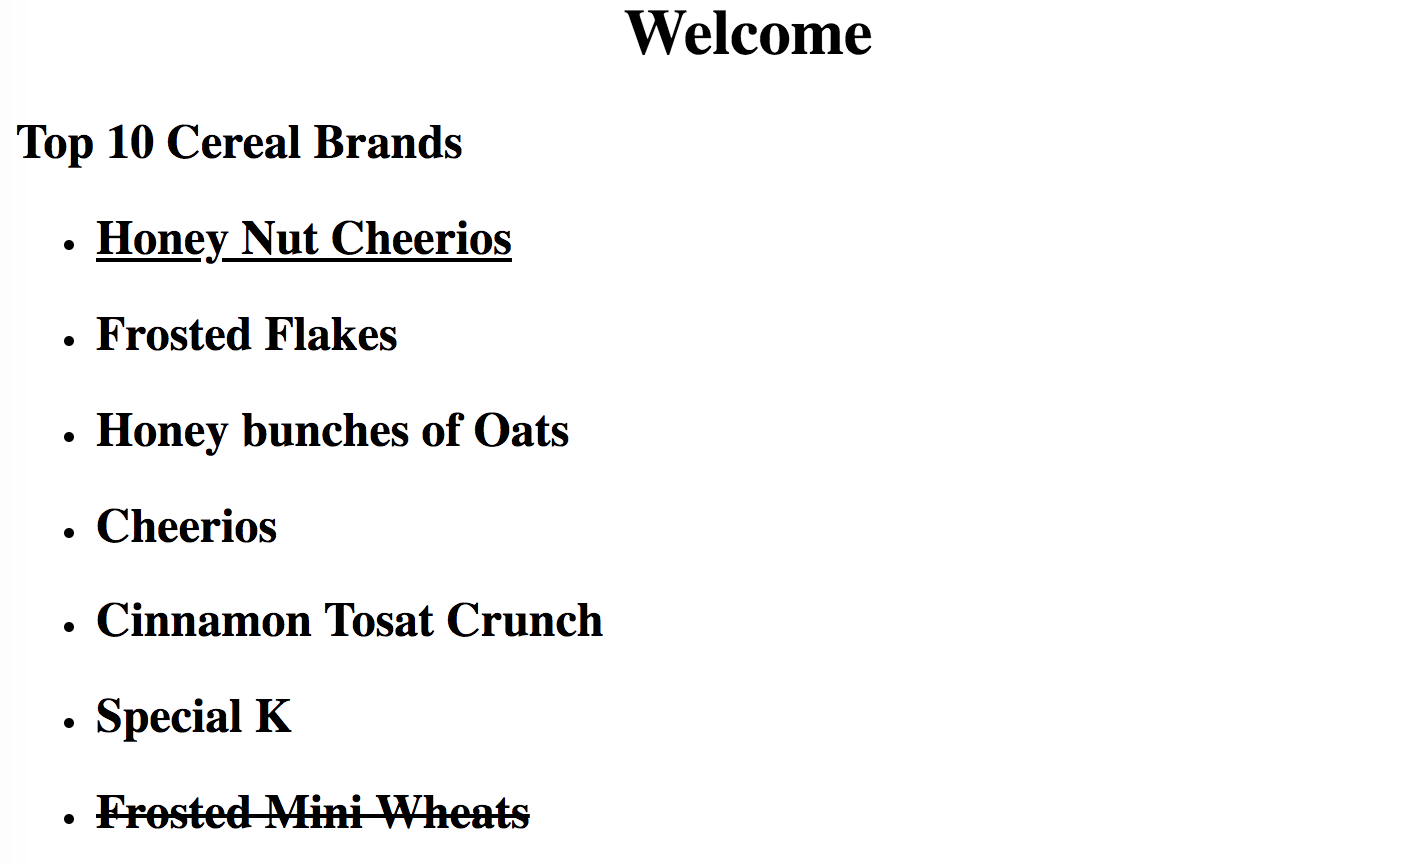
Another cool feature like the index is using the first and last keywords. They are used to target the very first and last items of any ngFor directive display, respectively. So for our demo, if we want to underline the first and draw a line through the last items in the list in our output, this is how we do it:
<ul>
  <li *ngFor="let cereal of cereals; let first = first; let last = last"
  [ngClass]= "{underline:first,line:last}">
   <h2>
    {{cereal.name}}
   </h2>
  </li>
</ul>
This is declared just as the index but then here it is used with the ngClass to assign CSS classes to it. To add the CSS rules, go to the test.component.css file and add the following rules:
.underline{
    text-decoration: underline;
}
.line{
    text-decoration: line-through;
}

The complete code to this tutorial can be found here on GitHub.
Conclusion
In this post you have been introduced to the ngFor directive in Angular and how important it is for writing dynamic and efficient code. You have also been shown how to use it with practical illustrations and code examples. Additional features were also shown to you so that you can fully utilize the power of the directive. Happy hacking!
This content originally appeared on Telerik Blogs and was authored by Nwose Lotanna Victor
Nwose Lotanna Victor | Sciencx (2021-04-20T15:27:01+00:00) Angular Basics: Introduction to ngFor Directive in Angular. Retrieved from https://www.scien.cx/2021/04/20/angular-basics-introduction-to-ngfor-directive-in-angular/
Please log in to upload a file.
There are no updates yet.
Click the Upload button above to add an update.
