This content originally appeared on Telerik Blogs and was authored by Eyup Yusein
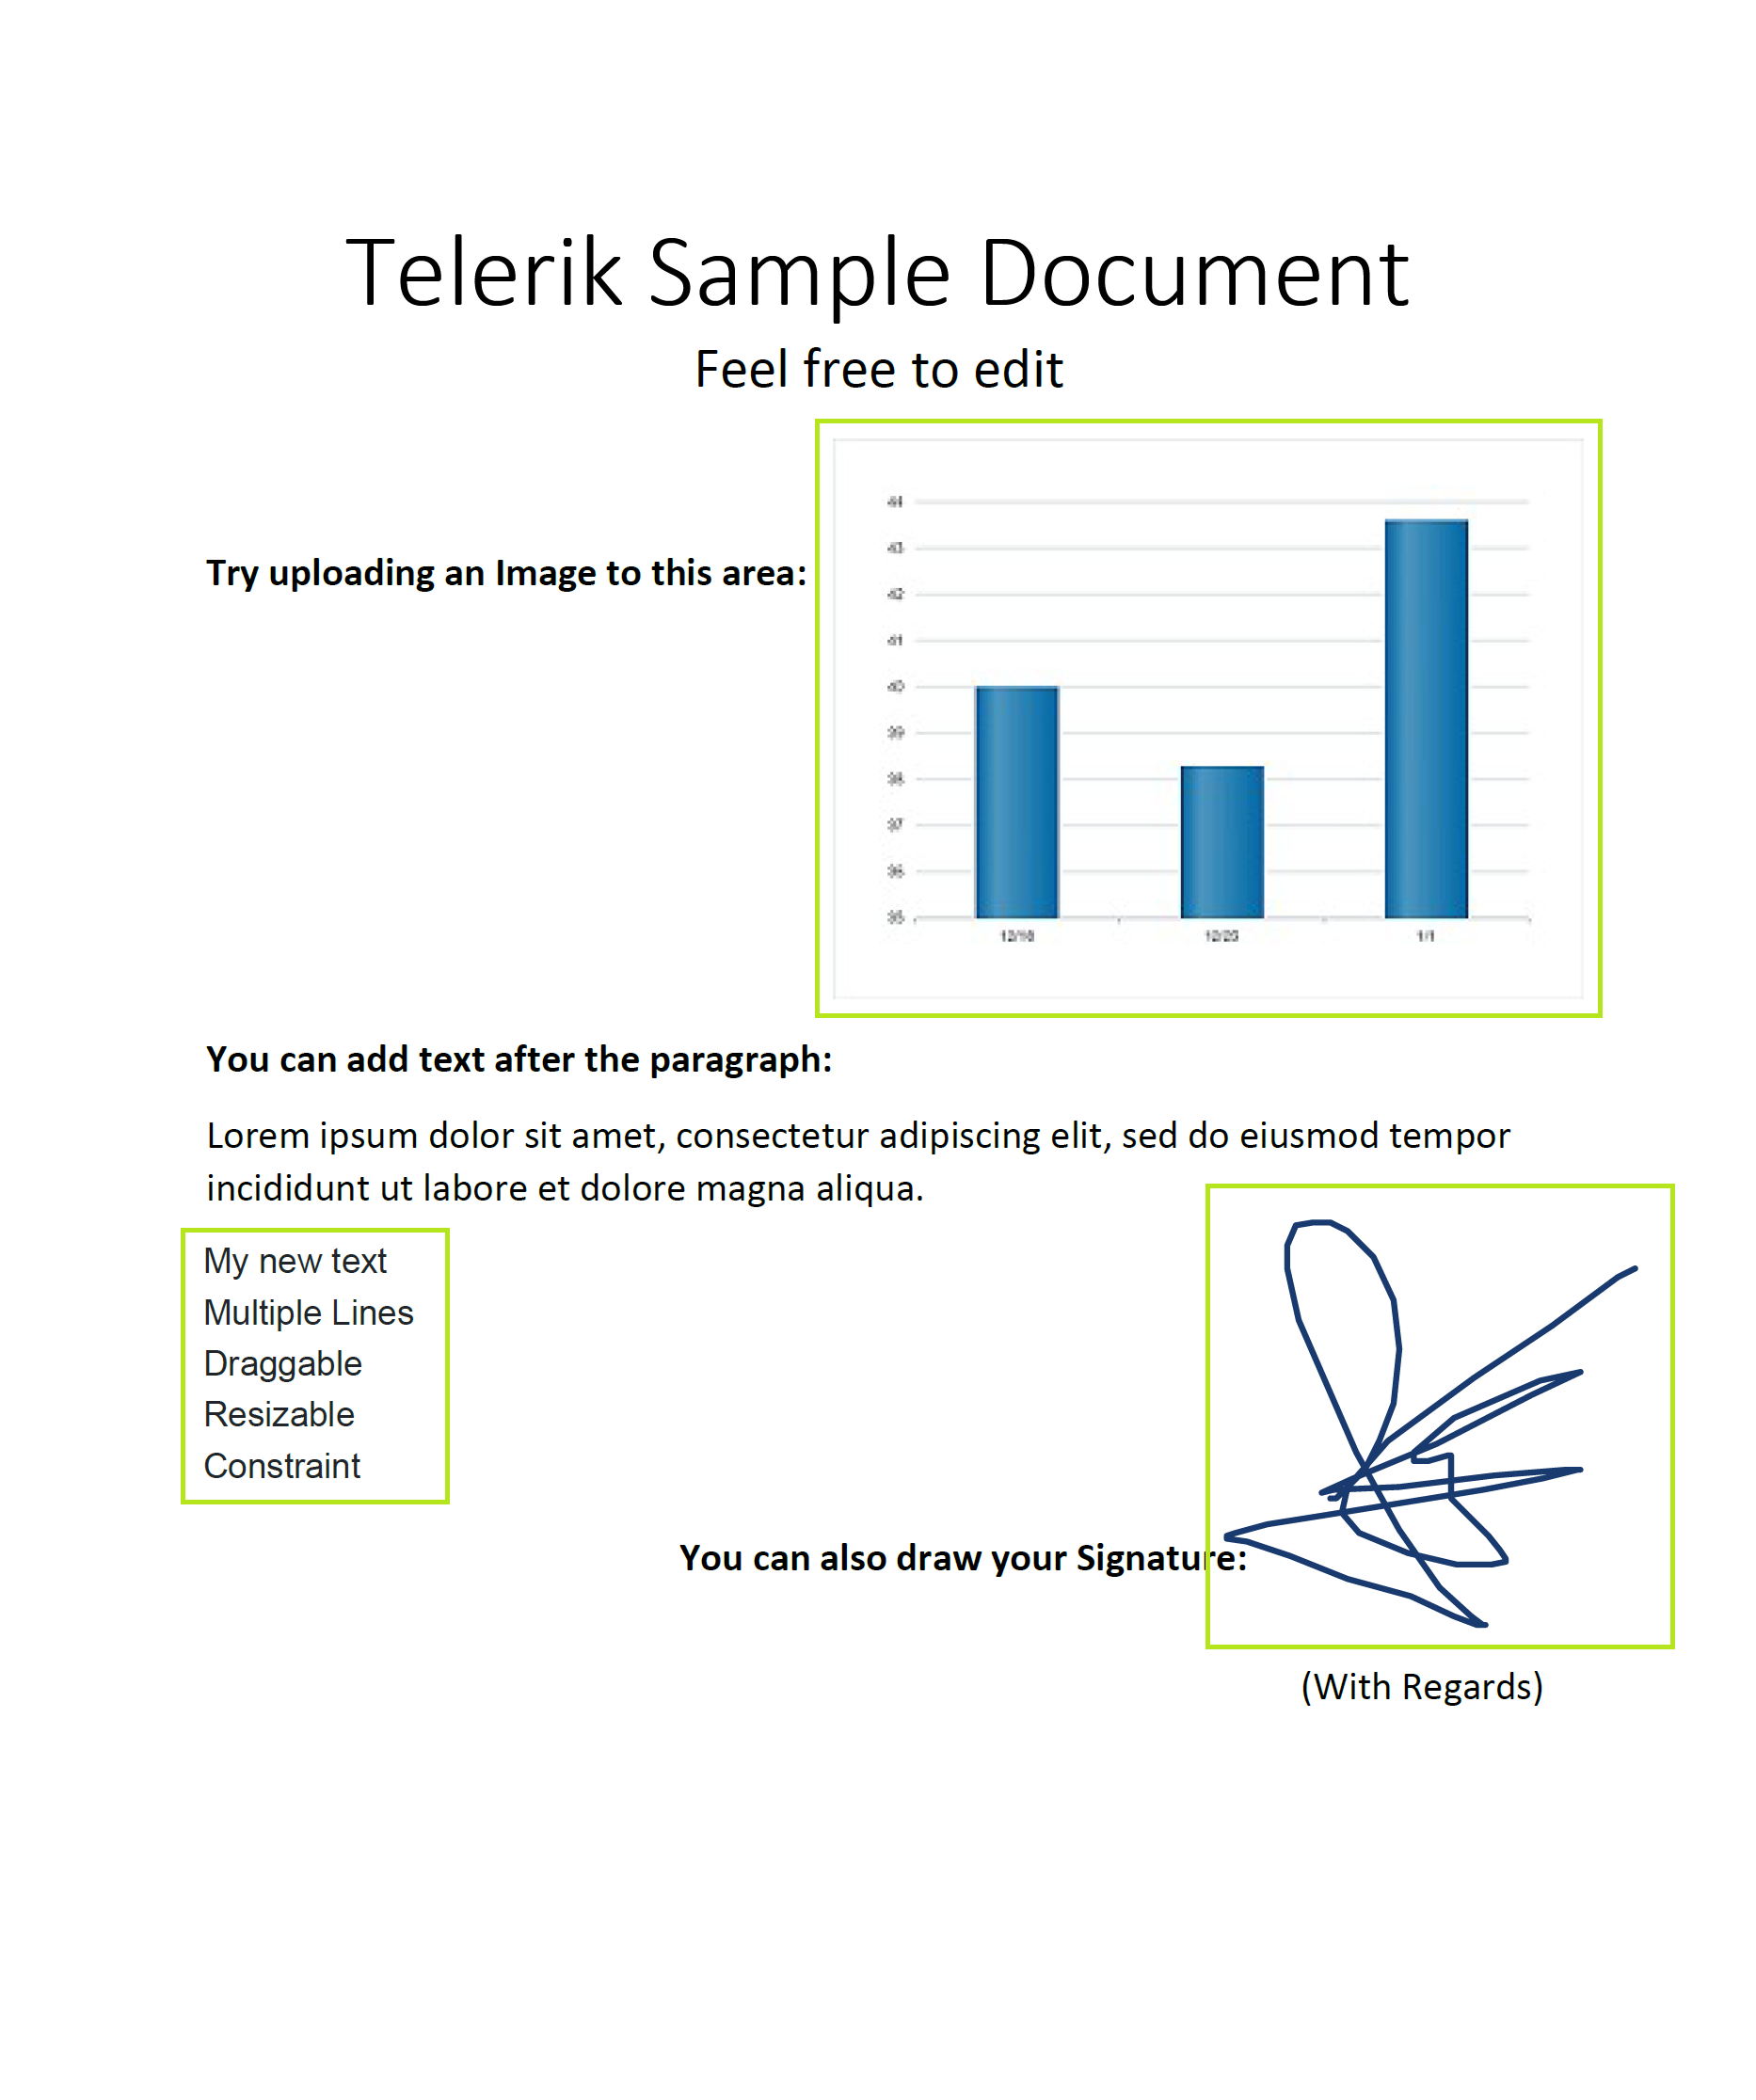
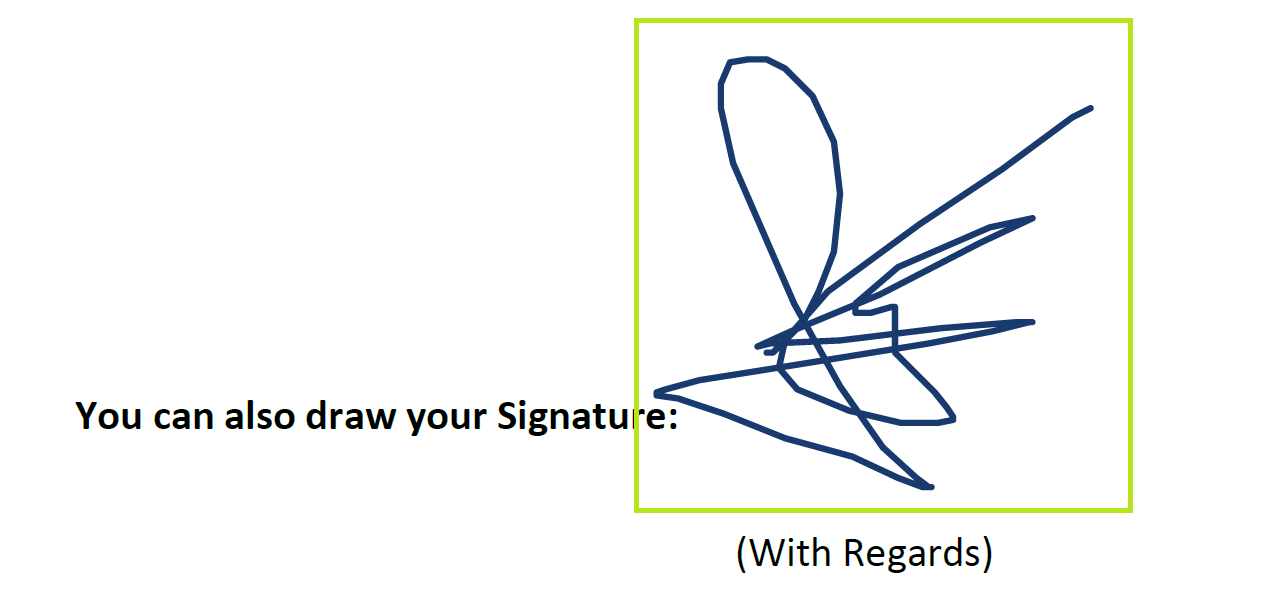
PDF files are part of everyday life. Telerik UI for ASP.NET Core has made it even easier to edit PDF files right within your browser. Let’s take a look at how to add text, images, even a brush for signatures.

Introduction
There are couple of software words that are so common that knowing them does not make you a geek—words like browser, drivers, version, .NET, Java, media player and the like.
One of these terms is PDF. In the world of Documents, Communication and Business, it has become such a solid standard, it is no less than astonishing how big of a margin it has achieved. So much so that, “Send me the file,” nowadays can usually be replaced with, “Send me the PDF.”
In many companies, it is the accepted practice to use PDF for communication with files. Often, these files require alteration along the way, such as adding a signature, additional text data or a chart image for descriptive visualization.
And what better way to do that on the fly than directly inside your company’s online app, remaining within the comfort of your browser.
We at Telerik follow closely the demands of our users and decided to show you that it is possible to implement such functionality using the built-in features of our PDFViewer Component.

In this blog post, we will go through the steps to achieve that using the Telerik PDFViewer for ASP.NET Core and Document Processing libraries. If you prefer to skip directly to the runnable project, feel free to do that by going to the Conclusion section.
PDFViewer is a component from the Telerik UI for ASP.NET Core toolset, which provides built-in widgets with rich features making complex real-time Core applications a breeze to implement.
Document Processing libraries are a powerful tool for generating, managing and exporting common document formats like pdf, docx, xlsx, html, txt, zip archives, etc.
The Reach of PDF
Portable Document Format (PDF)—the global open ISO standard since 2008—was first released in 1993 by Adobe with the idea to achieve consistent document display with the exact same content and layout no matter what operating system, device or software application it is viewed on. This is the main advantage of the PDF format—graphic integrity. It is useful for presenting text, graphics and spreadsheets on one page, knowing it will all look the same no matter where or how you present it.

Some other advantages of PDF include:
- Compact archiving
- Business and legal documents
- Convenience
- Accessibility and compliance
- Offline functionality
- Workflow flexibility
- High-end printing
- Multi-dimensional
- Digital signatures
- Generic (browser) support
You’ve probably come across some online application websites where the requirement was for the attached file to be in PDF format. This should come as no surprise, given that there are literally trillions of PDFs around the world due to its popularity.
A recent article on Medium reveals a nugget regarding PDF usage:
“ ... Adobe reports that in its 2020 fiscal year alone, about 303 billion PDFs were opened using its Document Cloud service, a 17% annual increase ... ”
As the article rightly points out, PDF “has prevailed” and has “ ... become the one true standard—the paper of the emerging digital world.”
Read “The Inside Story of How the Lowly PDF Played the Longest Game in Tech” on Medium.
Source: https://www.pdfa.org/pdf-plays-the-longest-game-in-tech/
This can also be clearly seen in the search popularity throughout the years:

Figure 1: “pdf” searches for the last 15 years. Data: Google Trends
The curve gets steeper in the recent years for actual editing of the PDF files:

Figure 2: “edit pdf” searches for the last 15 years. Data: Google Trends
One key advantage for the PDF over its competition is the strong mobile support and application availability. For instance, when you buy a flight ticket, there is a big chance the QR code is provided to you in a PDF format. And you can attend the flight simply by opening the ticket with your smart phone, which spares you the effort of actual physical printing.
“The manufacture of paper impacts negatively on the environment in a variety of ways, including the production of massive amounts of waste, the use of precious natural resources such as water, trees and nonrenewable fossil fuels, as well as the release of air pollution into the atmosphere.”
Source: https://blog.greenoffice.co.za/the-environmental-costs-of-office-printing

Figure 3: Device Market Share for the last 10 years. Data: https://gs.statcounter.com/
Key Constructs
We can now proceed with the sample. Our goal is to add elements to existing PDF files directly in the browser website. To achieve a working online implementation, we will make avail of the following tools:
- Telerik PDFViewer for ASP.NET Core
- pdf.js (already embedded in the PDFViewer)
- Kendo Drawing (comes built-in with the Telerik UI for ASP.NET Core library)
- Telerik Document Processing (external libraries available within the Telerik UI for ASP.NET Core Package)
Game Plan
Here is the plan:
- First, we will plug in PDFViewer component for ASP.NET Core.
- Then, we will add our custom buttons for Text, Signature and Image.
- Next, we will create an overlay div which will be our drawing surface. It will be transparent so we can simulate editing the PDF file visually.
- Once the user enters editing mode with one of the buttons, they will be able to make changes and click “Save”.
- Then we will generate the PDF byte array of this surface and send it to the server as a separate PDF file.
- Now, the work will be done by the Telerik Document Processing libraries. We will load our original PDF file and merge it with the generated PDF file.
- And we will pass the resulting single PDF file back to the PDFViewer.
Implementation
- Creating a Telerik PDFViewer for ASP.NET Core. This part uses the power of the Telerik toolset which allows plug-n-play functionality for more than 100 components. It definitely saves a lot of development time:
@(Html.Kendo().PDFViewer() .Name("pdfViewer") .PdfjsProcessing(pdf => pdf.File(Url.Content("../TelerikSampleDocument.pdf"))) .Scale(1) .Height(1200) )
- Adding new buttons for Text, Image and Signature:
<script> $(document).ready(function () { var pdfViewer = $("#pdfViewer").data().kendoPDFViewer; addButtons(pdfViewer); }); function addButtons(pdfViewer) { var toolBar = pdfViewer.toolbar; toolBar.add({ type: "button", //text: "Text", attributes: { title: "Text" }, icon: "edit-tools", click: function (e) { showOverlay("Text"); } }); …The result will look like this:

- Adding invisible overlay on top of the visible PDF page:
pdfViewer.one("render", function () { pdfViewer.element.find(".k-page").append("<div class='pdfOverlay pageOverlay k-hidden' style='height: 100%;'></div>"); });- Creating a corresponding element depending on the clicked button:
if (mode == "Text") { $(".pageOverlay").append(`<div id="dragContainer"> <div id='textContainer' contentEditable="true" ondblclick="divDblClick(this);" class='dragContent' onblur="divBlur(this);" onfocus='divFocus(this);'> New Sample Text</div></div>`); registerDragging(); }- Sending the generated PDF from the overlay PDF back to the server. This happens after the user clicks on the “Save” button:
$("#saveButton").off("click").click(function () { // Convert the DOM element to a drawing using kendo.drawing.drawDOM kendo.drawing.drawDOM($("#surface")) .then(function (group) { // Render the result as a pdf document return kendo.drawing.exportPDF(group); }) .done(function (data) { // Save the pdf document refreshPdfViewer(data); }); });- It is time for the Document Processing to do its thing and merge 2 PDF files on top of each other:
private byte[] AppendContent(byte[] resultingBytes, RadFixedDocument document2) { RadFixedPage foregroundContentOwner = document2.Pages[0]; MemoryStream ms = new MemoryStream(); byte[] renderedBytes = null; using (MemoryStream stream = new MemoryStream(resultingBytes)) { using (PdfFileSource fileSource = new PdfFileSource(stream)) { using (PdfStreamWriter fileWriter = new PdfStreamWriter(ms, true)) { foreach (PdfPageSource pageSource in fileSource.Pages) { using (PdfPageStreamWriter pageWriter = fileWriter.BeginPage(pageSource.Size, pageSource.Rotation)) { pageWriter.WriteContent(pageSource); using (pageWriter.SaveContentPosition()) { double xCenteringTranslation = (pageSource.Size.Width - foregroundContentOwner.Size.Width) / 2; double yCenteringTranslation = (pageSource.Size.Height - foregroundContentOwner.Size.Height) / 2; pageWriter.ContentPosition.Translate(xCenteringTranslation, yCenteringTranslation); pageWriter.WriteContent(foregroundContentOwner); } } } } } } renderedBytes = ms.ToArray(); return renderedBytes; }- And the last bit is to refresh the PDFViewer with the new data:
finalBytes = AppendContent(resultingBytes, document2); PdfResult = finalBytes; string result = Convert.ToBase64String(finalBytes); return result;
JavaScript part:
function refreshPdfViewer(data) { $.post("/PdfViewer/PreparePdf", { pdfData: data.replace("data:application/pdf;base64,", "") }, function (response) { …These are the crucial contents and the gist of the implementation. There are also other JavaScript logic and CSS which helps displaying everything neat and tidy, but I will skip them for brevity. The entire code can be found in the next section.

Conclusion
Leveraging Telerik Document Processing library capabilities in combination with a modern UI toolset like Telerik UI for ASP.NET Core provides a solid leap forward in convenience, which can make the life of every PDF user so much easier, as well as the life of the developer.
And the sweet part is that all of this is available as a single Product package:
If you use multiple frameworks for development and create desktop, mobile and web applications I encourage you to check out the full Telerik DevCraft:
You have the full sample ready to download and run available here: PDFViewerBlogPostSample.zip
The implementation is currently done for a single page as a proof of concept, but it can be further enhanced to work with multiple pages. Feel free to check it out and let us know if you have any feedback, ideas for improvement or questions.
Here is a video demonstrating what the end result looks like (focusing the text happens via double-click): Advanced PDFViewer in YouTube.
This content originally appeared on Telerik Blogs and was authored by Eyup Yusein
Eyup Yusein | Sciencx (2021-04-23T11:03:02+00:00) Editing PDF Files in the Browser by Adding Signature, Text and Images. Retrieved from https://www.scien.cx/2021/04/23/editing-pdf-files-in-the-browser-by-adding-signature-text-and-images/
Please log in to upload a file.
There are no updates yet.
Click the Upload button above to add an update.
