
This content originally appeared on Level Up Coding - Medium and was authored by Dennisse Pagán Dávila

Video games use animations that respond to gameplay sequences or actions as a form to visually reinforce their execution. Not only does it encourage immersion, but it adds depth, and realism to the feedback and interactivity between the player and the game. These animations become active when a specific condition is met, and they are typically short in nature.
For instance, The Legend of Zelda games are known for their iconic animations when enemies and even bosses are defeated. The condition is that the enemy is destroyed, and the animation is activated to make their defeat more apparent and rewarding.
In this article, you will learn how to create an animation that plays specifically in response to an enemy being destroyed.
Making an object explode when destroyed
- Open the Animation Window. The Animation Window allows you to make and edit Animation Clips without the need to employ third-party software.

2. Select the object you want to animate, and create the animation with an appropriate name. Using an underscore followed by the word “anim” is best practice to make it stand out as an animation.
Note: This object should be in the heriarchy, otherwise the option to create a new animation won’t be aviliable.
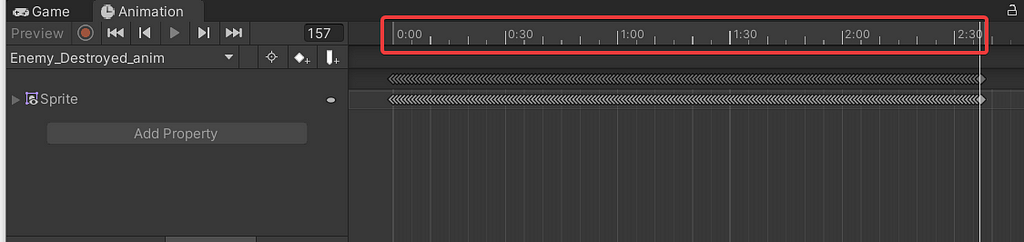
3. In this tutorial I am using an animation sequence that is comprised of several sprites, the entire sequence can be recorded by simply dragging and dropping them into the Animation Window’s timeline. The animation will always start wherever the Playhead(white line in the timeline) is placed.
Note: Even though this particular form of animation doesn’t require the record button to register, it’s best pratice to always press it before adding animations.
4. Click the Animation Clip in the Project folder, and make sure to un-tweak the Loop Time. Since this type of animation is made to play as a specific response, it should not loop/play repeatedly.
Now, it’s time to start getting specific. We want this animation to play in response to an enemy being destroyed, this can be achieved through code and the use of the Animator. The animator is responsible for handling the way animations transition from one state to another.
5. Select the Animation Controller, and click open to get access to its Animator.
In the Animator, you will see Layouts, which are used for multi-layered animation, and parameters which we’ll be using later. For now, we will focus on the nodes on the screen. Each node represents an animation state, the orange node is the name of the animation you created.
6. Create a new Empty State, this will help us add a transition that we can control with a condition. So, instead of the animation looping between these states uninterrupted, the new state can have a condition between it, and the explosion animation, which is currently the orange node.
Note: The Orange Color denote the Default State
7. Set the Empty State as the Default. The Empty state is our default because we don’t need any animation unless the condition is triggered.
8. Add a Parameter of type Trigger. This parameter is the condition that will be triggered through code in response to the enemy being defeated, and that’s what will allow the Empty State to transition to the animation.
8. Add a transition between the Empty State and the animation.
9. Click on the newly added transition and add the parameter to the conditions. Here, you should also make sure that Has Exit Time is un-tweaked, and reduce the Transition Duration to zero since we will be triggering this through code.
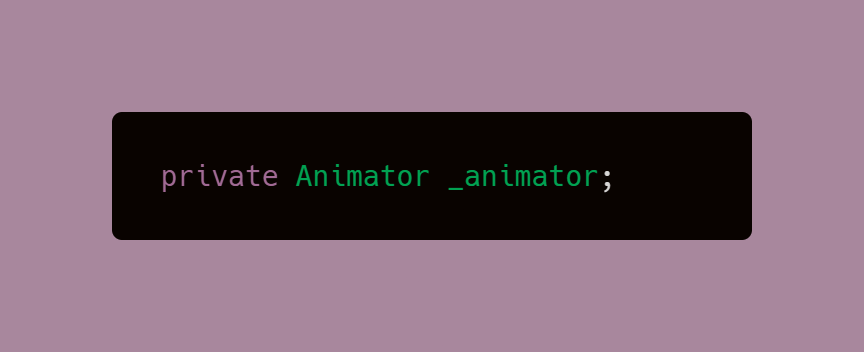
- Make a handle for the Animator so that we can have access to the Parameter later.
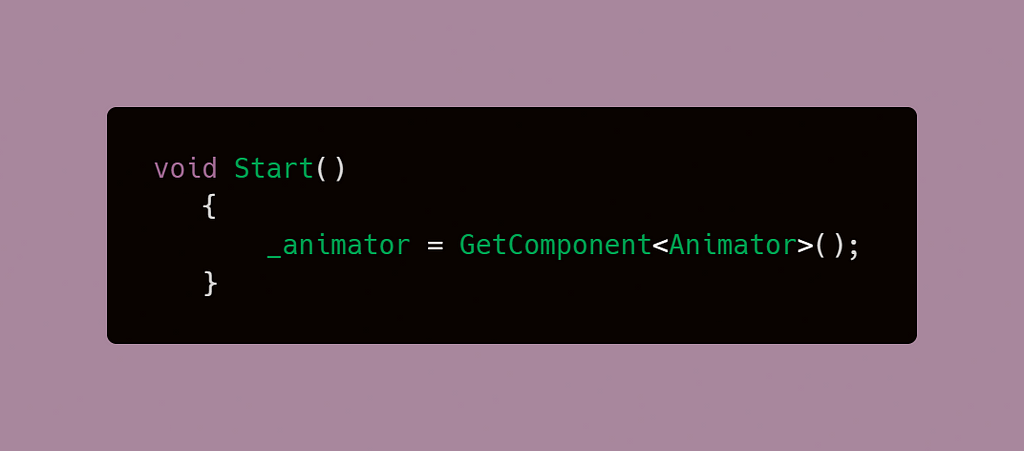
2. Set the _animator variable to our Animator Component in the
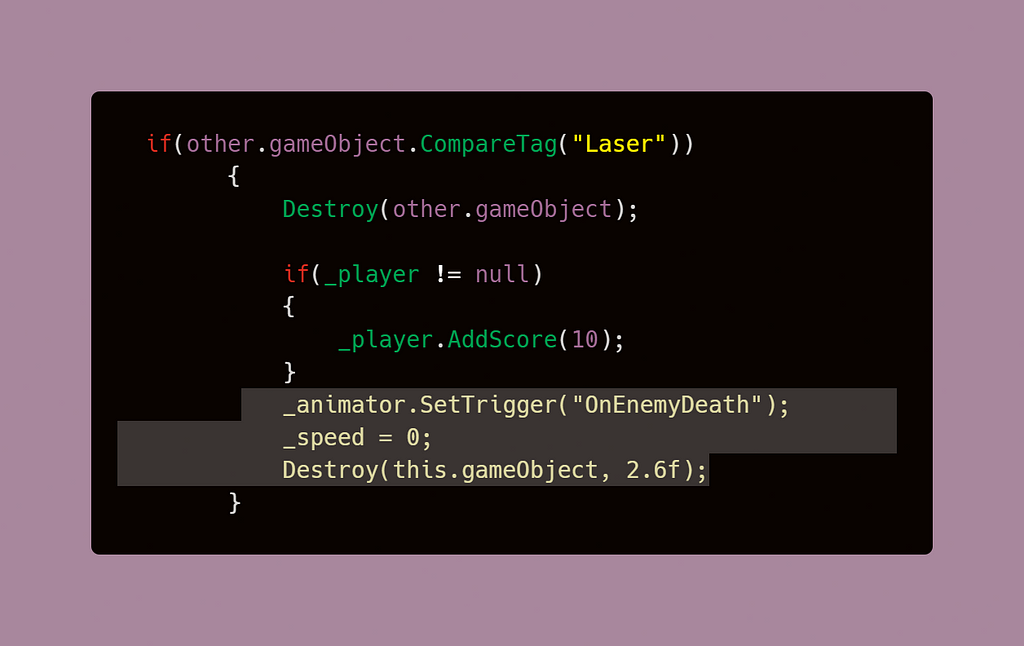
3. With this in place, you now have access to the Animator in your code. You can use SetTrigger, and pass in the string name of the Parameter we created earlier. This is what makes the animation trigger. In my case, the trigger is set when the enemy object collides with the Player object.
Note: The Speed of the enemy is reduced to 0 so that the object stops moving once it has been destroyed. This is neccesary in my code due to the enemy behavior.
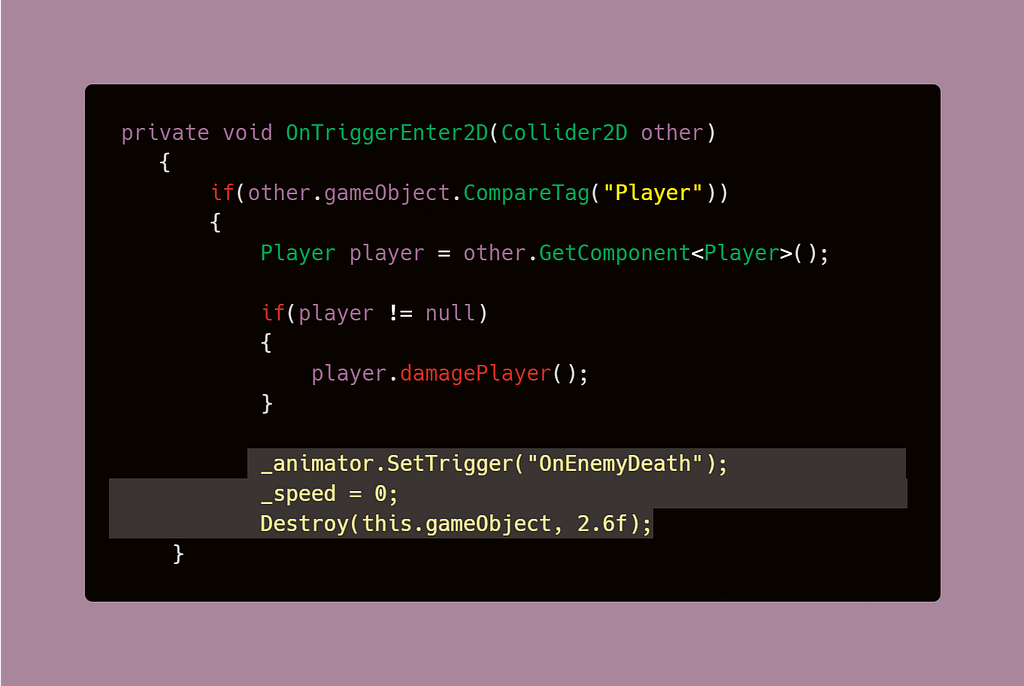
4. You may need to delay the object destruction to match the duration of the animation clip. Otherwise, the object may get destroyed before the animation has a chance to play. You can verify the length of your animation by taking a look at the Animation Timeline.

I also added the animation when the player’s lasers collide with the enemies.
The Result:
In the next article, I will cover how to add Damage VFX for the player!
Creating Enemy Explosions! was originally published in Level Up Coding on Medium, where people are continuing the conversation by highlighting and responding to this story.
This content originally appeared on Level Up Coding - Medium and was authored by Dennisse Pagán Dávila
Dennisse Pagán Dávila | Sciencx (2021-05-06T13:45:13+00:00) Creating Enemy Explosions!. Retrieved from https://www.scien.cx/2021/05/06/creating-enemy-explosions/
Please log in to upload a file.
There are no updates yet.
Click the Upload button above to add an update.