This content originally appeared on DEV Community and was authored by Siddharth
In this post, I am going to explain how I plan my programming projects. Planning a project can make it easier for you to keep away from feature creep and recognize what to do next. Take some time to research this vital skill and you may see your productivity thrust upwards.
| Good projects need a robust foundation, a dependable and reusable schema which can help you and potential contributors know what to do and what not to do, and when to do it. |
|---|
Now let's get right into it!
Table of Contents
Before you read...
For this tutorial, we are going to plan the building of a Notes app as an example.
I like to divide the planning into two parts: Sandboxing and Listing
Sandboxing is the part where we determine all the possible features your app will have. This will involve drawing a mind map. I will use an online tool in this example, but only because my drawing is really bad ?. Feel free to use any tool (paper works best).
Listing is the part where we take the sandboxed mind map and convert it into an actionable, prioritized todo list. Once again, feel free to use any tools you like.
Sandboxing
Before we start, create a mind map. The name of the root of the chart should be the name of whatever you are building. It should look something like this:
The baseStep 0: Forget everything else
You may have some great piecemeal ideas which you want to add. For now, forget them or write them down somewhere.
Step 1: Identify the Pain Points
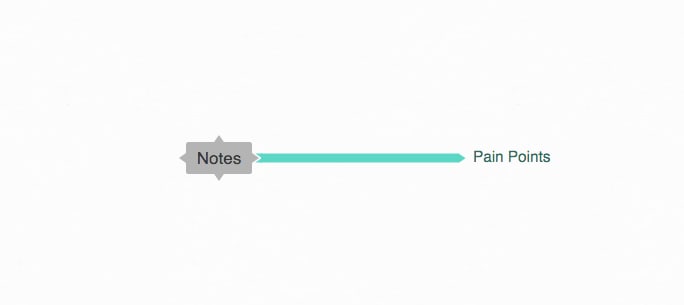
First, draw a branch for Pain Points:
The pain points branchPain points are the "problems" that your project solves. Usually, projects have a single pain point but you can come up with more. For example, Netflix removed the "pain" of traditional movie rentals. Make a new branch for each pain point you make.
You can think of this as the base of the outline. It is the central focus of everything, so put some thought into this.
One way of coming up with pain points is to compare it with other ways of doing what your project does.
| Note: When you are starting out, don't compare your project with other projects, just compare it with what someone would do if there were no other projects like this. When you have a working project, you can think of comparisons. |
|---|
For our example, let's compare our Notes app with a piece of paper and make some pain points:
Basic pain points| If you just want to build something that you think is awesome, that’s superb, and don't let something like finding 'pain points' stop you. However, each piece of software must have a central focus. So locate that earlier before you start building anything! You can even add your piecemeal ideas mentioned in Step 0! |
|---|
Step 2: Plan your features
Now, we can start planning features which our software will offer.
Keeping our pain point(s) in mind, we can start to think of what cool features we want our software to have. As we create this primary "layer" of features, we should constantly be asking ourselves, "Is this feature going to help solve our paint point?" If not, it’s probably a waste of our time to code it. This should keep feature creep in check.
On your mind map, add a new branch for features. Then, add sub branches to list every feature you want. You can also link each branch to it's pain point.
Depending on your project, you might want to add sub features. The more layers the better, because it helps to have small actionable tasks rather than big ones. Keep going until you feel that a component is small enough that you can build it easily.
| Note: You can even add your piecemeal ideas mentioned in Step 0! |
|---|
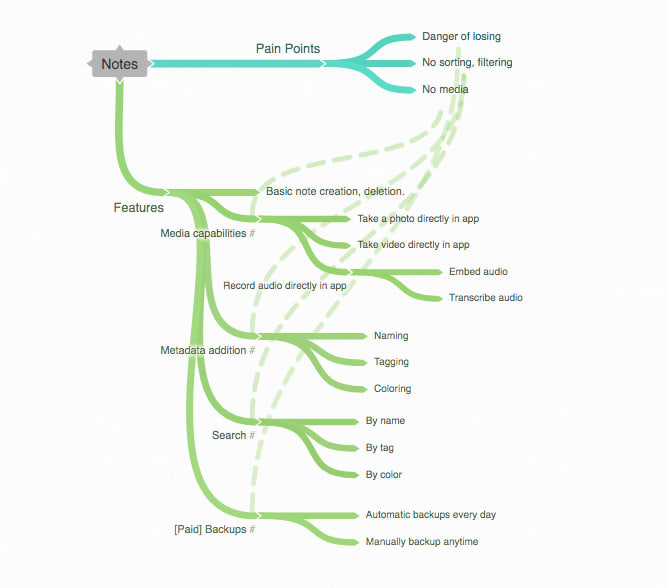
For our example, let's list our features of our note taking app:
Now this is getting interesting.That's about it for the Sandboxing part.
Listing
Now, we have to create a Todo list of stuff to do. I'll be using an app, but you can choose anything.
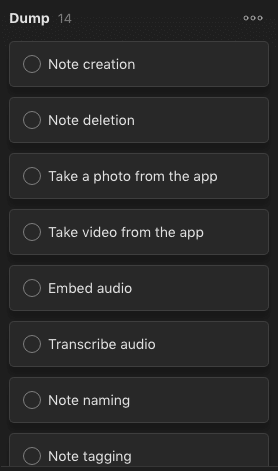
The todo listStep 0: Dump
List everything in the features branch of your mind map into your todo list in a new section called Dump or Icebox. Don't mind sorting or prioritizing – just dump. The only important thing is that:
- All features have been accounted for
- The features are detailed enough for you to understand
Here's how it looks like for the example notes app:
There's more... too much to showStep 1: Create a bunch of sections
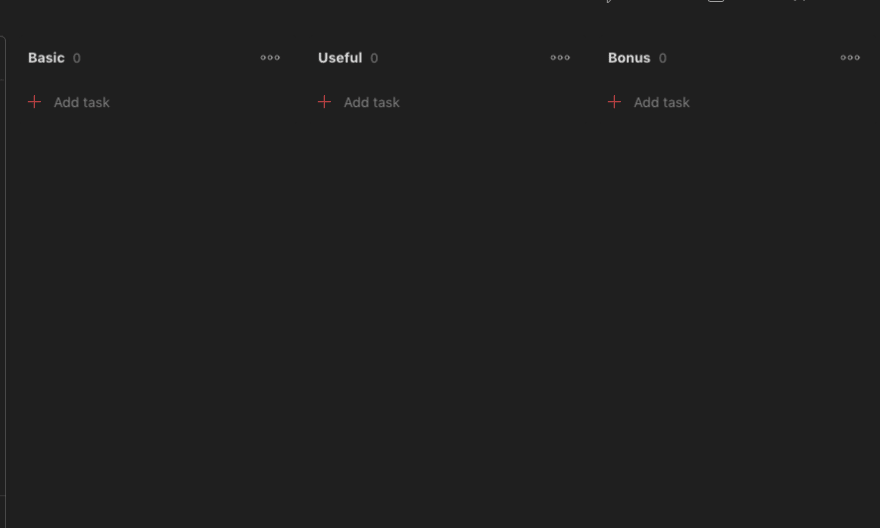
Create some sections which will help you prioritize tasks. The sections may vary with projects, but I like to make 3 sections:
- Basic (the bare minimum features)
- Useful (the stuff which differentiates your software from basic alternatives)
- Bonus (the stuff which differentiates your software from other similar software)
Step 2: Sort!
Now, you can take your tasks from the dump and place them into their own sections. Put the bare minimum tasks into the basic section, and so on.
Here's how it looks like for the notes app:
Step 3: Prioritize and add dates
Even in the sections some tasks have a higher importance. For example, creating notes has a higher priority than deleting them and so on. Now you have to prioritize your tasks based on importance.
Here's how it looks like for the notes app:
Color represents priorityThe next thing to do is add due dates to each task. You have to guess how long a feature takes and add a date accordingly. If you are unsure of how long tasks take, just double your estimates.
If you are starting right away, you might add "today" as the date for the first tasks in the basic section, "tomorrow" for the second and third tasks, and so on.
| You might want to make similar functionality on the same day, and that's totally ok. For example you might want to make the note tagging and note coloring feature on the same day because they are easy to do together, and you can do that |
|---|
Here's how it looks for the notes app:
And that's it! Now you got a actionable todo list and you can start on your project!
Future
Now that you've made a todo list, you can do these things to further improve your workflow:
- You can create an issues and a pull requests section, and add all new issues and PRs to your todo. You could even automate! (Tell me in the comments if you want a tutorial for that)
- You could create a in progress, an up next and an in review section which will really be useful for teams
- Instead of checking off tasks, you could create a done section so you can stay motivated.
- Whenever an idea pops up, add it to the dump section. Once you've really thought about the feature and are sure that it is useful, you could add it to one of the sections
- And much more! It all depends on you
This content originally appeared on DEV Community and was authored by Siddharth
Siddharth | Sciencx (2021-05-22T06:57:12+00:00) A guide to planning a programming project.. Retrieved from https://www.scien.cx/2021/05/22/a-guide-to-planning-a-programming-project/
Please log in to upload a file.
There are no updates yet.
Click the Upload button above to add an update.


