
This content originally appeared on Level Up Coding - Medium and was authored by Dennisse Pagán Dávila

It’s no secret that stamina bars have become a very popular feature to have in games. Stamina mechanics are used to keep the game alive, engaging, and challenging by appending essential actions to it. When stamina is used to cover elements like these, running out of stamina adds to the challenge and strategic nature of the game.
Objective: In this article, you will learn how to make a stamina bar that depletes at the press of a key, and refills when it’s no longer in use.
Using Sliders

Sliders are a Selectable UI Element typically used for user data that requires a set of maximum and minimum values such as audio volumes and screen brightness. However, they can be much more versatile when tweaked through code.
In this tutorial, our stamina bar will be represented by a Slider
- Create a Slider via Right-Click→ UI →Slider then name it appropriately.
2. Position your Slider wherever you like, and make sure you anchor it to the respective position.
3. We won’t be using the handle, so you can delete it or deactivate it in the Inspector.
4. Make sure to check “Use Whole Numbers” and set the min and max values.
5. Now, it’s time to set the colors. First, we set the background color, this is what will be visible when the gauge runs out. You can select any color or make it completely transparent.
6. Then, we can select the Fill color which represents a full gauge.
7. Make sure the Slider is not interactable as we will be programming its entire capabilities.
Programming the Slider
The following example showcases my code for a 2D Space Shooter thrusting mechanic, however, the same logic can be applied to a stamina bar.
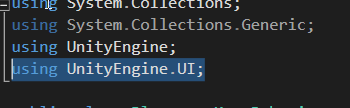
- First, we need the Unity UI library in our code.
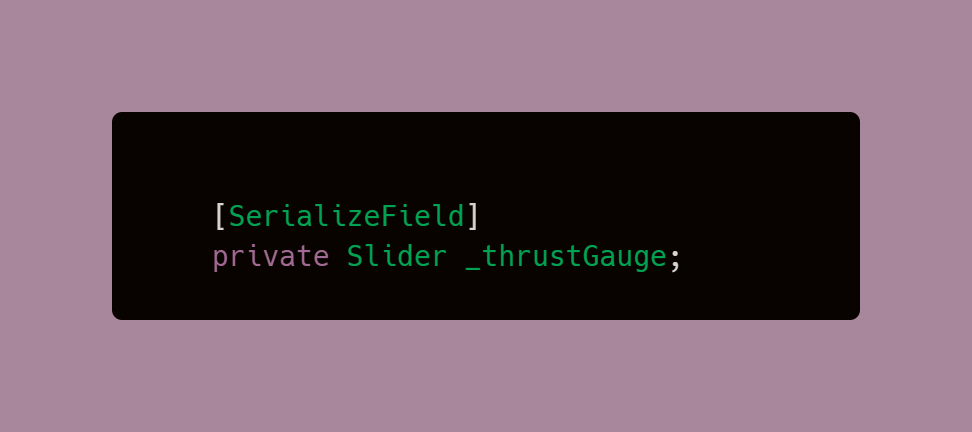
2. Now that we can access the UI, we can create a reference for the Slider. This will be a SerializeField so that we can set it in the Inspector.
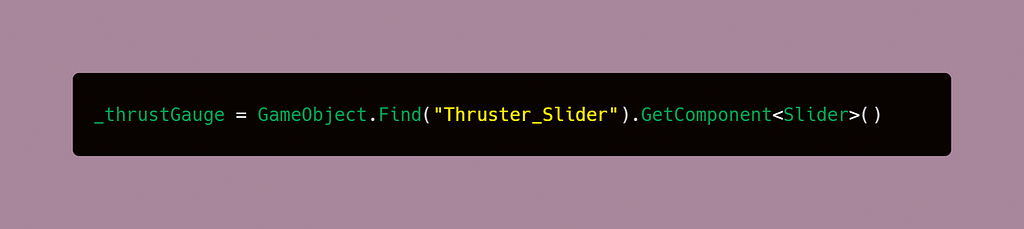
3. Get the Slider Component within the Start Method.
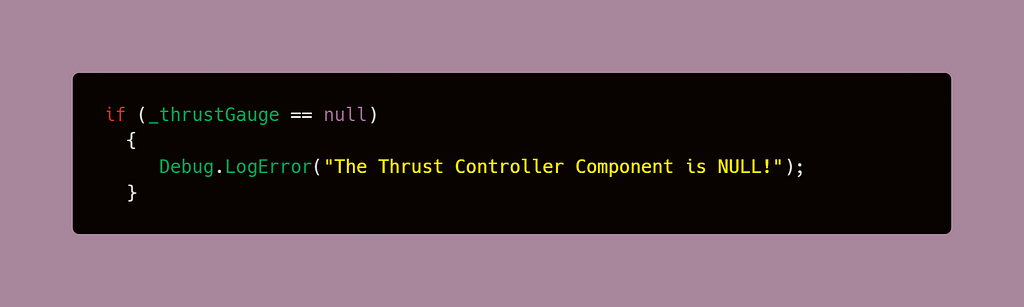
4. It’s best practice to check if a component is null before attempting to use it in code.
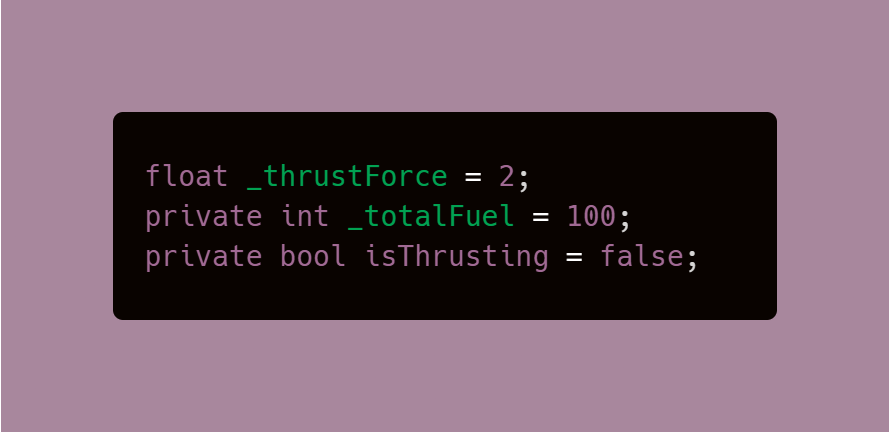
5. Create global variables for the max value, a variable for the speed multiplier for our player sprint or thrust, and a bool variable that will help us control the thrust feature later on. By default, the thrusting variable will be set to false as our player doesn’t just start out thrusting or running.
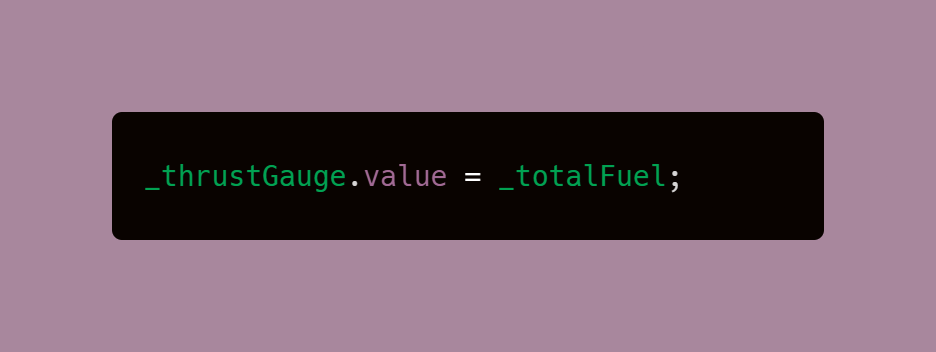
5. Set the Slider value in the Update method.
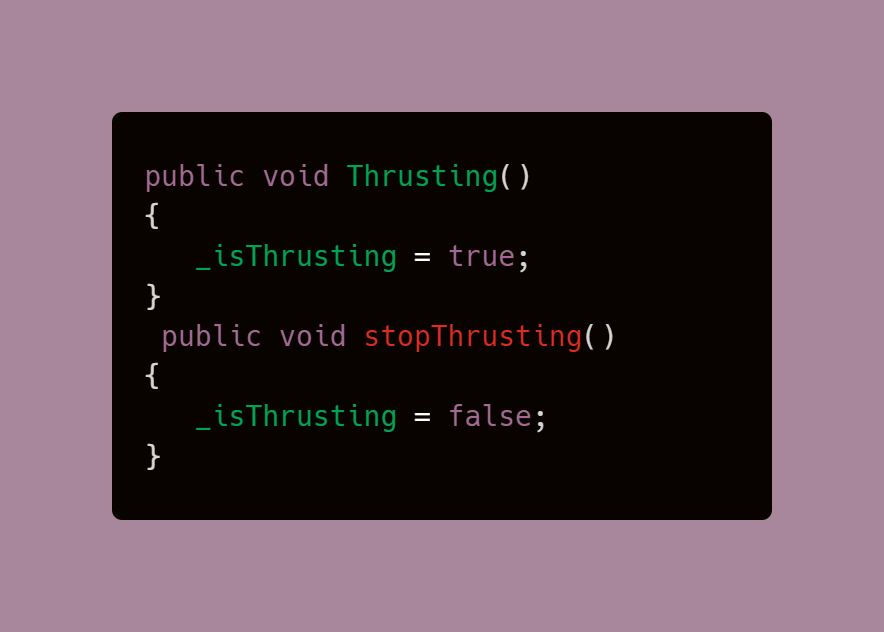
6. Create void methods to handle the value of the previously established boolean. It is best practice to use methods to change the value of such variables rather than changing on the fly.
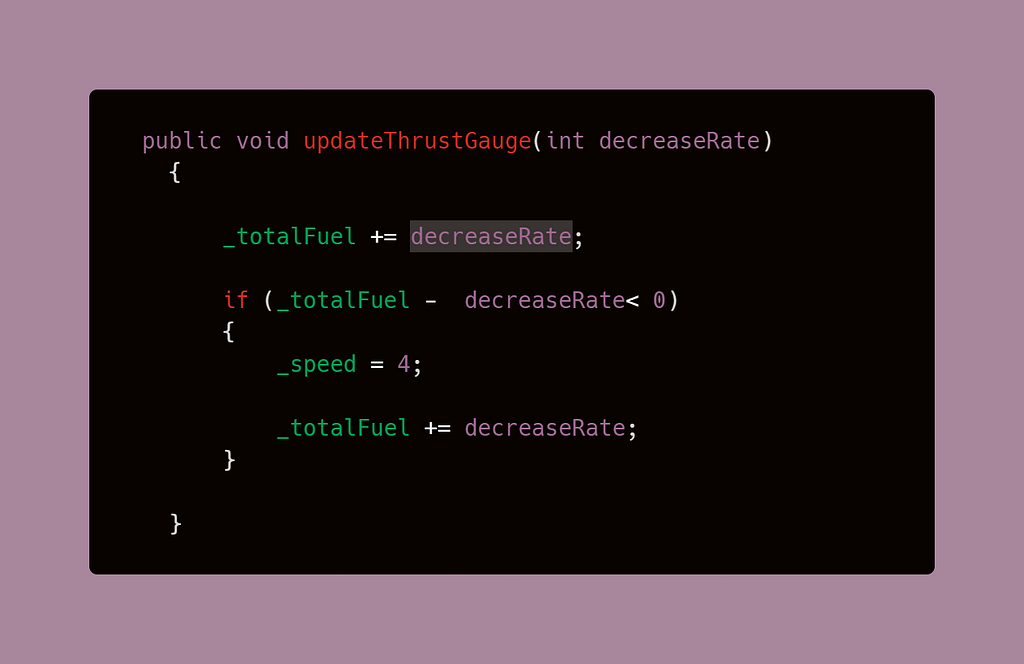
7. Create a method to update the gauge or bar. This method takes care of calculating the total fuel in perspective to the rate at which the gauge decreases or increases. The int parameter value will be set in the coroutines. The speed variable from the player code is set to the default value whenever the fuel or stamina runs out, meaning they are not moving any faster during this time.
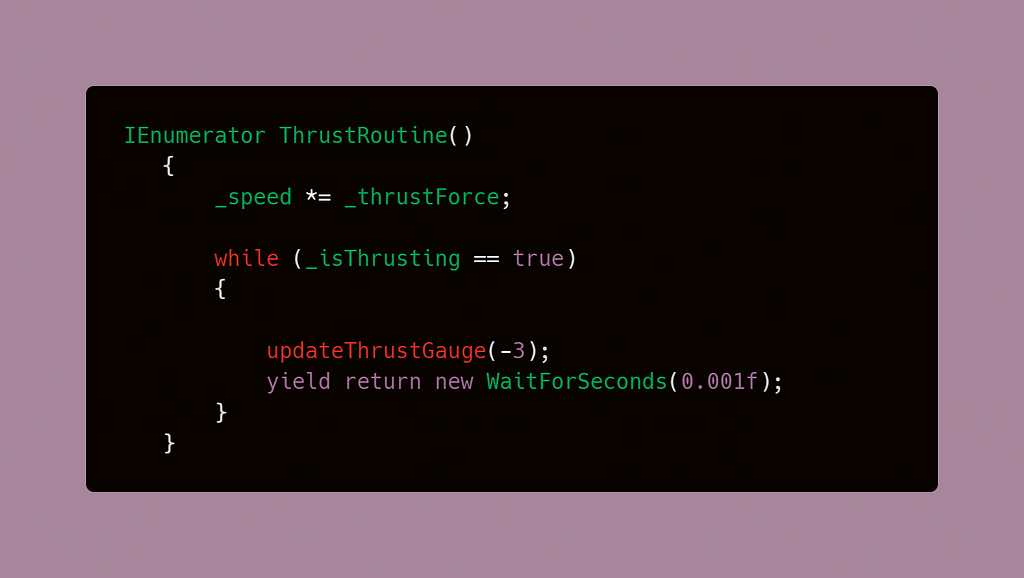
8. The first coroutine is for the thrust or sprint feature. Notice how the speed is being calculated outside of the while loop, this way, the speed won’t increase indefinitely — in other words, our player will have a set increased speed rather than running faster and faster. The while loop will run as long as the boolean we created earlier is true, and during that time, it will decrease the stamina -3 every millisecond or however long you choose in your code.
Since the Slider value is set in the Update, this calculation will be actively reflected by it as it happens.
Note: You can get more information on how to use coroutines here.
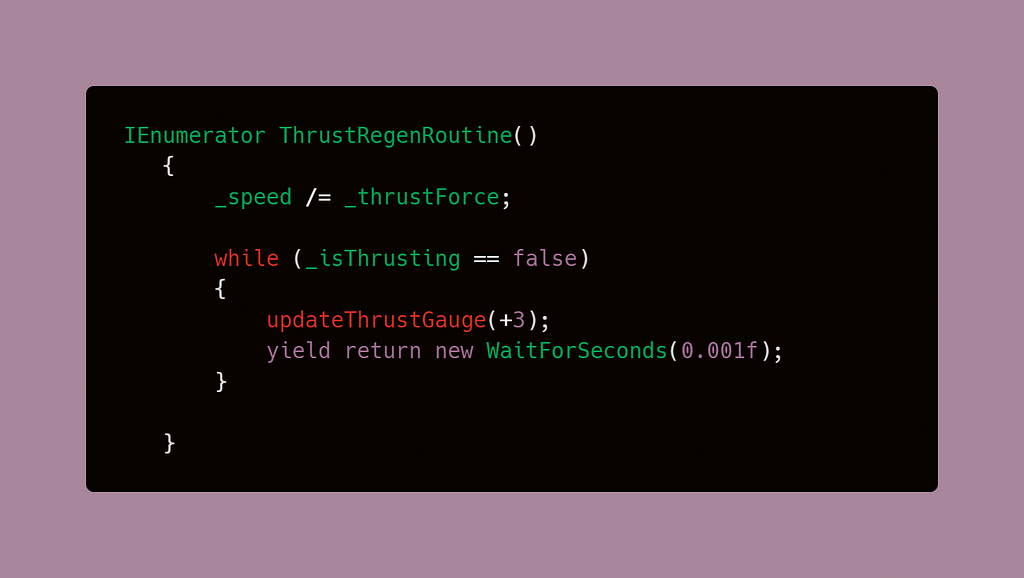
9. The second coroutine is to refill the gauge and follows overall the same logic as the former. However, the speed is being divided to go back to our regular speed, and the decreased value has been set to a positive integer so that instead of subtracting we add to the bar.
10. Lastly, we need to be able to accomplish the behavior at the press of a key. This is where the methods to handle the boolean values will be used, by calling them when the key is pressed or released, we can control when the while-loops within the coroutines become active and continuously execute them as long as the condition is true or false respectively.
The result:

This article is part of a series of coding challenges I am currently working on from my GameDevHQ apprenticeship. The coming articles will cover more of these!
How to create a self-regenerating stamina bar in Unity was originally published in Level Up Coding on Medium, where people are continuing the conversation by highlighting and responding to this story.
This content originally appeared on Level Up Coding - Medium and was authored by Dennisse Pagán Dávila
Dennisse Pagán Dávila | Sciencx (2021-05-22T22:55:51+00:00) How to create a self-regenerating stamina bar in Unity. Retrieved from https://www.scien.cx/2021/05/22/how-to-create-a-self-regenerating-stamina-bar-in-unity/
Please log in to upload a file.
There are no updates yet.
Click the Upload button above to add an update.