This content originally appeared on Level Up Coding - Medium and was authored by Jared Amlin
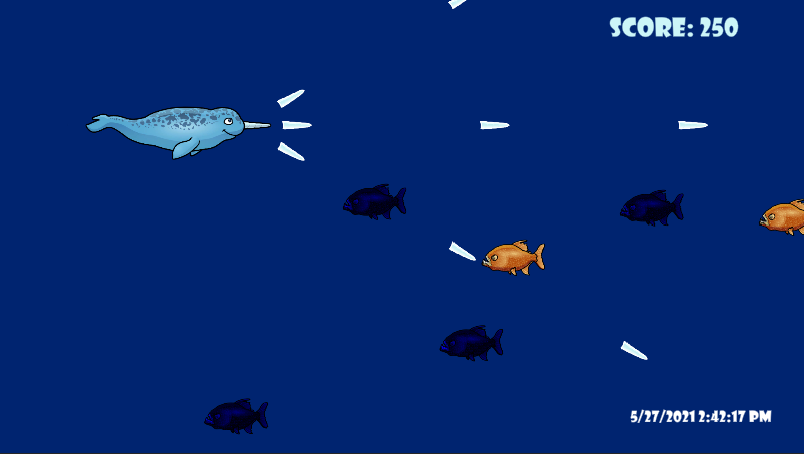
Creating a beautiful UI in Unity has never been faster and easier. If you are like me and want to bring custom fonts into your project using Text Mesh Pro, then this is the article for you. To get started, I create a new folder in my Unity projects Assets folder on my computer, title it ‘fonts’, and place the font file I want to import. Unity can use true and open type fonts, so just be sure to check what kind of font type you have before attempting to import it.
Getting started with UI in Unity is as easy as right-clicking in the hierarchy, and selecting UI, followed by Text Mesh Pro, to create a new UI text. The first time using Text Mesh Pro will bring up a prompt to import TMP essentials, which I accept.
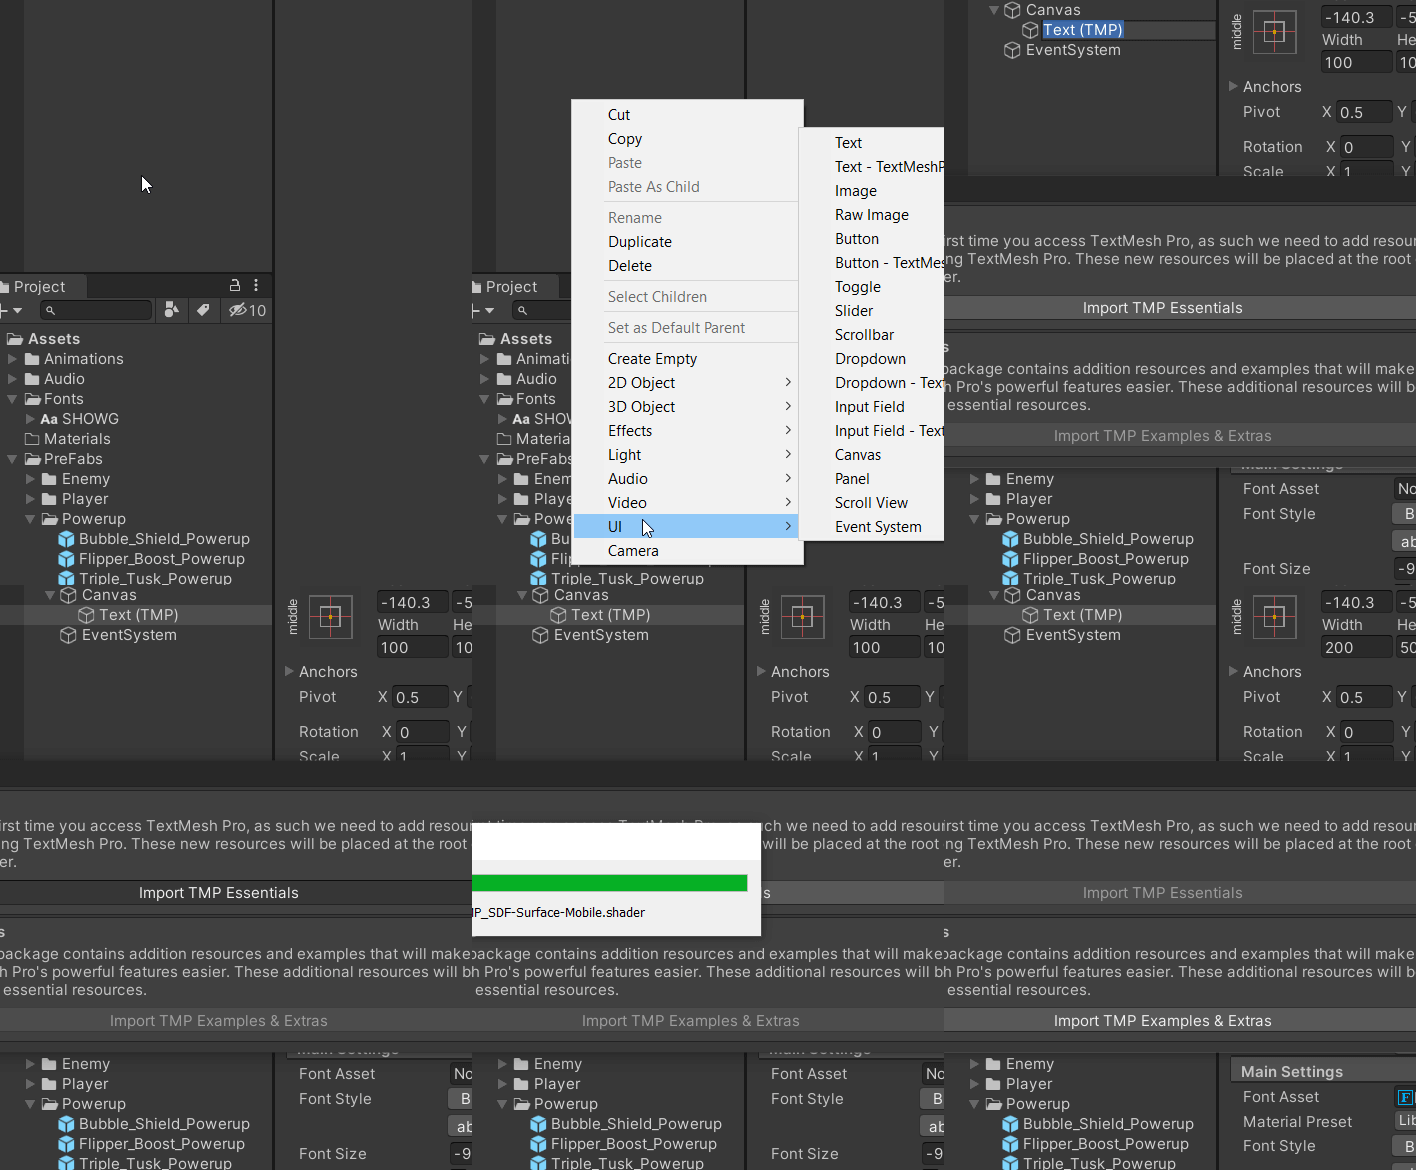
A few things happen here. Upon creation of the text, it a canvas is generated as the parent object of the text, being the canvas will be housing and controlling the UI elements. An Event System is also generated, which will be needed to interact with UI buttons.
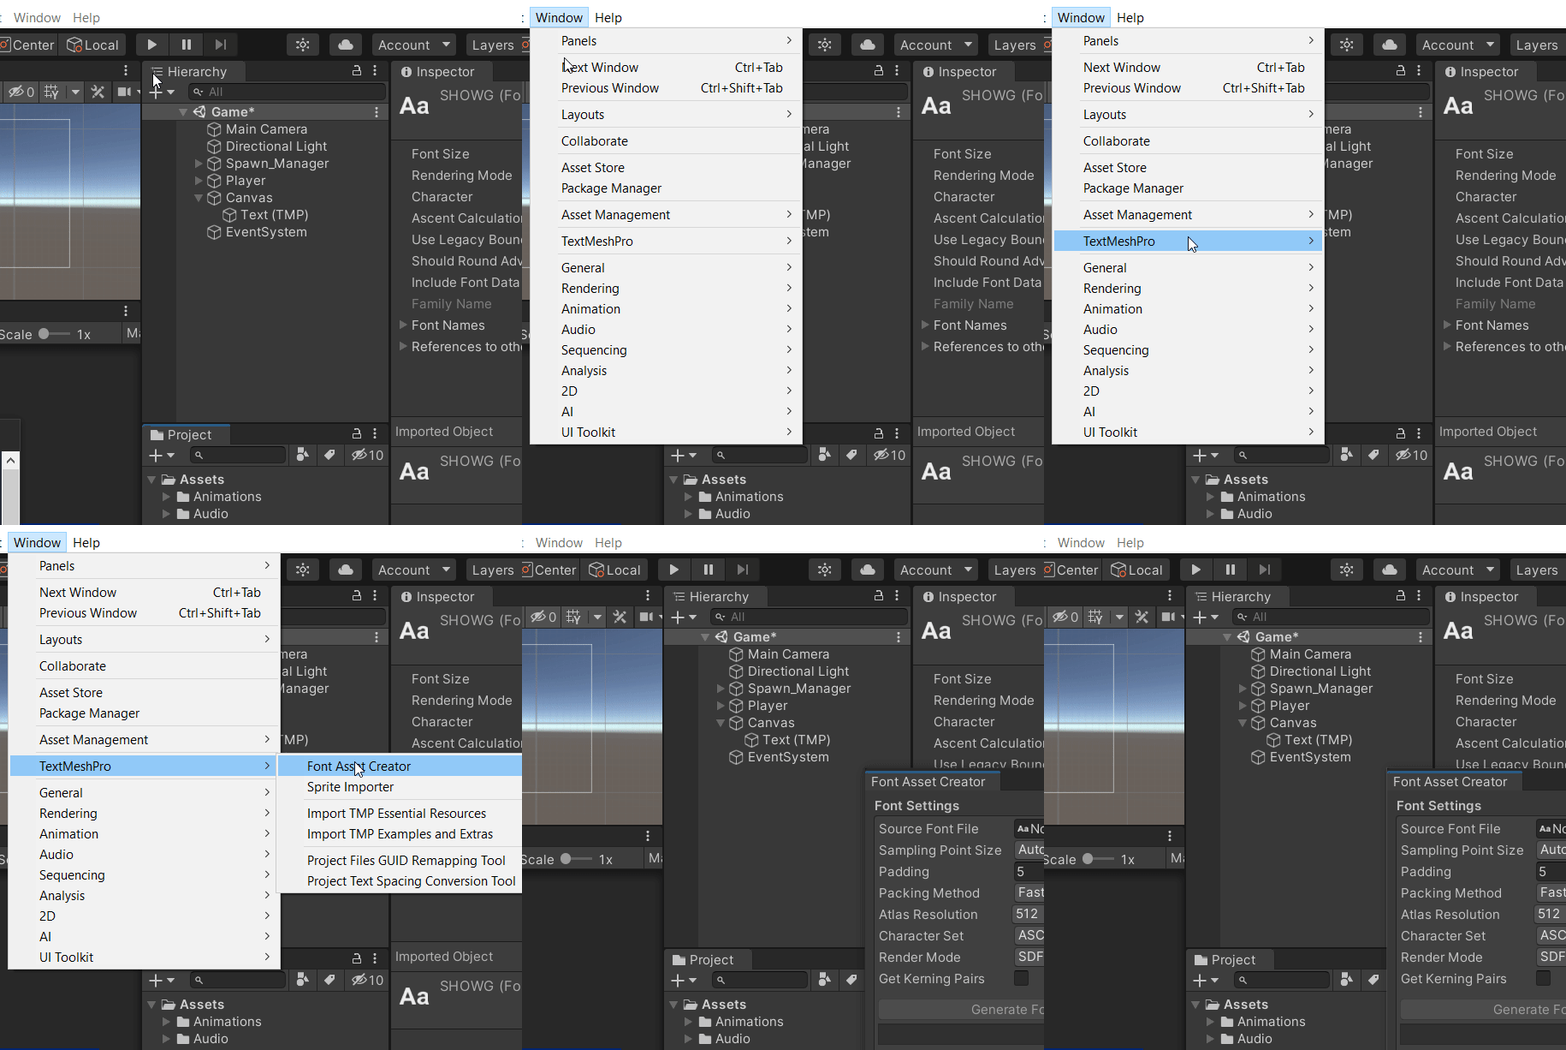
The next step is to prepare the font, which can be done by going to Windows>Text Mesh Pro>Font Asset Creator.
The Font Asset Creator window will house a few different options, with Source Font File being the most important one here. Right now, ‘None (Font)’ is set as the source, which means there is a missing font assignment.
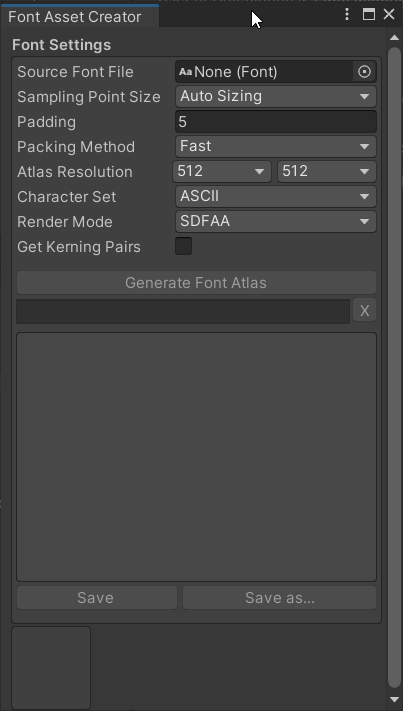
The font is assigned by dragging and dropping the font file from the assets folder into the Font Asset Creator.
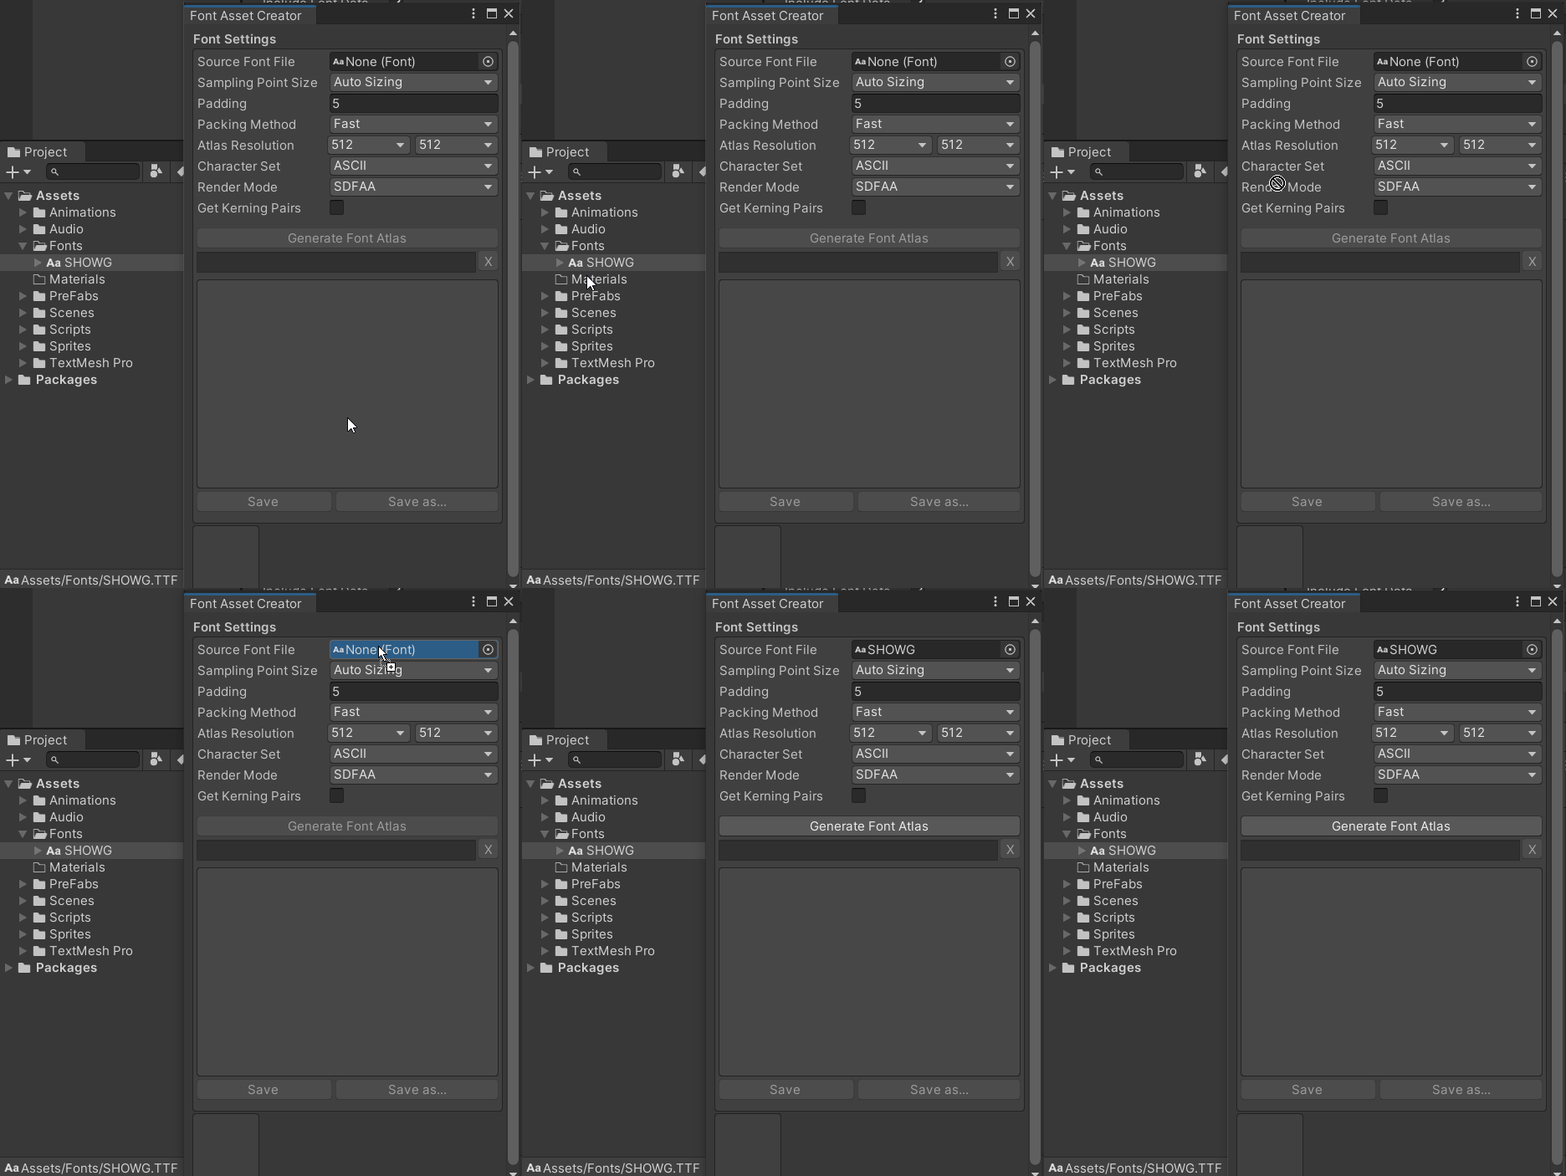
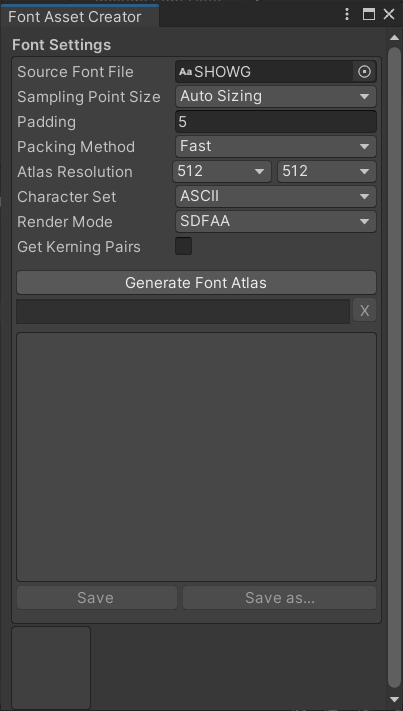
With the desired custom font assigned, I can now press the Generate Font Atlas button.
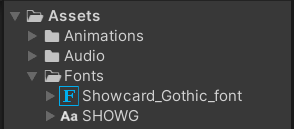
In the assets folder, a useable font asset has been generated!
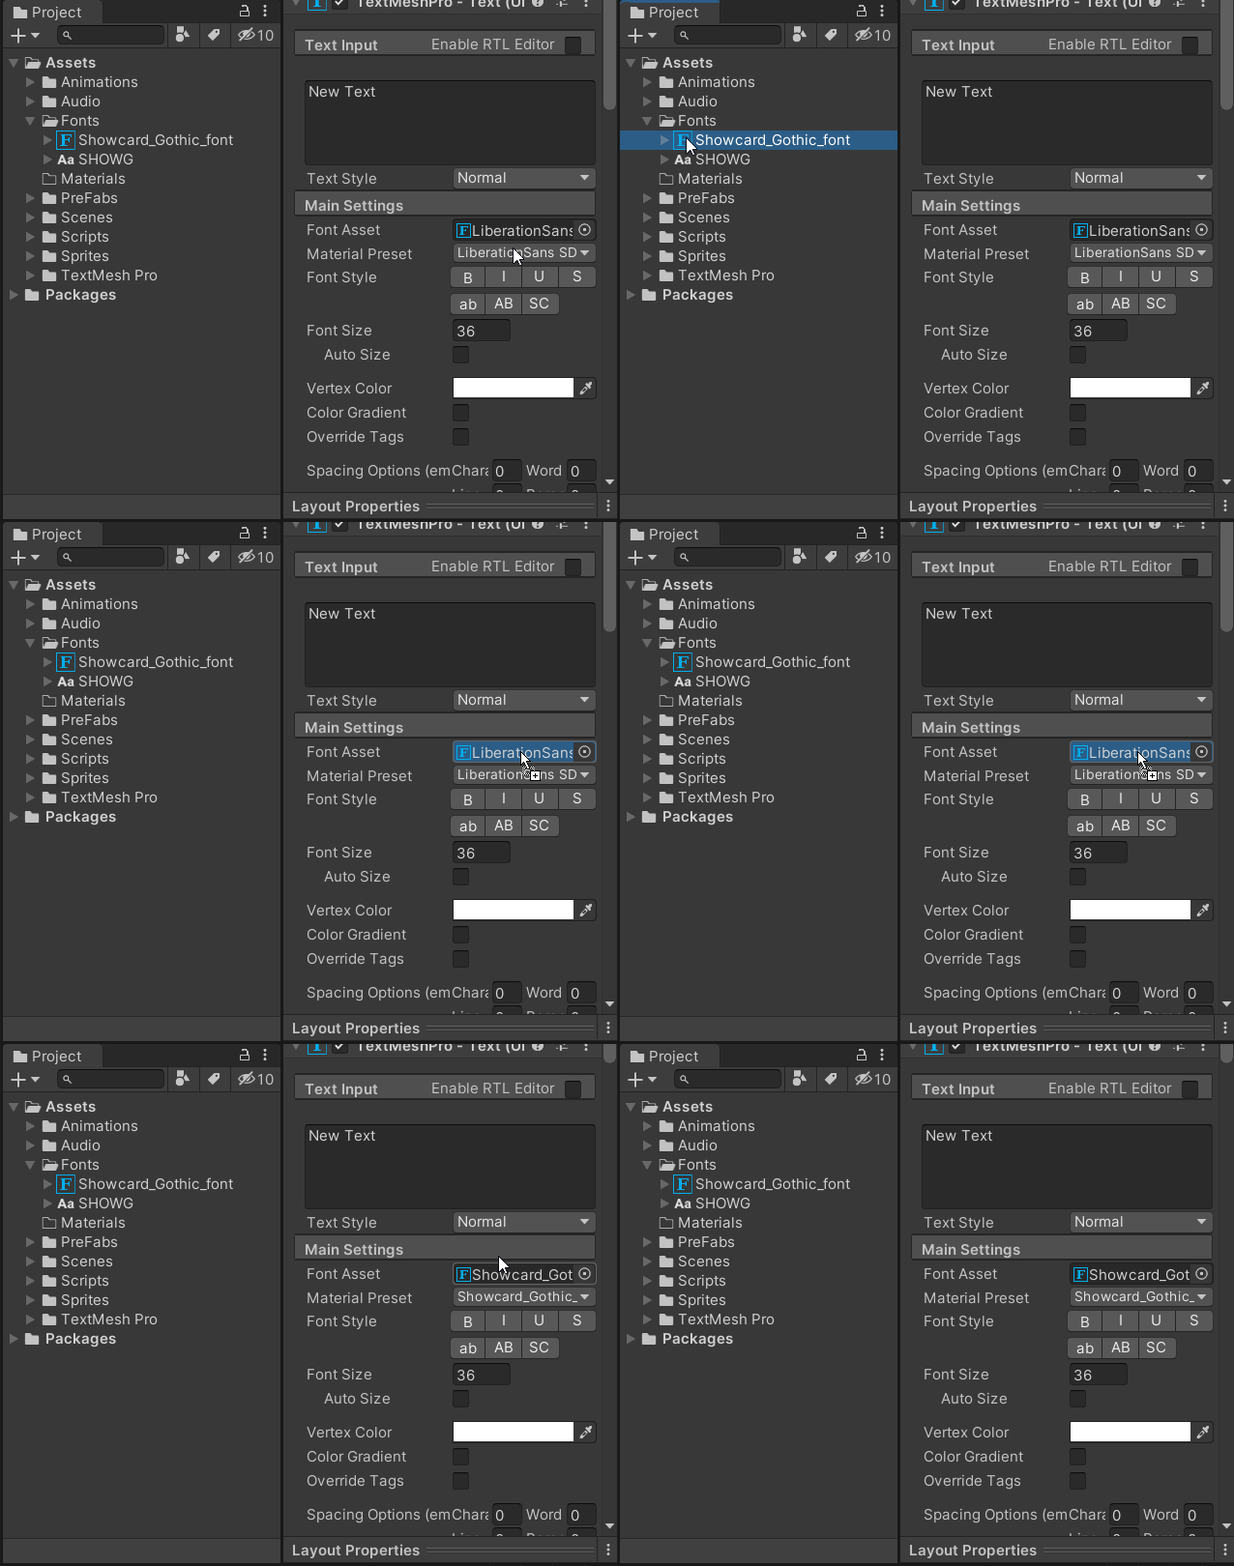
Now that the useable version of this font has been created, I can now click on the font game object in the hierarchy to select it, and assign my newly generated font to the Font Asset dialogue box in the inspector.
The custom font now shows in my game view!

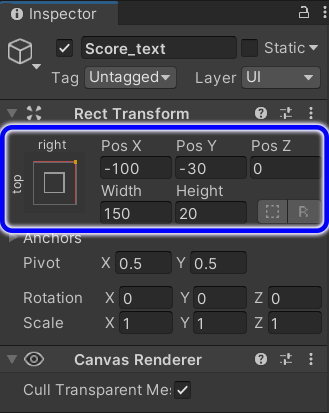
Because this font will be handling and updating the player’s current score, I give it an appropriate name as Score_text. The Rect Transform has some powerful anchor features. I move the font into a desirable position and select the top/ right anchor preset. This will keep my text anchored in the top right corner of the screen when porting the game to different screen sizes. Otherwise the text could fly off the screen entirely or appear oddly placed throughout different user monitoring devices.
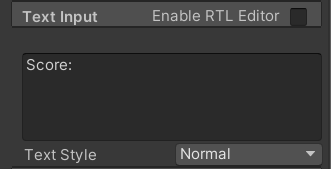
The Text Input box is where I can change the text from the default new text, to Score.
My new score text is now properly anchored and placed in my game view!

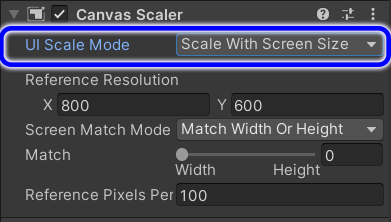
Another important box to check, is a component on the canvas called the Canvas Scaler. UI Scale Mode should be changed to scale with screen size. This will enable the text to resize depending on if the game is being played on a mobile phone or a 4K monitor.
With my text displaying correctly, the next logical step is to control it through code. I create a UI Manager script, which will handle the controls and interactions of all of my UI events.
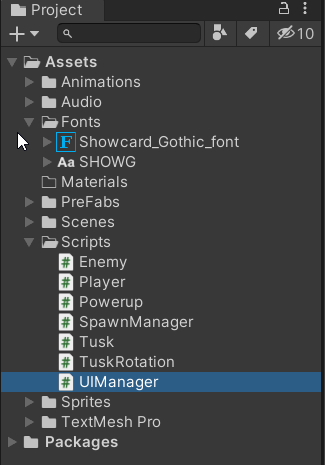
Rather than making a new object and calling it UI Manager, I assign the script to the canvas in the inspector, being that the canvas is handling the UI assets by default.

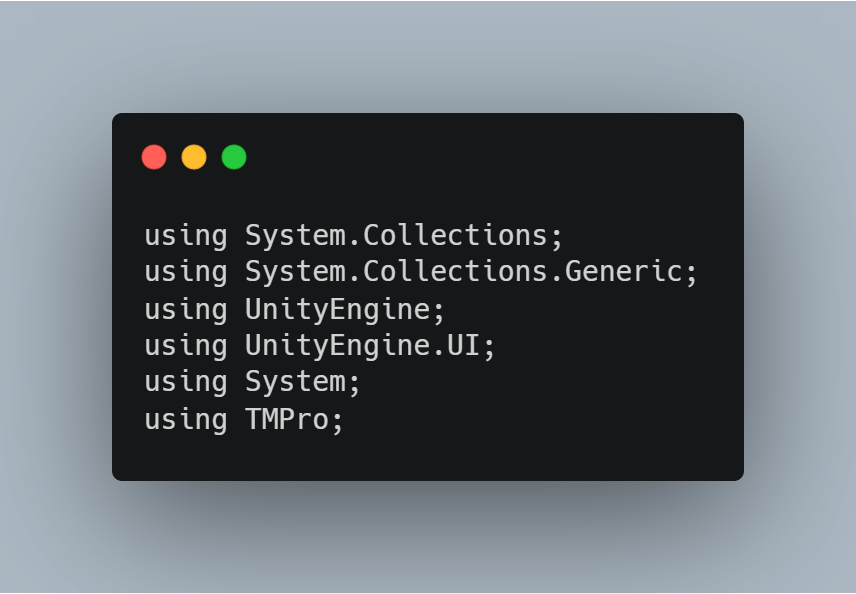
Visual Studio now, I add a few namespaces that I will need for my script. For the canvas and it’s UI buttons and other elements to work, I need to add using UnityEngine.UI. For a bonus feature, I will also add a quick world clock, which uses the using System namespace. Finally, I also need to include the using TMPro namespace to be able to communicate with my Text Mesh Pro assets.
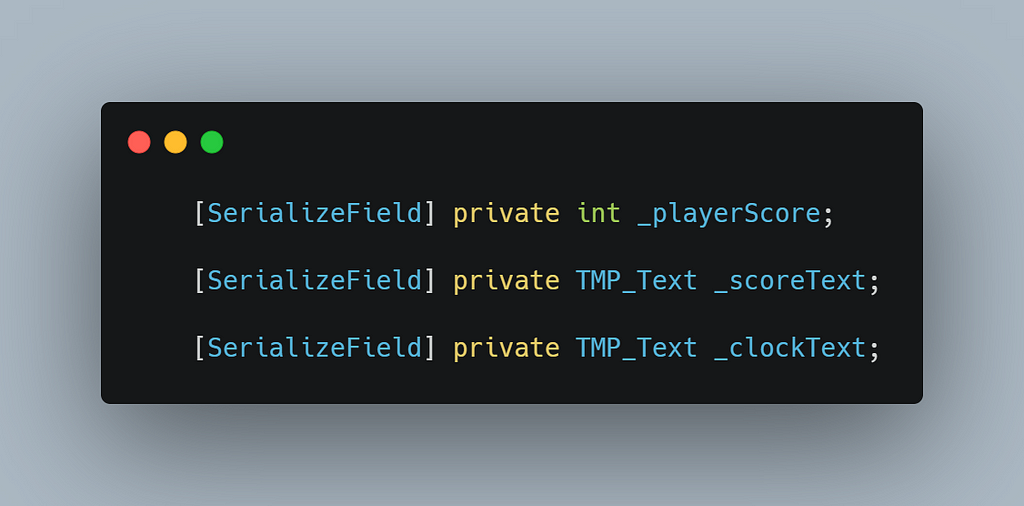
Being that my UI manager script will be handling the UI text and triggers from other game objects and events on when to update, I make the decision to have it also manage my score system. I add a variable to hold the player’s score, and two more to assign my score and world clock texts.
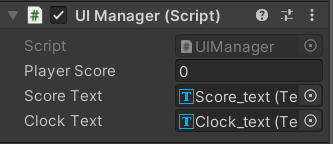
After saving, the score texts can be assigned to the canvas via drag and drop from the hierarchy into the UI Manager script in the inspector.
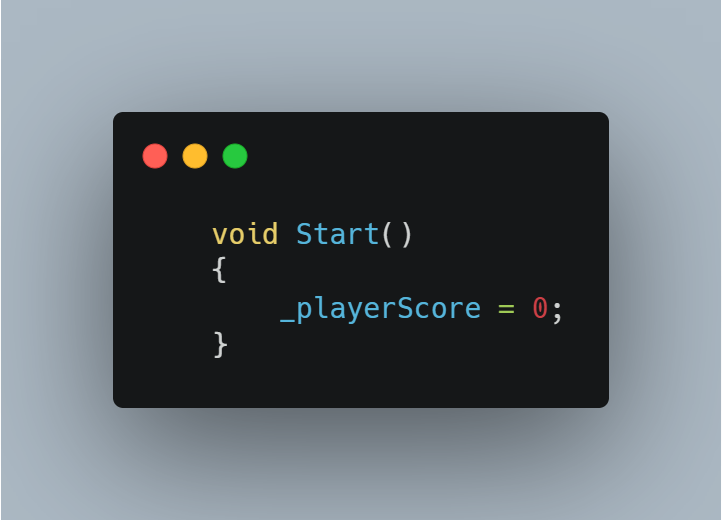
As a precautionary measure for later, I assign the player score a value of zero in void start. By default, the score should be zero anyways, but this is a good safety measure to take to ensure the score value is always set where it needs to be when the game starts.
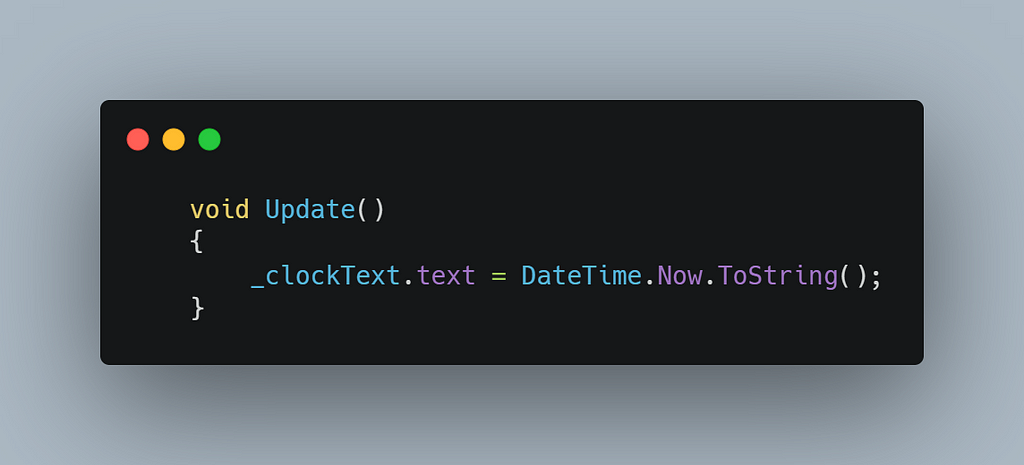
As far as the world clock is concerned, that can be handled really easily in void Update by referencing the newly assigned clock text, and using the DateTime keyword. The DateTime keyword is what is inherited through using the System namespace. I now have a date and time clock that updates live in my game!
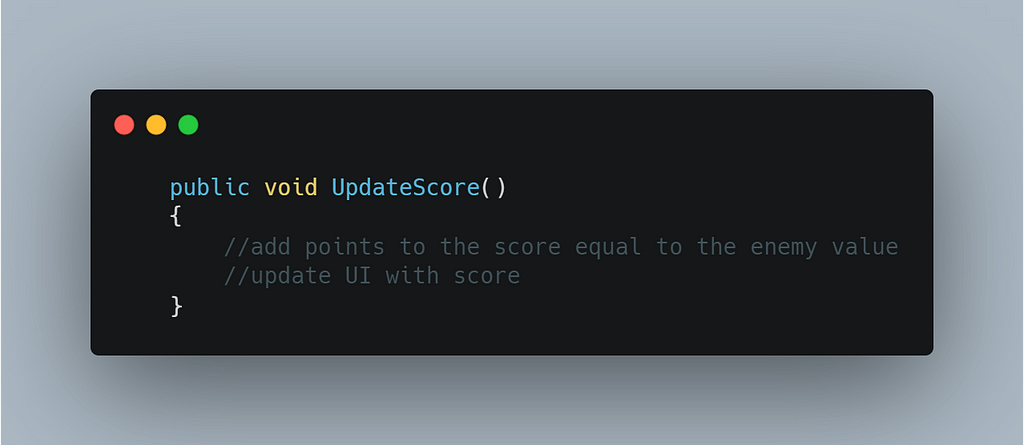
To continue with the score system, I create a public method in my UI Manager script to be called when I want to make a score update. Inside I get busy with some pseudocode to work through what I need to accomplish here. I would like to add points to the score equal to a value assigned by the enemy being hit. Then I need to update the UI to reflect the current score value.
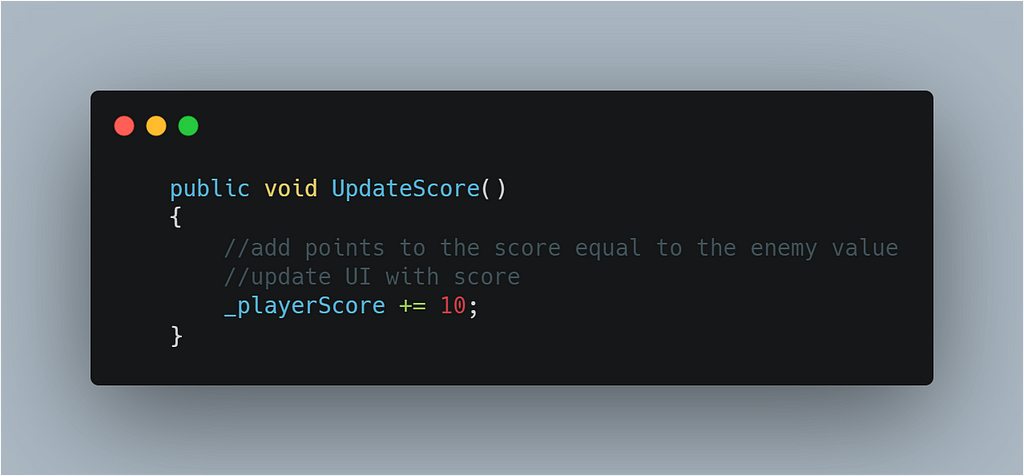
A basic start is to add ten points to the player score, which is done with the += operator. This is the same as saying, player points = player points +10.
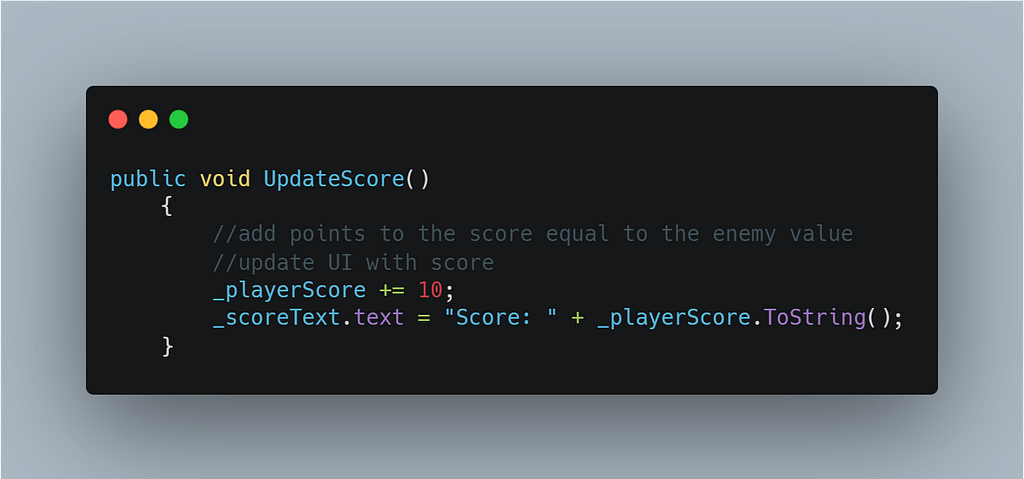
After the new score has been calculated, the UI can be updated by accessing the score text variable. I assign the text a value of “Score: “, pass in the player score variable, and send it to the string of text in the UI canvas.
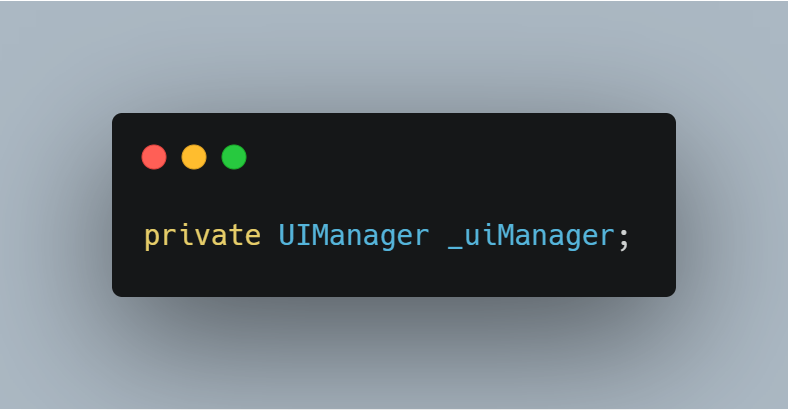
It’s time to address who or what will be triggering the score update. The obvious answer here is to open my enemy script, being shooting enemies is what will be causing the score to update. I want my enemy to communicate directly with the UI Manager, being that’s what is handling the score system and UI text updating. All that’s needed is a single variable to reference the UI Manager.
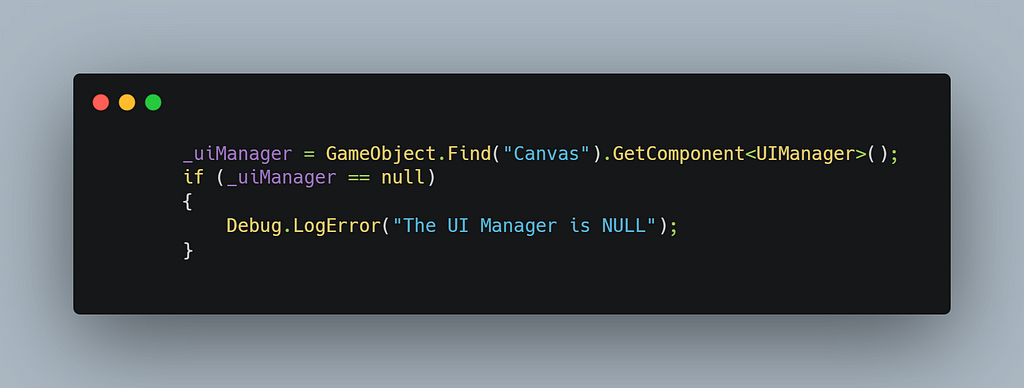
In void Start, I use GetComponent.Find to access the canvas via a name search, and then perform a null check to make sure my connection is working.
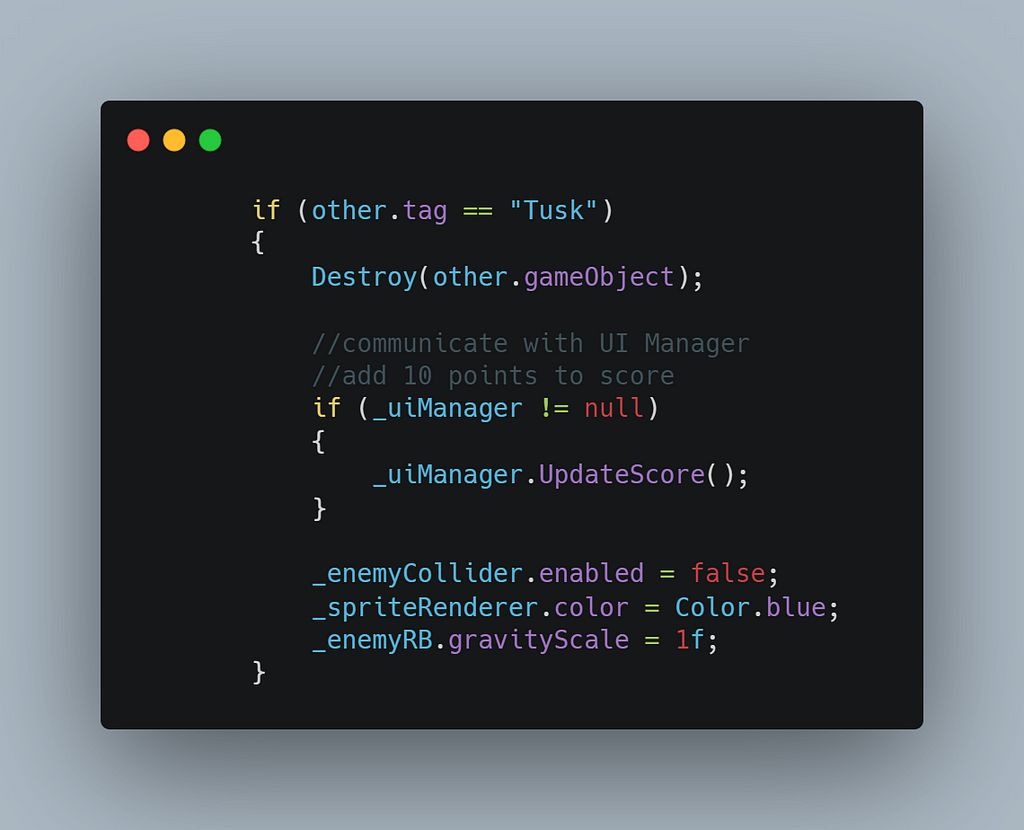
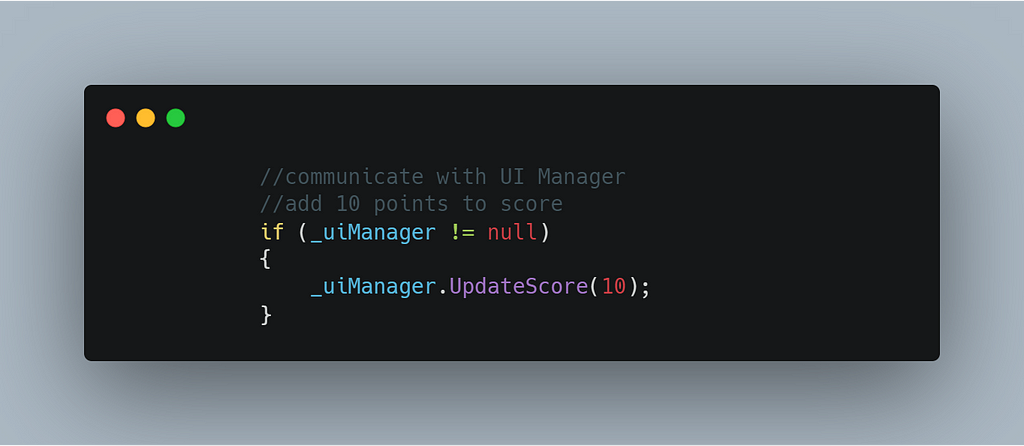
The OnTriggerEnter2D method in my enemy script is where the collision is happening with the player projectile, so that’s where I want to call the update score method. After colliding with a Tusk projectile, I check if the UI Manager is null, and if it is not (!=), I can call the update score method. After that call is made, the enemy on death events happen as the script compiles from top to bottom.
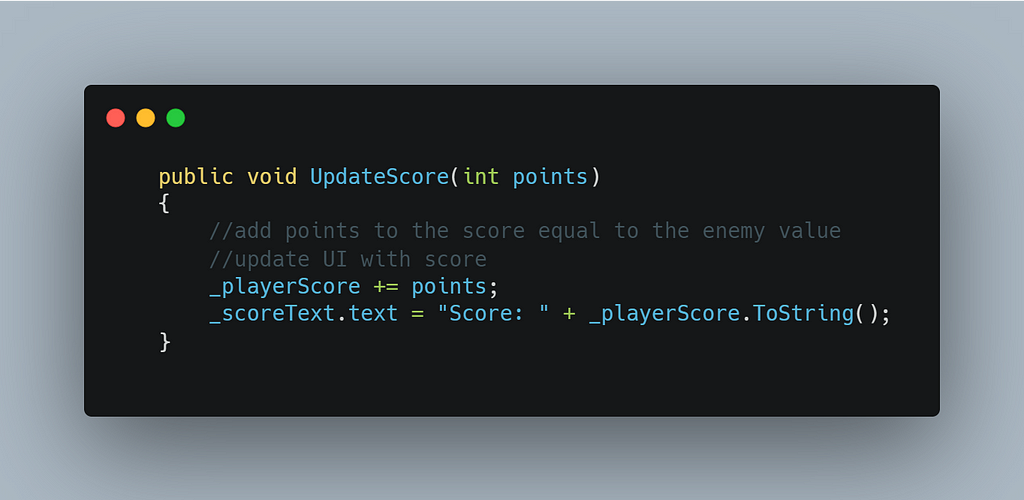
Now that I have a working score system, I still want to fine-tune the value for points. Right now I don’t have an actual points variable. I am just hard coding ten in as the amount to be granted when shooting an enemy. I will most likely want different enemies to be able to pass different point values through later in the development stage. An easy way to do this is to go back into my public method for updating the score in my UI Manager script, and enter some parameters into the method brackets. Being that my point system is based on whole numbers, I declare an int variable and call it points. This way whatever event is calling the points to update, must pass in a numeric int value to represent the points it is worth. I also can now change my player score to add the points variable rather than the hard-coded value of ten.
There is one more step here. Now that I told my Points Update to require a numeric points variable, my enemy script will not be happy, being there isn’t a points amount being declared with the call to update points. Just as the points variable was declared in the brackets of the update points method, the numeric value of the enemy can be passed through (10) in the brackets when it updates the score.
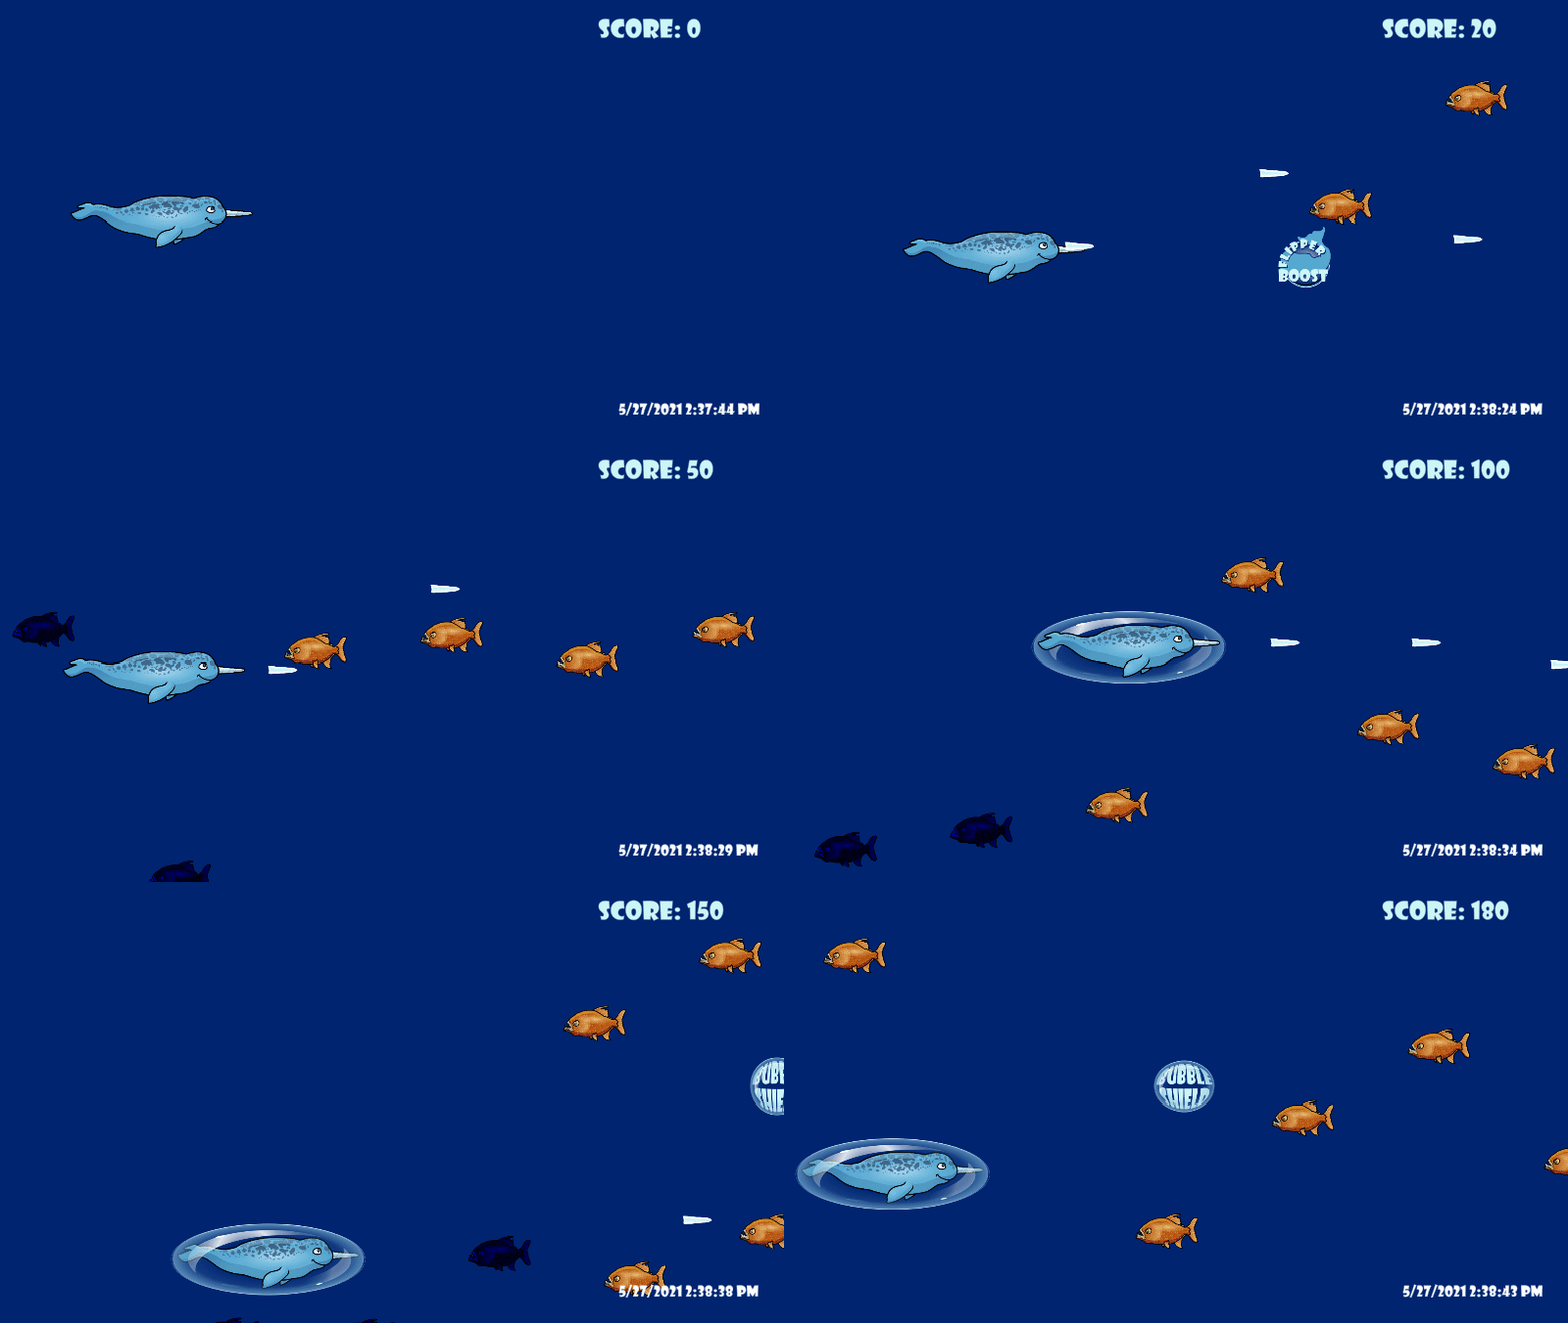
After saving and letting Unity compile, I can now play test my new UI to see that my score system and world clock are fully functional. Thanks for reading, and I hope to see you in my next article!
Building a Score System with UI Elements in Unity was originally published in Level Up Coding on Medium, where people are continuing the conversation by highlighting and responding to this story.
This content originally appeared on Level Up Coding - Medium and was authored by Jared Amlin
Jared Amlin | Sciencx (2021-05-29T16:31:38+00:00) Building a Score System with UI Elements in Unity. Retrieved from https://www.scien.cx/2021/05/29/building-a-score-system-with-ui-elements-in-unity/
Please log in to upload a file.
There are no updates yet.
Click the Upload button above to add an update.
