This content originally appeared on Level Up Coding - Medium and was authored by Harshvardhan Shinde
Exploring Widget lifecycle methods in Flutter

Like app lifecycle, widgets in flutter also have lifecycle methods associated with them. In this article, we will take a look at Widget lifecycle methods in flutter.
If you’re looking for Flutter App lifecycle methods, check this article:
Widget Lifecycle Methods
Widgets in Flutter have following lifecycle methods associated with them:
- initState: This method is called when this object is inserted into the tree. This will be called exactly once per State object. Here we can initialize the variables needed for the widget such as AnimationController.
- build: This method is called every time the widget is rebuilt. This can be after call to initState, didChangeDependencies, didUpdateWidget or when the state is changed via call to setState.
- didChangeDependencies: This method is called immediately after initState and when dependency of the State object changes via InheritedWidget.
- didUpdateWidget: This method is called whenever the widget configuration changes. A typical case is when a parent passes some variable to the children widget via the constructor.
- deactivate: This method is called when the object is removed from the tree.
- dispose: This method is called when this object is removed from the tree permanently. Here we should release any resources retained by this object like stopping animation for instance. One example when this method is called is while using the pushReplacement() of the Navigator to replace the current widget with a new one.
Let’s understand it a bit more with the help of a simple example.
Implementation
Let’s first set up the project so that we can focus more on the Widget lifecycle aspects.
Create a new Stateful Widget MyApp in main.dart file with the following code:
Here we are creating an integer variable counter with the initial value set to 0. We also have resetCounter() which resets the value to 0. We pass the counter to MyHomePage . Nothing fancy here.
Let’ s also go ahead and create a new route ExamplePage . This is just so we can see deactivate and dispose in action.
Add the following code to it:
I hope the code is self-explanatory. Let’s move forward to the main part.
Create a new Stateful widget MyHomePage with an integer counter and a final Function onPress . Also add SingleTickerProviderStateMixin that is required for AnimationController . Add a private method _incrementCounter which increments the value of counter by 1. The code should look like this:
You should never have non-final fields (in this case the counter variable) in the class that extends from an immutable class . This is just used here for demonstration purpose.
Let’s now override all the widget lifecycle methods as:
This article only includes the necessary code for brevity, you can find the GitHub link to the full source code repository at the end of the article.
Here we initialize AnimationController in the initState() and dispose it in dispose() as mentioned in the beginning. We just provide print statements in for logging purposes and call appropriate super() constructor.
In didUpdateWidget , we check for the equality of the current counter value received from the parent widget with that of the current widget. If that is different, we simply log it.
Let’s check the build method:
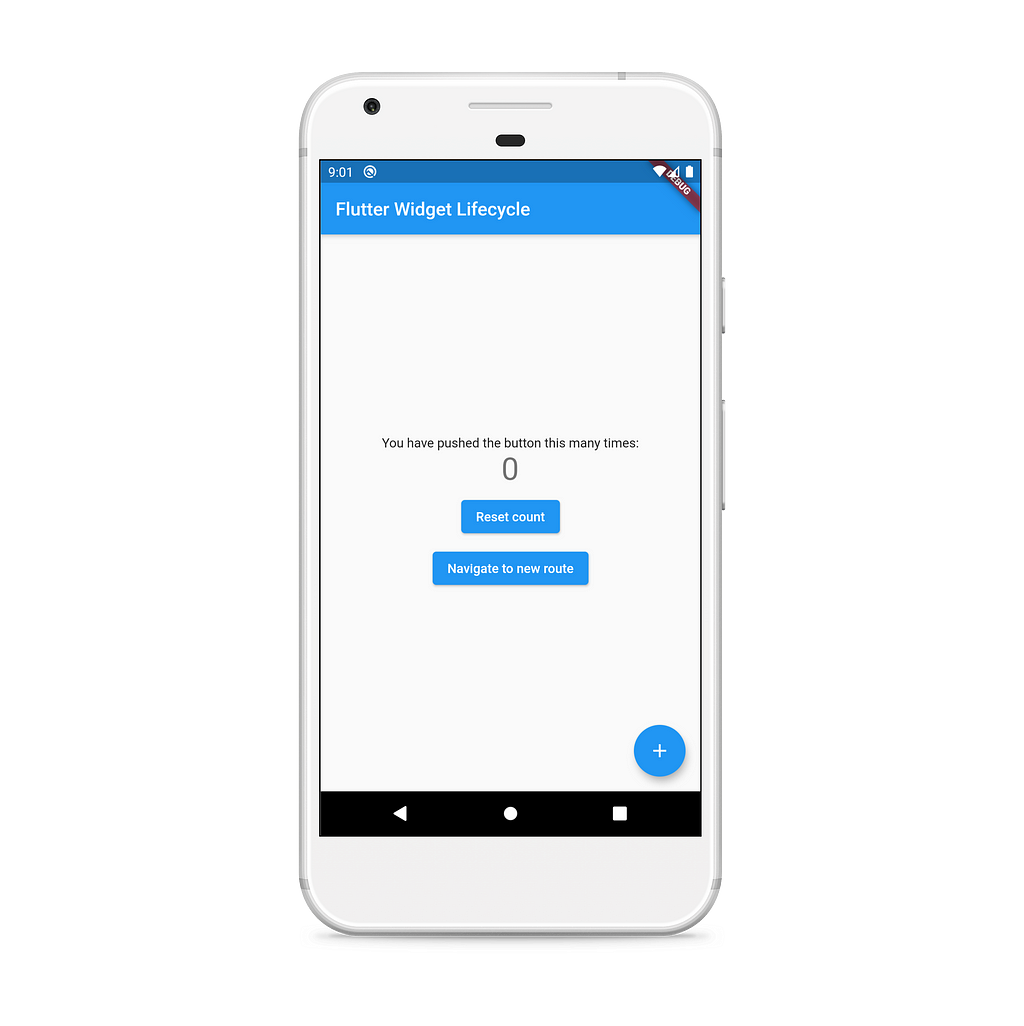
We are providing the initial value from the parent and incrementing it by 1 when floatingActionButton is pressed. We also have a reset button that resets the value to 0 from the parent. In this way, we can see didUpdateWidget in action.
Here’s how the UI looks like:

When you open the app, you will see initState and didChangeDependencies methods being called.

Click on the floating action button to increment the counter and then press on reset count button. You will see the didUpdateWidget method called as we are resetting the counter value from the parent.

Now, click on the navigate to new route button, you will see deactivate and dispose being called. This will also dispose off the AnimationController which we created.

Conclusion
In this article, we explored different widget lifecycle methods in Flutter with a simple example.
The complete source code can be found on the link below:
harshshinde07/Flutter-Widget-Lifecycle
Thanks for reading the article. If you enjoyed the article or learned something new, show your support by clapping as many times as possible. ?
It really motivates me to keep writing more! :)
Feel free to correct mistakes if there are any.
Let’s Connect:
Level Up Coding
Thanks for being a part of our community! Subscribe to our YouTube channel or join the Skilled.dev coding interview course.
Coding Interview Questions + Land Your Dev Job | Skilled.dev
Flutter Widget Lifecycle was originally published in Level Up Coding on Medium, where people are continuing the conversation by highlighting and responding to this story.
This content originally appeared on Level Up Coding - Medium and was authored by Harshvardhan Shinde
Harshvardhan Shinde | Sciencx (2021-05-30T14:04:08+00:00) Flutter Widget Lifecycle. Retrieved from https://www.scien.cx/2021/05/30/flutter-widget-lifecycle/
Please log in to upload a file.
There are no updates yet.
Click the Upload button above to add an update.
