This content originally appeared on DEV Community and was authored by Sunny Golovine
Gatsby is a static site generator and is one of the most popular JS frameworks out there, running on top of React. Most guides you will read here will point you to building a Gatsby site by starting with gatsby new ..., while I think that this is a great starting point, In this post I want to explain how to build a Gatsby blog completely from scratch.
Setting Everything Up
Prerequisites
Before we get going make sure that you have NodeJS and Yarn both installed on your system. I suggest using NVM to install Node.
Initializing the Project
To start create a new folder for your project. Inside the folder, run yarn init -y to initialize it as a Javascript project. Then run yarn to generate a yarn.lock file and a node_modules folder. The next step is to add the dependencies that we will need.
yarn add react react-dom gatsby
Lastly you will want to create our Gatsby configurations, to start create a file called gatsby-config.js and populate it with the following:
// gatsby-config.js
module.exports = {
  plugins: [],
}
Setup the Scripts
Once we have out dependencies installed, the next step is to create a few scripts for us to control Gatsby. Add the following items to the "scripts" section of your package.json file.
{
    "scripts": {
    "start": "gatsby develop",
    "build": "gatsby build",
  }
}
Setup the Files
The last little bit we will need before we can run the site is to generate a page for Gatsby to render. To do this, create a src folder with a pages folder inside, then create a file inside called index.js and populate it with the following:
// src/pages/index.js
import React from 'react'

function App() {
  return (
    <div>
        <h1>Hello World!</h1>
    </div>
  )
}

export default App
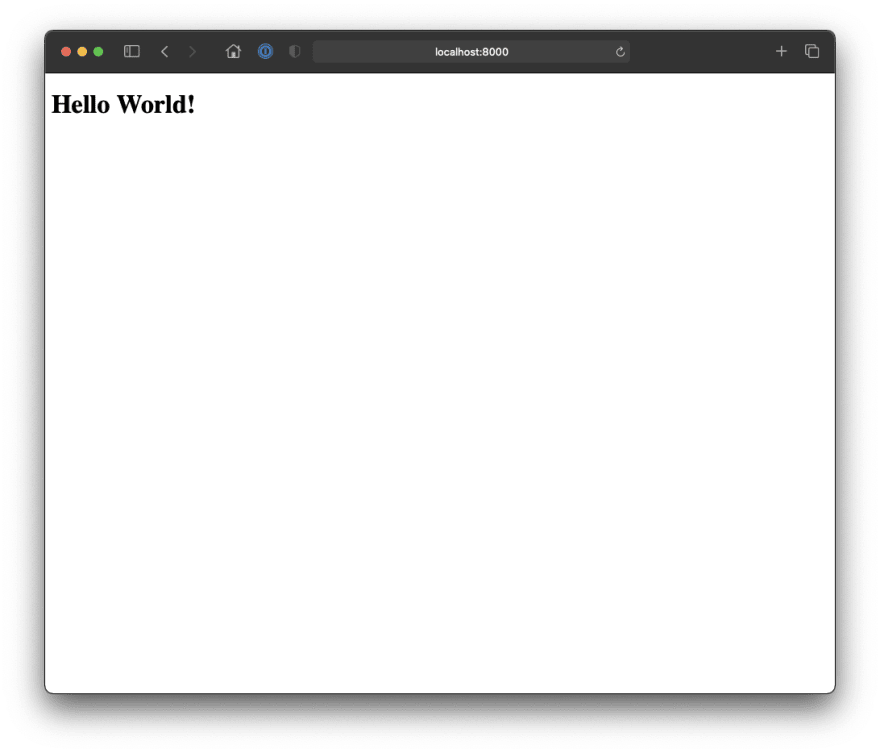
Now that we have everything setup, run yarn and then yarn start and then to go http://localhost:8000 to see your site.
Setting up the Blog
Now that we have the basic site up and running, it's time to setup the blog. To start, create a folder in the root of your project called static and create another folder inside called posts. Create several markdown files inside, the filenames do not matter however they should be formatted using frontmatter. Here's an example:
--------
title: My First Post
slug: first-post
date: June 14, 2021
--------

Lorem ipsum dolor sit amet, consectetur adipiscing elit. Nam a ex suscipit, tincidunt nisi dapibus, porta augue. Nam quam quam, consectetur in iaculis sit amet, fermentum a tortor. Duis eget ex nisi. Quisque ac nunc in ipsum luctus cursus vitae eget nisl. Quisque et faucibus leo. Suspendisse potenti. Quisque sed arcu nulla.

Vivamus vestibulum aliquet mi. In consectetur euismod risus molestie viverra. Nulla aliquam molestie quam a mattis. Cras nec purus sollicitudin, fringilla odio ut, eleifend ipsum. Morbi imperdiet velit vel ligula euismod accumsan. Vivamus at lorem ac nulla porttitor euismod. Proin molestie, neque ut molestie elementum, nisi sapien tincidunt nisi, at ullamcorper justo mi eu nunc. Aenean in dolor volutpat, pulvinar magna eget, consequat urna.
Installing Dependencies
When we run gatsby develop, we want Gatsby to look in our static folder, find any blog posts, and create a page for each post. There are two ways to fetch markdown data in Gatsby, we can either use Gatsby Remark or we can use MDX. In this guide we will use MDX. To start, install the following packages:
yarn add @mdx-js/react @mdx-js/mdx gatsby-plugin-mdx gatsby-source-filesystem
Configure Gatsby to get our Data
By default, Gatsby is not aware of the existence of our static folder, we need to expose this folder to Gatsby so we can query the contents using GraphQL. To expose this folder, add an instance of gatsby-source-filesystem to gatsby-config.js.
// gatsby-config.js
const path = require('path')

module.exports = {
  plugins: [
    // This tells gatsby about the directory
    // And to source files from the directory
    {
      resolve: `gatsby-source-filesystem`,
      options: {
        name: `posts`,
        path: path.resolve(__dirname, "static", "posts")
      }
    },
    // This plugin will help gatsby handle markdown files that it finds in `static/posts`
    {
      resolve: `gatsby-plugin-mdx`,
      options: {
        extensions: ['.md'],
      }
    }
  ]
}
Now if you start the dev server and go to https://localhost:8000/__graphql, and then execute this query, you will see that it returns the markdown file you have created
query MyQuery {
  allMdx {
    nodes {
      frontmatter {
        slug
        title
        date
      }
    }
  }
}
{
  "data": {
    "allMdx": {
      "nodes": [
        {
          "frontmatter": {
            "slug": "first-post",
            "title": "My First Post",
            "date": "June 14, 2021"
          }
        }
      ]
    }
  },
  "extensions": {}
}
Fantastic, we have the data being fed to Gatsby now, at this point we now need to create a template to store this data, and then tell Gatsby to fetch the data when we build the site and display it.
Building the Template
Once we get the data from the filesystem, we need to tell Gatsby how to render it. For this we will need to create a template page for our posts. Start off by creating a file called template.js in your src folder.
import React from 'react'
import { MDXRenderer } from 'gatsby-plugin-mdx'


function PostTemplate(props) {
  // Here pageContext is passed in at build time by gatsby-node.js
  const { frontmatter, body } = props.pageContext

  return (
    <div>
      {/** Header to our post */}
        <div className="header">
            <h1>{frontmatter.title}</h1>
                <p>{new Date(frontmatter.date).toLocaleDateString()}</p>
        </div>

            {/** Post Body */}
            <div className="body">
        <MDXRenderer>
            {body}
        </MDXRenderer>
      </div>
    </div>
  )
}

export default PostTemplate
Note that in this template, frontmatter and body are both props we are passing to this template from out gatsby-node.js script, which we will setup in the next section. Also <MDXRenderer> is handling everything related to our rendering. You can control the rendering very granularly if you dig into the configuration, but this is the most basic version that we will need.
Setting up Gatsby Node API
The next step in setting up a blog is to route our data from GraphQL and render it onto the page. We do this inside gatsby-node.js. To start create a file in the root of your project called gatsby-node.js and populate it with the following:
const path = require('path')

exports.createPages = async ({graphql, actions }) => {
  // This is the query we will use to fetch data from GraphQL
  // This query will look for markdown files that have `/posts/` in
  // Their absolute path. If you keep your posts in another place you will
  // Need to change this
  // Inside each file we need the title, date, slug and the posts body
  const query = await graphql(`
    query Posts {
      allMdx(filter: { fileAbsolutePath: { regex: "/posts/" } }) {
        edges {
          node {
            id
            frontmatter {
              date
              title
              slug
            }
            body
          }
        }
      }
    }
  `)


  // Check for any errors in the query
  if (query.errors) {
    throw query.errors
  }

  // Get the posts and put them into a nice object
  const posts = query.data.allMdx.edges

  // Fetch the post template we created in teh previous step
  const postTemplate = path.resolve(__dirname, "src", "template.js")

  // Iterate over every post we queried, then for every post call
  // actions.createPage() to build a page with the data and template
  posts.forEach(post => {
        const { id, frontmatter, body } = post.node

    // This is the post path. We use a combo of the slug in a string
    // Template prefixed with /post. You can change this to be anything you want
    // So long as the path does not collide with another path
    const path = `/post/${frontmatter.slug}`


    // Now we finally create the page
    // We assign every page the path we just created and build it
    // Using our postTemplate component. We also pass in some context about the post
    // Which will be used by the template via pageProps
    actions.createPage({
      path,
      component: postTemplate,
      context: {
                frontmatter,
        body
      }
    })
  })

}
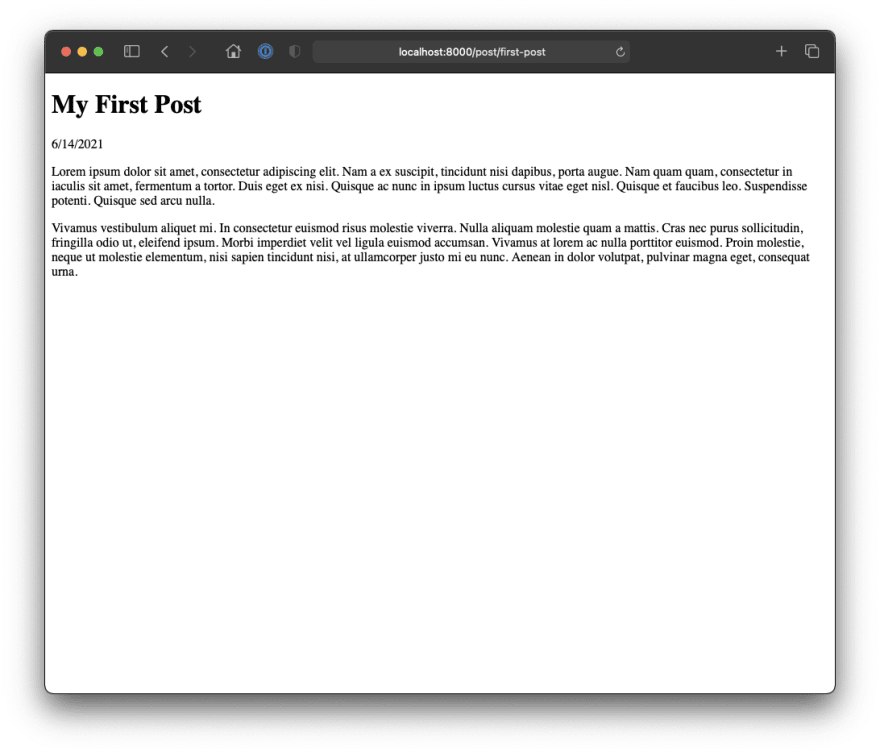
There's quite a lot to unpack in this script, I suggest reading over the comments to try and understand everything that is going on. But this is pretty much it. Now if you run your development server and go to http://localhost:8000/post/first-post, you should see your post being rendered.
Setting up a Post List
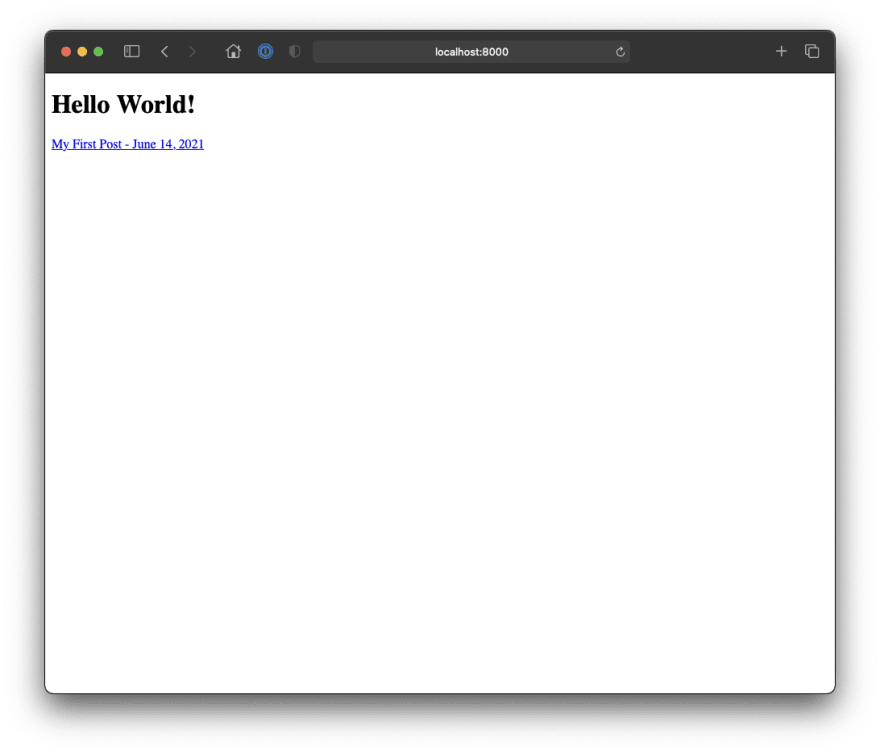
The last step is to setup your home page to display your posts. To do this we will reuse the query we created for our gatsby-node.js script. Except this time we will be putting it in our index.js page as a static query. In src/index.js, add the following code static query
// src/pages/index.js
import React from 'react'
import { useStaticQuery, graphql } from 'gatsby'

function App() {

  // This query will get all of your posts
    const posts = useStaticQuery(graphql`
    query {
      allMdx(filter: {fileAbsolutePath: {regex: "/posts/"}}) {
        edges {
          node {
            frontmatter {
              date
              title
              slug
            }
          }
        }
      }
    }
  `)

  return (
    <div>
        <h1>Hello World!</h1>
        {/** This will render each title out on the page. And lets you click on the link to view the post*/}
        {posts.allMdx.edges.map((edge) => {
        const { date, slug, title } = edge.node.frontmatter;
        const path = `/post/${slug}`;
        return (
          <Link to={path}>
            {title} - {date}
          </Link>
        );
      })}
    </div>
  )
}

export default App
Conclusion
With that you should now have a functioning Gatsby blog. From here you can now go on to add image support, styling the blog and adding tags. This post was meant to show how you can get a minimum viable blog going in Gatsby.
If you enjoyed this post, check out some of my other posts on my blog
This content originally appeared on DEV Community and was authored by Sunny Golovine
Sunny Golovine | Sciencx (2021-06-14T15:59:52+00:00) Building a blog with Gatsby from scratch. Retrieved from https://www.scien.cx/2021/06/14/building-a-blog-with-gatsby-from-scratch/
Please log in to upload a file.
There are no updates yet.
Click the Upload button above to add an update.


