This content originally appeared on Level Up Coding - Medium and was authored by Dennisse Pagán Dávila
Space Shooter — Phase II: Core Programming Challenges

Objective: Learn the basic concept and syntax of Raycast, and how to debug it.
What is a Raycast?

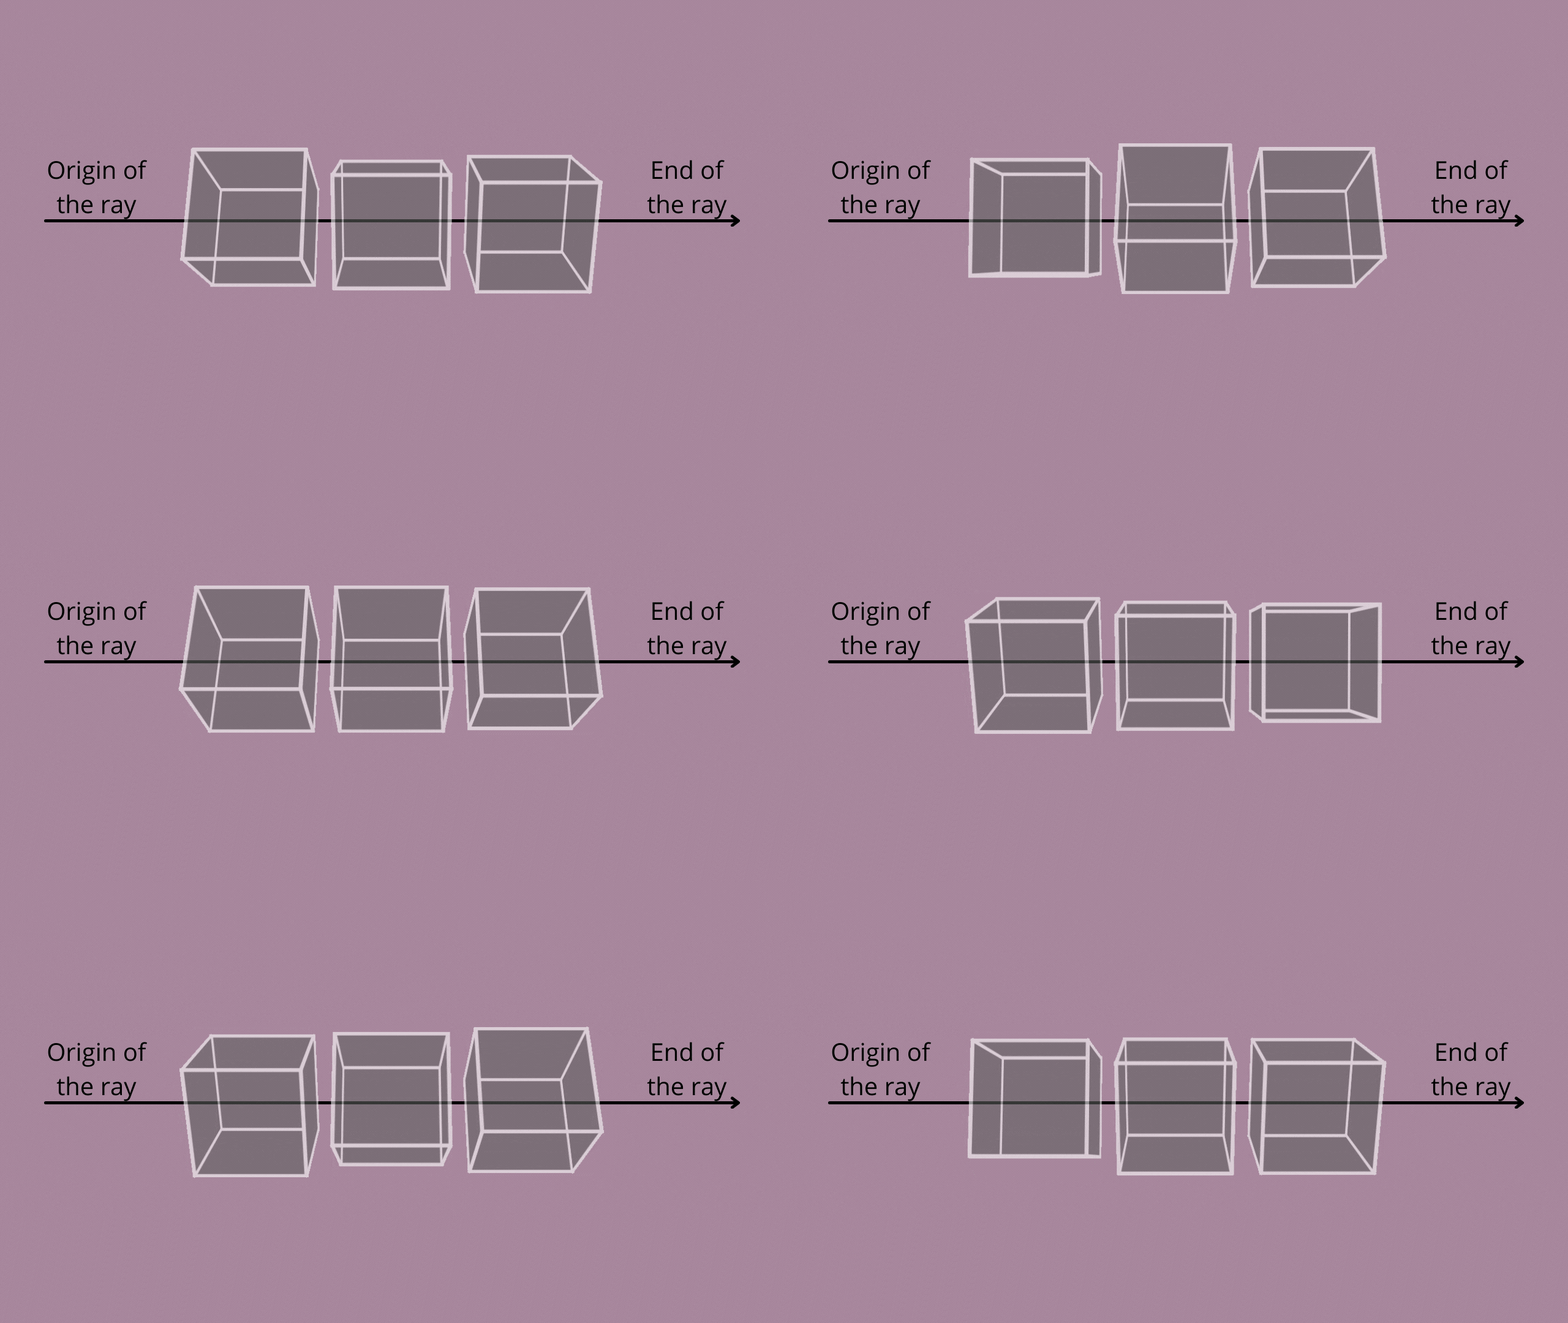
Raycasting is widely used in video game development for a variety of purposes, including calculating the line of sight of the player or AI, determining the trajectory of a projectile, and creating lasers. A raycast is a ray that travels in a certain direction from a point in 3D or 2D space.
Syntax:

- Origin: An existing point in the world space. E.g. If your player has a weapon object such as a gun, the origin point can be placed at the barrel.
- Direction: Determine the direction in which the ray will be cast.
- Hit Info: The info stores the collider information so that the code is able to detect which objects have been hit by the ray.
The following variables are optional, albeit extremely useful.
- Distance: The length of the ray. If the length is not specified, the code will default its value to infinite, therefore, the ray will stretch ever on detecting anything and everything within reach.
- Layer Mask: A particular layer within Unity’s layer system. By using a layer mask, you can assign objects to this layer so that the raycast ignores them. This is extremely useful when using systems that are meant to affect specific objects such as a player attack that should only hit enemies.
Note: I have previously discussed how to assign Layer Masks in How to Detect Colliders Surrounding the Player.
Debugging a Raycast
A ray can be easily debugged by Draw.Ray — it allows us to draw the ray and make it visible in the Scene view, and in the Game if gizmo drawing is enabled in the game view.
Syntax:

In this example, DrawRay utilizes the same direction and distance variables as the laserDetect Ray. This allows the gizmo to visibly draw the same ray in order for us to test the adequacy of the ray’s structure and modify it accordingly. Additionally, you can add color to the ray to make it stand out in the game environment.
In the following image, you can see the ray drawn in the scene view.

This article has been part of a series of Core Programming Challenges by GameDevHQ. In the following article, I’ll be taking look at how to use Raycasting to create an Enemy which can detect player attacks and dodge them!
An Introduction to Raycasting in Unity2D was originally published in Level Up Coding on Medium, where people are continuing the conversation by highlighting and responding to this story.
This content originally appeared on Level Up Coding - Medium and was authored by Dennisse Pagán Dávila
Dennisse Pagán Dávila | Sciencx (2021-09-06T17:04:57+00:00) An Introduction to Raycasting in Unity2D. Retrieved from https://www.scien.cx/2021/09/06/an-introduction-to-raycasting-in-unity2d/
Please log in to upload a file.
There are no updates yet.
Click the Upload button above to add an update.
