This content originally appeared on DEV Community and was authored by Francesco Ciulla
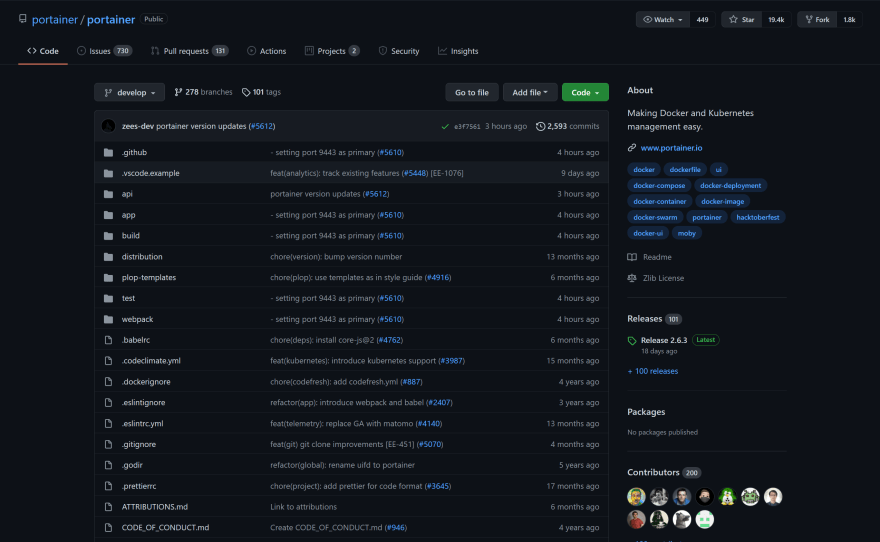
In this article, we will see how to install Portainer which is a tool for Docker, using...Docker
Does it sound a bit strange? Let's see how to do that.
Video Version
Do you prefer the Video Version?
What is Portainer?
Portainer is an amazing open-source project, and you can use that along with Docker:
- to simplify the process of Deployment
- to manage different containers
- to manage different endpoints from the same instance.
But not only that, but it also has not just a beautiful, but also useful UI.
Prerequisites
To follow along, the only prerequisite is to have Docker installed and up and running on your machine.
If you have some containers running before starting to install Portainer, it will be even better, so you can visualize them in the UI as soon as you will run the Portainer instance!
Without Portainer
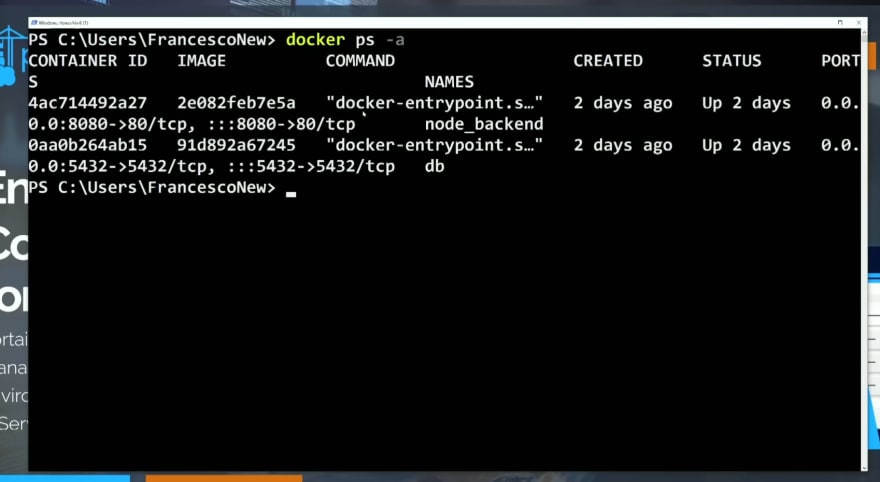
Usually, when we use Docker, to show all the containers, we type:
docker ps -a
and we see something like this:
This works but it doesn't look very good.
Installation
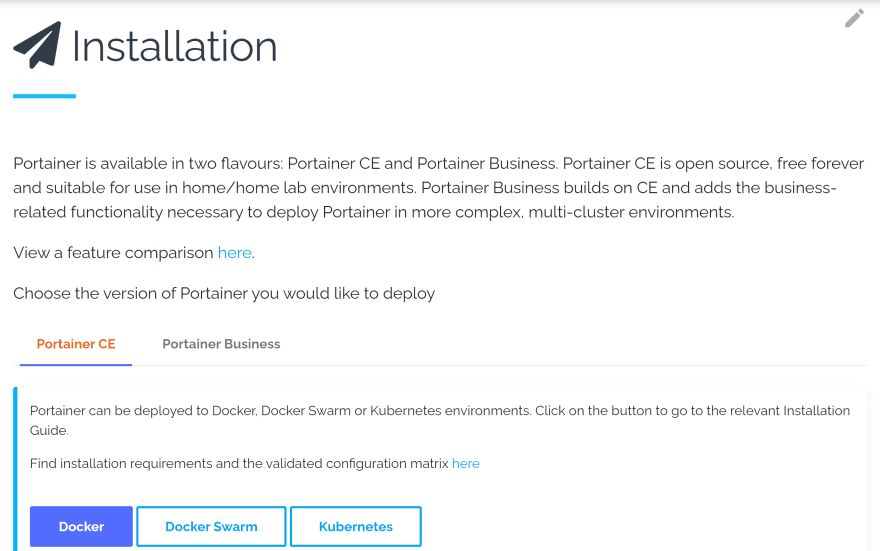
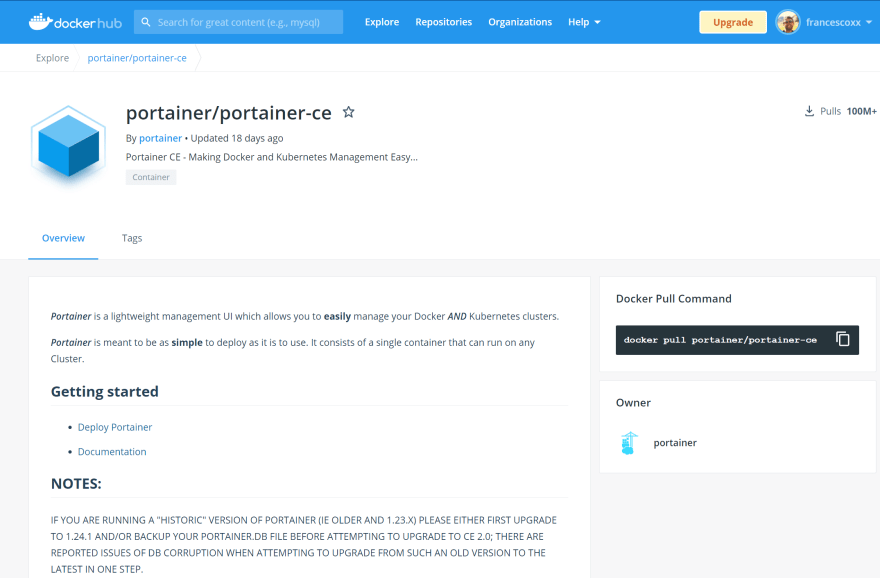
To install Portainer, you can go on the official Portainer site, and click on "Install" at the top right:
Portainer is a tool for Docker...but you can also install it using Docker! Does it sound strange?
To install it we need to type just 2 commands:
Let's type them together.
On a prompt type:
docker volume create portainer_data
This will create a local volume on our host, and Portainer will use it to store data.
Docker volumes are the preferred way to persist data when we use containers because when a container is removed everything inside its filesystem is deleted.
We can verify that this volume has been created by typing:
docker volume ls
Just another command and we are done!
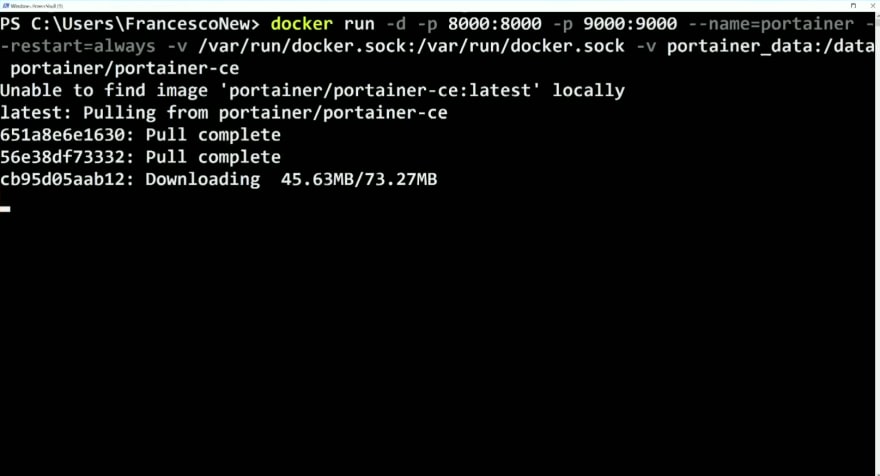
docker run -d -p 8000:8000 -p 9000:9000 --name=portainer --restart=always -v /var/run/docker.sock:/var/run/docker.sock -v portainer_data:/data portainer/portainer-ce
Let's see what this command with options does:
- docker run: creates the container based on the image at the end of the command : portainer/portainer-ce
- -d : stands for detached: this means that our prompt will not be blocked by the container output
- -p: is the command to publish a container's port to the host with the format "external:internal". in this case , we have port 8000 and 9000
- --name: to give a custom name to the container. Not mandatory, but useful, otherwise a random name will be assigned.
- --restart is the restart policy to apply when a container exits. in this case "always"
- -v /src:/dest is an option to bind mount a directory for a container. in this case, we are connecting to docker.sock. docker.sock is a Unix socket that enables dockerd (the Docker server-side daemon) dockerd, to communicate with its command-line interface via a REST API
- -v portainer_data:/dest is to use the volume we just created with the previous command.
- portainer/portainer-ce is the image we are currently using.
And we should see something like this. Since we don't have the image on our machine, Docker will pull the image from the official Portainer repository, and then it will run the container, from the image which it has just pulled.
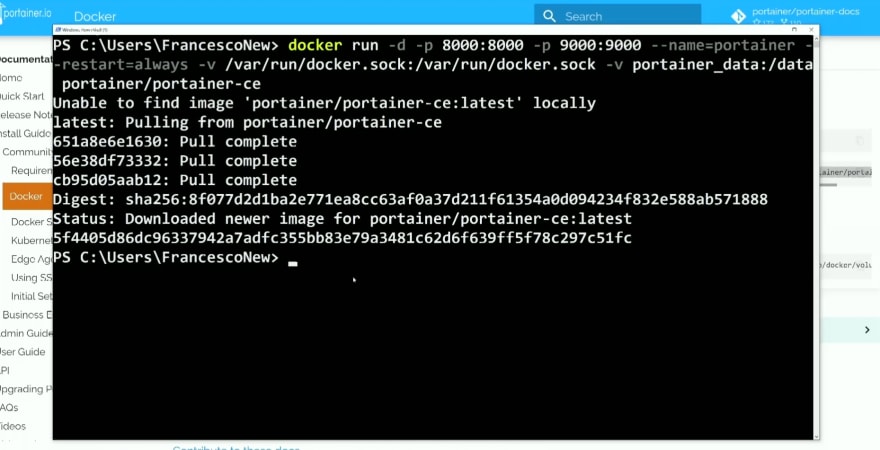
Once it's done, we will see something like this:
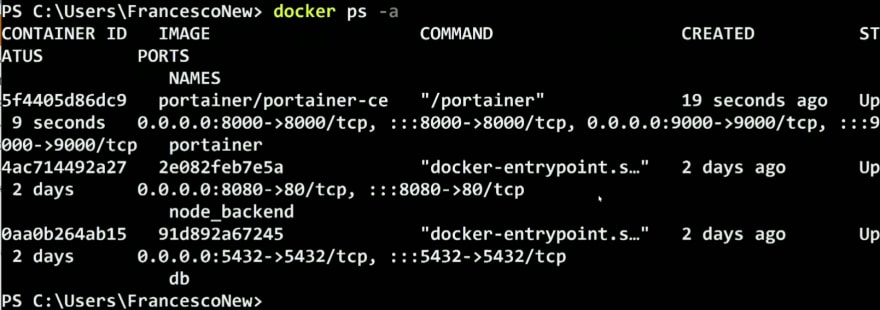
Let's check if the container of Portainer is up and running by typing:
docker ps -a
Yes. But to be honest, it doesn't look that pretty.
Now let's go to our favorite browser and visit "localhost:9000"
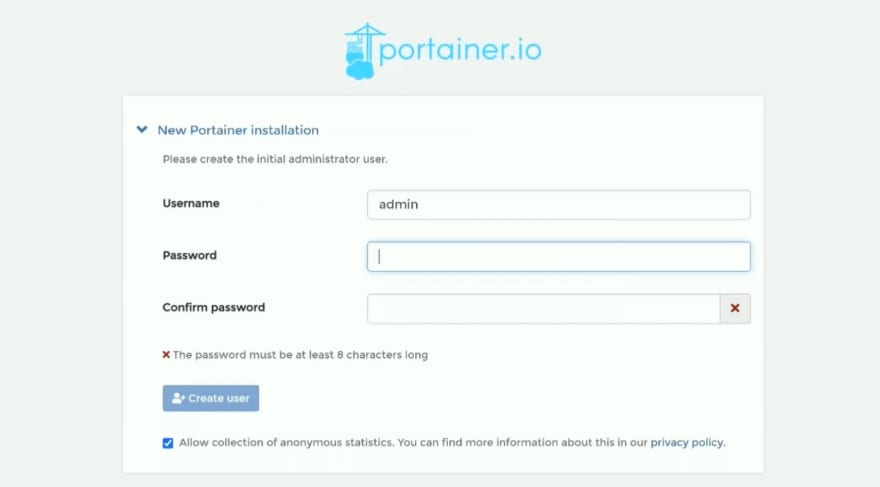
And we should have something like this:
we can choose:
- Username
- Password and confirm
and then click "Create User"
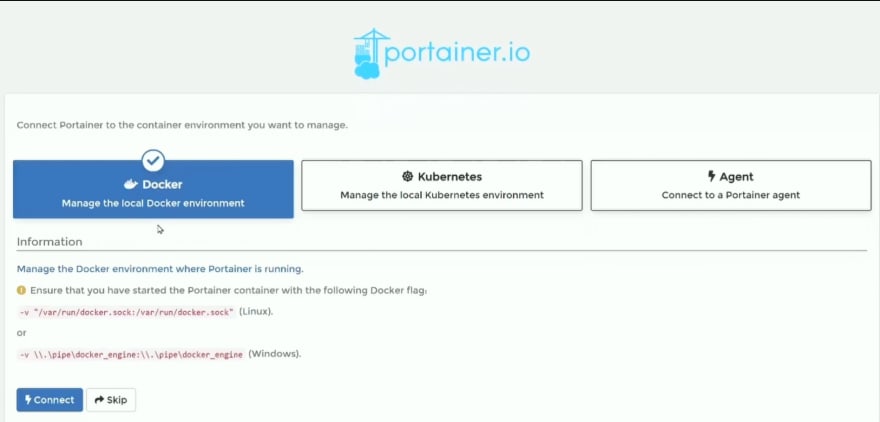
On this second screen, select Docker, first option on the left, and click "Connect"
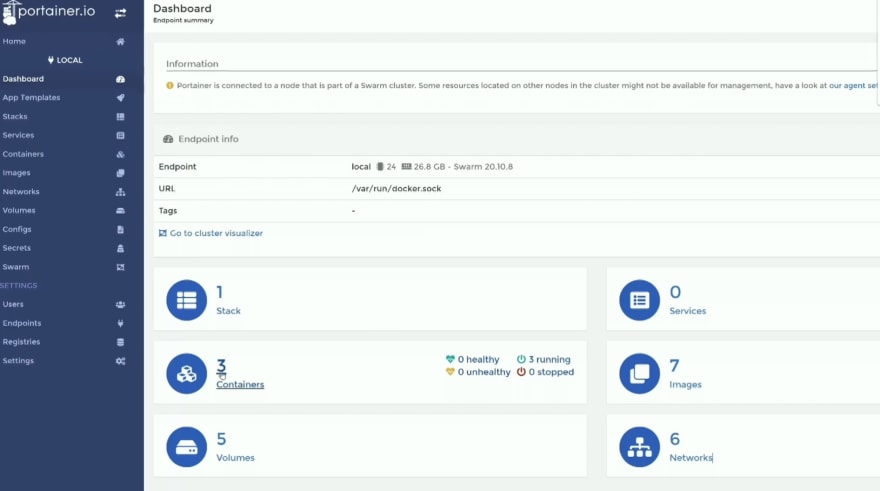
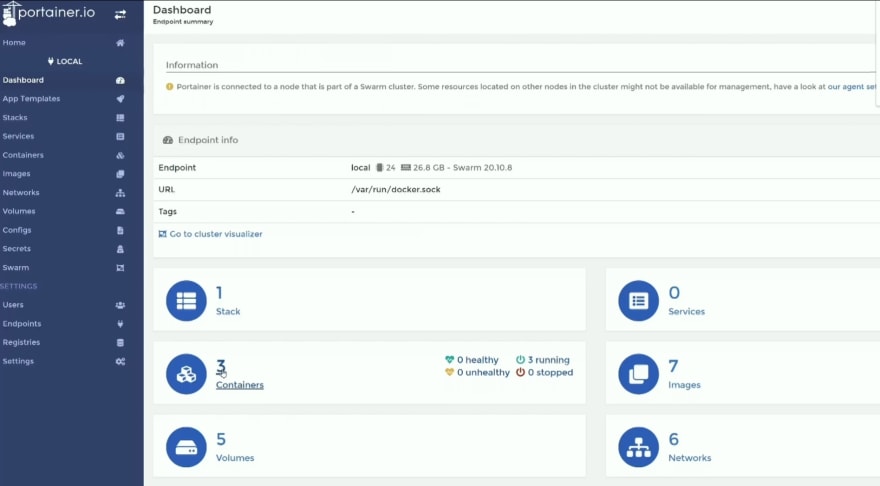
And here we can see the Portainer UI, click on "local" which is our current machine
On this Dashboard, click on Containers (in this case 3, one is Portainer itself)
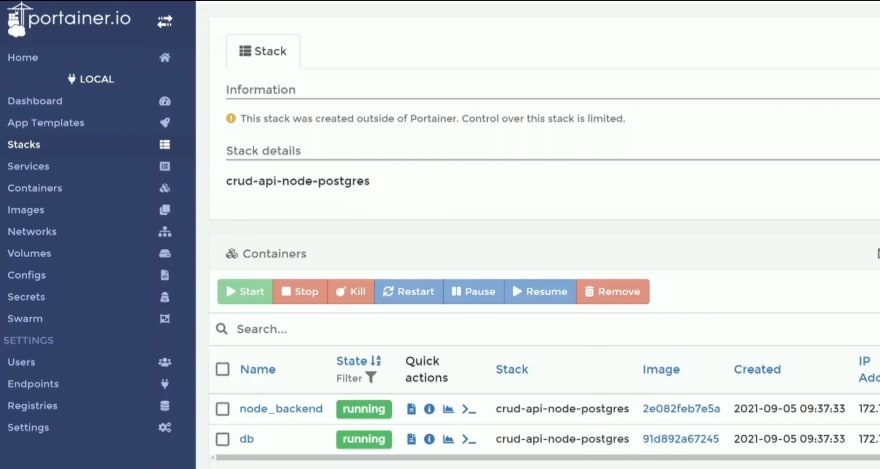
and here we can see the containers on our machine:
Here you can do many things. Let's see just one.
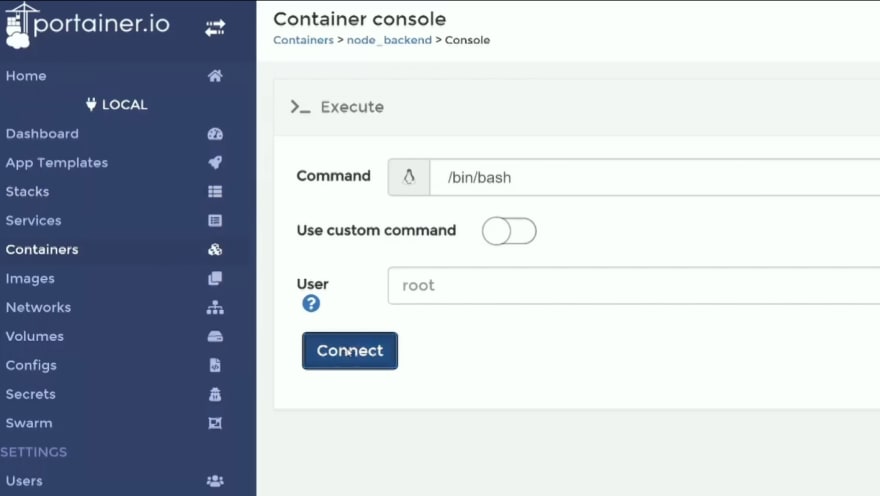
Click on the terminal icon (it looks like >_) :
And then on the "Connect" button
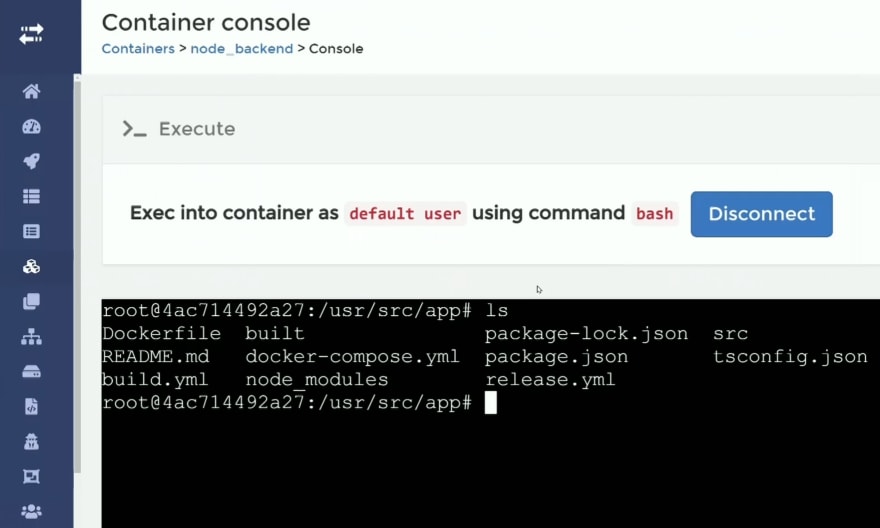
We are inside the container!
We can type commands like "ls" to show the content of the container's filesystem :
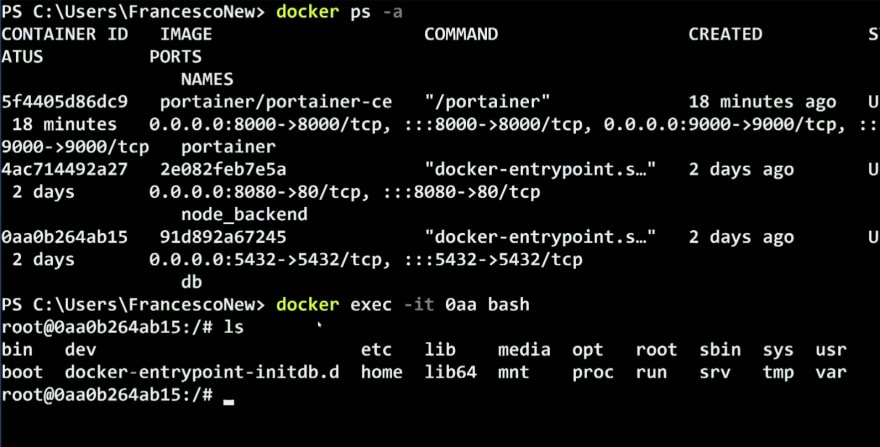
Now, this is not something new, you can have the same result by typing:
docker exec -it <container_id> bash
For example in this case, since my container starts with 0aa, I can have a similar result
But using Portainer, I don't have to check the container id and the correct syntax for the docker exec command.
in the Portainer UI, you can check all the docker objects:
- containers
- images
- networks
- volumes
Thank you for reading.
If you want to know more about Docker and POrtainer, you can follow me on Twitter: https://twitter.com/FrancescoCiull4
Video Version
Do you prefer the Video Version?
This content originally appeared on DEV Community and was authored by Francesco Ciulla
Francesco Ciulla | Sciencx (2021-09-14T12:54:43+00:00) How to install Portainer with Docker. Retrieved from https://www.scien.cx/2021/09/14/how-to-install-portainer-with-docker/
Please log in to upload a file.
There are no updates yet.
Click the Upload button above to add an update.


