This content originally appeared on DEV Community and was authored by Emmanuel Etukudo
Automatic link shortening is increasingly getting popular. Top tech companies (eg: Twitter and LinkedIn) are leveraging automatic link shortening to reduce the length of horrible-looking URLs. Twitter uses T.co behind the senses to shorten URLs posted on the micro-blogging platform. LinkedIn also uses the same technique to shorten links posted on the platform.
In this tutorial, we'll explore how to implement automatic link shortening in react using Emly.cc.
To follow along with this React Native styling tutorial, you should have:
- Familiarity with CSS, HTML, and Javascript ES6
- Node.js installed on your system
- A web browser installed in your system, i.e., Chrome
- A code editor installed on your development machine, i.e., VS Code
- A basic understanding of React
Setting up an Emly account
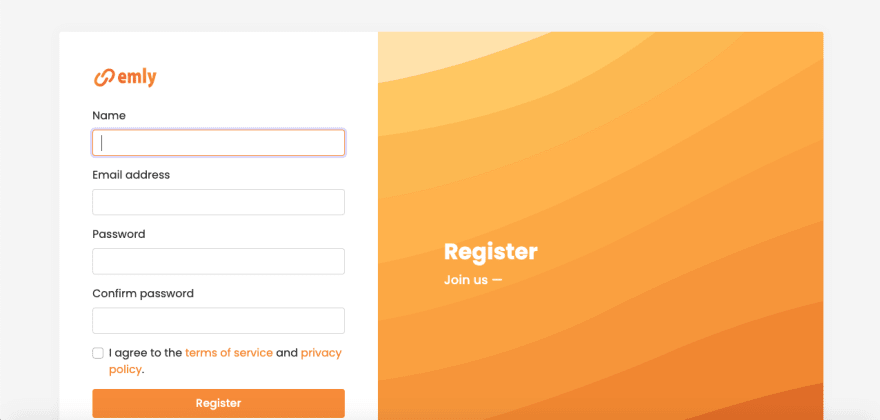
Visit http://emly.cc/register to create a new account.
Next, obtain your API key from your dashboard. Scroll down to the footer, click on the developer, select link, and click on Get your API key. See screenshot below:
With your API key in place, let’s proceed to build our project in the next section.
Building the frontend
Before we begin, let's initialize a new React app, install the emly-nodejs SDK, and set up a backend server for the project. Navigate to your work directory, and run the code below in your terminal for mac users or command prompt for windows users to initialize a new react project.
npx create-react-app emly-app
Next, run the code below to test run your app.
cd emly-app &&
npm start
Your app should look similar to the screenshot below.
Next, create a new folder components, navigate to it and create a file ResizeableTextbox.js and copy-paste the code below.
import React from 'react';
import axios from 'axios';
class ResizableTextarea extends React.PureComponent {
    constructor(props) {
        super(props);
        this.state = {
            post: '',
            rows: 5,
            minRows: 5,
            maxRows: 20,
            showPost: false,
            newPost: null,
        };
        this.handelSubmit = this.handelSubmit.bind(this);
        this.handleChange = this.handleChange.bind(this);
        this.getUrl = this.getUrl.bind(this);
        this.replaceUrl =  this.replaceUrl.bind(this);
    }

    replaceUrl = (post) => {
        if(!post) return;
        var urlRegex = /(((https?:\/\/)|(www\.))[^\s]+)/g;
        return post.replace(urlRegex, function(url) {
            var link = url;
            if (!link.match('^https?:\/\/') ) {
                link = 'http://' + link;
            }
        return '<a href="' + link + '" target="_blank" rel="noopener noreferrer">' + url + '</a>'
        })
    }
    getUrl = (post) => {
        var urlRegex = /(((https?:\/\/)|(www\.))[^\s]+)/g;
        return post.match(urlRegex);
    }
    handleChange = (event) => {
        const textareaLineHeight = 24;
        const { minRows, maxRows } = this.state;
        const previousRows = event.target.rows;
        event.target.rows = minRows; // reset number of rows in textarea
        const currentRows = ~~(event.target.scrollHeight / textareaLineHeight);
        if (currentRows === previousRows) {
            event.target.rows = currentRows;
        }
        if (currentRows >= maxRows) {
            event.target.rows = maxRows;
            event.target.scrollTop = event.target.scrollHeight;
        }
        this.setState({
            post: event.target.value,
            rows: currentRows < maxRows ? currentRows : maxRows,
        });
    };
    handelSubmit = (e) => {
        e.preventDefault();
        let post = this.state.post;
        let urls = this.getUrl(post);
        var urlRegex = /(((https?:\/\/)|(www\.))[^\s]+)/g;
        var self = this;

        axios.post('http://localhost:9000/create',
            { url: urls[0] })
            .then(function (res) {
                if (res.data) {
                    const url = res.data.data.short_url;
                    const newPost =   post.replace(urlRegex, res.data.data.short_url);
                  self.setState({
                    showPost: true,
                    newPost: newPost
                });
                }
            })
    }
    render() {
        return (
            <div className="col-md-8">
                {!this.state.showPost && <form onSubmit={this.handelSubmit}>
                    <label className="form-label">Creat a Post</label>
                    <textarea
                        rows={this.state.rows}
                        value={this.state.post}
                        placeholder={'Enter your text here...'}
                        className={'textarea'}
                        onChange={this.handleChange}
                    />
                    <button type="submit" className="btn btn-warning">Publish</button>
                </form>}
                {this.state.showPost &&
                    <div className="card" style={{border: '1px', margin: "20px"}}>
                        <div className="card-body">
                            <p className="card-text m-4">
                            <span dangerouslySetInnerHTML={{__html: this.replaceUrl(this.state.newPost)}} />
                            </p>
                        </div>
                    </div>
                }
            </div>
        );
    }
}
export default ResizableTextarea;
From the code snippet above, when a user submits the form, the handelSubmit function is called, we use the regular expression urlRegex to search for URL from the post, and pass it to our backend server which in turn communicate to emly.cc’s API to get the link shortened. The replaceUrl function searches the post once more, this time to convert the shortened URL to a clickable hyperlink.
Next, update the code in App.js with the code below.
import './App.css';
import ResizableTextarea from './components/ResizeableTextbox';
function App() {
  return (
    <div className="App">
      <header className="App-header">
      <ResizableTextarea/>
      </header>
    </div>
  );
}
export default App;
Next, run the code below in the terminal for mac or command prompt for windows users to start your app.
Lastly, update the App.css with the code below.
.App-header {
  background-color: #282c34;
  min-height: 100vh;
  display: flex;
  flex-direction: column;
  align-items: center;
  justify-content: center;
  font-size: calc(10px + 2vmin);
  color: #ffffff;
}

.App-link {
  color: #61dafb;
}

.textarea {
  box-sizing: border-box;
  border: none;
  border-radius: 3px;
  resize: none;
  font-size: 20px;
  line-height: 24px;
  overflow: auto;
  height: auto;
  color: #282c34;
  padding: 8px;
  width: 100%;
  box-shadow: 0px 4px 10px -8px black;
}
.textarea::-moz-placeholder {
  color: gainsboro;
}
.textarea:-ms-input-placeholder {
  color: gainsboro;
}
.textarea::placeholder {
  color: gainsboro;
}
.textarea:focus {
  outline: none;
}
Now, run the app with the command below.
npm run start
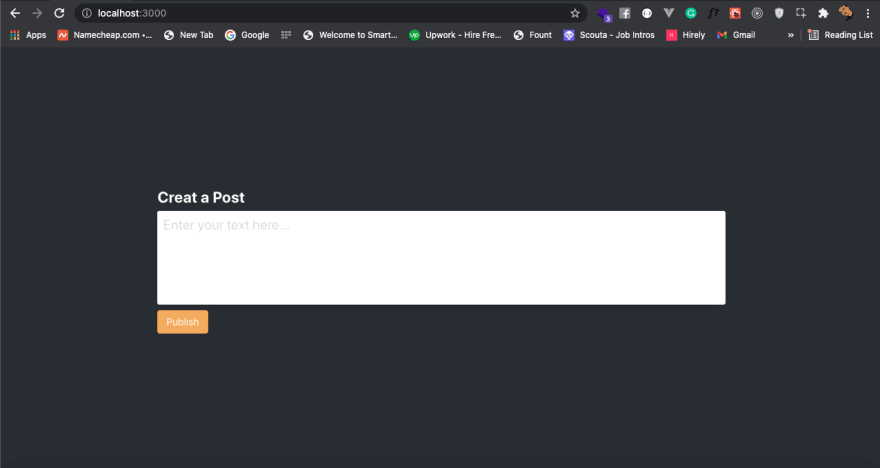
Your app should look similar to the screenshot below.
Building the back-end server
Now that you have completed the frontend on the project, let’s proceed to build a server that will handle all our backend requests.
Navigate into your work directory and follow the instructions below to initialize a new Nodjs project.
mkdir emly-server &&
npm init -y
On initialization complete, run the code below to install the emly-nodejs SDK and other dependencies required in this section.
npm i emly-nodejs body-parser cors dotenv express nodemon
Now, create a new file index.js, and copy-past the code below.
require('dotenv').config();
const express = require('express');
const app = express();
const cors = require('cors');
const bodyParser = require('body-parser');
const port = 9000;
const emly = require('emly-nodejs')(process.ev.KEY);

//Body-Parser
app.use(express.json({limit: '50mb'}));
app.use(bodyParser.urlencoded({limit: "50mb", extended: true }));
app.use(bodyParser.json());
//handel cors
app.use(function(req, res, next) {
    res.header("Access-Control-Allow-Origin", "*");
    res.header("Access-Control-Allow-Headers", "X-Requested-With");
    next();
});
app.use(cors({
    origin: '*',
    methods: ['GET','POST','DELETE','UPDATE','PUT','PATCH']
}));

app.get('/links', (req, res) => {
   emly.link.list()
   .then(function(body){
       res.send(body);
   })
   .catch(function(error){
       res.send(error);
   })
})
app.post('/create', (req, res) => {
    const {url} = req.body;
    emly.link.create({
        url: url,
      })
        .then(function(error, body) {
            res.send(error);
            res.send(body);
    });
 })

app.listen(port, () => {
    console.log(`Server is listening at ${port}`);
})
Note: endeavor to create a .env file and add your API key. See the example below.
KEY=your_api_key_goes_here
Next, run the code below to start the server.
npm run serve
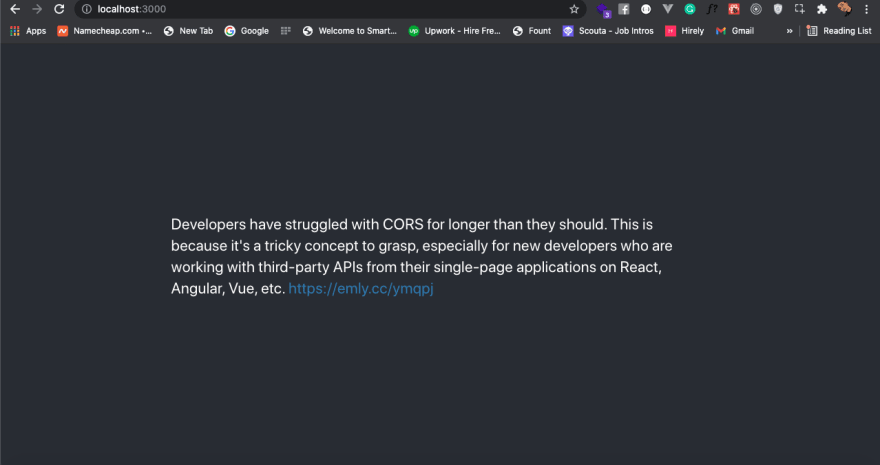
With your backend and front-end server running, add text with a long URL to the text box and click publish. After the article is published, your app should look similar to the screenshot below.
Conclusion
Whether you are looking to add automatic URL shortening to your existing react app, or you want to get detailed analytics of all the links shared on your mobile/web app, emly.cc’s URL shortener has a detailed API to get you started within few minutes.
This content originally appeared on DEV Community and was authored by Emmanuel Etukudo
Emmanuel Etukudo | Sciencx (2021-09-22T23:59:25+00:00) Build automatic URL shortener with react and Emly. Retrieved from https://www.scien.cx/2021/09/22/build-automatic-url-shortener-with-react-and-emly/
Please log in to upload a file.
There are no updates yet.
Click the Upload button above to add an update.


