This content originally appeared on DEV Community and was authored by murtuza
Note: This post is inspired by Web Dev Simplified.
Social media embeds take some time to load and render, hence the user experience is not so good! Here's an example of twitter embeds:
Without applying skeleton loading:
After applying skeleton loading:
As you might have noticed, the user experience without skeleton loading is not so good! So, let's see how can we implement skeleton loading on twitter embeds!
Embedding Tweets
<div class="tweets">
    //tweets
</div>
Here, we have created a container which will contain all our twitter embeds.
<div class="tweets">
    <div class="tweet">
        //tweet 1 (paste the twitter embed code here without the script tag)
    </div>
    <div class="tweet">
        //tweet 2 (paste the twitter embed code here without the script tag)
    </div>
    .
    .
    .
</div>
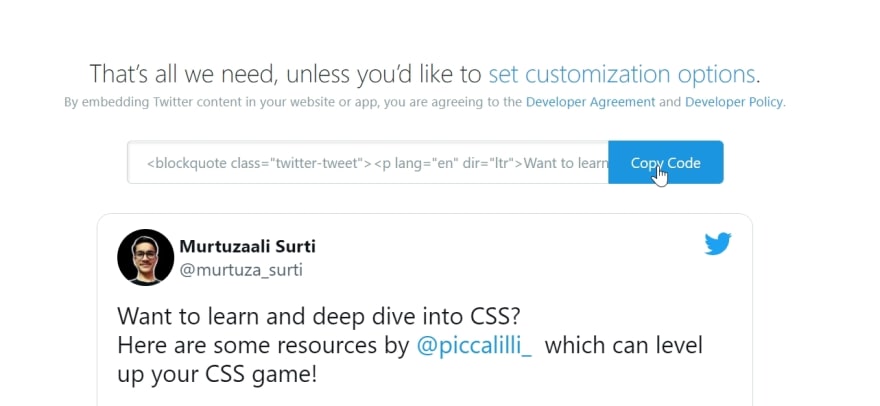
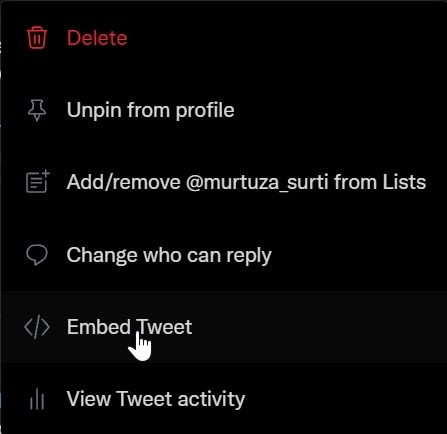
Paste the embed code of your tweet as shown above. Here's how you can get the embed code:
Go to your tweet
You will be redirected to a new tab and you can copy the embed code from there itself.

Note that you don't need to add multiple script tags for different tweets. You can add just one script tag at the bottom of the body element.
//add this just before the </body> tag.
<script async src="https://platform.twitter.com/widgets.js" charset="utf-8"></script>
Now that you have done that, it's time to style the embeds using CSS!
Styling the embeds using CSS!
You can do that by applying Flexbox properties to the container just like this!
.tweets{
    display: flex;
    flex-flow: row wrap;
    width: 100%;
    justify-content: center;
    padding: 0 3rem;
}
You can also customize the width of the embed! But note that the tweet embed can only shrink upto a certain limit. If you go beyond that threshold, the embed will overflow, so keep that in mind.
.tweet{
    width: 30rem;
    margin: 0 1.5rem;
}
Now, it's time to create a skeleton for these tweets!
Creating Skeleton for Embeds
<div class="tweets-skeleton">
    <div class="tweet-skeleton">
        <div class="img"></div>
        <div class="content-1">
            <div class="line"></div>
            <div class="line"></div>
            <div class="line"></div>
        </div>
        <div class="content-2">
            <div class="line"></div>
            <div class="line"></div>
        </div>
    </div>
</div>
Next, let's style this skeleton using CSS.
.tweets, .tweets-skeleton{
    display: flex;
    flex-flow: row wrap;
    width: 100%;
    justify-content: center;
    padding: 0 3rem;
}
.tweet, .tweet-skeleton{
    width: 30rem;
    margin: 0 1.5rem;
}
.tweet-skeleton{
    border: 0.05rem solid rgb(190, 190, 190);
    border-radius: 1rem;
    height: 30rem;
    margin-bottom: 2rem;
    padding: 1.5rem;
}
.tweet-skeleton .img{
    height: 5rem;
    width: 5rem;
    border-radius: 50%;
    background-color: rgb(209, 209, 209);
}
.tweet-skeleton .content-1, .tweet-skeleton .content-2{
    height: 25%;
    margin-top: 1rem;
}
.tweet-skeleton .line{
    height: 15%;
    margin: 0.5rem 0;
    width: 100%;
    border-radius: 0.3rem;
    background-color: rgb(209, 209, 209);
}
.tweet-skeleton .line:last-child{
    width: 75%;
}
Your tweet skeleton should look something like this:

Let's animate this skeleton to make it look like something is loading in the background! We will do that by using the concept of 'keyframes' in CSS and animating the background color of the lines of text as well as the image!
@keyframes tweet-skeleton {
    0%{
        background-color: rgb(209, 209, 209);
    }
    100%{
        background-color: rgb(243, 243, 243);
    }
}
And then, we will define the animation properties for the same.
.tweet-skeleton .img{
    height: 5rem;
    width: 5rem;
    border-radius: 50%;
    background-color: rgb(209, 209, 209);
    animation: tweet-skeleton 1s linear infinite alternate;
}

.tweet-skeleton .line{
    height: 15%;
    margin: 0.5rem 0;
    width: 100%;
    border-radius: 0.3rem;
    background-color: rgb(209, 209, 209);
    animation: tweet-skeleton 1s linear infinite alternate;
}
Here's the output:
As Kyle Cook wonderfully explains in his video, here's how you can create multiple skeleton templates based on your requirement using JavaScript!
const tweets_skeleton = document.querySelector(".tweets-skeleton");
const tweet_skeleton = document.querySelector(".tweet-skeleton");

for (let i = 0; i < 5; i++) {
  tweets_skeleton.append(tweet_skeleton.cloneNode(true));
}
Here comes the fun part! How to show the skeleton while the tweet embed is rendering? We are going to do that by using the setTimeout function in JavaScript.
The idea is to hide the tweet embeds for a certain time until they are rendered as iframes and showing the skeleton instead. After the specified time, the skeleton will hide itself and the tweet embeds will be shown. This is certainly not the best way to do this. Another approach is to detect the network speed of the client and accordingly decide the timing.
But to make things simple, we are going to use the setTimeout function which will be executed after 4 seconds.
Add these styles to the tweets container.
<div class="tweets" style="visibility: hidden; display: none;">
setTimeout(() => {
  document.querySelector(".tweets").style = "visibility: hidden;";
  tweets_skeleton.style = "display: none;";
}, 4000);
If there are large number of tweets, the loading time may increase.
Here's the final output:
That's all for now! I'm on twitter as murtuza_surti.
This content originally appeared on DEV Community and was authored by murtuza
murtuza | Sciencx (2021-09-26T08:56:15+00:00) Skeleton Loading for Social Media Embeds using CSS and JavaScript ?. Retrieved from https://www.scien.cx/2021/09/26/skeleton-loading-for-social-media-embeds-using-css-and-javascript-%f0%9f%94%a5/
Please log in to upload a file.
There are no updates yet.
Click the Upload button above to add an update.


