This content originally appeared on DEV Community and was authored by Suchitra
You will need
Basic understanding of Git and git commands. There are a lot of resources about Git on the internet. This book is a good place to start.
Git installed on your local system. If you don’t have Git on your device yet, you can download it here.
Step By Step Instructions
Making your first project on GitLab
Step 1:
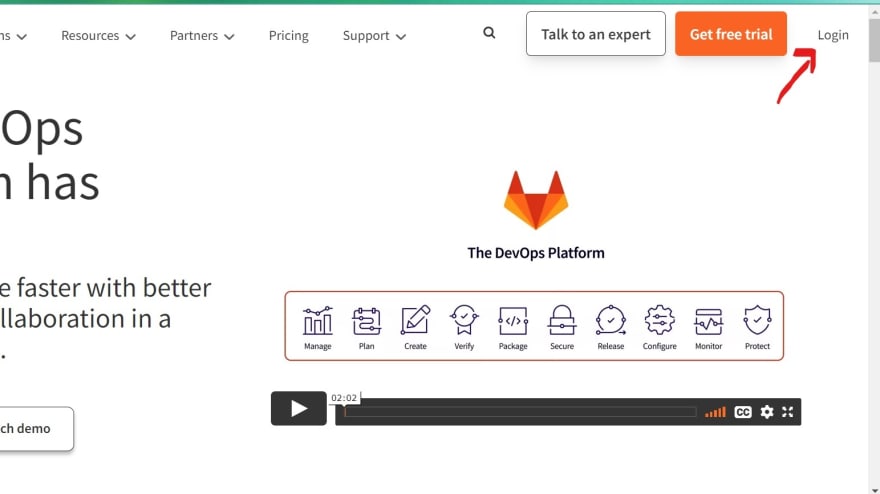
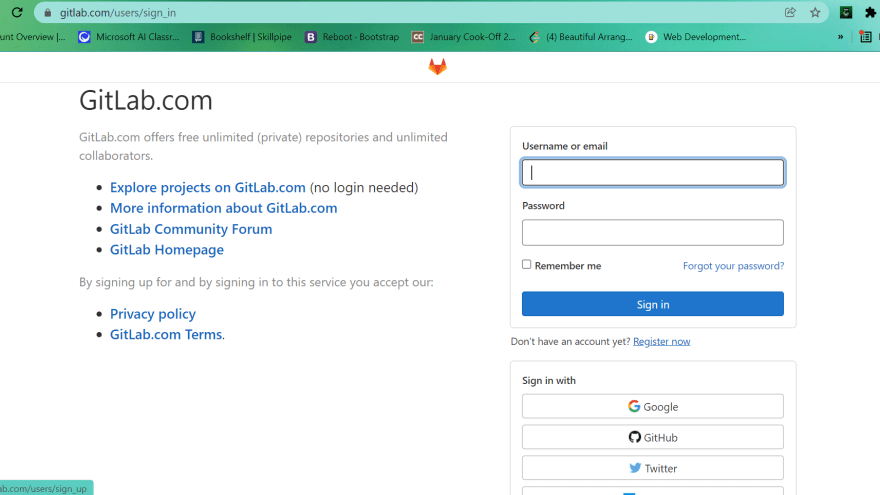
Go to GitLab website and log in. If you don’t have an account yet, sign up with your credentials. Alternatively, you can sign in with Google, LinkedIn, and other third-party sites.
Step 2: Create a Project
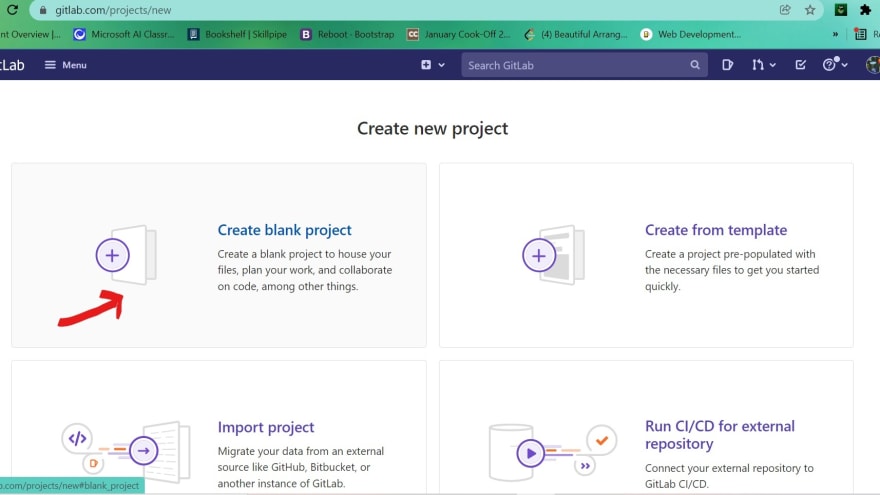
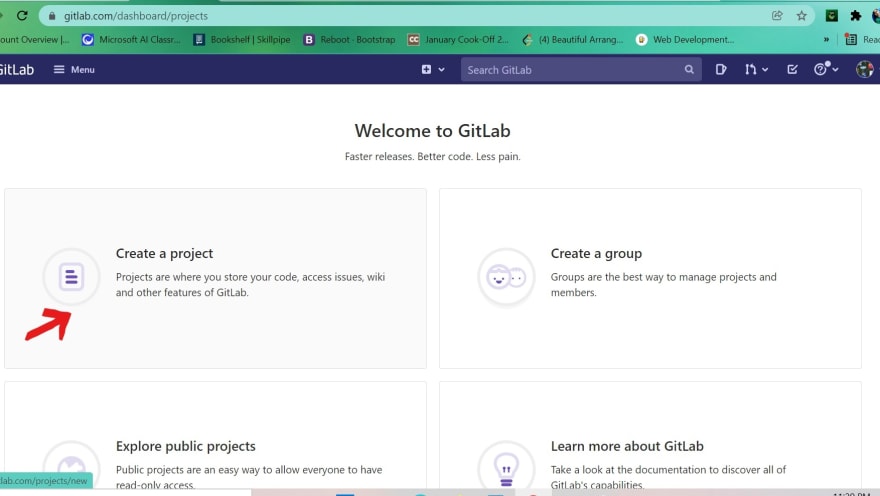
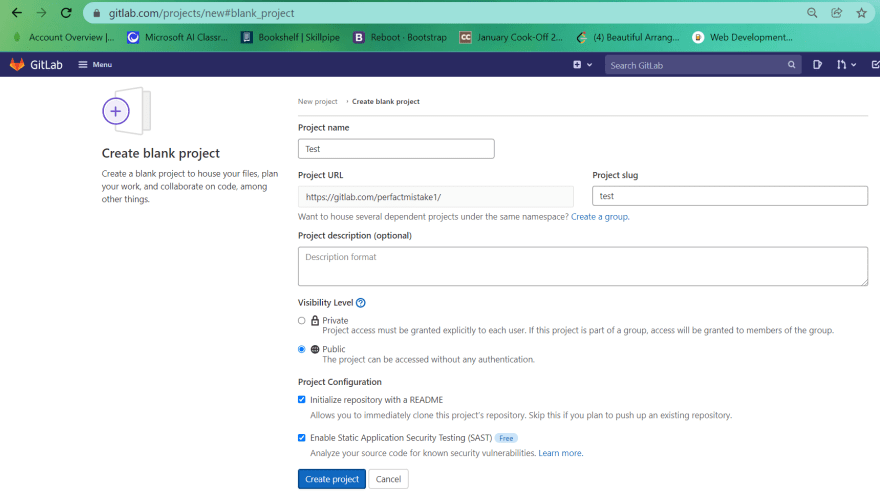
Press “Create a project”, then “Create blank project”. Put in your project’s name (we use “Test”) and a slug (“test”). The slug will show up in the URL of your project on GitLab. Optionally, fill in a project description.
Note: By default, the visibility of your project is private. You can change it to “public” if your project is public-facing and the code doesn’t contain any sensitive data. We changed visibility from “Private” to “Public” in this example.
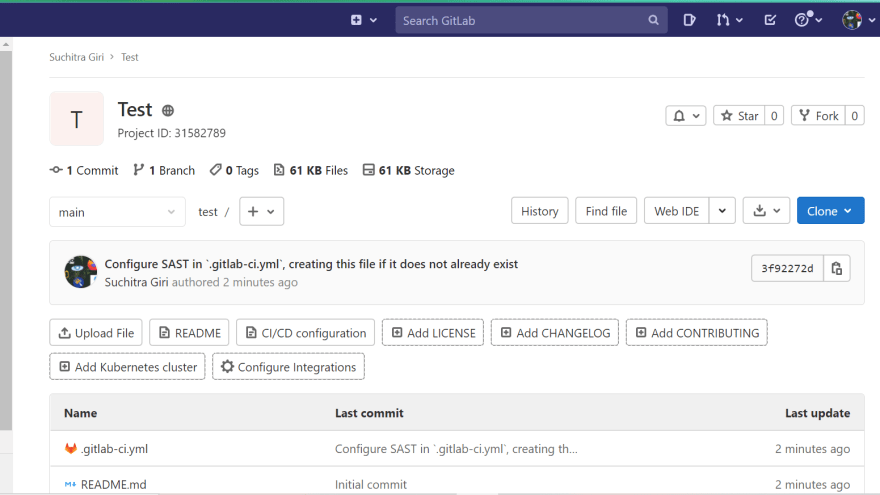
After completing these steps, your repository will open.Here you can see the “Test” repository is empty and has only a couple of default files: a README with basic user documentation and a GitLab yml file for continuous integration. Learn more about the yml file here.
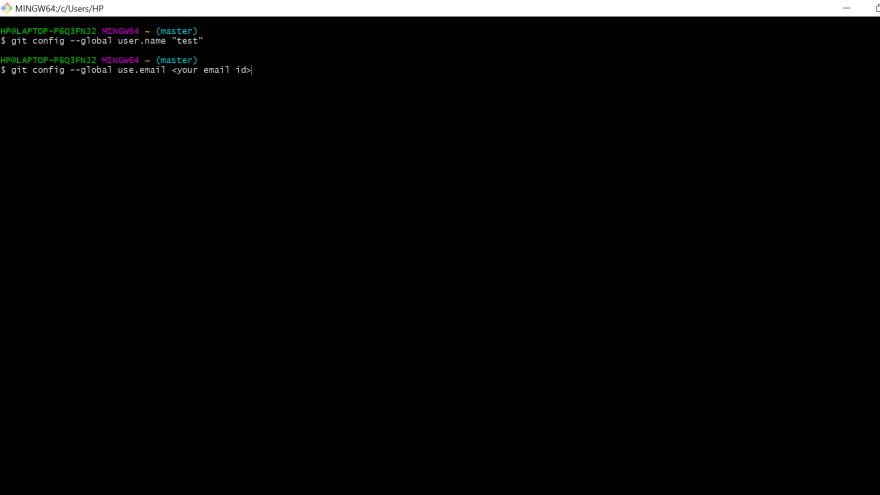
Step 3: Open git bash and configure git
Use the following commands for git configuration in your terminal or in Git Bash.
git config --global user. name <give username>
git config --global user.email <your email>
Note: If you are not a new user and already have this configured you can skip this step.
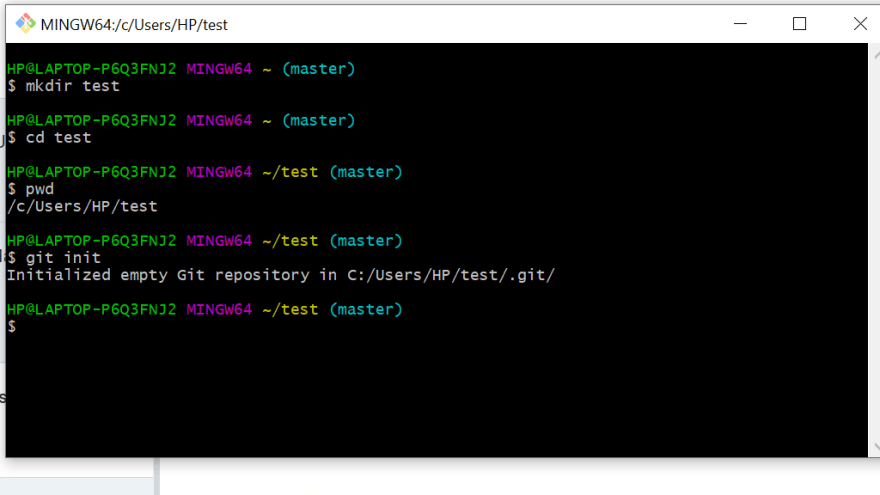
Step 4: Make a project folder/directory and initialize git
Make a directory/folder using the following command: mkdir <your foldername>
Open your newly created directory/folder with cd <folder name>
Confirm the directory location with pwd or ls
Then initialize your git repository using git init
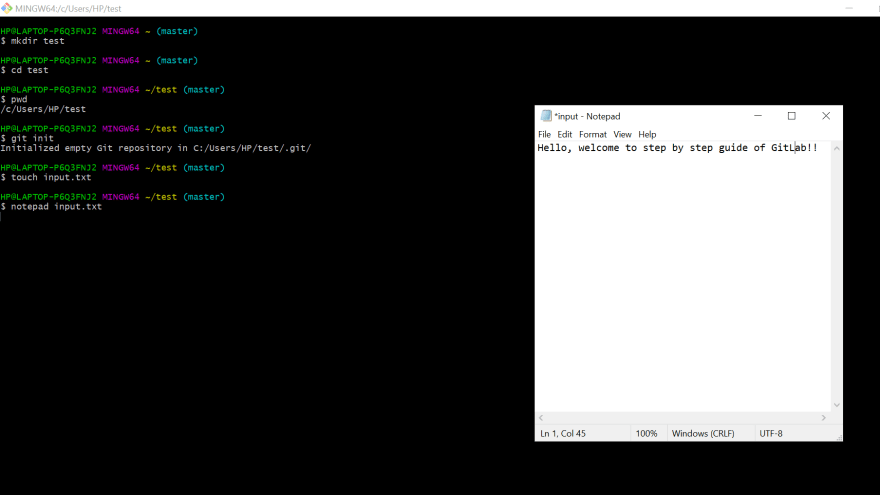
Step 5: Make an example text file using the touch command
Here you can change your file according to your requirement.
Open your file on notepad using: notepad <file name>
As you type the notepad <file name> command, the notepad will open as shown below. Then you can update your notepad text file according to your requirements.
Step 6: Check the status, add the file to staging and commit the changes.
Check the current status of your git repository: git status
Then, add all changes in the current directory to the staging area: git add .
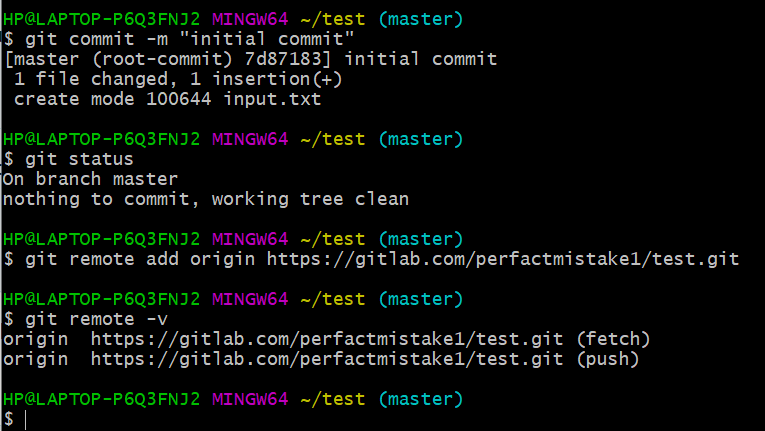
Commit the change: git commit -m <commit message>
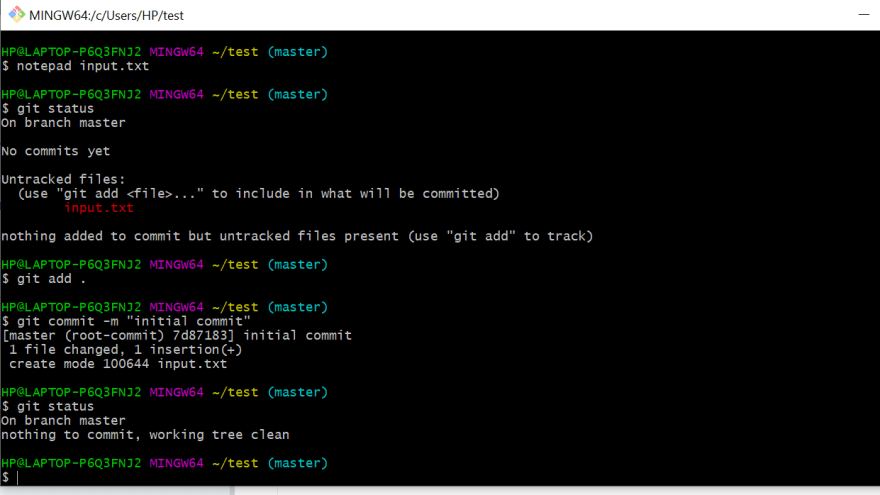
Step 7: Push your local changes to the remote repository in GitLab
Now use the remote command, followed by the push command, to push the file to the remote repository.
Input and run the following subsequent commands in your terminal:
git remote add origin <remote url>
git remote -v
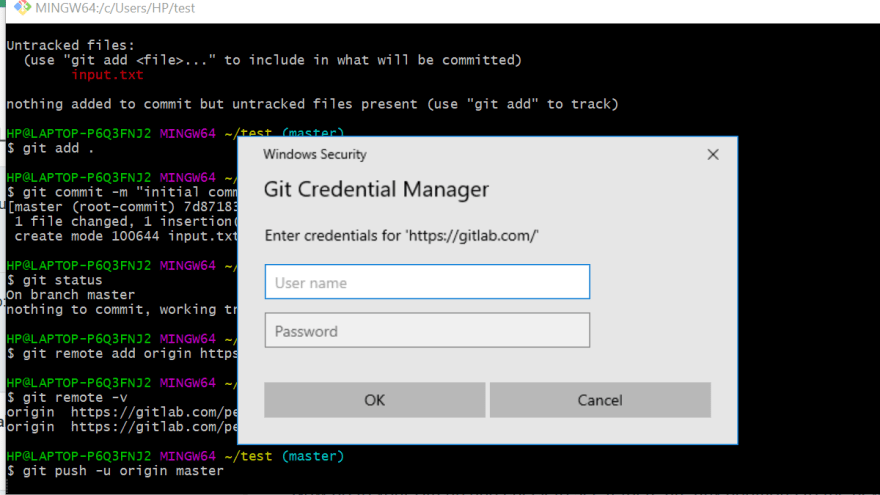
Now push the local repository to remote GitLab server by using git push -u origin master/main
As you write the push command, this window will pop up for authentication. Put in your GitLab credentials and continue.
Result:
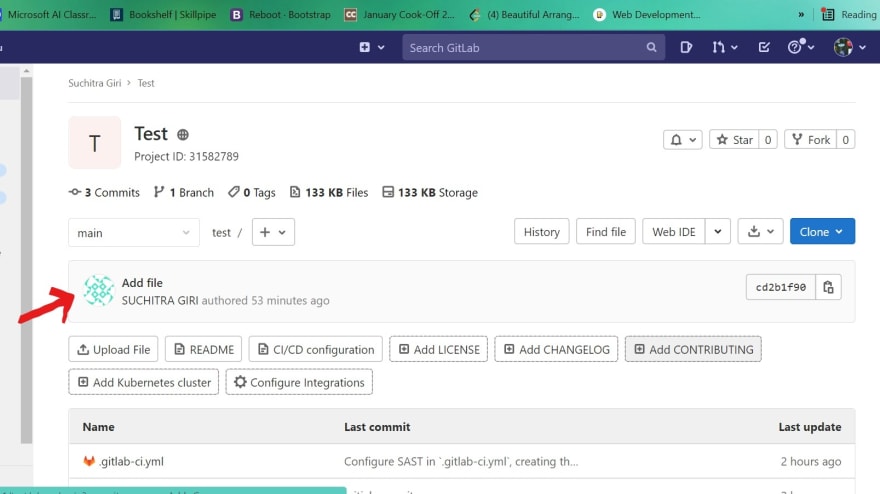
All of your local changes will be checked into version control and reflected on your remote GitLab repository.
Congratulations, you upload your very first project on GitLab using version control
Thanks you reading, hope this guide helps!
This content originally appeared on DEV Community and was authored by Suchitra
Suchitra | Sciencx (2021-11-28T13:14:11+00:00) GitLab Project Guide Step By Step!. Retrieved from https://www.scien.cx/2021/11/28/gitlab-project-guide-step-by-step/
Please log in to upload a file.
There are no updates yet.
Click the Upload button above to add an update.

