This content originally appeared on Level Up Coding - Medium and was authored by Nainy Sewaney

What is virtualization?
Imagine you want to render a massive list of tweets generated every minute. You fetch an enormous amount of data(probably in JSON) and add it to the DOM using HTML, CSS and JavaScript.
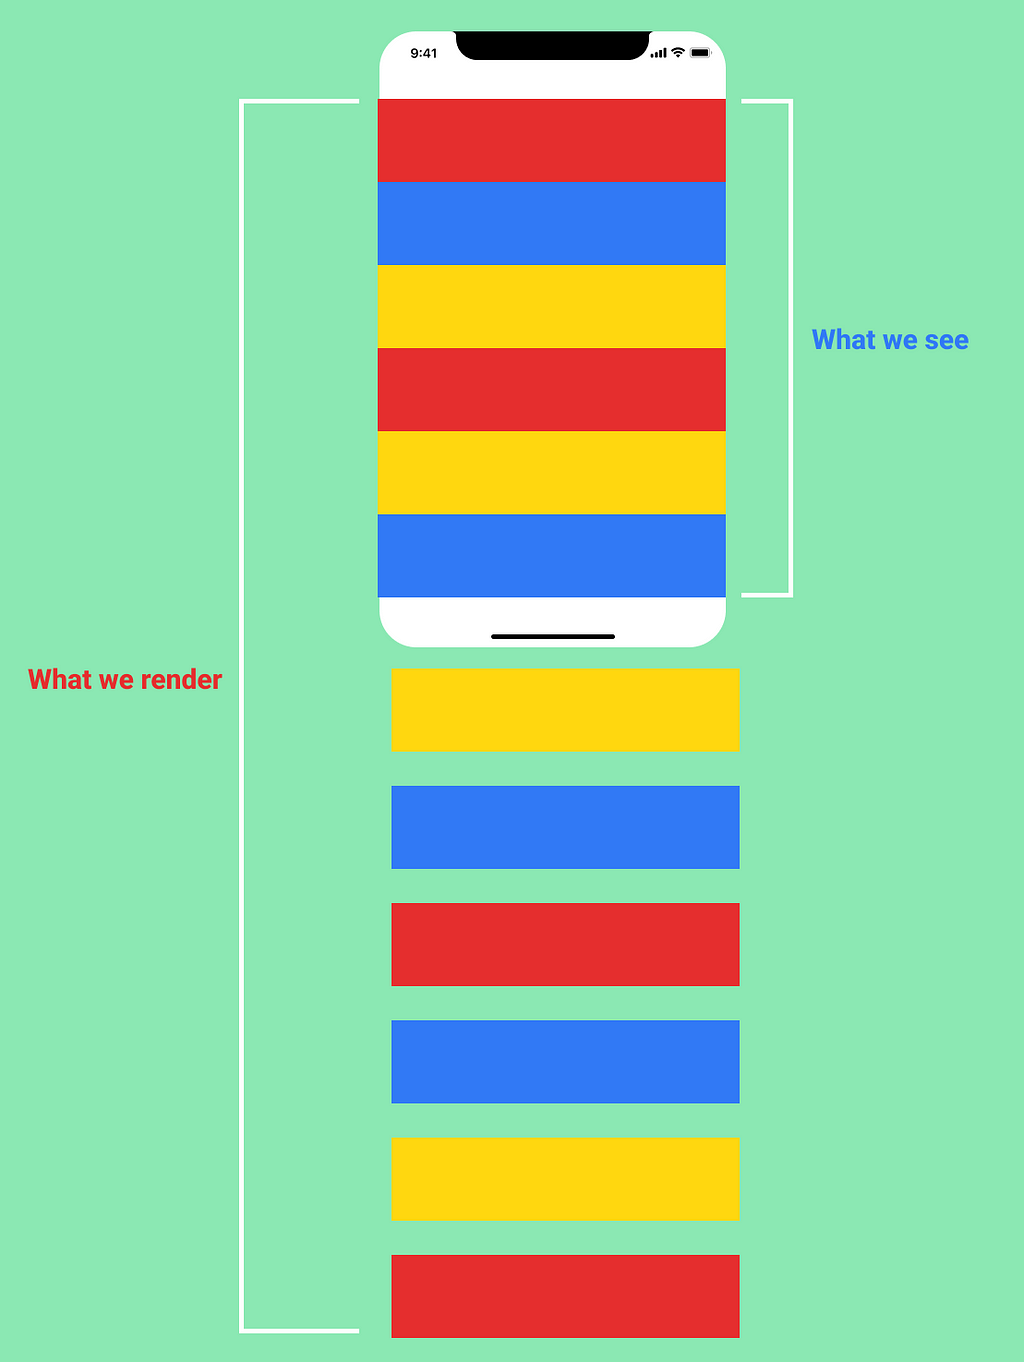
We might be unable to see all tweets in under a minute before the data changes. Not only that, as rendering DOM elements occupies browser memory, there is a chance that our browser will take a performance hit and slow down.
Here’s a quick visualization:

So what can we do to ensure that our browser is lightning fast even when we display huge data lists?
Enter UI virtualization.
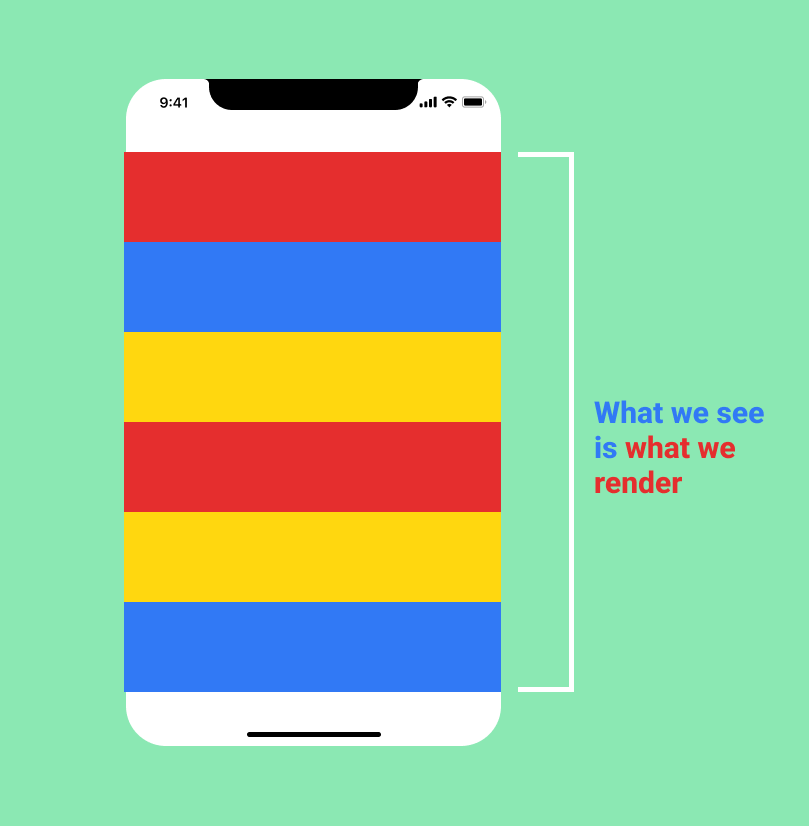
UI virtualization is a front-end concept that asks us to render only the amount of data visible in the user’s viewport rather than adding all DOM elements at once.

If we render the exact amount of data visible in the user’s viewport, the user may have to wait a couple of seconds when scrolling for the following data set to become available in the DOM.
To avoid such a user experience, we can fetch additional buffer data to account for the user’s scroll behavior.
Here’s what it will look like:

This formula ensures that our browser and users are happy when rendering and viewing large data lists.
Now that we have some clarity on UI virtualization, we can see how to implement it in React.
Virtualization in React
We will use the react-virtualized package to implement virtualization.
At the most basic level, the List component of the react-virtualized package is responsible for rendering the entire list of elements.
It needs the following props:
- The height and width of the list.
- The size of each row of the element.
- The number of items in the list.
- The function that will be responsible for rendering your list.
Quite a lot. I know.
To better understand, let’s see how the picture looks like during implementation in the Code Sandbox below.
As you can see, we have hardcoded the width and height of the list and the row height of elements for now. I promise to tell you how to make this list responsive in the upcoming code samples.
You might have also noticed that the rowRenderer prop takes a function as a value. That function has access to parameters such as key, index and style elements.
Let me tell you what they mean.
- Key — The unique key assigned to the items in the list.
- Index —The index of each element in the list.
- Style — Style properties dynamically added to place DOM elements in the list’s correct position when the user scrolls.
Now that we know how to render a virtualized list, it’s time to keep up my promise and move on to its responsiveness.
For that, let’s have a look at the below Code Sandbox.
Expanding on our previous example, you can see a new component added called AutoSizer.
The AutoSizer component from react-virtualized provides you with the width and height properties to pass to the List component.
AutoSizer accepts a function that gets the width and height as props and returns the elements to render. In our case, that will be the List component.
AutoSizer can have a parent div that determines its height and width, leading to you having complete control over the dimensions of the list rendered.
Okay. Sounds good.
But there’s still a missing piece.
We do have the row height hardcoded.
What if there are multiple elements in the list, each having a different height?
How do we get around that?
The CellMeasurer component from react-virtualized can solve this problem.
Let’s have a look.
CellMeasurer and CellMeasurerCache are two components offered by react-virtualized that help you measure the element size dynamically.
Let me elaborate.
The CellMeasurer will measure the size of the element. CellMeasurerCache will store the CellMeasurer measurements to share with the parent component.
The CellMeasurerCache accepts an object wherein you can configure the measurements you need. In the above code sample, fixedWidth means that the items will have a fixed width and dynamic height.
Going further, rowHeight of List component consumes the value from the CellMeasurerCache. That is because the cache stores the measurements from the CellMeasurer. The deferredMeasurementCache allows sharing the measurement data between the List and CellMeasurer components.
The columnIndex for CellMeasurer is 0 as there is only one column for the List component. rowIndex is the index of the row to measure. parent is the reference to the parent List used for rendering the items.
There you have it. A dynamically configured virtualized list in React using react-virtualized.
I hope the article has given you a good starting point to explore virtualization and the react-virtualized package in more detail.
If you have any questions, suggestions, comments, feel free to share them in the comments section below.
Till then, Happy Coding!
References:
Rendering large lists with react-virtualized
How To Render Your Lists Faster With React Virtualization was originally published in Level Up Coding on Medium, where people are continuing the conversation by highlighting and responding to this story.
This content originally appeared on Level Up Coding - Medium and was authored by Nainy Sewaney
Nainy Sewaney | Sciencx (2022-01-18T23:39:49+00:00) How To Render Your Lists Faster With React Virtualization. Retrieved from https://www.scien.cx/2022/01/18/how-to-render-your-lists-faster-with-react-virtualization/
Please log in to upload a file.
There are no updates yet.
Click the Upload button above to add an update.
