This content originally appeared on Bits and Pieces - Medium and was authored by Chameera Dulanga
An introduction to Remix JS and Remix features. How to build an app with Remix. How to use in-built route loading and nested routes

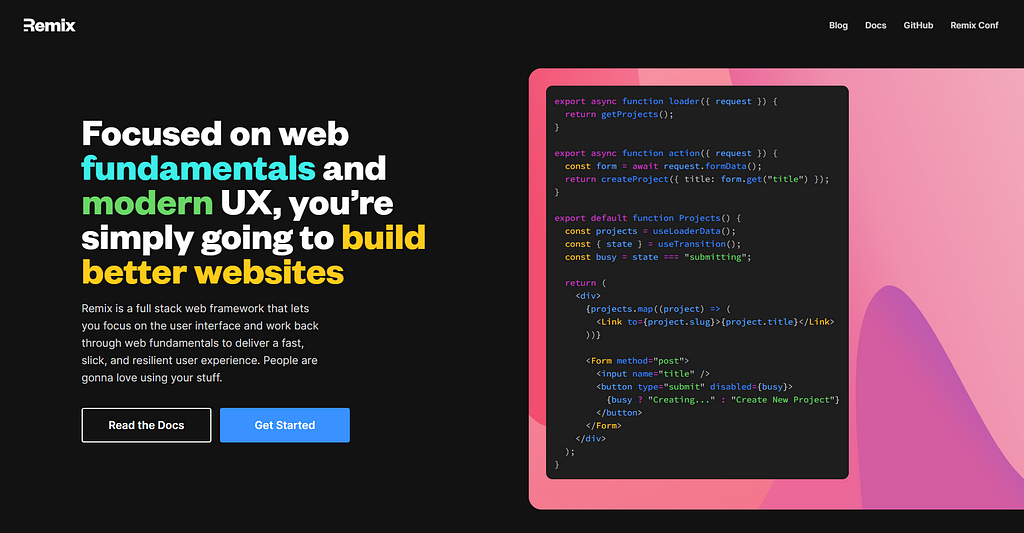
Remix is a recently introduced open-source React framework. It supports server-side rendering and allows to create both front-end and back-end through a single Remix application.
As a web developer, I found it very interesting and gave it a try. So in this article, I will introduce Remix, reveal some of its core features, and walk you through a creation of a simple application.
Introduction to Remix

Remix is a React framework that can be used for server-side rendering. Some developers even call Remix a full-stack development framework since it allows to build both frontend and backend applications.
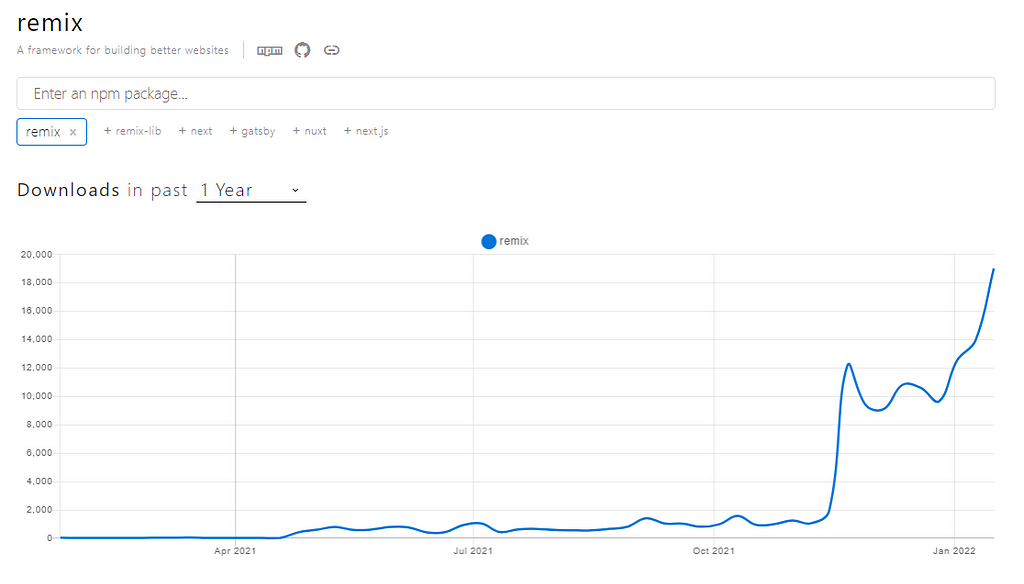
Initially, Remix was introduced on a paid subscription basis. But after some time it became open-source and developers started to adopt Remix for their development. Currently, it has more than 11K GitHub stars, and the graph below shows how the usage of its NPM package increased within the last few months.

Features of Remix
As discussed above, developers quickly embraced Remix for their projects. Now, let’s discuss some of the amazing features of Remix behind this success.
1. In-Built Routing and Nested Routes
Remix routing is built based on React Router v6. Therefore, we can use all the React Router APIs like Outlet, userLocation, useNavigation in Remix applications. However, Remix routing has its way of working. It will pre-load all the nested routes when the application is initialized. Although this may increase the initial load, the interactive time of the application will improve.
Remix routing relies on HTML navigation. Thus, it is not mandatory to have JavaScript to enable routing. However, if JavaScript is enabled, it will enhance the routing performance.
Apart from that, one of the most highlighted features of Remix routing is nested routes. It allows creating nested routes using nested folder structure. For example, if you create a file named new.jsx inside the routes/user folder, Remix will automatically create the nested route /user/new.
This allows Remix to know all the application routes beforehand, and identify the important components to improve styles, data, and module loadings of them.
2. Data Loaders
Remix introduced loaders to simplify the server interactions when fetching data into components. Although it is not mandatory to use them, these conventions will make developers’ work easier.
It allows Remix to:
- Revalidate and ensure that the data in the UI is synced with the server data.
- Quickly recover on JavaScript failures.
- Optimize user interactions by only loading data for the changing parts of the page.
- Handle server-side errors.
[loader](https://remix.run/docs/en/v1/api/conventions#loader) is loader function we can use with [useLoaderData](https://remix.run/docs/en/v1/api/remix#useloaderdata) hook in each route. It can be called on the server-side and will get the necessary data for the route before the component renders.
The following code shows a simple example of how we can use loader and useLoderData in Remix.
import { useLoaderData } from "remix";
import type { LoaderFunction } from "remix";

export let loader: LoaderFunction = () => {
  // database query to get data
};

export default function Users() {
  let results = useLoaderData();
  return (
    <div><h1>Users</h1>
      {results.map(user => (
        <div>{user.name}</div>
      ))}
    </div>
  );
}
Loaders are specifically designed for GET requests and are most suitable for database querying, payment processing, and content management.
3. Data Actions
Actions are similar to loaders, but they are used in POST, PUT, PATCH, and DELETE requests. Remix provides a function named action, a server-only function like the loader function. It allows group data reads, components, and the data writes of a single route module.
The example given below shows how to use action function in Remix.
import { redirect, Form } from "remix";
import { getUsers, createUser} from "~/db";
import { UserList } from "~/components/UserList";

export async function loader() {
  return getUsers();
}

export async function action({ request }) {
  const body = await request.formData();
  const todo = await createUser({
    // ...
  });

  redirect(`/users/${user.id}`);
}

export default function Todos() {
  const data = useLoaderData();
  return (
    <div>
      <UserList users={data} />
      <Form method="post">
        <input type="text" name="name" />
        <button type="submit">Create User</button>
      </Form>
    </div>
  );
}
4. Progressive enhancement
Another existing feature of Remix is its ability to work without JavaScript. Usually, web pages tend to break if JavaScript is not loaded. But, when you use Remix, you will not get a blank page. Instead, the page will load with a raw HTML experience.
Since Remix heavily depends on the server-side computations, losing JavaScript support will not affect it significantly. Even the forms and routings will work without JavaScript support. However, this will decrease the interactive experience of the application.
On the other hand, there can be situations where we do not need to use JavaScript in components. In such situations, Remix allows us to disable JavaScript. You can implement this feature as follows:
First, you need to add a handle to each route module that needs JavaScript.
export const handle = { hydrate: true };Then, you can use useMatches hook in root.tsx to check if the routes need JavaScript or not.
import { Scripts, useMatches } from "remix";

export default function App() {
  const matches = useMatches();

  const includeScripts = matches.some(
    match => match.handle?.hydrate
  );

  return (
    <html lang="en"><head><meta charSet="utf-8" /><Meta /></head><body>
        {includeScripts ? <Scripts /> : null}
      </body></html>
  );

}
In addition to what has already been discussed, there are many exciting features available in Remix. You can find more about them in the Remix documentation.
Building an Application with Remix
Now that you have a good understanding of Remix and its key features, let’s see how to create a simple Remix application. Here, I will be using JSONPlaceholder mock API to relevant details of post addresses once the user enters a post id.
Step 1. Creating an Application
You can easily create a new Remix application using npx create-remix@latest <application-name> command. Then, you will get an interactive menu in the console where you need to configure deployment target, language, and whether to run npm install or not.


The setup will run the initial npm install for you. It will take a few minutes to create the project.
Step 2. Understanding the Folder Structure
By default, Remix creates a set of files and includes some tutorials for you. The app folder contains all the application logic, and the routes folder all the application routes.
Apart from that, there are 3 files under the app folder. root.jsx file contains the general page layout, and the other 2 files are managed by Remix. So, it is advised not to update entry.client.jsx and entry.server.jsx files.
You will find some tutorial links in the routes/index.js file. Make sure you clean it till the default exported component before starting the development.
export default function Index() {
  return <div></div>;
}
Step 3. Creating a Form
Now, let’s create a simple form with a GET method in the routes/index.jsx file.
export default function Index() {
 return (
  <div>
   <form action="/post" method="GET">
    Post Id: <input type="number" name="postId" />
    <input type="submit" value="Get Posts" />
   </form>
  </div>
 );
}
This form will collect the post id. When the user clicks on the “Get Posts” button, posts/postId=? part will be appended to the URL.
Step 4. Creating a Loader Function
After creating the form, you need to handle the /posts route. For that, you have to create a new file named post.jsx inside the routes folder.
import { Outlet } from "react-router";
export default function Post() {
 return (
  <>
   <h1>My Posts</h1>
   <Outlet />
  </>
 );
}
The Outlet component will automatically look for the post folder inside the routes folder and embed the content to the main page. So, you will have to create another folder as post in the routes folder with an index.jsx file.
import axios from "axios";
import { useLoaderData, redirect } from "remix";

export async function loader({ request }) {
 try {
  const url = new URL(request.url);
  const search = new URLSearchParams(url.search);
  const postId = search.get("postId");
  const res = await axios.get(
   `https://jsonplaceholder.typicode.com/posts/${postId}`
  );
  return { postId, title: res.data.title, body: res.data.body };
 } catch (err) {
  console.error(err);
  redirect("/");
  return {};
 }
}

export default function Index() {
 const data = useLoaderData();
 return (
  <div>
   <h1>{data.postId}</h1>
   <h2>{data.title}</h2>
   <h4>{data.body}</h4>
  </div>
 );
}
As discussed earlier, this file will use the loader function and useLoaderdata hook to fetch and display the data.
That’s it. You have now successfully created a simple Remix application. You can find the complete code example in my Github repository.
Unlock 10x development with independent components
Building monolithic apps means all your code is internal and is not useful anywhere else. It just serves this one project. And as you scale to more code and people, development becomes slow and painful as everyone works in one codebase and on the same version.
But what if you build independent components first, and then use them to build any number of projects? You could accelerate and scale modern development 10x.
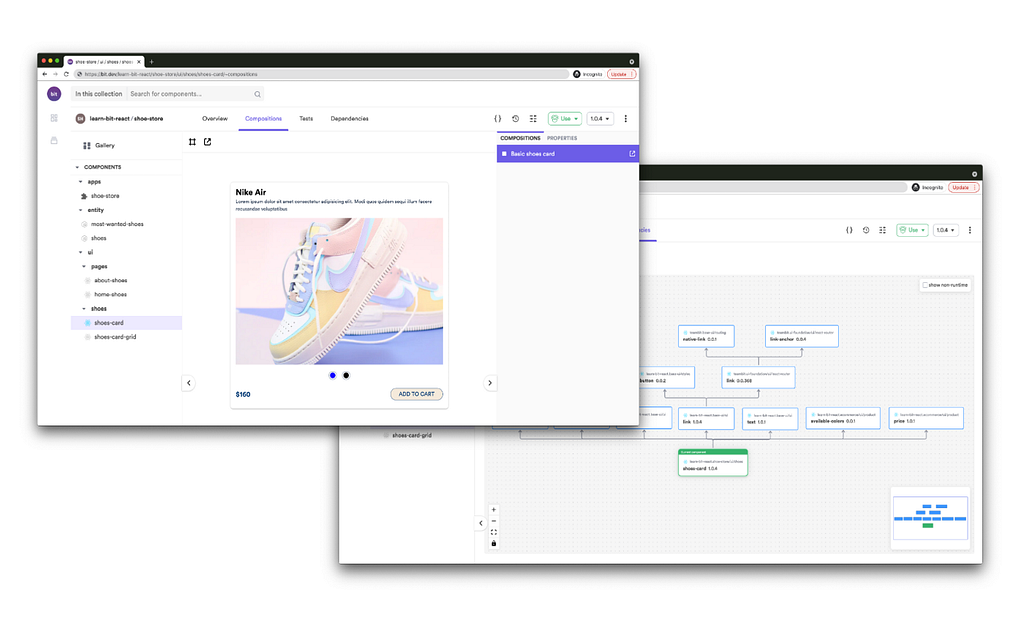
OSS Tools like Bit offer a powerful developer experience for building independent components and composing modular applications. Many teams start by building their Design Systems or Micro Frontends, through independent components. Give it a try →

Conclusion
As discussed above, Remix offers some amazing features to developers. Although it has not been a long time since it was made open-source, usage of Remix has rapidly increased.
Compared to Next.js, Remix is still a bit behind, and many areas of it further need to be improved. Particularly, Remix documentation is still not complete, and it does not have a huge community behind it.
However, that does not necessarily mean that we should not use Remix. We can always use it for small-scale applications and test its features. Meantime, the Remix team will improve its features. Hopefully, it will have a vast ecosystem similar to Next.js. within a few years.
So, I invite you to try out Remix and share your thoughts in the comments section. Thank you for reading.
Learn More
- Building a React Component Library — The Right Way
- 5 Ways to Avoid React Component Re-Renderings
- 7 Tools for Faster Frontend Development in 2022
Create a Server-Side Rendered App using Remix JS was originally published in Bits and Pieces on Medium, where people are continuing the conversation by highlighting and responding to this story.
This content originally appeared on Bits and Pieces - Medium and was authored by Chameera Dulanga
Chameera Dulanga | Sciencx (2022-02-07T16:09:47+00:00) Create a Server-Side Rendered App using Remix JS. Retrieved from https://www.scien.cx/2022/02/07/create-a-server-side-rendered-app-using-remix-js/
Please log in to upload a file.
There are no updates yet.
Click the Upload button above to add an update.
