
This content originally appeared on DEV Community and was authored by Yongchang He
Part 2: Build the test React App and realize making transactions locally using MetaMask Wallet.
The purpose of building this blog is to write down the detailed operation history and my memo for learning the dApps.
If you are also interested and want to get hands dirty, just follow these steps below and have fun!~
Previous Blog
Getting started
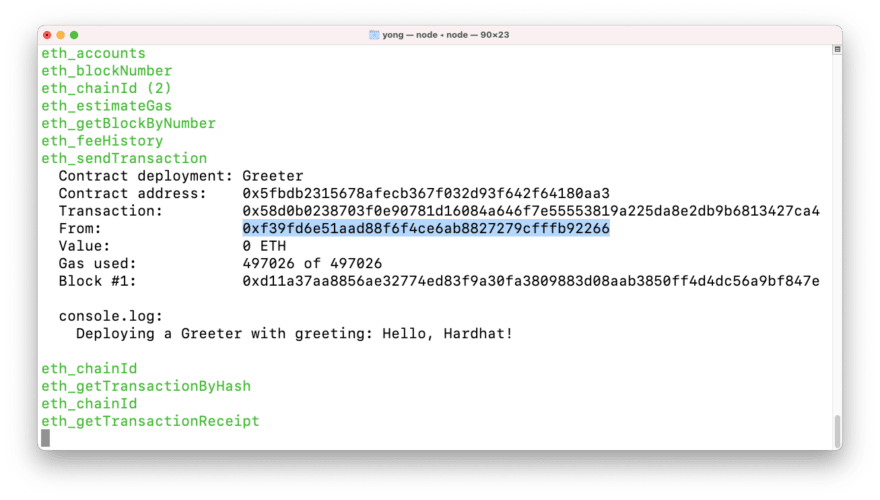
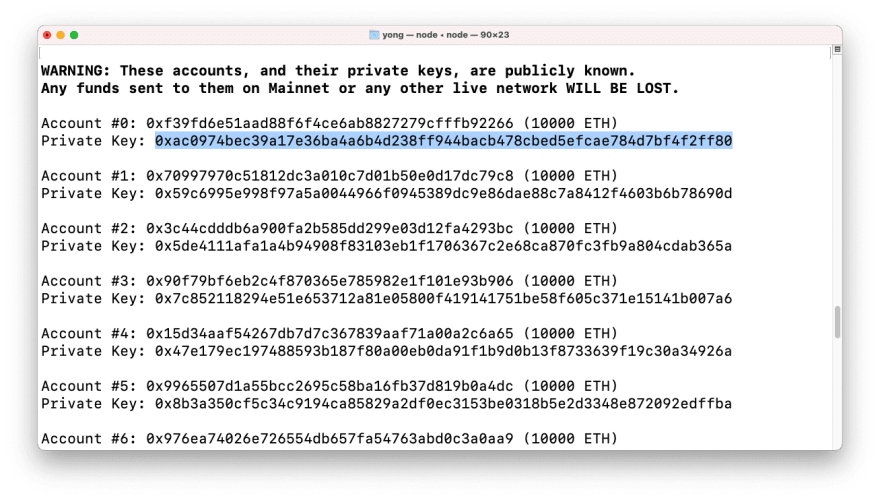
Previously we have deployed the running test network (including 20 accounts) as well as the smart contract (related with Account #0). Our next step is to use metamask to connect to our smart contract account: Account #0.

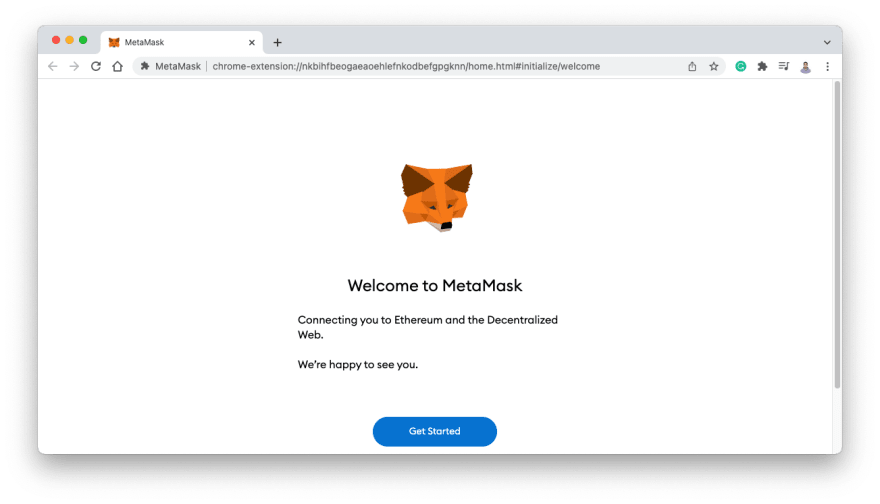
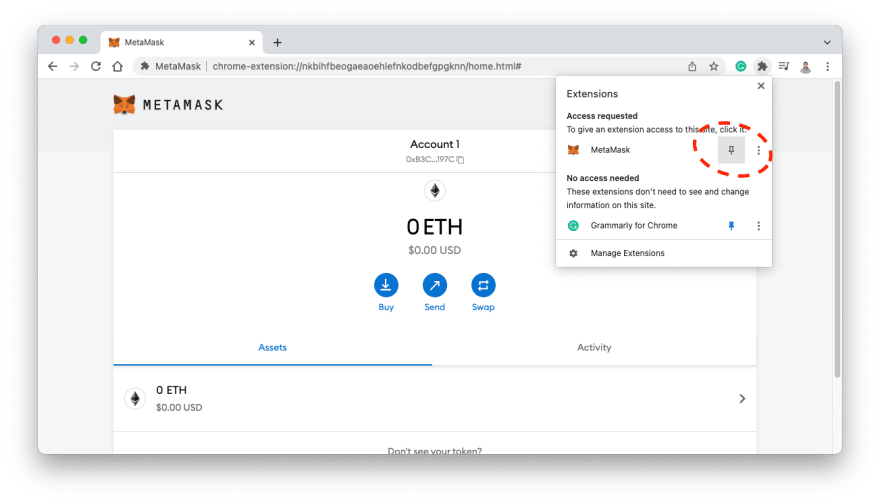
We need to install metamask chrome extension , then click Get Started , Create a Wallet , I Agree with Help us improve MetaMask, create your own password, Remind me later, then close the popping Start swapping window, and lastly pin MetaMask to your browser.
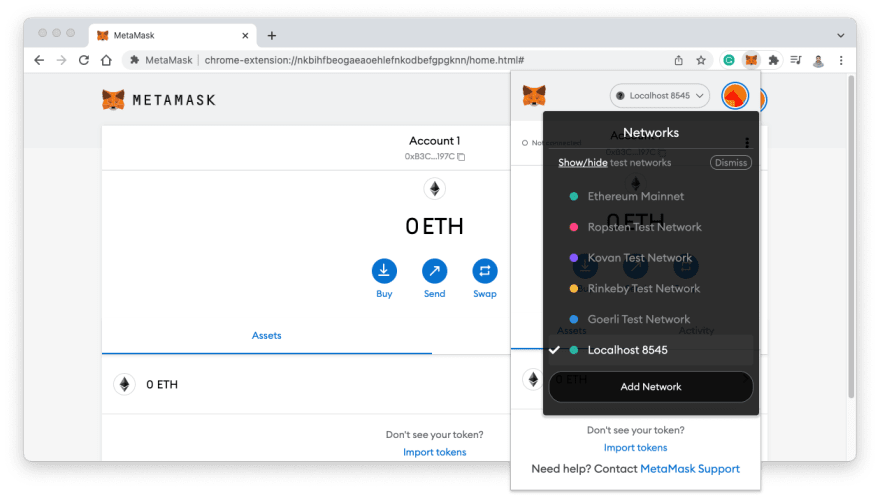
Let's click on the pinned MetaMask icon and change networks to Localhost8545. Click on Show/hide test networks to show test networks.
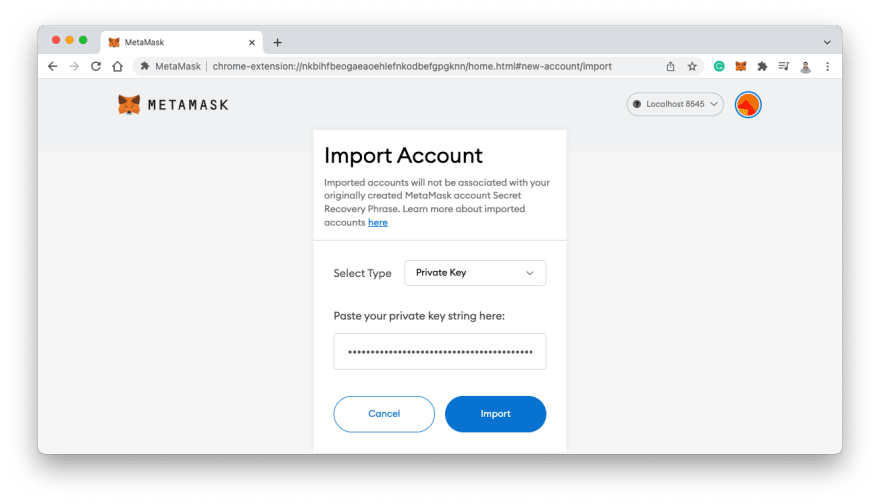
Next, copy the Private Key of Account #0, and go back to your MetaMask account and import account by pasting your private key string.

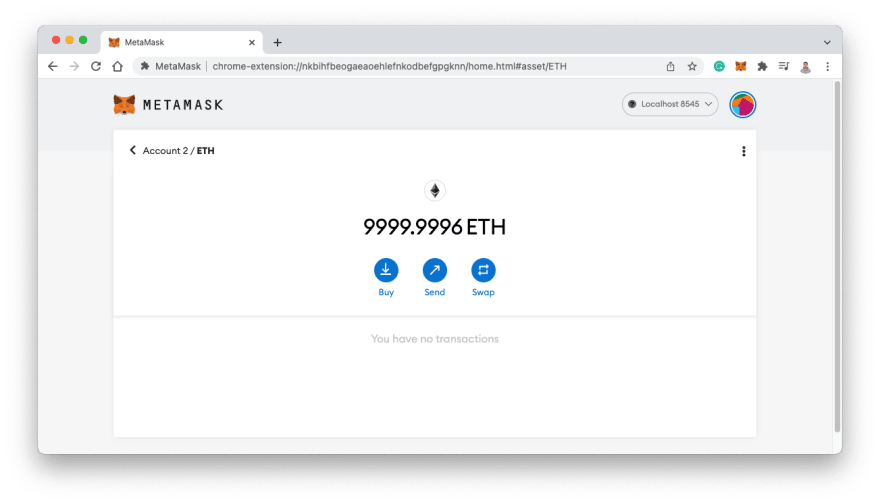
After clicking Import, we will have ETH in current account.
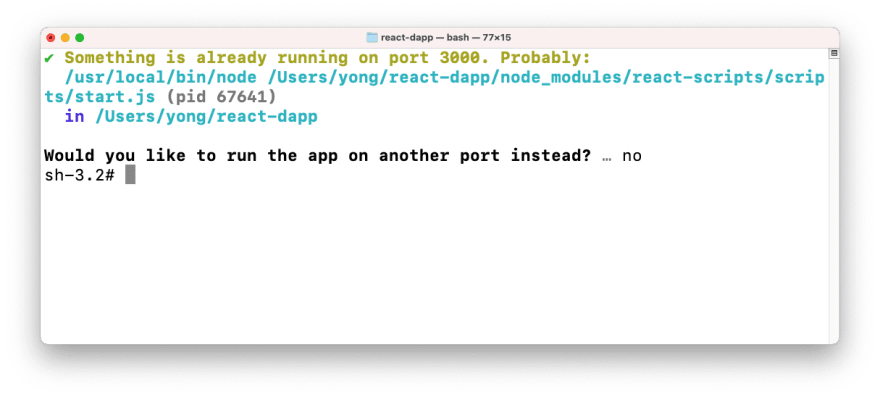
Next let's switch to terminal window and type npm start command. This will open up the React App web Server. (For me I have already done this step and I answered n to the terminal). We can test by opening up a new chrome window and going to. localhost:3000:
npm start
Then we open up our code at directory /REACT-DAPP/src/App.js . First import dependencies at top page:
import { useState } from 'react';
import { ethers } from 'ethers';
import './App.css';
import Greeter from './artifacts/contracts/Greeter.sol/Greeter.json';
Then add variable greeterAddress, and assign the deployed contract address to it:

const greeterAddress = "0x5fbdb2315678afecb367f032d93f642f64180aa3";
Next we will give users a form to input/rewrite their messages in the BlockChain.
Add this code into function App() but right above return function:
const [greeting, setGreetingValue] = useState()
Next let's create functions: requestAccount() fetchGreeting() and setGreeting() that right above return function.
Annotations have been added amongst lines of codes in case that we want to know specifically what operations we have done.
  async function requestAccount(){
    // Aims to connect to the Metamask wallet of the user and create a transaction
    // Request users' account information from MetaMask wallet
    // This will prompt the user to connect to one of their MetaMask account
    // if they have already connected and return array of their accounts
    await window.ethereum.request({ method: 'eth_requestAccounts' });
  }
  async function fetchGreeting(){
    // When Ethereum window is exist
    // Waiting for the MetaMash extension to be connected
    // If MetaMask is not installed on that user's broswer,
    //window.ethereum will be rejected
    if (typeof window.ethereum !== 'undefined'){
        // Create a new provider using Ethers
        // In our case we use Web3Provider
        const provider = new ethers.providers.Web3Provider(window.ethereum)
        // When We have the provider instance, we can now create contract instance
        // We should pass in greetAddress, Greeter.abi and provider
        const contract = new ethers.Contract(greeterAddress, Greeter.abi, provider)
        try{
          // Read value from BlockChain, and assign it to variable data
          const data = await contract.greet()
          // Show data to console
          console.log('data: ', data)
        }catch (err) {
          console.log("Error: ", err)
        }
    }
  }
  async function setGreeting(){
    // To check if users have typed in a greeting
    // If no greeting function stop without writing empty string
    if (!greeting) return
    // When Ethereum window is exist
    if (typeof window.ethereum !== 'undefined'){
      // Wait for the user to go ahead and enable the account to be used
      await requestAccount()
      // Create another new provider using Ethers
      // In our case we use Web3Provider
      const provider = new ethers.providers.Web3Provider(window.ethereum);
      // Await to sign a transaction using a signer
      const signer = provider.getSigner();
      // Create contract instance and pass in contract address, abi and signer
      const contract = new ethers.Contract(greeterAddress, Greeter.abi, signer);
      // Passing in greeting variable
      const transaction = await contract.setGreeting(greeting);
      setGreetingValue('')
      // Waiting the transaction to be confirmed on the BlockChain
      await transaction.wait()
      // Refresh value
      fetchGreeting()
    }
  }
Then update return function:
  return (
    <div className="App">
      <header className="App-header">
        <button onClick={fetchGreeting}>Fetch Greeting</button>
        <button onClick={setGreeting}>Set Greeting</button>
        <input
          onChange={e => setGreetingValue(e.target.value)}
          placeholder="Set greeting"
          value={greeting}
        />
      </header>
    </div>
  );
As a whole: App.js:
import { useState } from 'react';
import { ethers } from 'ethers';
import './App.css';
import Greeter from './artifacts/contracts/Greeter.sol/Greeter.json'

// Store the contract Address into variable
const greeterAddress = "0x5fbdb2315678afecb367f032d93f642f64180aa3";


function App() {
  const [greeting, setGreetingValue] = useState('')

  async function requestAccount(){
    // Aims to connect to the Metamask wallet of the user and create a transaction
    // Request users' account information from MetaMask wallet
    // This will prompt the user to connect to one of their MetaMask account
    // if they have already connected and return array of their accounts
    await window.ethereum.request({ method: 'eth_requestAccounts' });
  }

  async function fetchGreeting(){
    // When Ethereum window is exist
    // Waiting for the MetaMash extension to be connected
    // If MetaMask is not installed on that user's browser,
    //window.ethereum will be rejected
    if (typeof window.ethereum !== 'undefined'){
        // Create a new provider using Ethers
        // In our case we use Web3Provider
        const provider = new ethers.providers.Web3Provider(window.ethereum)
        // When We have the provider instance, we can now create contract instance
        // We should pass in greetAddress, Greeter.abi and provider
        const contract = new ethers.Contract(greeterAddress, Greeter.abi, provider)
        try{
          // Read value from BlockChain, and assign it to variable data
          const data = await contract.greet()
          // Show data to console
          console.log('data: ', data)
        }catch (err) {
          console.log("Error: ", err)
        }
    }
  }

  async function setGreeting(){
    // To check if users have typed in a greeting
    // If no greeting function stop without writing empty string
    if (!greeting) return
    // When Ethereum window is exist
    if (typeof window.ethereum !== 'undefined'){
      // Wait for the user to go ahead and enable the account to be used
      await requestAccount()
      // Create another new provider using Ethers
      // In our case we use Web3Provider
      const provider = new ethers.providers.Web3Provider(window.ethereum);
      // Await to sign a transaction using a signer
      const signer = provider.getSigner();
      // Create contract instance and pass in contract address, abi and signer
      const contract = new ethers.Contract(greeterAddress, Greeter.abi, signer);
      // Passing in greeting variable
      const transaction = await contract.setGreeting(greeting);
      setGreetingValue('')
      // Waiting the transaction to be confirmed on the BlockChain
      await transaction.wait()
      // Refresh value
      fetchGreeting()
    }
  }

  return (
    <div className="App">
      <header className="App-header">
        <button onClick={fetchGreeting}>Fetch Greeting</button>
        <button onClick={setGreeting}>Set Greeting</button>
        <input
          onChange={e => setGreetingValue(e.target.value)}
          placeholder="Set greeting"
          value={greeting}
        />
      </header>
    </div>
  );
}

export default App;
Lastly, let's start the React Server and test our code:
npm start
We should be able to launch React App test webpage(localhost:3000) , and also be able to make updates to the greeting by signing the contract with MetaMask wallet and spending the fake Ether:

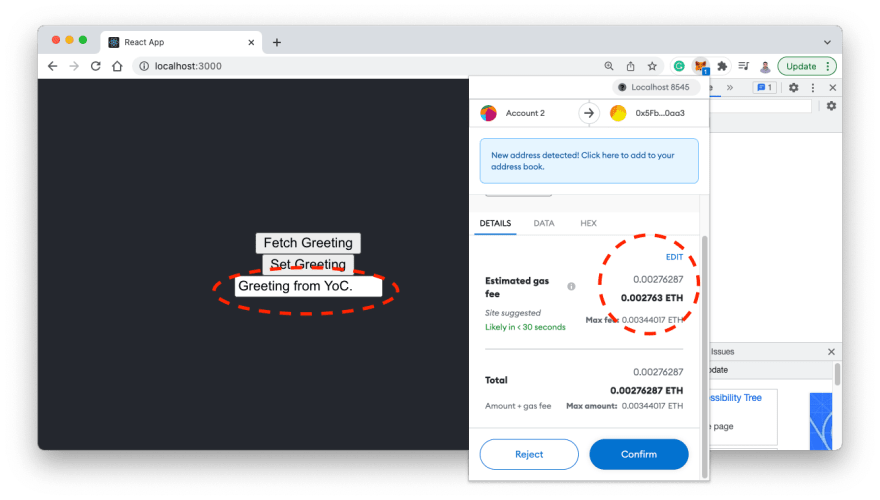
So Cool!
References:
https://dev.to/dabit3/the-complete-guide-to-full-stack-ethereum-development-3j13
https://www.youtube.com/watch?v=a0osIaAOFSE
This content originally appeared on DEV Community and was authored by Yongchang He
Yongchang He | Sciencx (2022-02-17T21:08:20+00:00) Ethereum Development Blog (2). Retrieved from https://www.scien.cx/2022/02/17/ethereum-development-blog-2/
Please log in to upload a file.
There are no updates yet.
Click the Upload button above to add an update.