This content originally appeared on Level Up Coding - Medium and was authored by Meta Collective
What is Solr?
The ability to search is a key feature of most modern applications. While accumulating huge amounts of data, they need to allow the end-user to find what they’re searching for without delay. Solr solves that problem by providing a blazing-fast, open-source search platform.
Solr (pronounced “solar”) is an open-source enterprise-search platform, written in Java. Its major features include full-text search, hit highlighting, faceted search, real-time indexing, dynamic clustering, database integration, NoSQL features[2], and rich document (e.g., Word, PDF) handling. Providing distributed search and index replication, Solr is designed for scalability and fault tolerance.[3] Solr is widely used for enterprise search and analytics use cases and has an active development community and regular releases.
from: wiki
In this post, I am going to cover the following topic
- Run Solr in a docker container
- Create a new core
- Add schema
- Add content
- Perform search
Run Solr in a docker container
If you don’t have docker for desktop installed, then install it from here https://www.docker.com/products/docker-desktop (it is free)
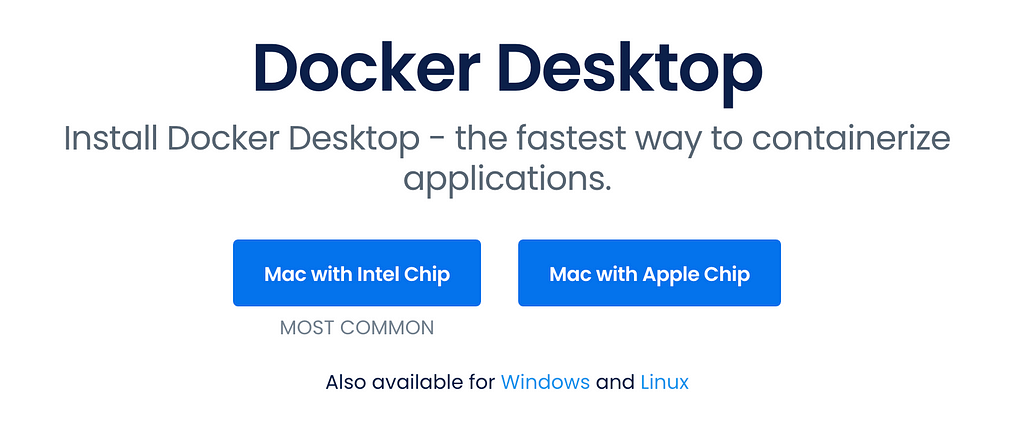
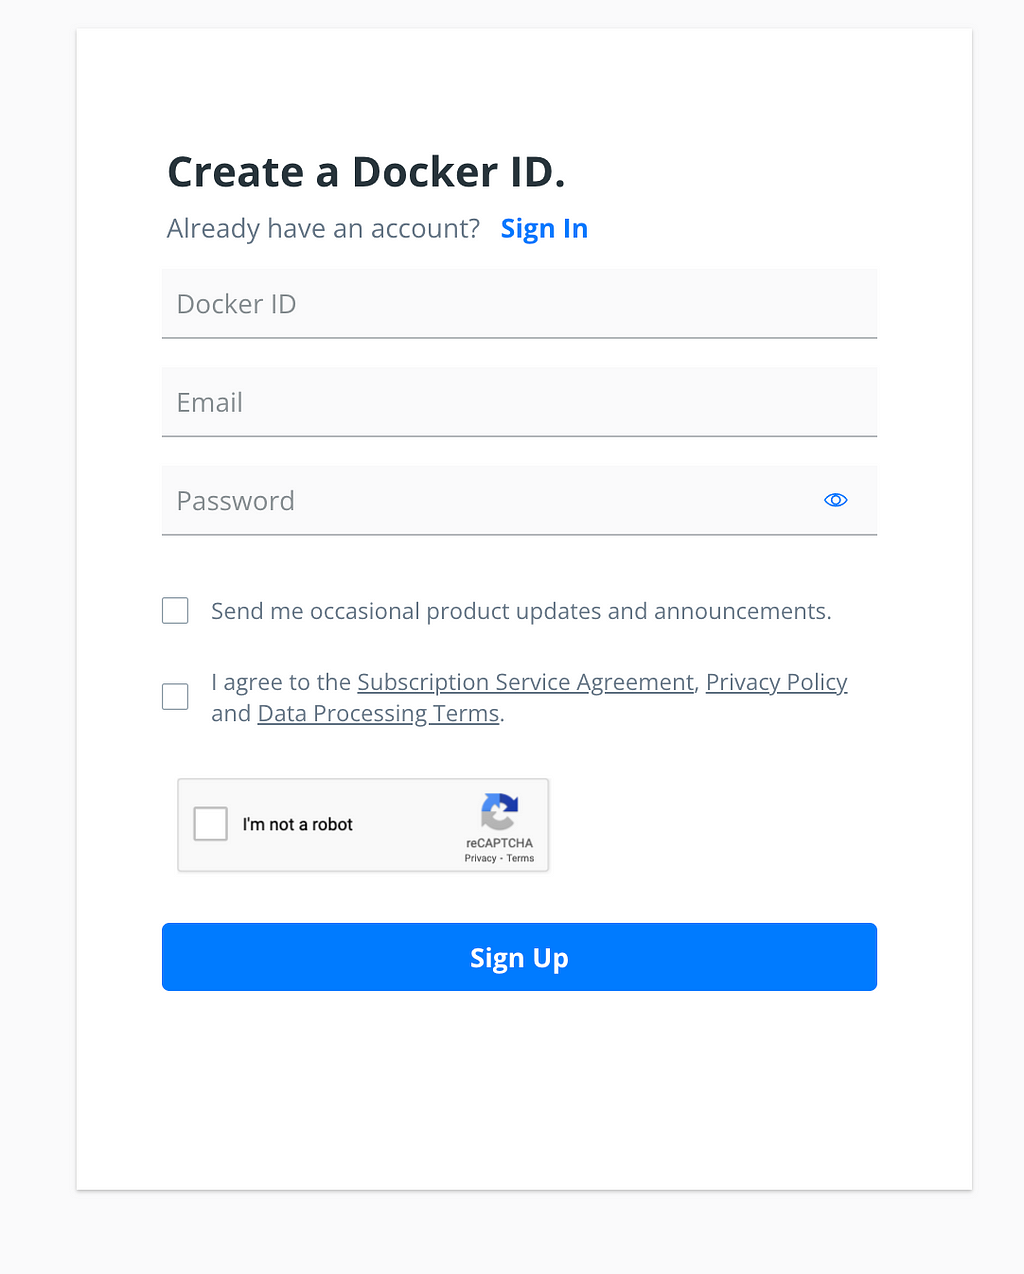
Once installed, head over to https://hub.docker.com/ and create an account (it is free).
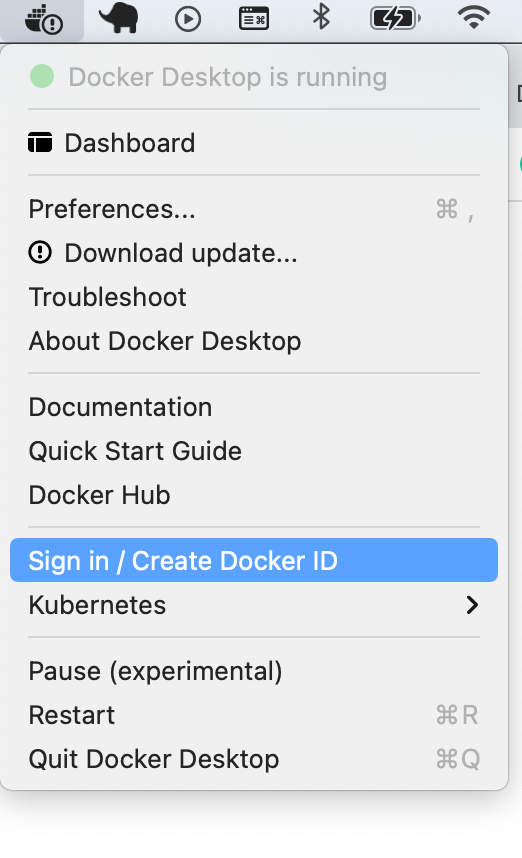
Start your docker and login into it using the docker hub credentials
With docker successfully installed and running on your machine, we are now ready to pull an image from the docker hub.
In this case, we need to pull down a Solr image and you can find its details from the docker hub website by searching for it which will lead you to this page- https://hub.docker.com/_/solr
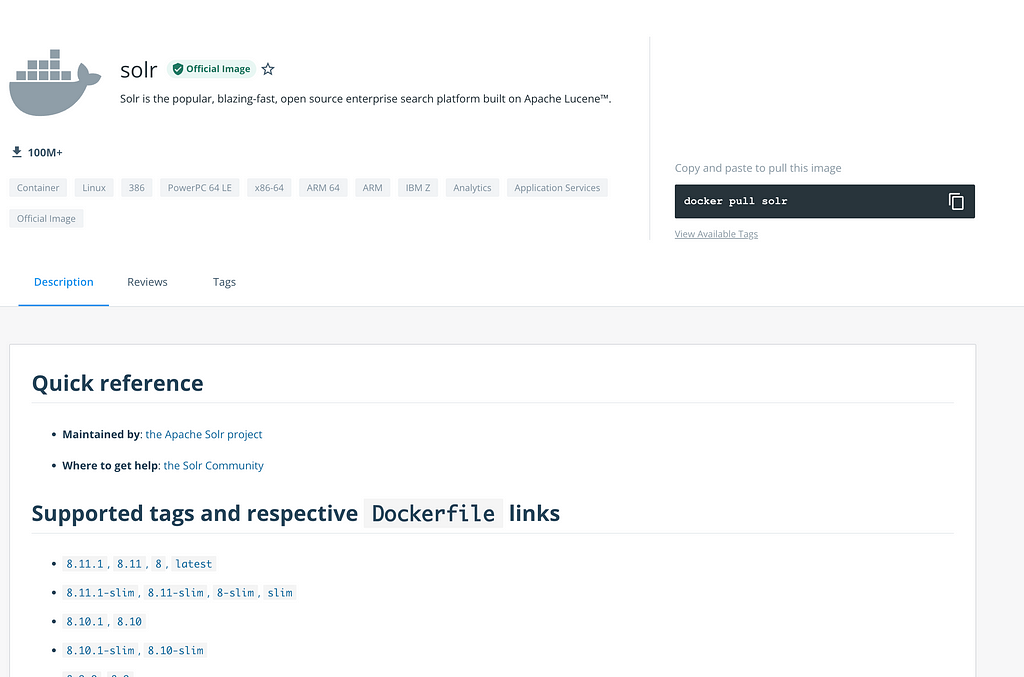
Here you can see all the various versions of Solr images that have been published. I am going to pick the latest one for this post
Open a terminal and run this command
Let’s understand this command
- docker run - This will try and run a container from image if available on your machine and if not then it will pull it down from the docker hub
- d - This will run docker in the detached mode so you can continue to use your terminal
- -p - This will do port mapping. In this case, Solr runs on 8983 and it is mapped with your local port 8983
- --name - Name of your image. It can be anything you like
- -solr solr-precreate my_core - This is a command directly run on the container that contains Solr now.
solr-precreate will create a new Solr core (More on Solr core is coming up) and name it as my_core. You can name it whatever you like.
This is how your terminal should look like
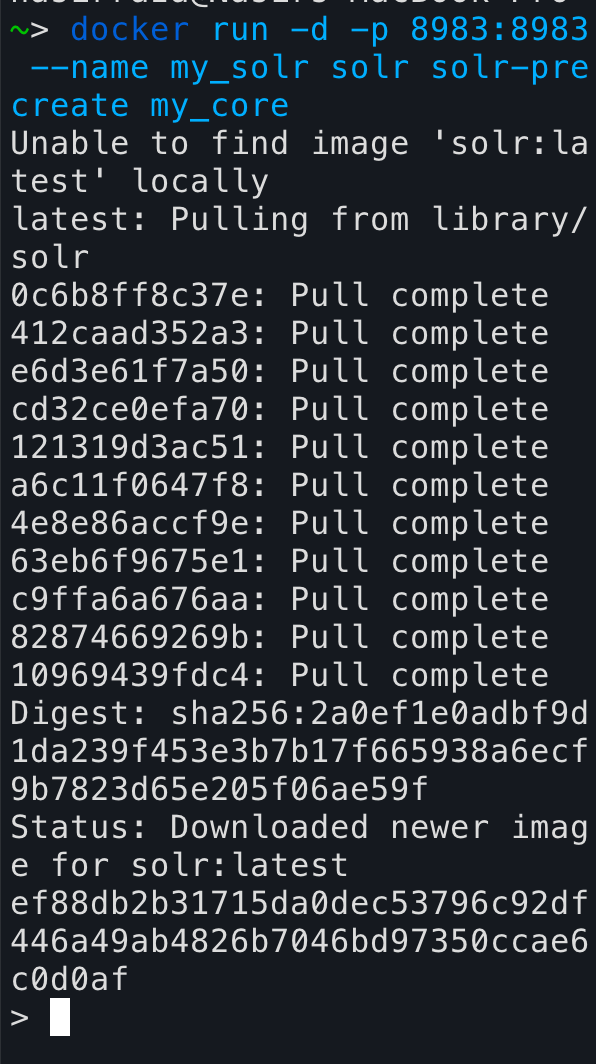
And you should have a running container on your docker desktop like this

You can also list your running containers by running this command in your terminal
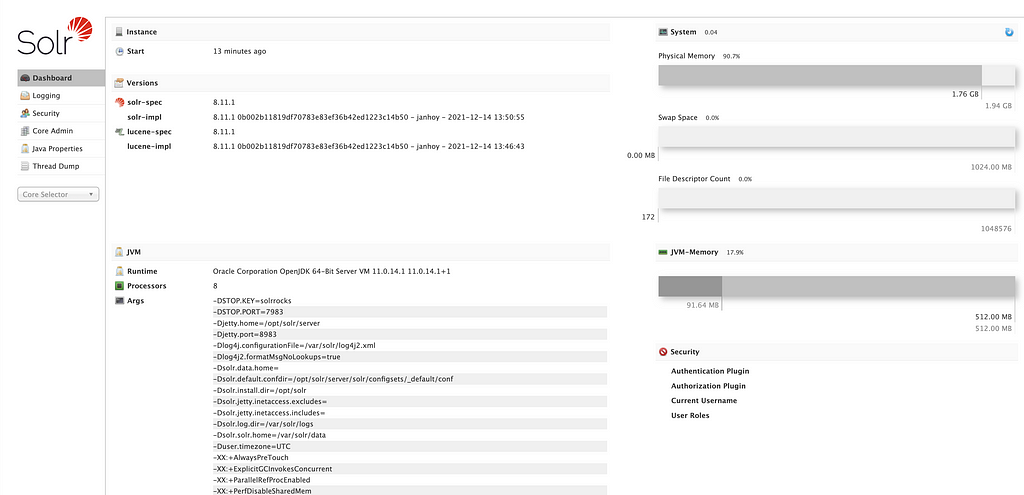
If you now go to http://localhost:8983/, you should be able to see solr admin page like this
There are some basic concepts/terminologies when it comes to working on Solr. I will try and cover some of them but you can read all about it from here https://solr.apache.org/guide/8_0/index.html
What is Solr core?
In Solr, the term core is used to refer to a single index and associated transaction log and configuration files (including the solrconfig.xml and Schema files, among others). Your Solr installation can have multiple cores if needed, which allows you to index data with different structures in the same server, and maintain more control over how your data is presented to different audiences.
What is schema.xml?
it defines the schema of the documents that are indexed/ingested into Solr (i.e. the set of fields that they contain). It also defines the data type of those fields. It configures the document structure (a document is made of fields with field types), and how field types are processed during indexing and querying.
What is a document?
In Solr, a Document is the unit of search and index.
An index consists of one or more Documents, and a Document consists of one or more Fields.
In database terminology, a Document corresponds to a table row, and a Field corresponds to a table column.
Since we added a core while starting the container, we can now see it on our admin URL http://localhost:8983/solr/#/my_core/core-overview
As you can see, there are quite a few items under the core and each one has some special feature. For this post, we are going to concentrate on adding a new schema and some documents to it. You can do most of it from the admin section itself, for example, you can add scheme fields like this
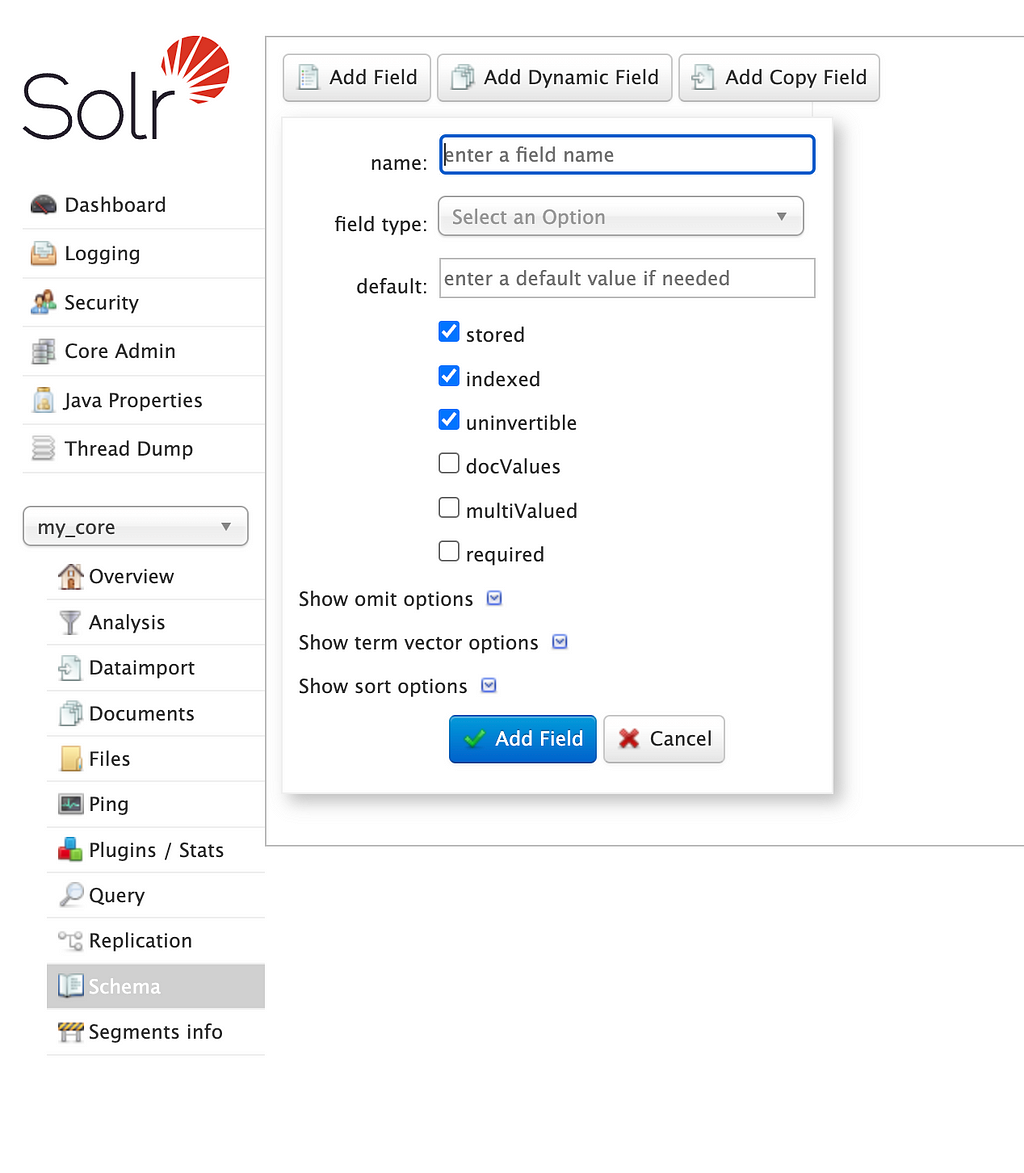
But the trouble with this is that it is not very convenient. Imagine if you want to add numerous fields. It can become a pain every time you have to build a schema. The good news is that Solr comes with its own API which makes it very easy to manage these actions.
Add fields to schema
For this post, I am going to use this dataset as an example -
Hence, I need to add all these fields to my schema. For this, I will first create a schema.json file like this -
You can read all about the schema here - https://solr.apache.org/guide/8_1/schema-api.html
Now head over to postman/insomnia (or any similar tool) and call schema endpoint
curl -X POST -H 'Content-type:application/json' --data-binary '{...}' http://localhost:8983/solr/my_core/schema
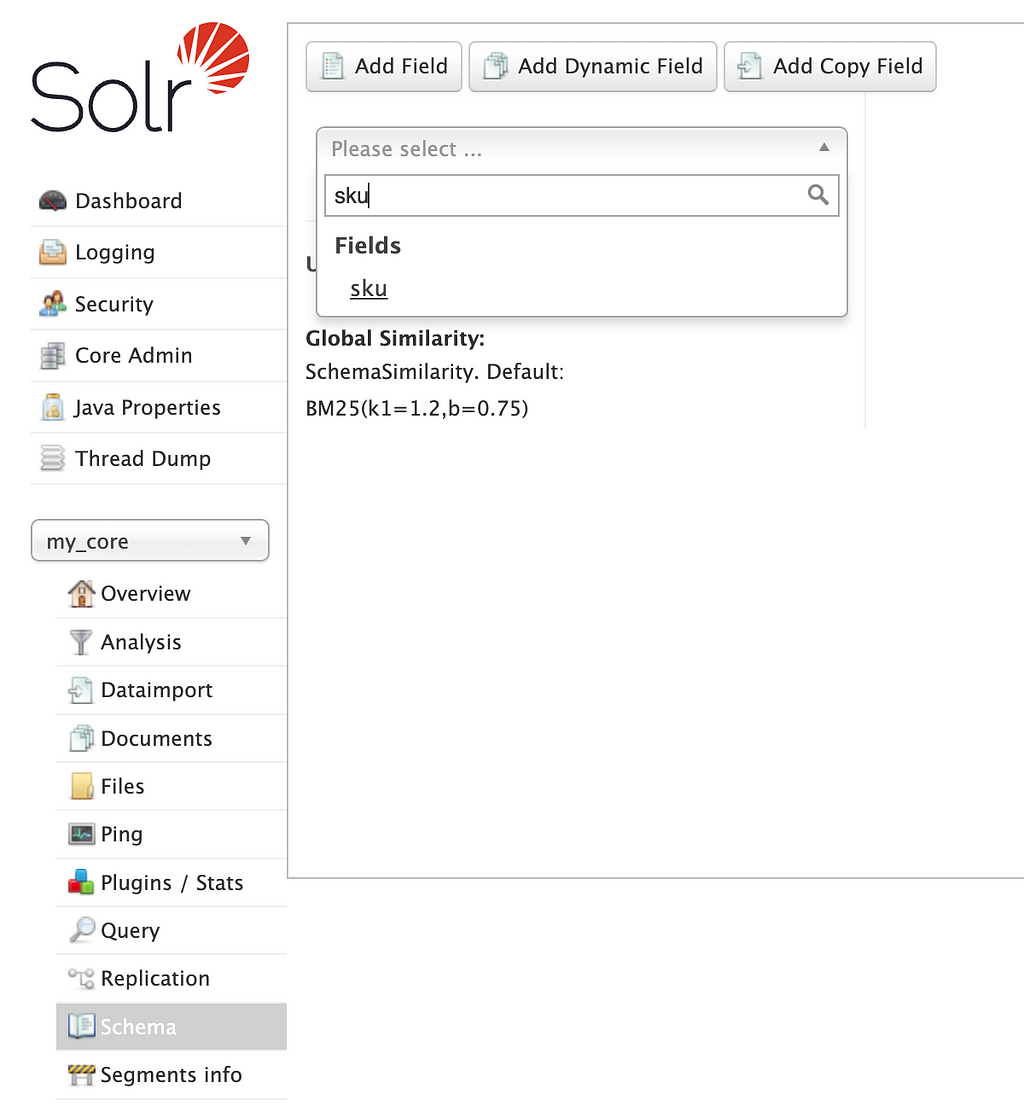
If you now head over to the admin dashboard and look for fields added they should be there, for example -
Add documents to Solr
Now are ready to insert some data to our Solr instance. This can also be done via the console by going to http://localhost:8983/solr/#/my_core/documents and pasting your content directly over there, but we will do it via the API provided.
First, prepare your data to match the schema like this -
And now call this API -
$ curl -X POST -H 'Content-Type: application/json' 'http://localhost:8983/solr/my_solr/update?commit=true' --data-binary '
[{ ... }]'

Now, your data is inside the Solr index and is ready to be served via the Solr search engine 🎉 🎉 🎉. You can query them from the admin or directly via the API provided by the Solr, from your application
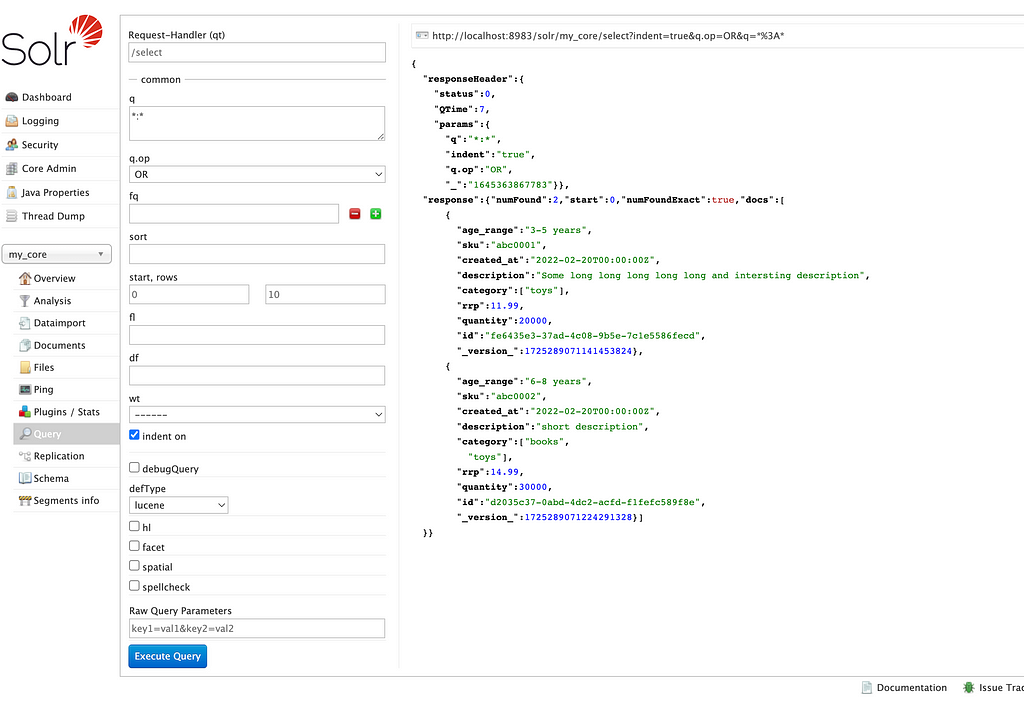
http://localhost:8983/solr/my_core/selectindent=true&q.op=OR&q=*%3*
This is just a start and you can build a lot on top of it. As with any tool like this, the documentation can be a bit boring and all over the place, but I would still recommend going through them.
Happy searching
How to run Solr on Docker was originally published in Level Up Coding on Medium, where people are continuing the conversation by highlighting and responding to this story.
This content originally appeared on Level Up Coding - Medium and was authored by Meta Collective
Meta Collective | Sciencx (2022-02-22T13:09:28+00:00) How to run Solr on Docker. Retrieved from https://www.scien.cx/2022/02/22/how-to-run-solr-on-docker/
Please log in to upload a file.
There are no updates yet.
Click the Upload button above to add an update.
