This content originally appeared on DEV Community and was authored by Paras Rawat
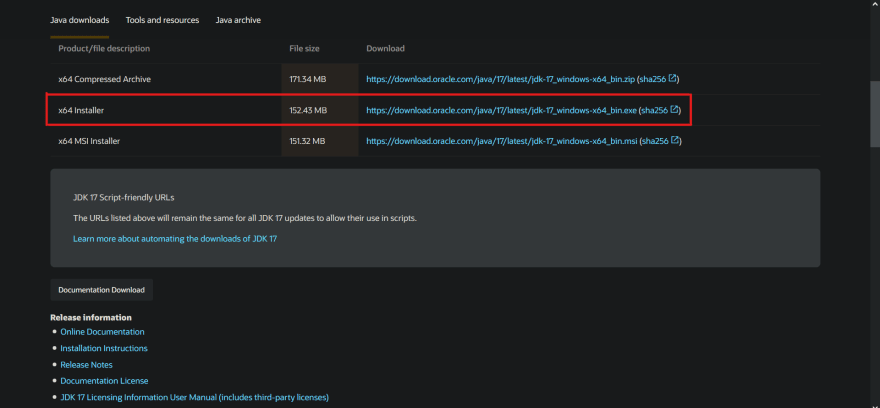
- Step-1 Download JDK-17
- Step-2 Install JDK(Java Development Kit)-17
- Step-3 Set the Environment Path
Lets get started!
Step-1 Download JDK-17
JDK stand for Java Development Kit
Click here to download the file.
Step-2 Install JDK(Java Development Kit)-17
Install JDK-17 which comes with inbuilt JRE (so don't have to install it separately)
Step-3 Set the Environment Path
1.Go to directory where java is installed and copy bin folder path-
2.Press Windows button on your keyboard and type environment and click on first result
3.Setting new JDK-17 path
- Double click on path

- Click on New and paste bin path of jdk-17 and press OK

And Done! 😇
- Check if it is successfully Installed
Open Cmd and type
and if not then feel free to comment below
This content originally appeared on DEV Community and was authored by Paras Rawat
Paras Rawat | Sciencx (2022-03-21T16:03:48+00:00) Install Java on windows 10 in 3 simple steps. Retrieved from https://www.scien.cx/2022/03/21/install-java-on-windows-10-in-3-simple-steps/
Please log in to upload a file.
There are no updates yet.
Click the Upload button above to add an update.


