This content originally appeared on Level Up Coding - Medium and was authored by Nidhin kumar
Next.js Image Optimization — Series #3
If you don’t have time to read but want to know what’s there in this post. Find the quick read 👇

What will you learn?
- How to use the image component in Next.js (Local, Remote images)
- Image Sizing
- Image Styling
1. How to use the image component in Next.js (Local, Remote images)
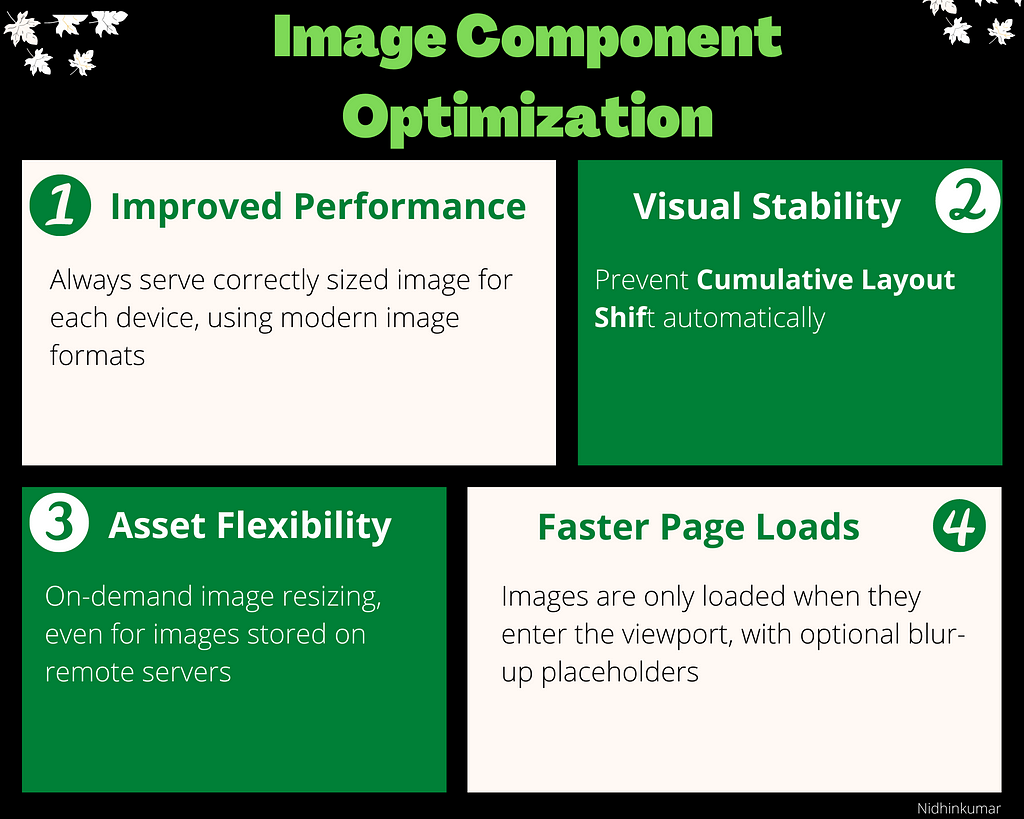
The Next.js Image component, next/image, is an extension of the HTML <img> element.
To add the image component in the application import the next/image like below
import Image from 'next/image'
Now we can define the image src either from local or from remote like below
Local Images
To use a local image, import your .jpg, .png, or .webp files like below
import profilePic from '../public/me.png'
The import must be static so it can be analyzed at build time.Next.js will automatically determine the width and height of your image based on the imported file.
import Image from 'next/image'
import profilePic from '../public/me.png'

function Home() {
  return (
    <>
      <h1>Profile Picture</h1>
      <Image
        src={profilePic}
        alt="Picture of the author"
        // width={500} automatically provided
        // height={500} automatically provided
        // blurDataURL="data:..." automatically provided
        // placeholder="blur" // Optional blur-up while loading
      />
      <p>Profile Picture Page</p>
    </>
  )
}
Remote Images
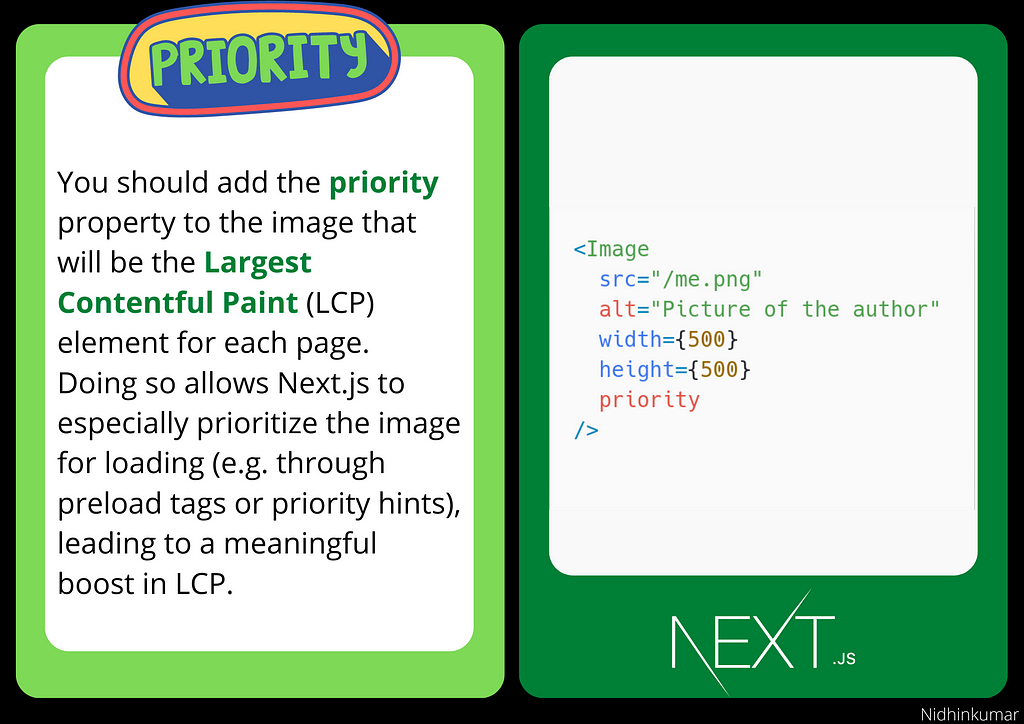
To use a remote image, the src property should be a URL string, which can be relative or absolute. Next.js does not have access to remote files during the build process, you'll need to provide the width, height and optional blurDataURL props manually
import Image from 'next/image'

export default function Home() {
  return (
    <>
      <h1>My Homepage</h1>
      <Image
        src="/me.png"
        alt="Picture of the author"
        width={500}
        height={500}
      />
      <p>Welcome to my homepage!</p>
    </>
  )
}
2. Image Sizing
One of the ways that images most commonly hurt performance is through layout shift, where the image pushes other elements around on the page as it loads in. This performance problem is so annoying to users that it has its own Core Web Vital, called Cumulative Layout Shift. The way to avoid image-based layout shifts is to always size your images. This allows the browser to reserve precisely enough space for the image before it loads.
next/image is designed to guarantee good performance results, it cannot be used in a way that will contribute to layout shift, and must be sized in one of three ways:
- Automatically, using a static import
- Explicitly, by including a width and height property
- Implicitly, by using layout="fill" which causes the image to expand to fill its parent element.
If none of the suggested methods works for sizing your images, the next/image component is designed to work well on a page alongside standard <img> elements.
3. Image Styling
Styling the Image component is not that different from styling a normal <img> element, but there are a few guidelines to keep in mind.
- Pick the correct layout mode
- Target the image with className, not based on DOM structure
- When using layout=’fill’, the parent element must have position: relative
- When using layout=’responsive’, the parent element must have display: block
Congratulations!

Level Up Coding
Thanks for being a part of our community! More content in the Level Up Coding publication.
Follow: Twitter, LinkedIn, Newsletter
Level Up is transforming tech recruiting ➡️ Join our talent collective
Next.js Image Optimization — Series #3 was originally published in Level Up Coding on Medium, where people are continuing the conversation by highlighting and responding to this story.
This content originally appeared on Level Up Coding - Medium and was authored by Nidhin kumar
Nidhin kumar | Sciencx (2022-06-26T12:33:46+00:00) Next.js Image Optimization — Series #3. Retrieved from https://www.scien.cx/2022/06/26/next-js-image-optimization-series-3/
Please log in to upload a file.
There are no updates yet.
Click the Upload button above to add an update.
