This content originally appeared on Telerik Blogs and was authored by Dhananjay Kumar
Angular 14 introduces the standalone component—a component not part of any ngModule that can be used with either other standalone or module-based components.

Starting with Angular 14, you can create the whole application without making any custom Angular modules, which is possible by using standalone components, which provide simplified ways to create an Angular application.
What Is a Standalone Component?
A standalone component is a type of component which is not part of any Angular module. Prior to Angular 14, usually when you would create a component, you’d pass it inside the declarations array of a module. If you would not do that, Angular would complain about it and not compile. However, as of Angular 14, you can create a component that is not part of any ngModule, and that component is known as a standalone component.
Besides standalone components, in Angular 14, you can also create:
- Standalone directives
- Standalone pipes
You can use a standalone component with:
- Module-based components
- Other standalone components
- Loading routes
- Lazy loading
A standalone pipe looks like the below:
import { Pipe, PipeTransform } from '@angular/core';

@Pipe({
  name: 'search',
  standalone: true
})
export class SearchPipe implements PipeTransform {

  transform(value: unknown, ...args: unknown[]): unknown {
    return null;
  }
}
Creating a Standalone Component
You can create a standalone component, pipe or directive by using the --standalone flag in the ng generate component command:
ng g p search --standaloneng g d credit-card --standaloneng g c login --standalone
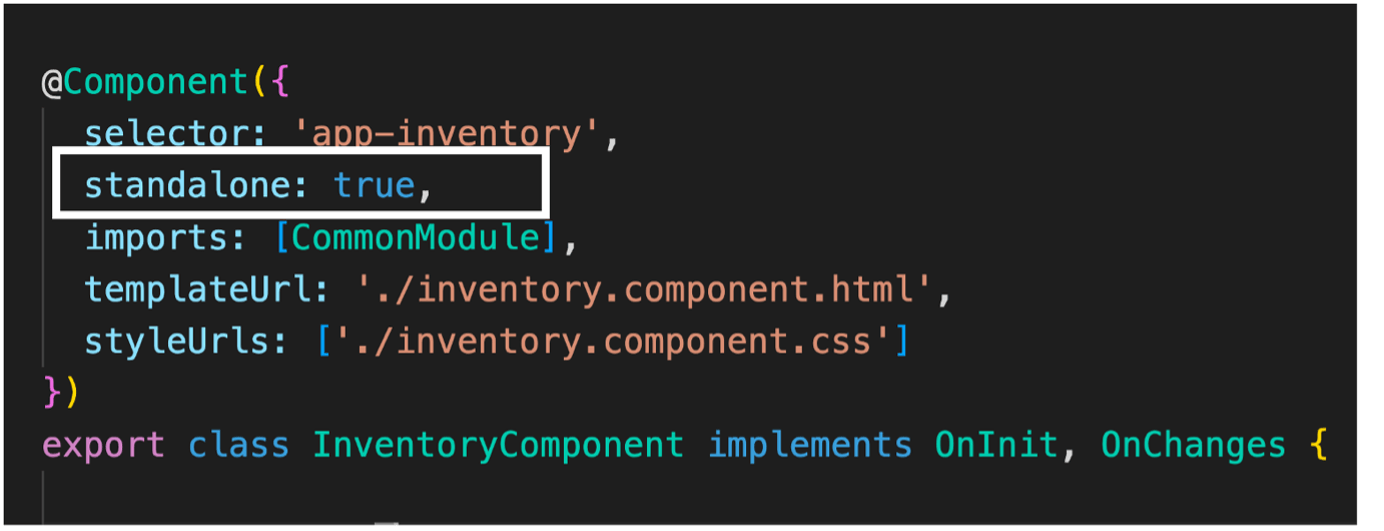
After successfully running the latter of the above commands, you can find a Login Component added to the application as below. Here you notice that the component decorator’s standalone property is true.
import { Component, OnInit } from '@angular/core';
import { CommonModule } from '@angular/common';

@Component({
  selector: 'app-login',
  standalone: true,
  imports: [CommonModule],
  templateUrl: './login.component.html',
  styleUrls: ['./login.component.css']
})
export class LoginComponent implements OnInit {

  constructor() { }

  ngOnInit(): void {
  }

}
Any standalone component, directive or pipe does not require to be part of any ngModule. By mistake, if you try to add a standalone component to a module, Angular complains about that by throwing an error as shown below.

You can also convert an existing component into a standalone component by setting its standalone property to true. You must keep these three points in mind while converting a module-based component to a standalone one:
- Set the standalone property to true.
- Remove it from the declaration array of the module of which it was a part.
- Use imports array to add dependencies.
Dependencies in Standalone Component
A standalone component may depend on other members, pipes and directives. These dependencies can be divided into two parts:
- Standalone
- Part of a module
Both types of dependencies can be added to a standalone component using the imports array of the @Component decorator. For example, ReactiveFormsModule can be added to the LoginComponent by passing it
to the imports array as shown in the below code listing:
@Component({
  selector: 'app-login',
  standalone: true,
  imports: [CommonModule, ReactiveFormsModule],
  templateUrl: './login.component.html',
  styleUrls: ['./login.component.css']
})
export class LoginComponent implements OnInit {
To use a module-based component inside a standalone component, pass that inside the imports array of the standalone component.
Using a Standalone Component
You can use a standalone component, directive or pipe in either of two ways:
- Inside another standalone component
- Inside a module
For both the options, pass it inside the imports array, and also keep in mind that you don’t pass standalone components in the declaration array of the modules.
So to use it inside AppComponent, which is part of AppModule, you can pass it to the imports array as shown below:
@NgModule({
  declarations: [
    AppComponent
  ],
  imports: [
    BrowserModule,
    AppRoutingModule,
    LoginComponent
  ],
  providers: [],
  bootstrap: [AppComponent]
})
export class AppModule { }
Now you can use it on the AppComponent as below:
<h1>App</h1>

<app-login></app-login>
You can use a standalone component in another standalone component by passing it to the imports property of that standalone component as shown below:
@Component({
  selector: 'app-product',
  standalone: true,
  imports: [CommonModule, LoginComponent],
  templateUrl: './product.component.html',
  styleUrls: ['./product.component.css']
})
export class ProductComponent implements OnInit {
Bootstrapping Standalone Component
Angular 14 allows you to bootstrap the whole application using a standalone component. To bootstrap an application using a standalone component, follow the steps discussed below.
In the main.ts, import the standalone component to be bootstrapped and bootstrapapplication function as shown below:
import {bootstrapApplication} from '@angular/platform-browser';
import { ProductComponent } from './app/product/product.component';
After that, call bootstrapapplication and pass the component in it as shown below:
bootstrapApplication(ProductComponent,{
  providers:[]
});
Next, on the index.html, replace app-root with your component.
<body>
  <!-- <app-root></app-root> -->
  <app-product></app-product>
</body>
Now when you run the application, the application should bootstrap from ProductComponent.
Routing With Standalone Component
An enterprise application must have various routes so the user can navigate different components by changing the URL. So, to support this feature, a standalone component can also be used to create routes and be lazy-loaded.
- A route can be created with a standalone component.
- While creating a route like modules, a standalone component can also be lazy-loaded.
- A child route can also be lazily loaded with all router components as standalone.
- A separate Injector can be passed to a standalone component route.
Let us say that you have bootstrapped the application with standalone AppComponent and added <router-outlet></router-outlet> to the template such that different routes can be loaded here.
import { CommonModule } from '@angular/common';
import { Component } from '@angular/core';
import { RouterModule } from '@angular/router';

const template = `
<h1>{{title}}</h1>
<router-outlet></router-outlet>
`
@Component({
  selector: 'app-root',
  standalone:true,
  imports:[CommonModule,  RouterModule,],
  template : template,
  styleUrls: ['./app.component.css']
})
export class AppComponent {
  title = 'Stand alone component App';
}
Adding Routes
Now, to create routes, add a file and name it as you desire. I am giving it the name app-routing.ts. In this file, configure the route with the home route navigating to the Home component as below:
import { Routes } from "@angular/router";
import { HomeComponent } from "./home/home.component";

export const APP_ROUTES: Routes = [
    {
        path: '',
        pathMatch: 'full',
        redirectTo: 'home'
    },
    {
        path: 'home',
        component: HomeComponent
    }
];
After adding routes, bootstrap the application with standalone AppComponent. For that, in the main.ts, import the AppComponent, RouterModule, App_Routes and bootstrapapplication function as shown below:
import { enableProdMode, importProvidersFrom, inject } from '@angular/core';
import {bootstrapApplication} from '@angular/platform-browser';
import { environment } from './environments/environment';
import { AppComponent } from './app/app.component';
import { RouterModule } from '@angular/router';
import { APP_ROUTES } from './app/app-routing';
After that, call bootstrapapplication and pass the component in it as shown below:
bootstrapApplication(AppComponent,{
  providers: [
    importProvidersFrom(RouterModule.forRoot(APP_ROUTES))]
});
The standalone component bootstrap operation may have many dependencies, which must be explicitly passed in the providers array. Some of these dependencies may be part of ngModules, so that module may be needed for configuring dependency injection.
One such example is the RouterModule.forRoot() dependency to set up the route of the application. To set up this, Angular has provided a utility importProvidersFrom. Here this utility is used to inject app router dependency:
bootstrapApplication(AppComponent,{
  providers: [
    importProvidersFrom(RouterModule.forRoot(APP_ROUTES))]
});
Run the Application
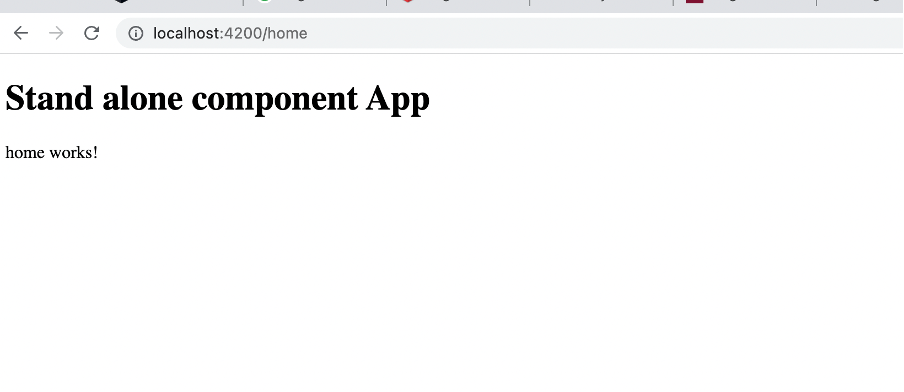
On running the application, you should navigate the home route and get HomeComponent loaded.

So far, you have successfully:
- Bootstrapped the application with a standalone component
- Configured and added the route
Lazy Loading a Standalone Component
Like modules, a standalone component can also be lazy-loaded. You can lazy-load a standalone component in route by using the loadComponent statement and passing the component file name.
 {
        path: 'product',
        loadComponent: () => import('./product/product.component')
            .then(m => m.ProductComponent)
  }
You can add a product route with the lazy-loaded component by modifying the application routing:
export const APP_ROUTES: Routes = [
    {
        path: '',
        pathMatch: 'full',
        redirectTo: 'home'
    },
    {
        path: 'home',
        component: HomeComponent
    },
    {
        path: 'product',
        loadComponent: () => import('./product/product.component')
            .then(m => m.ProductComponent)
    },
    {
        path: '**',
        component: PagenotfoundComponent
    }
];
As you see, a new route product is added, and it is using the loadComponent() function with the import statement.
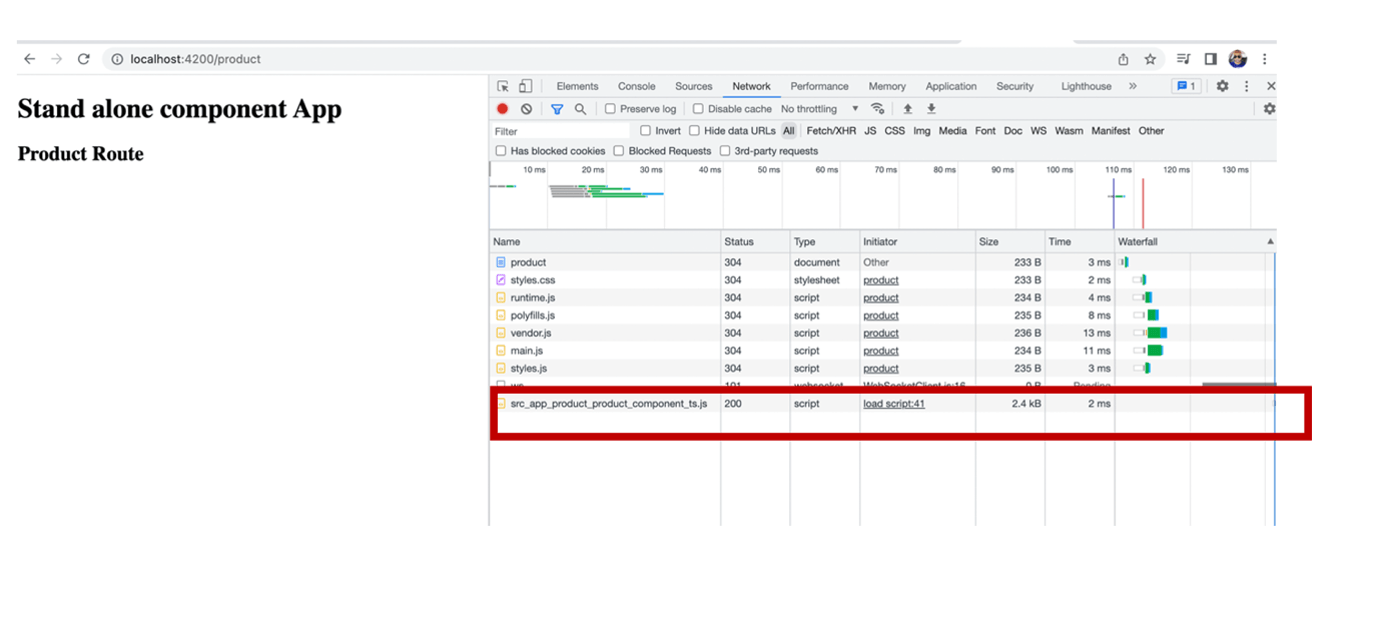
On running the application, you will find that ProductComponent is lazily loaded when navigating the product route.

Lazily Loading Additional Child Routes
Angular 14 also lazy-loads child routes with multiple standalone components.
Configure the child route with standalone components in the routing file, as shown below.
export const ADMIN_ROUTES: Route[] = [
    {
        path: '',
        pathMatch: 'full',
        redirectTo: 'home'
    },
    {path: 'home', component: AdminhomeComponent},
    {path: 'users', component: AdminduserComponent},
    {path:'dashboard',component:AdmindashboardComponent}
  ];
You can use loadChildren method with import to lazy-load a child route when all the routed components are standalone. Here the above routing configuration is put inside admin.route file.
{
        path: 'admin', loadChildren: () => import('./admin/admin.route')
            .then(mod => mod.ADMIN_ROUTES)
    }
Putting everything together with lazy-loaded components and child routes, the application routing should look like the code below:
export const APP_ROUTES: Routes = [
    {
        path: '',
        pathMatch: 'full',
        redirectTo: 'home'
    },
    {
        path: 'home',
        component: HomeComponent
    },
    {
        path: 'product',
        loadComponent: () => import('./product/product.component')
            .then(m => m.ProductComponent)
    },
    {
        path: 'admin', loadChildren: () => import('./admin/admin.route')
            .then(mod => mod.ADMIN_ROUTES)
    },
    {
        path: '**',
        component: PagenotfoundComponent
    }
];
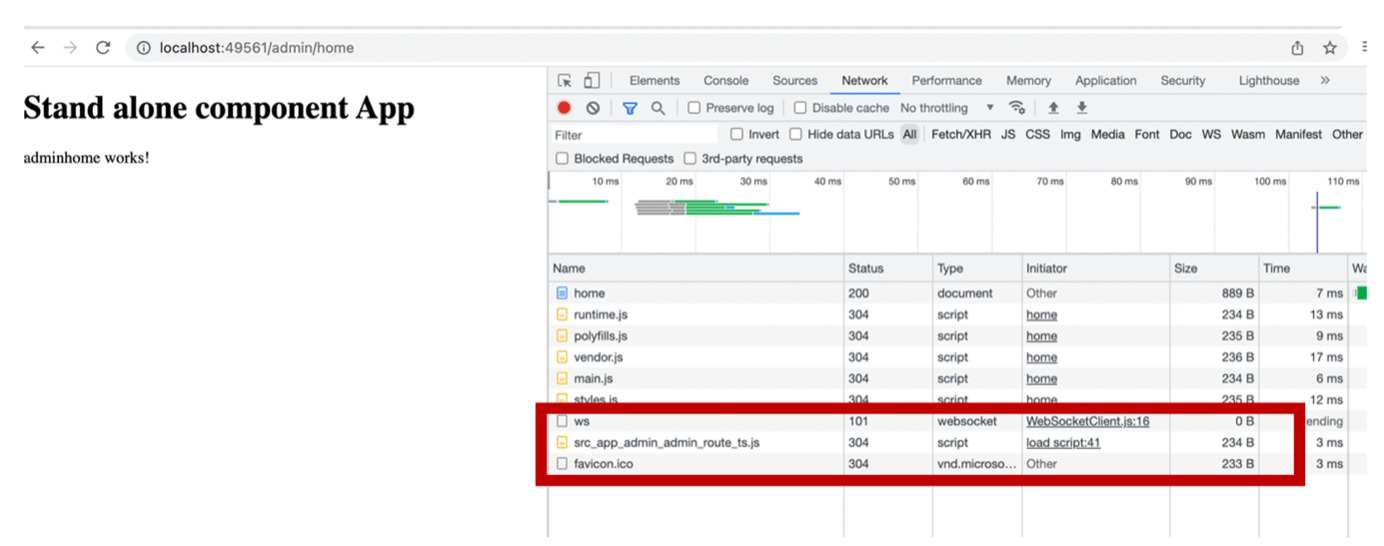
On running the application, you will find that Admin child routes are lazily loaded when navigating the admin route.

Configuring Dependency Injection
While bootstrapping an application with a standalone component, you can also inject the dependency for the application as shown below:
bootstrapApplication(AppComponent,{
  providers: [
    {provide:AppService,useClass:AppService},
    {provide:BACKEND_URL,useValue:"abc.com"},
    importProvidersFrom(RouterModule.forRoot(APP_ROUTES))]
});
Besides the above, while lazy loading standalone components in a route, you can provide a service to a subset of routes.
Wrap-up
So, as you see, using a standalone component is very simple, and you must start working with it. If you are creating a new Angular project, begin with Angular 14 and try to bootstrap the application with a standalone component.
Please let me know your feedback on this article and the standalone component.
This content originally appeared on Telerik Blogs and was authored by Dhananjay Kumar
Dhananjay Kumar | Sciencx (2022-06-28T13:15:03+00:00) Angular 14—Introducing Standalone Components. Retrieved from https://www.scien.cx/2022/06/28/angular-14-introducing-standalone-components/
Please log in to upload a file.
There are no updates yet.
Click the Upload button above to add an update.
