This content originally appeared on DEV Community and was authored by Osahenru
Alright guys, at the end of this article I hope you should be able to deploy your first Django project on Railway app.
Railway app is a cloud platform that gives you simple configured free deploys, removing common developer hurdles with zero CLI, just to add as a bragging rights it has a faster build time than Heroku, interestingly I discovered it while I was having issues deploying my project to Heroku check here to see how I did that.
All you need to get started is your GitHub repo. Railway has some starter applications which can be deployed on the go, and it also comes with a PostgreSQL as the default database manager.
In this article an explanation to some of the terminologies used here are not given, it is assumed that the reader must be familiar with them if not check out this article where I explain these terminologies in details.
With that much said let us dive in, using these steps i'll show you how to deploy your Django projects on railway.
Ensure you already have a Railway account if don't you can sign-up here, A GitHub account and the project you want to deploy is been cloned once you’re done these 3 basic things follow these steps.
Step 1.
pip install guinicorn
Step 2.
pip freeze > requirements
Step 3.
Create a Procfile in your root folder and save the following lines of codes in it
web: gunicorn 'name-of-application.wsgi'
Note: A Procfile has no file extension
Step 4.
Create runtime.txt
Railway needs to know the version of python you used for your project, to know the version used type python --version in your terminal copy, paste and save the version inside your runtime.txt python -3.10.2
Step 5.
Next, we need to make some adjustments to our settings.py file
Look for the line that has
ALLOWED_HOST = [ ]
and change it to
ALLOWED_HOST = ['*']
Step 6.
Still on your settings.py file add the following lines of codes in your static section, so your static files can be properly rendered
STATICFILES_DIRS = [os.path.join(BASE_DIR, 'static')]

STATIC_ROOT =os.path.join(BASE_DIR, 'staticfiles')
Step 10.
Lastly, we collect our static files into one folder using the following command
python manage.py collectstatic
Next, we push our project to our Github account where we’ll be deploying our project from. Use the following git syntax to add, commit and push your code.
git status

git add .

git commit -m ‘customized commit message’

git push
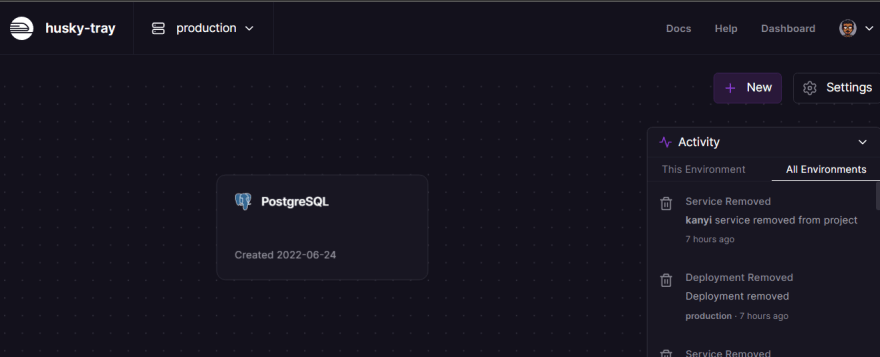
Now, we move to our railway app account that was created
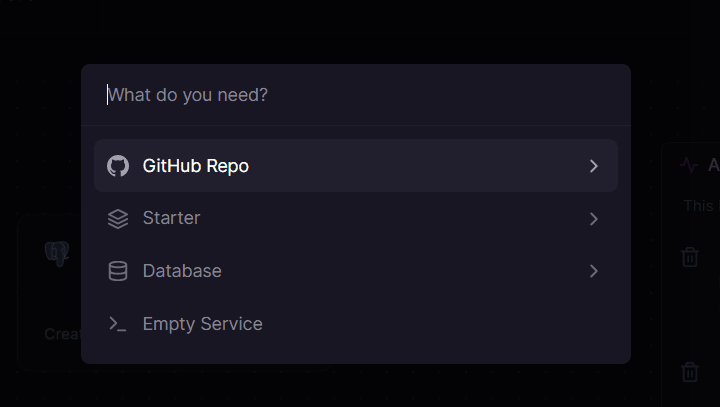
Click + New
GitHub Repo
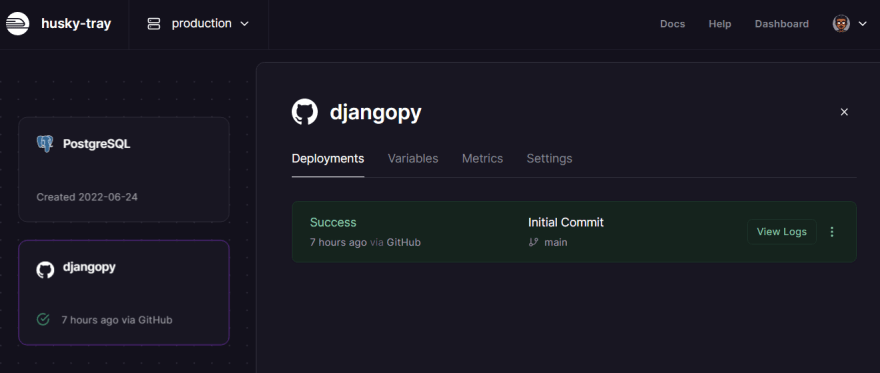
select a repo and Railway pack helps you build and automatically deploy your project using nixpacks you can see the build status as it is been built, once that has been done,
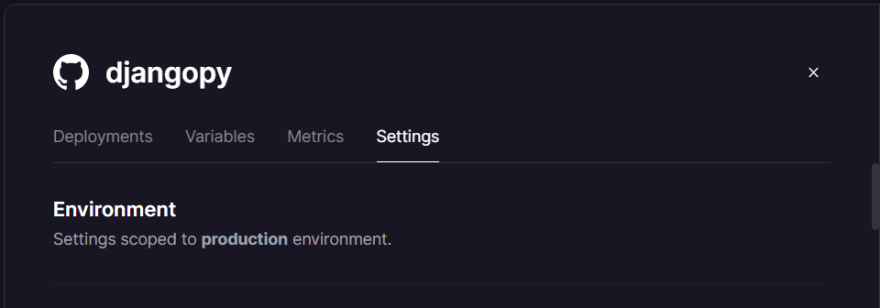
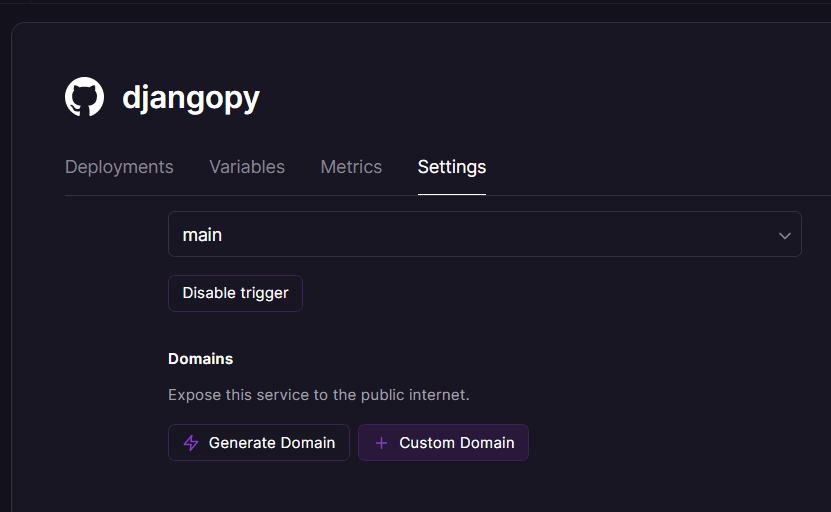
click on your project go to the settings tab
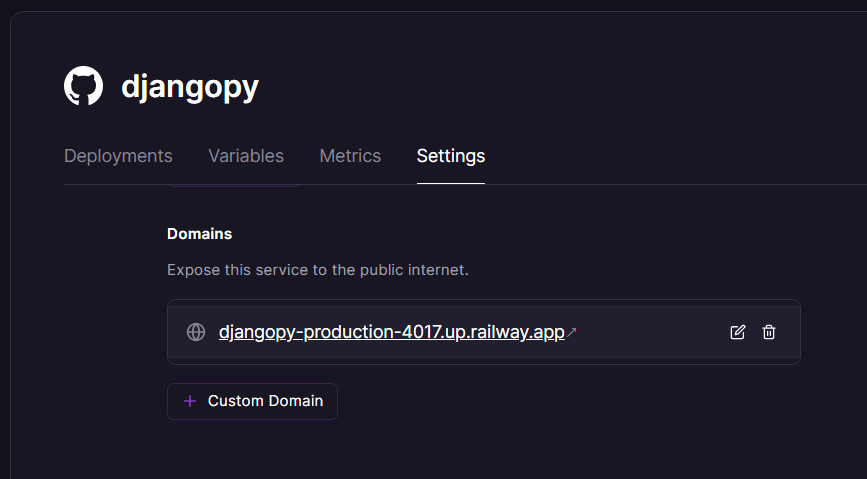
under domain click generate domain
a customized link to your deployed app is been created you can visit it by clicking on it.
VOILA!!!
Your project has been deployed.
CONGRATULATIONS!!!
This content originally appeared on DEV Community and was authored by Osahenru
Osahenru | Sciencx (2022-07-03T00:33:11+00:00) USING RAILWAY APP TO DEPLOY YOUR DJANGO PROJECT. Retrieved from https://www.scien.cx/2022/07/03/using-railway-app-to-deploy-your-django-project/
Please log in to upload a file.
There are no updates yet.
Click the Upload button above to add an update.

