This content originally appeared on Level Up Coding - Medium and was authored by Erich Hohenstein
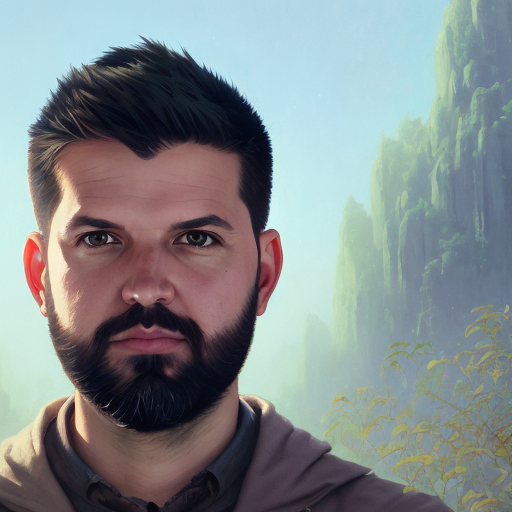
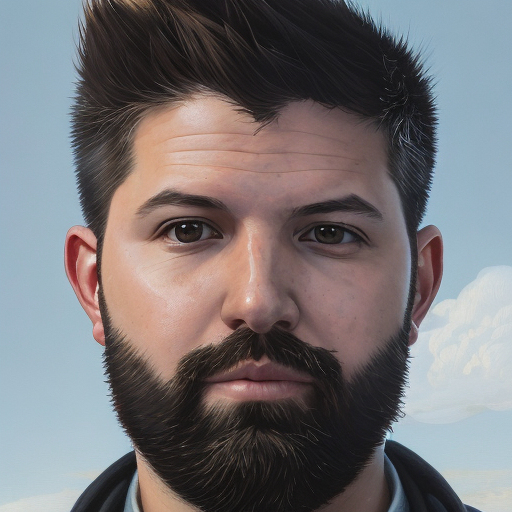
As you may have seen in the last few months, there is hype in the AI community on text2image models. Many are wondering if this will be the end for visual artists, graphic designers, photo editors and any other job that have visual outputs. But, today we are not going to focus on any dystopian future. Today I wanted to show you a particular model called “Dreambooth” that you can use to generate your own AI images using text inputs and even train it to learn new concepts! Here are some examples of images I generated of myself with Dreambooth.
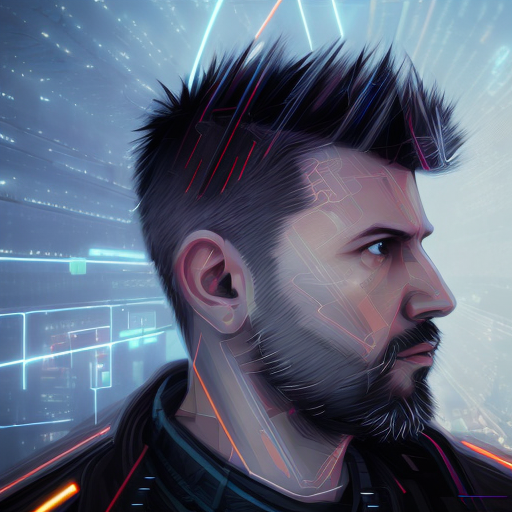
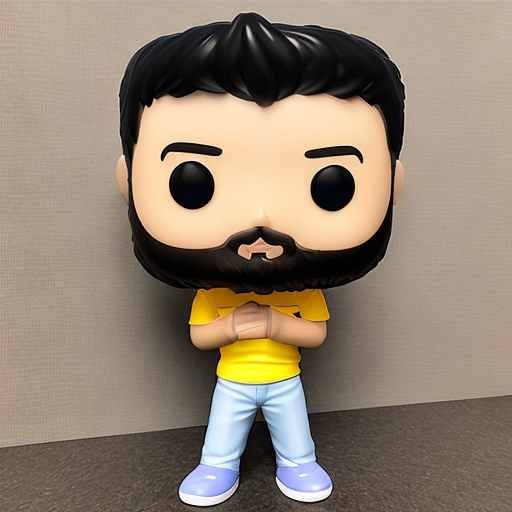
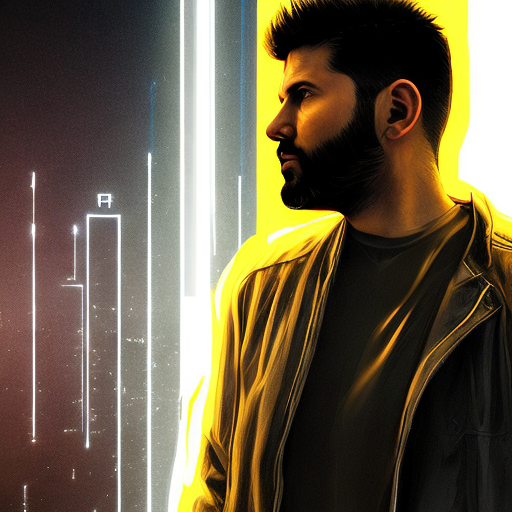

To understand better how this model works…this model has been trained on large databases of images to be able to connect words with visual features. That is, understand what makes grass…grass or what a Van Gogh painting style looks like, or even understand what are the visual features of person of a Pixar movie.
Then we can use it by giving it a small set of 10 or 15 images, for example of your dog, and retrain it to learn the key visual features of our dog…look how cute her key visual features are…
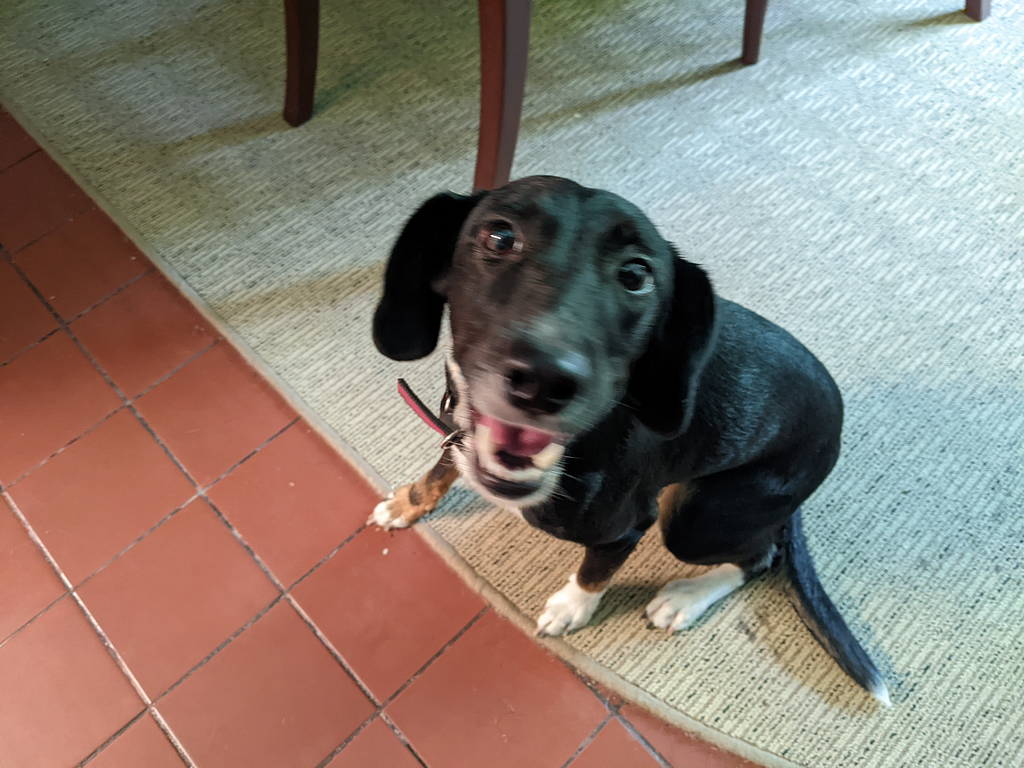
Once we have our personalized model fine tuned to our new concept, we can now ask it to be placed in different visual contexts! Let me show you how you can use this open source text2image model!
Access Token
First we need to get an access token to be able to run and train the model. For this you need to go to https://huggingface.co/runwayml/stable-diffusion-v1-5 to create an account and agree the usage terms.
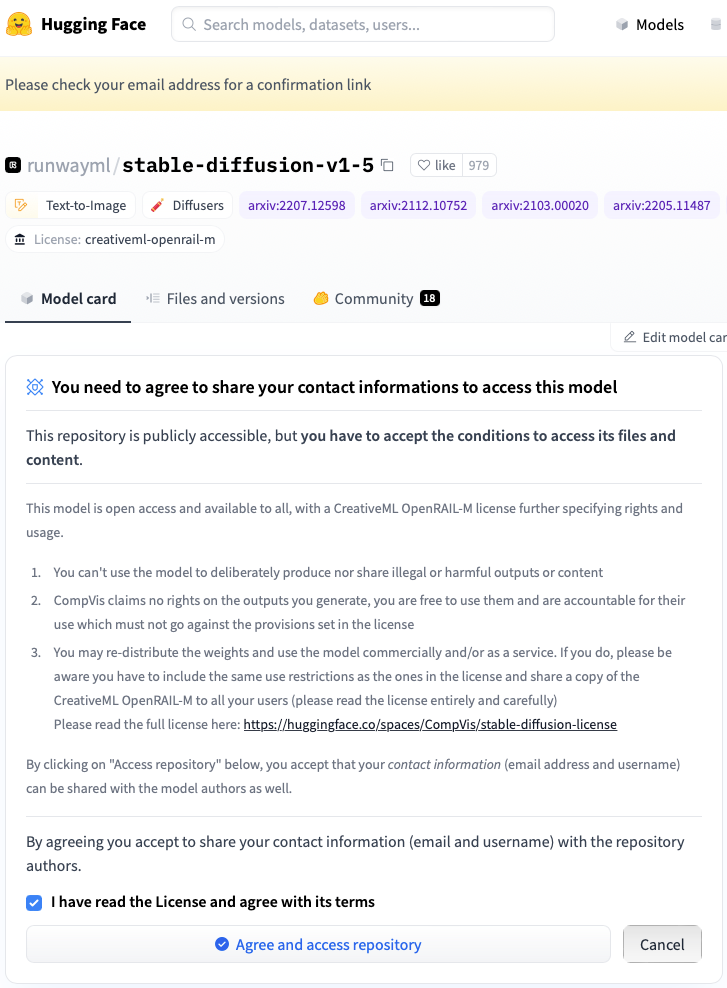
Once you have your account, you need to go to Settings→Access Tokens→ New Token then select a name for your token, select option “Write” and your token is ready! It will look like this: 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
Training and Fine tuning
Now with our token ready, we will go to Google Colab and use their sweet sweet GPUs to train and run our model. For this I prepared for you this Google Colab Notebook based on ShivamShrirao’s Notebook.
https://colab.research.google.com/drive/1q3zr7-Kc2DOh3R5weg2z-wgEvBVsPfYp?usp=sharing
Make a copy of this notebook and lets dive in!
Google Colab Notebook
We will go cell by cell and I will try to exaplain what is happening at each step.
First we will install all the requirements

Next we will introduce our token

More installations…

In this cell, we will select a name for our model. I will leave this as “my_model_name”. When we run this cell, it will ask us for permission to access to Google Drive, since it will create a directory to save the model.
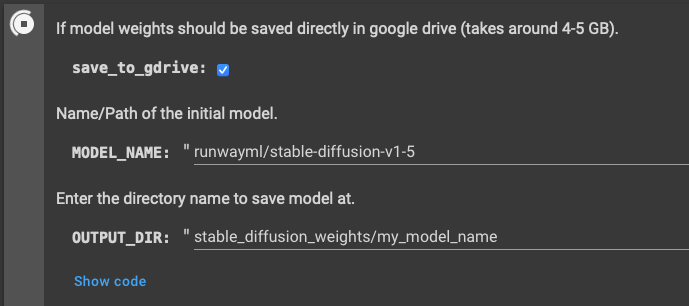
This step is important because, once we train our model, we don’t need to do it again, we can just use it over and over.
After running the cell, if you go to the left panel, you will see your Google Drive files.
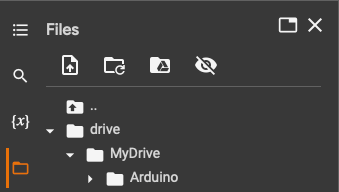
If you scroll down, you will find a new folder named “stable_diffusion_weights” and inside there will be a folder “my_model_name” or with the name of your choose.

Lets now take a look at the next cell where we will define the “concepts” we will teach our model.
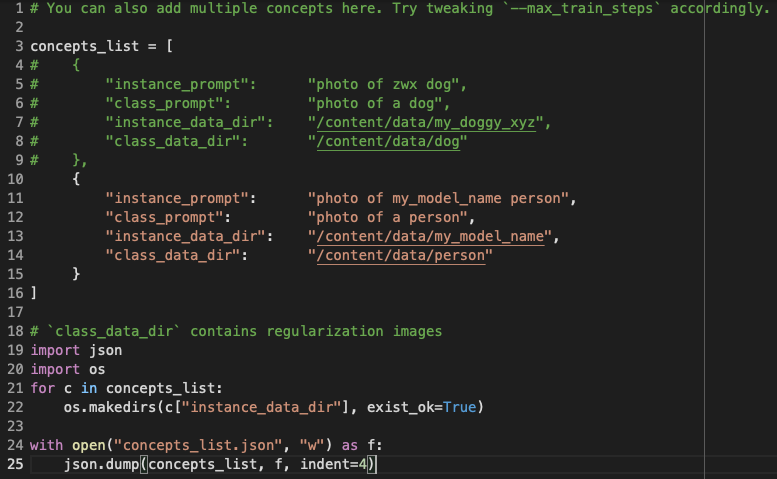
Lets take a look at the uncommented brackets. There are four important parts in this piece of code. First is the “instance_prompt”, which is how are we going to request new images of our new instance. Second is the “class_prompt” that is the prompt we can use to request an image of the parent class, in this case the parent class is “person”. The parent class is basically the type of object we are training for. Since I want to create images of me, I will use the type “person”. Third is the directory for our new instance where it says “instance_data_dir”. This name has to be unique and different to anything the model has seen before. For example: erich_person_concept_008. Finally there is the parent class directory here called ”class_data_dir”. This model has already learned the key features of how a person looks, now we are going to teach it how a particular person looks. If you see the commented brackets above, there is how you set it up if you want to train it to learn the key features of a dog.
After you run this cell, you will see on the panel to the left that a new folder is created with your new instance name.
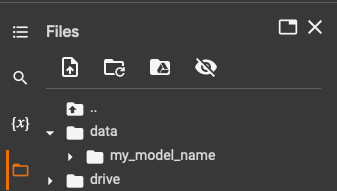
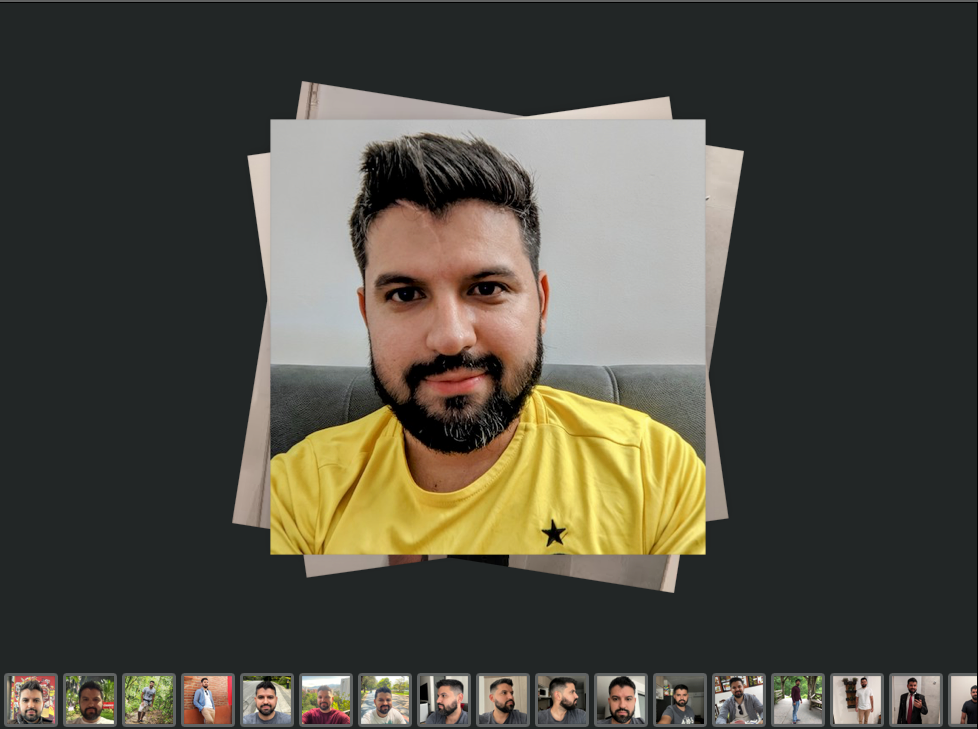
In this folder we will upload our the images of the new concept we want our model to learn. As mentioned before, for this example I will train the model to learn my key features. Right click on the folder and upload all your training images.
Important notes about the training images.
- All images must be 512x512 pixels. ( I used the “Preview” app on Mac to crop the square and then adjust the size to 512x512)
- Provide a variety of images. That is, different backgrounds, different angles, different lightning. Keep in mind we are the model has to learn what is common among these images, therefore if we use the same background, it will think that is a key feature!
- For this example I will be train to learn the key features of me using the person class. Therefore I will use a set of 18 images where I show my face and body from different angles. Remember that it is learning a person, so don’t just train it with pictures of your face
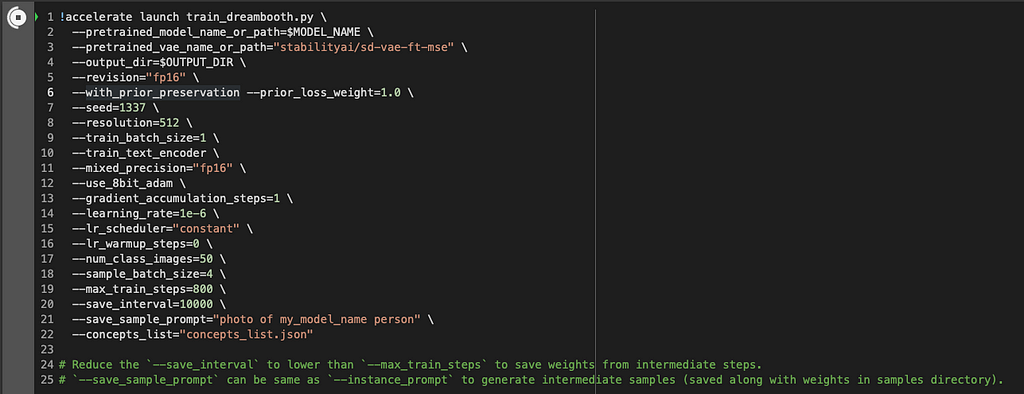
In the next cell we have different parameters for the training. Make sure to set the parameter “save_sample_prompt” as we did before with the instance_prompt. For me it is:
-save_sample_prompt=”photo of my_model_name person”
Here you can also change for instance the training steps, you can play with it to try to get better results, but I am going to leave it as it is. Run this cell to start training your custom model! (By the way, the training will take around 30 mins⏱️)
The next cell is to specify the path where the weights of our model are. You can leave it black so it will read the latest.

This following cell will convert our weights into the format or AUTOMATIC1111. This is a nice User Interface to interact with our new model. I will make a separate tutorial on how to use it. For now we will use our model right here on this notebook.

The following two cells will read our new weights and set a random seed for reproducibility.

Generating Images
Finally we got to the fun part of this project: Generating new custom images with Dreambooth. Here you can enter your text promts to generate new images. Remember to mention your custom prompt so it generates images for it.

Here are some examples prompts tested by the community that you can try!
Models in suits Close portrait of elegant my_model_name person in tailored suit- futurist style, intricate baroque detial, elegant, glowing lights, highly detailed, digital painting, artstation, concept art, smooth, sharp focus, illustration, art by wlop, mars ravelo and greg rutkowski
Fantasy ilustration Highly detailed portrait of my_model_name, stephen bliss, unreal engine, fantasy art by greg rutkowski, loish, rhads, ferdinand knab, makoto shinkai and lois van baarle, ilya kuvshinov, rossdraws, tom bagshaw, alphonse mucha, global illumination, radiant light, detailed and intricate environment
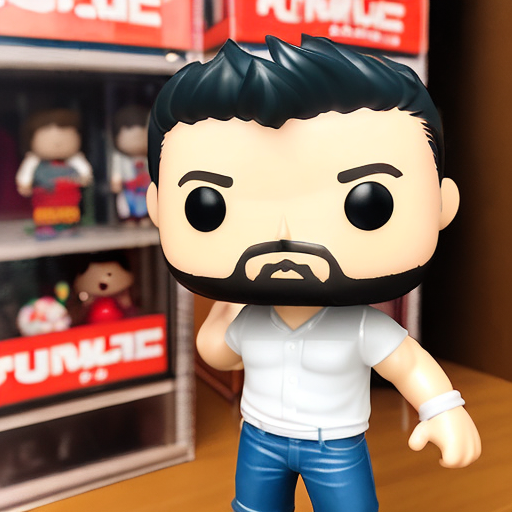
Your own funko pop A funko pop of my_model_name
Your Pixar character highly detailed still of my_model_name as a Pixar movie 3d character, renderman engine
Here is a cool site with more promts to test: https://lexica.art/

Final comments
I just find amazing that we have this technology at our disposition today and I wanted to share it with you. In case you see the faces don’t look very good, try adding more training images with variety of angles and backgrounds.
Also, if you find any cool promts or generate a cool image, please share it in the comments!
How to train AI with your face was originally published in Level Up Coding on Medium, where people are continuing the conversation by highlighting and responding to this story.
This content originally appeared on Level Up Coding - Medium and was authored by Erich Hohenstein
Erich Hohenstein | Sciencx (2022-11-19T00:42:07+00:00) How to train AI with your face. Retrieved from https://www.scien.cx/2022/11/19/how-to-train-ai-with-your-face/
Please log in to upload a file.
There are no updates yet.
Click the Upload button above to add an update.
