This content originally appeared on DEV Community 👩💻👨💻 and was authored by Wonder Agudah
The use of cloud computing services across the host of many service providers currently available may seem daunting to anyone trying to get started with the cloud. This does not need to be the case and one way to easily get started is by leveraging GCP’s Cloud Marketplace.
Cloud Marketplace is a service provided by Google Cloud Platform (GCP) that offers a wide range of software packages that are hosted on underlying GCP services such as Google Compute Engine, Cloud Storage, VPC and many others.
The great thing about this service is that you are not required to perform any administrative overhead such as installing, patching, hardening, and running jobs on these virtual machines (Compute Engine). It scales linearly as demand surges and the use of your application increases. You can just select a stack that you’re conversant with and get started right away.
I will demonstrate how you can do this in the following steps. In my use case I’ll be launching a LAMP stack hosted on GCP’s Compute Engine instance; one that many application developers and business organisations also use in the deployment of their applications and workloads. A LAMP stack is essentially comprised of a Linux operating system, an Apache HTTP web server, MySQL relational database and a PHP application framework and administration tool(phpMyAdmin).
Firstly, you need to be registered as a GCP user. The process involved to do this is simple and you can easily set up your account by following the step by step guide offered on the Google cloud website https://console.cloud.google.com/ Alternatively you can register an account on Qwiklabs https://www.cloudskillsboost.google/ to follow this demonstration.
Now that we have explored the various means to access the Google Cloud console we can login and navigate to cloud marketplace.
Click on the navigation menu and select Marketplace._
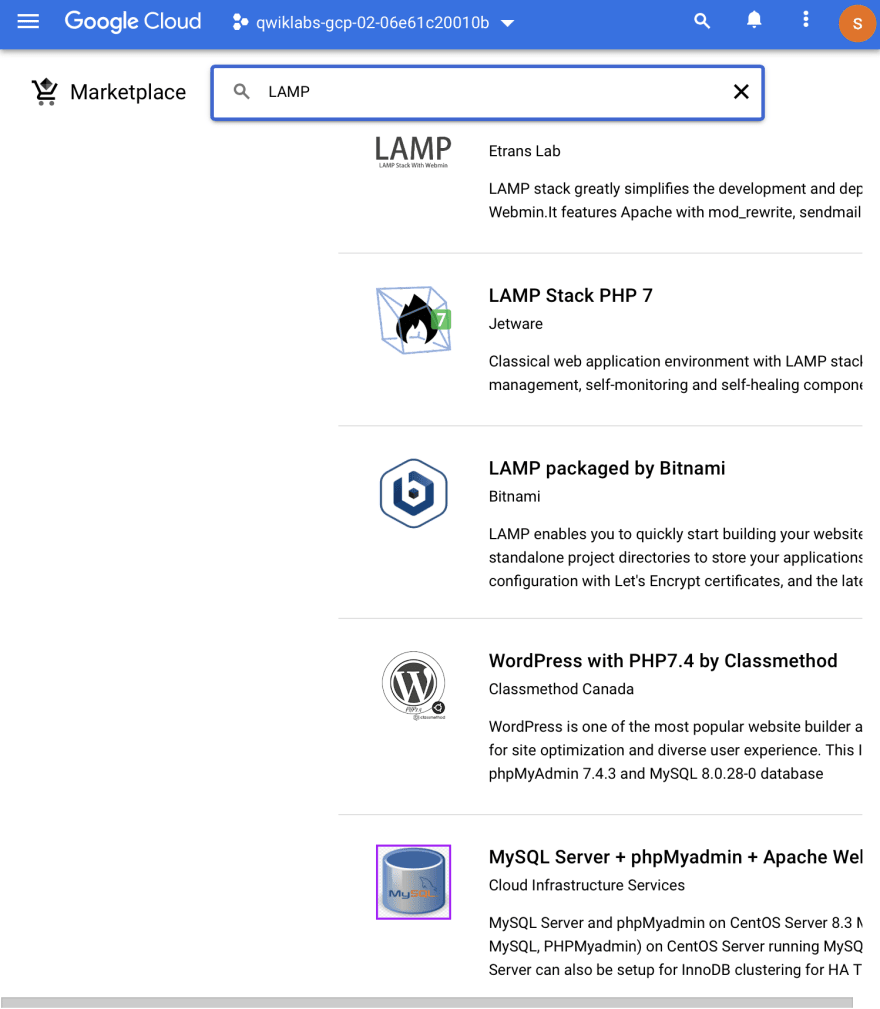
Enter ‘LAMP’ in the search field and select ‘LAMP packaged by Bitnami” from the search results.
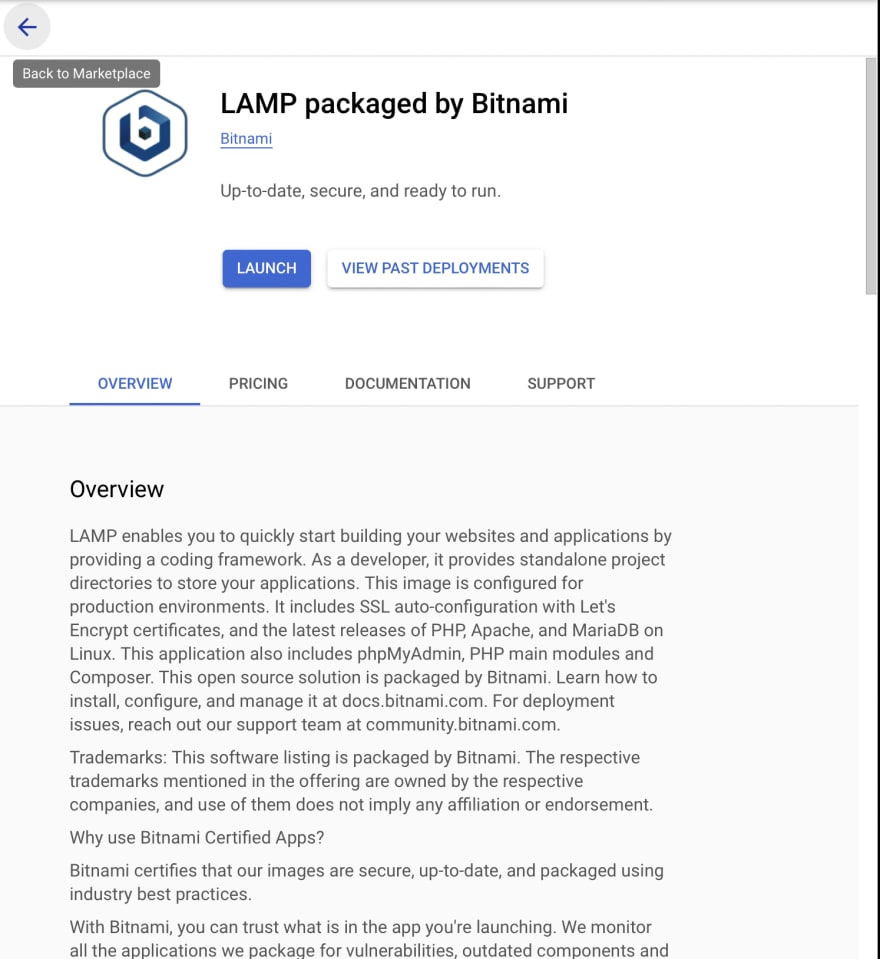
Click on Launch from the LAMP page
The following entry fields i have filled indicate my configuration details for the LAMP stack
Take a careful look at each entry field and ensure that it aligns with the exact specifications you will need for your use case, especially when deploying this web environment for production.
Review the terms and conditions, and select accept and Click on deploy afterwards.
To verify our deployment we can click on the site address link provided after the deployment is complete. This link can be found on the same page we were directed to when we were launching our LAMP stack.
A browser tab like this should open with this exact interface .
We can also SSH into our deployment by clicking “SSH” on the “Get Started with LAMP Packaged by Bitnami” page from our GCP console.
To verify that our web server is running we can enter the command sudo sh -c 'echo "<?php phpinfo(); ?>" > apache2/htdocs/phpinfo.php'
This walkthrough has sought to demonstrate how you can easily get started with using GCP services from Cloud Marketplace to handle your various workloads especially if you are new to the cloud and yet to be familiarised with the myriad of services provided by GCP.


This content originally appeared on DEV Community 👩💻👨💻 and was authored by Wonder Agudah
Wonder Agudah | Sciencx (2022-12-03T13:17:25+00:00) GCP Cloud Marketplace (Deploying A LAMP Stack). Retrieved from https://www.scien.cx/2022/12/03/gcp-cloud-marketplace-deploying-a-lamp-stack/
Please log in to upload a file.
There are no updates yet.
Click the Upload button above to add an update.
