This content originally appeared on DEV Community and was authored by Adam Nathaniel Davis
[NOTE: The live web app that encompasses this functionality can be found here: https://www.paintmap.studio. All of the underlying code for that site can be found here: https://github.com/bytebodger/color-map.]
If you read this full series, you'll find that there's a bit of a back-and-forth dance taking place as we attempt to transform an image. The dance goes like this:
We have this original image that we want to paint. But it's full of soooo many colors that it makes it impractical to think of converting the digital image into an in-real-life painting.
So we pixelate the image, which ratchets the number of colors wayyyyy down.
But the transformed image has a bunch of wonky color matches. So we fix that problem by expanding our palette of paints.
Now the image looks much clearer - but we have an unwieldy set of colors again.
Is there a solution to this? Thankfully, yes. We still have another tool that we can use to greatly restrict the number of colors in our proposed painting.
Pixelating reduces color depth
First, let's get the obvious out of the way. One of our early steps in this series was to pixelate the source image. Whenever you perform pixelation you are, by definition, reducing the color depth.
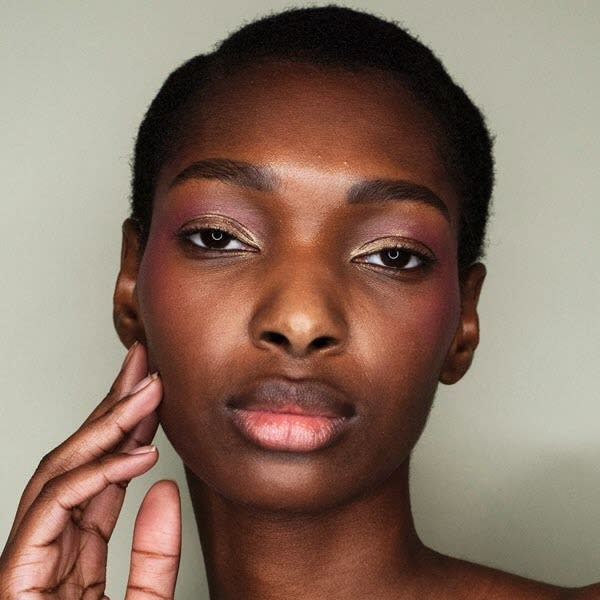
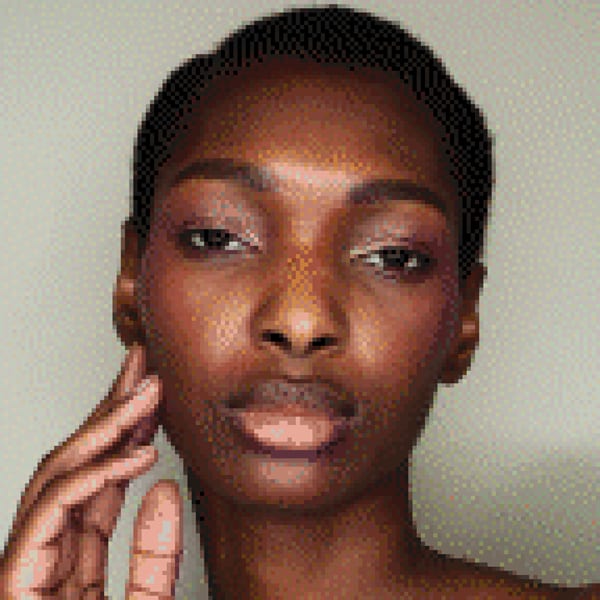
Let's look again at our original image:
The original source image was 1440x1440 pixels. This means that, in theory, there could be as many as 2,073,600 unique colors in that image (if every single pixel was distinct from every other pixel). That feels like a lot - and, it is - but remember that the RGB color space theoretically allows for 16,581,375 different colors. So we're not even approaching the limits of the RGB color space.
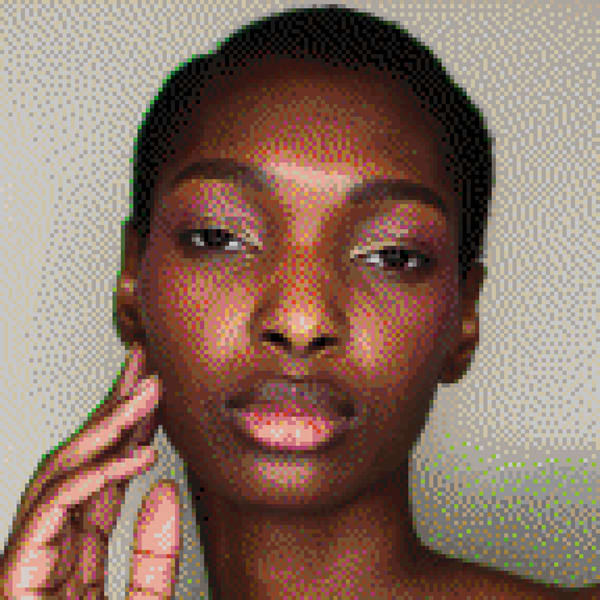
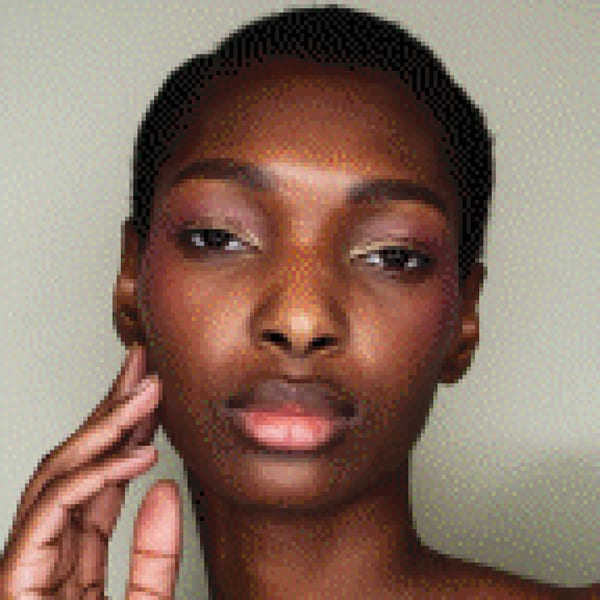
Then we took that image and pixelated it. The resulting image looks like this:
At this point, we haven't done any color matching. But originally there were 1440x1440 potential colors. But now, instead of having 2,073,600 pixels, we have 20,736 (144x144) "blocks", because we pixelated it with a block size of 10 pixels. So even if every single block has a color that's entirely unique from every other block, we've still dropped the color depth by a factor of 10.
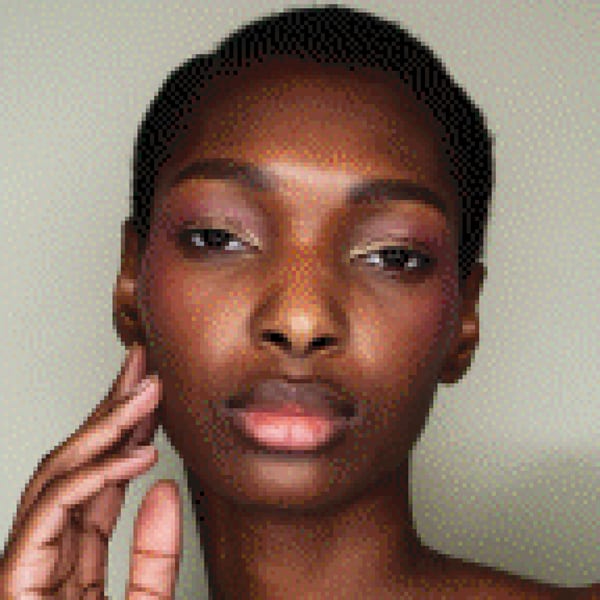
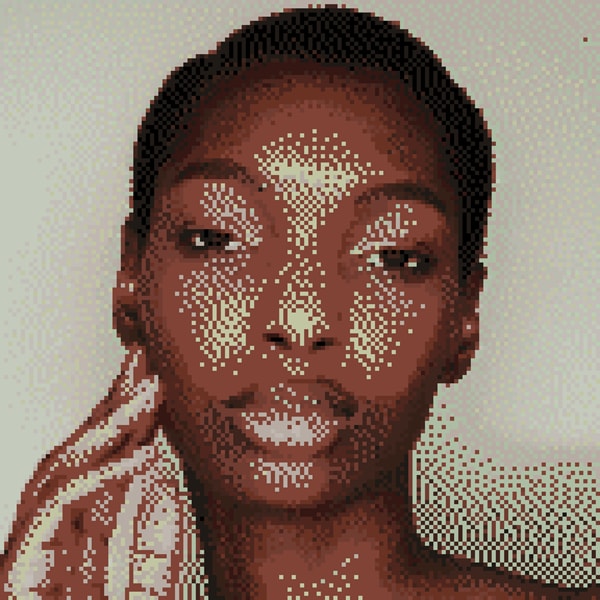
Then we took each of those blocks and matched them against our base palette of heavy body acrylic paints. Once we've done that (and applied dithering), the image looks like this:
How many colors are we left with? Luckily, there's a "STATS" link on Paint Map Studio that shows us all of the colors that exist in the transformed image (and the quantity in which they exist in the image). So once we do the transformation, we can flip over to the "STATS" page and see how many colors we're dealing with. The report looks like this:
The paints are sorted in descending order, with the most-frequently used paints at the top, and the least-frequently used at the bottom. If you were to scroll all the way down to the bottom of the list, you'd see that the transformed image now uses 103 different paints.
(You may remember that the base palette of heavy body acrylic paints actually has more than 200 different colors. But the total inventory needed to paint this image is only 103. This happens because there are some colors in our inventory of paints that simply don't belong anywhere in the pixelated image.)
This means we've taken our image from having (potentially) 2,073,600 different colors, down to 20,736 (when we performed the original pixelation), then all the way down to 103 when we matched those colors against our palette of paints.
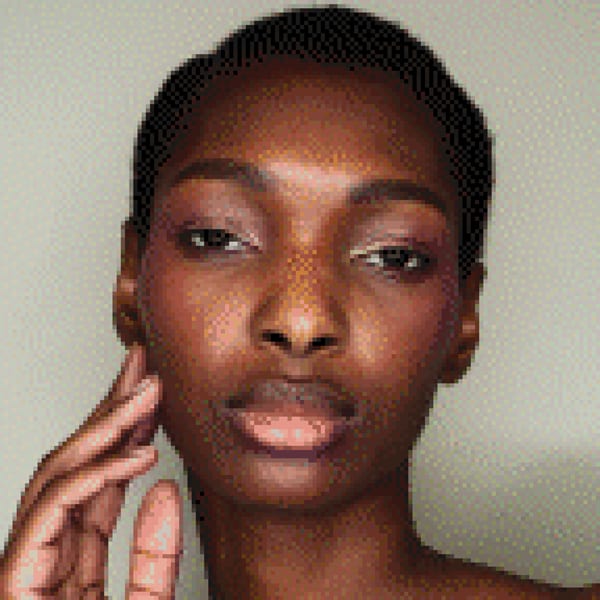
But there's a problem here because the most-recently transformed image above is pretty "chunky" and "noisy". That's why, in the last article, I showed how we can make the new image cleaner by adding potential colors to the palette. Specifically, we used digital paint mixing to derive palettes that I call "1/4 Whites", "1/3 Whites", "1/2 Whites", "2/3 Whites", and "3/4 Whites". When we add all of those potential palettes to the mix, we get this image:
That's a huge improvement! But that improvement comes at a cost. Once I've added all those new palettes to the paint-matching algorithm, I flip back over to the "STATS" page and it shows me that the image is now using... 364 different colors!
This would seem to defeat the whole purpose of my program. Because I don't want to be faced with mixing up 364 different combinations of paint just to produce one painting. So let's see what else we can do to make that palette of colors much more manageable.
Clipping
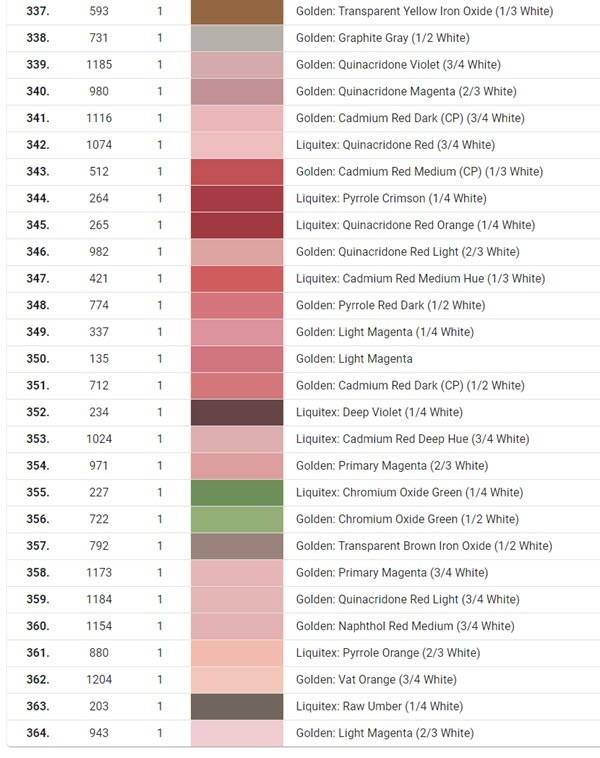
The first thing we can do is to simply shave some of those colors off the top (or, to be more accurate in this case, off the bottom). What do I mean by "clipping"? Well, let's take a look at the bottom of our list of colors from the last transformed image:
On the "STATS" page, this is the bottom of the list of colors that comprise the image. The third column (the one with all of the 1's) shows you the number of blocks in the image that correspond to this particular mix of colors.
As you can see, there are many colors that are used in only a single block in the image. And remember, even the pixelated image still has more than 20,000 blocks. So if a particular color only exists in a single block, that color is hardly critical to the overall transformation of the image. In fact, this particular transformation has 69 colors that only exist in a single block. It has 35 colors that only exist in 2 blocks. It has 37 colors that only exist in 3 blocks.
So how do we get rid of them? We can't just convert them all to black, or to white. We'd have to convert them to something that looks "natural" in the context of the image. Thankfully, we basically already have most of the logic that we need to do this.
When we did our original color matching, we took all of the core colors from the pixelated digital image, and we matched them against our palette of paints. Now that we can see that there are many paints that barely exist on the canvas, we can clip the least-used colors out of the palette, and then do the color matching... again!
If you're keeping score, this is basically what we've done (and what we're gonna do):
Pixelate the original digital image. This requires averaging the original RGB colors that existed in each block.
Match each of the blocks against our (extended) palette of paints and repaint the image.
Take the inventory of paints that are used in the new color-matched image, and sort them in descending order, based on how many times each paint mixture is used in the painting.
Lop off anything from that list that falls below a chosen threshold. This new "clipped" list will become our new, revised palette of paints.
Run the color-matching algorithm on the image again. But this time, you're only matching against those colors that were already being heavily used in the painting.
Updated code
Let's see what these changes look like in code. First, we're gonna update the original create() function that was illustrated near the beginning of this series:
const create = (src = '') => {
   const source = src === '' ? image.current.src : src;
   const newImage = new Image();
   newImage.src = source;
   newImage.onload = () => {
      indexState.setShowProcessing(false);
      image.current = newImage;
      canvas.current.width = newImage.width;
      canvas.current.height = newImage.height;
      context.current = canvas.current.getContext('2d', {alpha: false, willReadFrequently: true});
      context.current.drawImage(newImage, 0, 0);
      let stats = pixelate();
      const { matchToPalette, maximumColors, minimumThreshold } = indexState;
      if (matchToPalette() && (maximumColors() !== 0 || minimumThreshold() > 1))
         stats = adjustColorDepth(stats);
      else
         indexState.setShowProcessing(false);
      uiState.setStats(stats);
      uiState.setShowPostImageLinks(matchToPalette());
   }
};
Originally, the onload event in this function ended by calling pixelate(). But now, once pixelate() has completed, we're checking to see if we should do clipping (which is indicated by minimumThreshold() > 1. If that's true, then we invoke adjustColorDepth().
Here's what the adjustColorDepth() function looks like:
const adjustColorDepth = (stats = {}) => {
   const imageData = context.current.getImageData(0, 0, canvas.current.width, canvas.current.height);
   const adjustedStats = {
      colorCounts: {},
      colors: [],
      map: [],
   };
   const { blockSize } = indexState;
   palette = filterPalette(stats);
   let noise = {};
   for (let y = 0; y < imageData.height; y += blockSize()) {
      const row = [];
      for (let x = 0; x < imageData.width; x += blockSize()) {
         const remainingX = imageData.width - x;
         const remainingY = imageData.height - y;
         const blockX = remainingX > blockSize() ? blockSize() : remainingX;
         const blockY = remainingY > blockSize() ? blockSize() : remainingY;
         let originalColor = getRgbFromImageData(imageData, x, y);
         originalColor = applyDithering(noise, originalColor, x, y);
         const {red, green, blue} = originalColor;
         const referenceColor = {
            blue,
            green,
            red,
            name: '',
         };
         const color = getClosestColorInThePalette(referenceColor);
         row.push(color);
         noise = recordNoise(noise, originalColor, color, x, y);
         if (Object.hasOwn(adjustedStats.colorCounts, color.name))
            adjustedStats.colorCounts[color.name]++;
         else {
            adjustedStats.colorCounts[color.name] = 1;
            adjustedStats.colors.push(color);
         }
         context.current.fillStyle = `rgb(${color.red}, ${color.green}, ${color.blue})`;
         context.current.fillRect(x, y, blockX, blockY);
      }
      adjustedStats.map.push(row);
   }
   return adjustedStats;
};
If you're paying close attention to the previous articles, you may notice that this function is frightfully similar to pixelate(). (In fact, it's sooo similar that I'll probably refactor this in the future to re-use the same function.) But there are two key differences here:
adjustColorDepth()expects astatsobject. This was the object that was created in the original call topixelate().Before we enter the main image-manipulation loops, we define the palette by calling
filterPalette(stats). In layman's terms, it's going to use the palette that exists in the previous image as a basis for creating a new, smaller palette.
Here's what filterPalette() looks like:
const filterPalette = (stats = {}) => {
   const sortedColorCounts = sortPalette(stats);
   const filteredPalette = [];
   sortedColorCounts.forEach(colorCount => {
      const [colorName] = colorCount;
      const filteredColor = stats.colors.find(color => color.name === colorName);
      filteredPalette.push(filteredColor);
   });
   return filteredPalette;
};
This function is returning that new, smaller palette, against which the second round of color matching will be performed. But this still doesn't illustrate where the clipping happens. That takes place in sortPalette().
Here's what sortPalette() looks like:
const sortPalette = (stats = {}) => {
   const sort = (a, b) => {
      const [, aCount] = a;
      const [, bCount] = b;
      if (aCount > bCount)
         return -1;
      else if (aCount < bCount)
         return 1;
      else
         return 0;
   };

   const { minimumThreshold } = indexState;
   const colorCounts = Object.entries(stats.colorCounts).filter(colorCount => {
      const [, count] = colorCount;
      return count >= minimumThreshold();
   })
   return colorCounts.sort(sort);
};
What's happening here is that we're taking the stats that were generated from the original round of color matching. In that object, there's a nested object called colorCounts. First, we grab the entries from that object and filter out any colors that are below the minimumThreshold. Then we return the sorted array in descending order, so the most-used colors are at the top.
So imagine that the original colorCounts object looked like this:
const colorCounts: {
   'Golden: Burnt Sienna': 70,
   'Golden: Paynes Gray': 60,
   'Golden: Pyrrole Red (1/2 White)': 50,
   'Golden: Raw Sienna': 40,
   'Golden: Transparent Red Iron Oxide (1/3 White)': 30,
   'Liquitex: Cadmium Red Light (2/3 White)': 20,
   'Liquitex: Deep Magenta': 9,
   'Liquitex: Parchment': 2,
   'Golden: Yellow Ochre': 1,
}
And imagine that we set the Minimum Threshold value to 10. Then the resulting array of colorCounts would look like this:
const colorCounts: [
  ['Golden: Burnt Sienna', 70],
  ['Golden: Paynes Gray', 60],
  ['Golden: Pyrrole Red (1/2 White)', 50],
  ['Golden: Raw Sienna', 40],
  ['Golden: Transparent Red Iron Oxide (1/3 White)', 30],
  ['Liquitex: Cadmium Red Light (2/3 White)', 20],
]
In this example, Liquitex: Deep Magenta, Liquitex: Parchment, and Golden: Yellow Ochre are just clipped right off the bottom of the palette because they weren't used enough to meet our minimum threshold. What happens to the blocks that previously contained those colors? They'll be re-matched against the "surviving" list of colors.
So let's see what this looks like in practice. This is our pixelated, color-matched, and dithered image, with no clipping applied. It looks pretty good. But... it also contains a massive palette of 364 different colors. That's very impractical.
And here's the same image, except we've set the Minimum Threshold value to 10:
This also looks pretty good. In fact, it looks so good that it's challenging to compare the two images and see any difference!
But what has this clipping done to our total palette? After clipping, we now have 165 colors in the image. That's right. By cutting off all the colors that were used fewer-than-10 times, and then re-running the color-matching algorithm, we managed to lop nearly 200 colors out of our palette - and yet there's virtually no visual difference! This is incredibly useful.
But we're not done yet...
Throttling
If we want to be even more aggressive about our control of the color depth, we can also throttle the entire list of colors that we allow into the finished image. The process goes hand-in-hand with the code we already created for clipping.
Clipping entails simply lopping off any colors that weren't used enough times. Throttling goes a step further by setting a hard limit on the number of colors that we'll allow in the finished image. To make this work, we merely have to change one line in our sortPalette() function:
const sortPalette = (stats = {}) => {
   const sort = (a, b) => {
      const [, aCount] = a;
      const [, bCount] = b;
      if (aCount > bCount)
         return -1;
      else if (aCount < bCount)
         return 1;
      else
         return 0;
   };

   const { maximumColors, minimumThreshold } = indexState;
   const colorCounts = Object.entries(stats.colorCounts).filter(colorCount => {
      const [, count] = colorCount;
      return count >= minimumThreshold();
   })
   colorCounts.sort(sort);
   return maximumColors() ? colorCounts.slice(0, maximumColors()) : colorCounts;
};
This is the same as the previous function with one minor difference. If a value has been set for maximumColors, then we slice all colors off the sorted array that fall below the maximum.
So let's take the previous image and put a hard limit on the color depth of 100. Here's what it looks like:
Once again, we've cut out a huge swath of colors. And yet it's hard to discern any visual difference in the transformed image. If you're curious, we can keep ratcheting down the color depth to see how long it takes before we start to degrade the image.
Here's the same image limited to 80 colors:
And now limited to 60 colors (starting to see some bands of white):
And limited to 40 colors:
And finally, 20 colors:
As you can see, there is a point where limiting color depth starts to visually degrade the image. But it's kinda astonishing (to me, at least) just how many colors you can strip out of the original and still maintain a coherent image, even when you're dealing with a nuanced subject, like a human face.
Lessons
There are two key lessons that I'd like you to take from this particular article:
In the age of digital cameras/phones that can capture giga-pixels worth of data, it's easy to assume that a "realistic" image must require tons of data. Or, in the case of image analysis, tons of high-definition colors. But you can actually make an image that feels very convincing to the human eye with a fairly limited palette of colors. This is why it's important to have the ability, when you're playing with images algorithmically, to be able to restrict color depth. Because you might find that most of those "extra" colors are nearly indiscernible to the human eye.
Palette matters. When I first started this journey, I reasoned that I should be able to get pretty decent matches for nearly any color in a given pixel because I had 200+ paints at my disposal. Yet I found that even after I applied techniques such as dithering, my transformed image still left a lot to be desired. This was because, even though I had a large inventory of paints, those paints didn't represent a full spectrum of colors that I was seeing in the image. When I expanded the palette (virtually), I was able to achieve much better color matching.
On this last point, I'll give you a thought experiment. Imagine that I want to paint an image of a grey, wintry afternoon in the arctic. Sure, there may be some blues/purples in certain corners of the image, but most of the image is gonna be... white. Or at least, various shades of grey.
Then imagine that I tried to run my color matching algorithm against that image. But I only used my "base" palette of heavy body acrylic paints. Even though my "base" palette has more than 200 colors, most of those colors would be borderline useless. I could just as well throw out my reds, and oranges, and greens. Because there would probably be little in that image that would match well against them.
But if I had the "right" kind of palette to start from, I could probably do some great color matching. That palette would include many shades of grey. Probably some dark blues and purples as well. And if I had the "right" palette, I actually wouldn't need that many colors in the image. Maybe I could make a very convincing representation with nothing more than... 30-or-40 colors. But those 30-or-40 colors would all need to be in close proximity to the colors in the base image.
This is why it would be important to first be able to expand my palette so that it includes all those "1/3 Whites" and "3/4 White", etc. But once all the color matching was done and I had a solid image, it would be "safe" to go ahead and ratchet down the color depth to a core set of colors/shades that I needed to faithfully recreate the image.
In the next installment...
Believe it or not, this series is almost done! I think I'm just gonna add one more article where I show how I use Paint Map Studio to create my own personal paint-by-numbers grids.
This content originally appeared on DEV Community and was authored by Adam Nathaniel Davis
Adam Nathaniel Davis | Sciencx (2023-03-02T02:18:28+00:00) Reducing Color Depth with React/JavaScript. Retrieved from https://www.scien.cx/2023/03/02/reducing-color-depth-with-react-javascript/
Please log in to upload a file.
There are no updates yet.
Click the Upload button above to add an update.

