This content originally appeared on DEV Community and was authored by Waji
Introduction
A Docker registry is a place to store Docker images. There are two types of Docker registries
- Private registry
- Public registry
Docker Hub is a popular public registry, but organizations often prefer to use their own private registry to store and manage their images as it provides more control over image access and security.
Docker registry management involves pushing and pulling images from a registry, as well as managing access control, security, and versioning. To facilitate these tasks, various Docker registry management tools are available, such as Docker Trusted Registry, Harbor, and JFrog Artifactory
👉 In this post, I will be testing Docker-Hub repository, Nexus Repository and then apply GitHub actions to build an image automatically (CI)
Hands on Docker-Hub
💡 If you don't have a dockerhub ID, you can refer to the steps mentioned over here
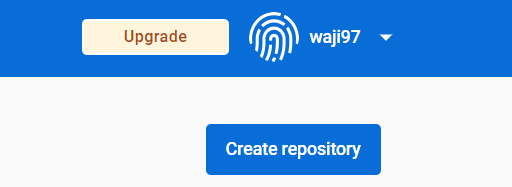
After logging in to our account in Docker hub, we need to head to 'repositories' and select 'create repository'
Creating a private repository
Once the repository is created, we can confirm the repository name
Now back to our Linux terminal. I will be working on a new directory
mkdir /DockerFile_Root
cd /DockerFile_Root
Creating a simple test index.html file
cat "Test" > index.html
Creating a Dockerfile
vi Dockerfile

FROM nginx:latest
LABEL maintainer "Author <Author@localhost.com>"
ADD index.html /usr/share/nginx/html
Building this dockerfile
docker build -t mynginx:v1 ./

Successfully built a367f58de111
Successfully tagged mynginx:v1
Logging in to my docker hub
docker login
Username:
Password:
Login Succeeded
Pushing the image to our docker hub repository
docker tag mynginx:v1 waji97/myrepo:v1
docker push waji97/myrepo:v1
Deleting the local images and tags
docker rmi mynginx:v1
docker rmi waji97/myrepo:v1
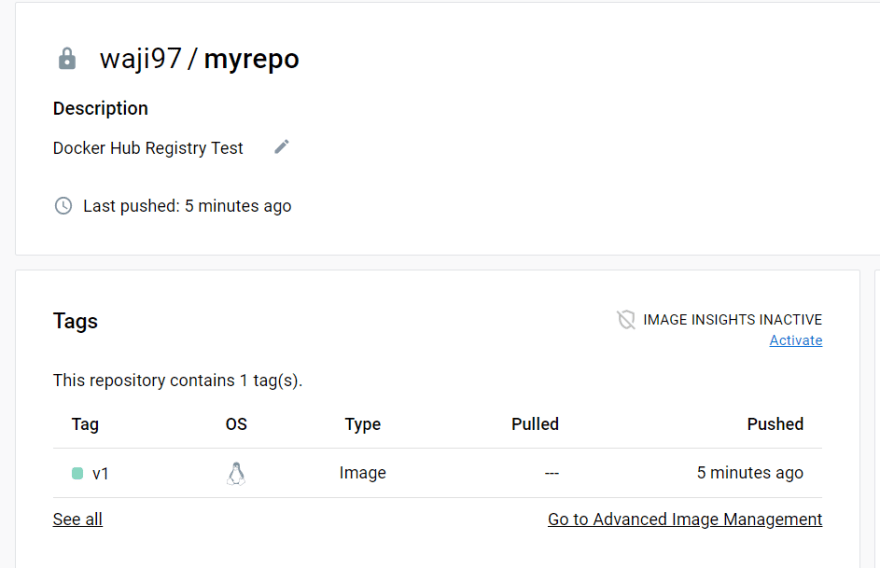
Checking the repository from dockerhub
Now we can start a docker container on our local machine using this image from our dockerhub
docker run -d --name Mynginx_1 -p 80:80 waji97/myrepo:v1
Unable to find image 'waji97/myrepo:v1' locally
v1: Pulling from waji97/myrepo
.
.
Status: Downloaded newer image for waji97/myrepo:v1
c3eeab8e250c18e472f105356790368253eb60991532d0b9b786829f94bf6bbe
👉 We can see that it pulled from my repository
Checking the docker process and images
docker ps
CONTAINER ID        IMAGE               COMMAND                  CREATED              STATUS              PORTS                NAMES
c3eeab8e250c        waji97/myrepo:v1    "/docker-entrypoint.…"   About a minute ago   Up About a minute   0.0.0.0:80->80/tcp   Mynginx_1

docker images
REPOSITORY          TAG                 IMAGE ID            CREATED             SIZE
waji97/myrepo       v1                  a367f58de111        10 minutes ago      142MB
We can also visit our nginx server
Hands on Nexus Repository
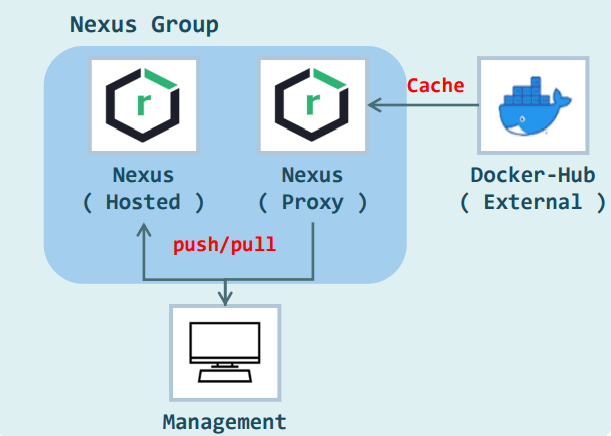
Nexus repository is a popular open-source repository manager developed by Sonatype. Nexus provides storing & managing software components, access control and integration with tools like Jenkins and Docker.
It was mainly used with Java projects and the repositories were accessible by an WEB UI. We will be using Nexus repository to build a private image repository using docker format.
There are three types of nexus repository:
- Hosted: a private repository within a company (uploads are only possible locally)
- Proxy: mirrors remote repositories (cache)
- Group: groups various types of repositories together
👉 Before starting the hands on, I recommend turning off swap memory using swapoff -a
We will start by creating a volume
docker volume create nexus_volume
nexus_volume
Next we will change the ownership for the data directory for this volume
chown 200:200 /var/lib/docker/volumes/nexus_volume/_data/
👉 We need to change this as not changing this could possibly incur push/pull errors later
Pulling the nexus image
docker pull sonatype/nexus3:latest
Now, we will create a new container for our nexus repo
docker run -d --name Nexus -p 8081:8081 -p 5000-5001:5000-5001 -v nexus_volume:/nexus-data sonatype/nexus3
👉 I would recommend to have atleast 3GBs of RAM in your host system for the above to actually run
docker ps
CONTAINER ID        IMAGE               COMMAND                  CREATED             STATUS              PORTS                                                      NAMES
9c68a0f95437        sonatype/nexus3     "/opt/sonatype/nexus…"   3 seconds ago       Up 1 second         0.0.0.0:5000-5001->5000-5001/tcp, 0.0.0.0:8081->8081/tcp   Nexus
Now we need to copy the password from
cat /var/lib/docker/volumes/nexus_volume/_data/admin.password
👉 Copy the password that is displayed
Navigating to the Nexus Repo Manager via our browser and logging in as 'admin' user
This will trigger a new 'change password' wizard. We can change our admin account password using this wizard
From settings, we will navigate to 'Blob Stores'
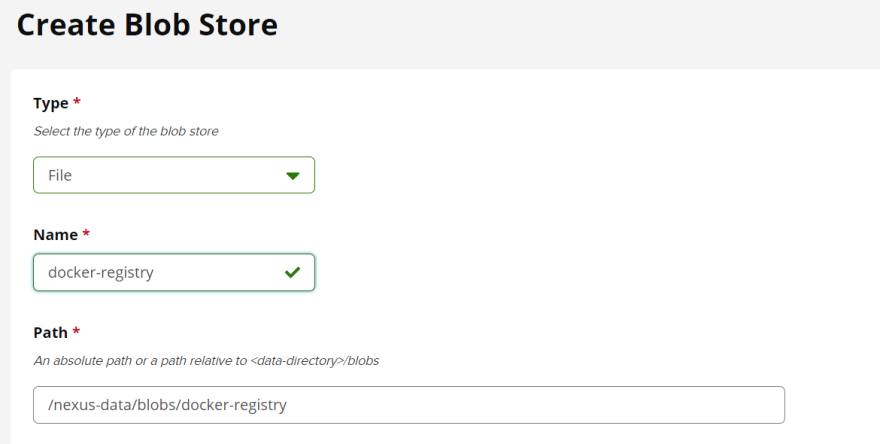
Creating a new blob to use as docker-registry
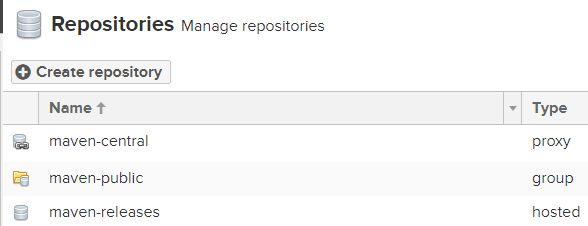
Now heading to "Repositories" and clicking on "Create repository"
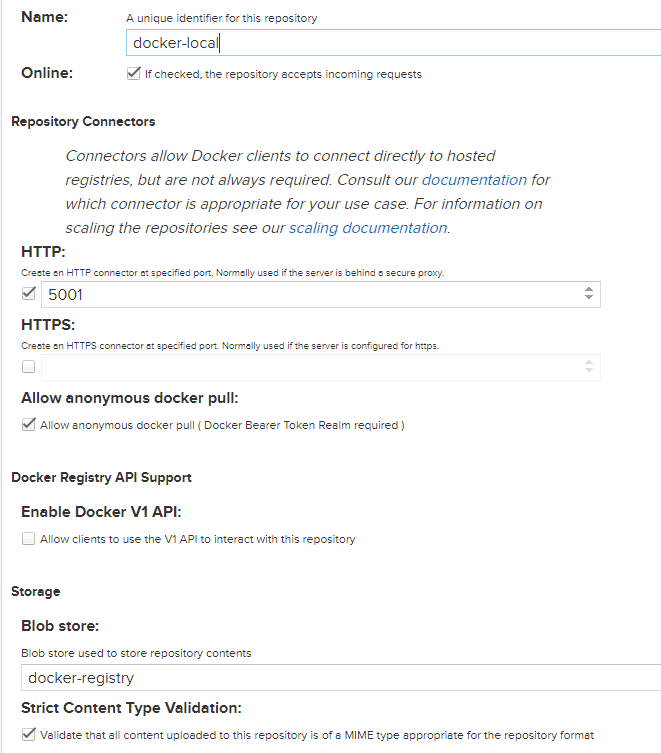
We need to select 'docker(hosted)' from here and set up as following
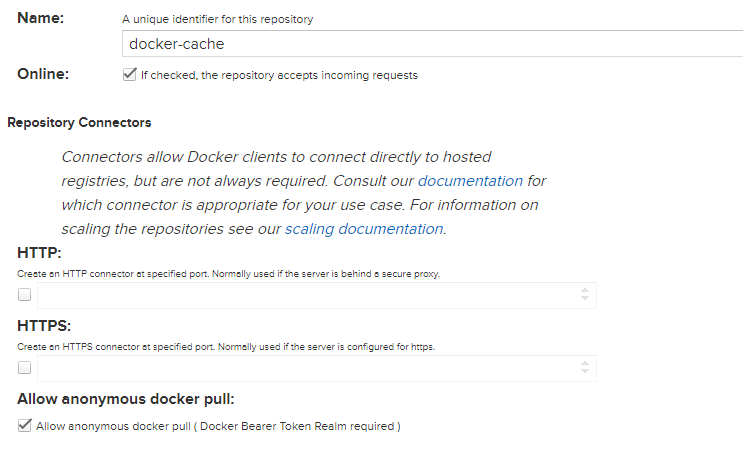
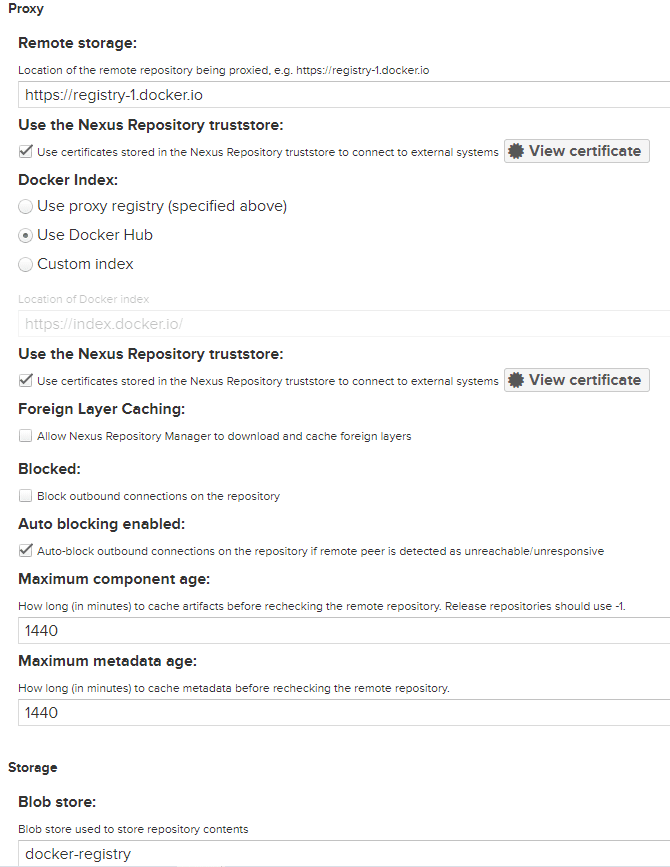
After creating the above repository, we need to create another one named 'docker(proxy)'
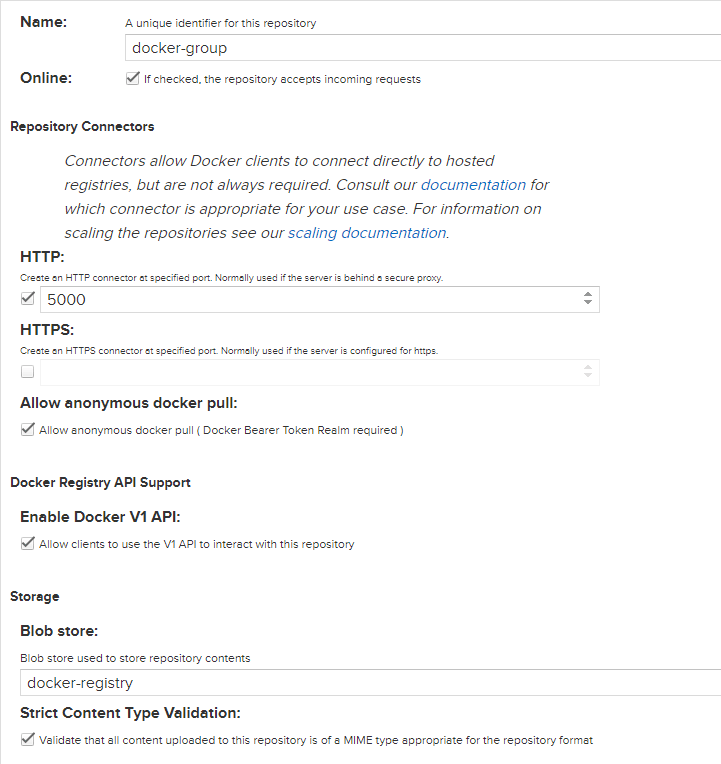
Finally we will create our 'docker(group)' repository as well
Adding all the members to our group
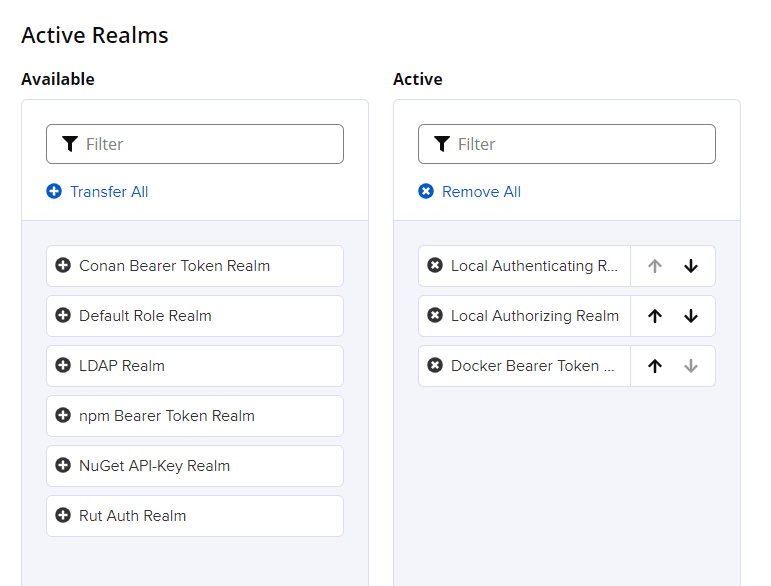
Now from the "Security" section, we will navigate to Realms
Adding the "Docker Bearer Token Realm"
👉 Going back to our Linux terminal
We will add the following to our daemon JSON file
vi /etc/docker/daemon.json

"insecure-registries" : ["192.168.1.10:5000", "192.168.1.10:5001"]
💡 We had to add this as Nexus supports HTTPS but we are using HTTP
Reloading the daemon and restarting docker
systemctl daemon-reload
systemctl restart docker

docker start Nexus
Nexus
Now we can pull a test image for our nexus repository
docker pull 192.168.1.10:5000/hello-world
Using default tag: latest
latest: Pulling from hello-world
.
Status: Downloaded newer image for 192.168.1.10:5000/hello-world:latest
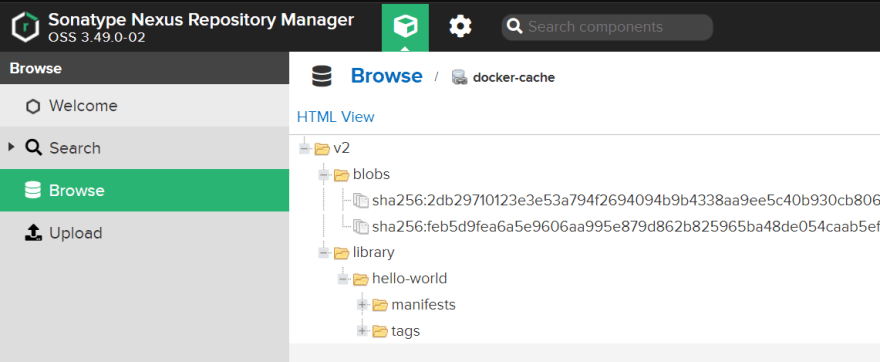
To confirm if this image was downloaded,
We will perform another test by tagging our existing 'alpine' image to our nexus repository
docker tag alpine 192.168.1.10:5001/myalpine:v1
Logging in to our repository
docker login 192.168.1.10:5001
Username:
Password:
Login Succeeded
Pushing the tagged image to our repository
docker push 192.168.1.10:5001/myalpine:v1
The push refers to repository [192.168.1.10:5001/myalpine]
7cd52847ad77: Pushed

# Logging out
docker logout 192.168.1.10:5001/myalpine:v1
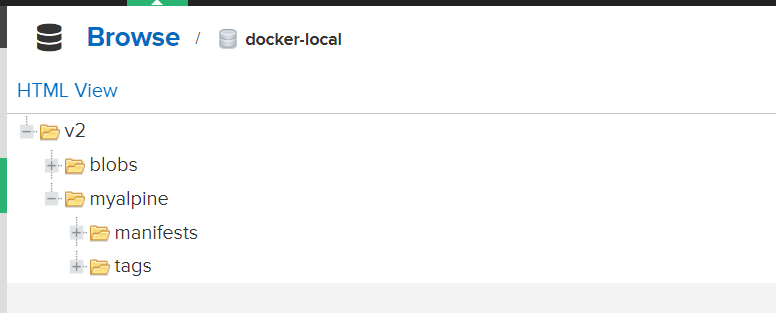
Confirming this push from the WEB UI
Hands on GitHub actions (CI)
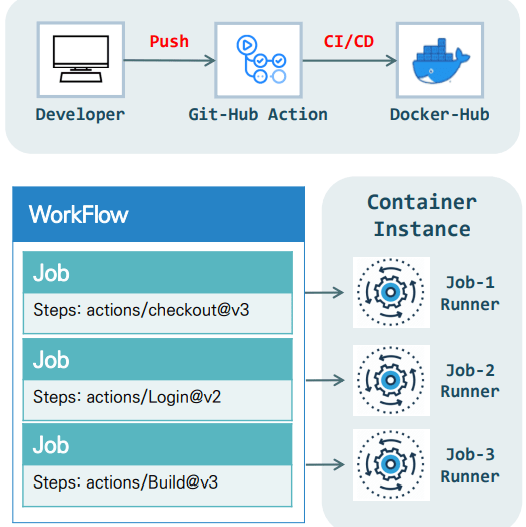
GitHub Actions is a powerful CI/CD tool for automating software development workflows. It allows developers to automate tasks, build, test, and deploy code directly from GitHub.
- Workflows are defined in YAML format and consist of Events and Jobs.
- Events are triggers that execute a workflow.
- Events can be configured to trigger on actions such as a push to a repository.
- Workflows can contain multiple Jobs.
- When multiple Jobs are present, parallel execution is the default behavior.
- A Runner is required to execute Jobs and is typically a container.
✨ WorkFlow:-
- Workflow: The entire workspace for building, deploying, and testing.
- Event: The trigger for a Workflow to run (when it executes).
- Job: The unit of work in a Workflow.
- Step: Defines the sequence of tasks that a Job should perform.
- Action: A pre-defined function (library) that performs a specific task. Runner: A containerized instance used to execute a Workflow.
👉 I will be doing a short hands on in which we will use Github actions to automatically create a docker image and push it to the dockerhub repository
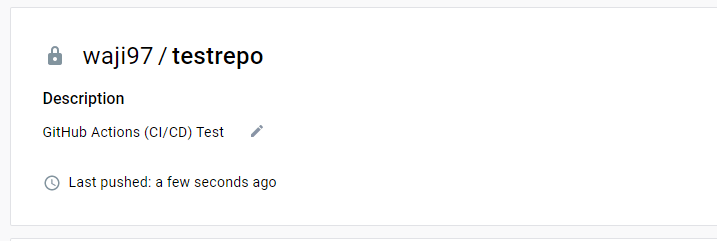
From GitHub, we need to create a new repository for testing Github actions
Now from DockerHub
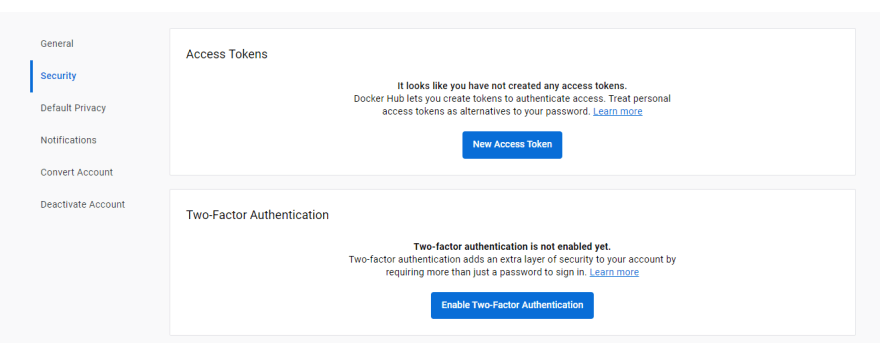
Now we will navigate to "My profile" => "Edit Profile" => "Security"
From this section, we will create a new access token with Read, Write and Delete permissions
👉 Going back to Github
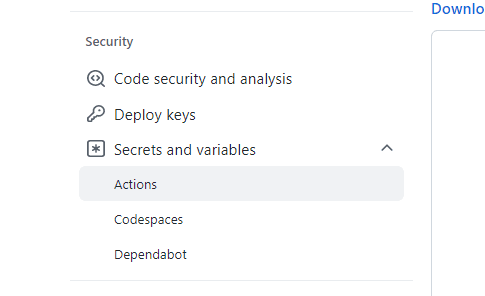
From our repository, we will head to settings and select
We will make 2 new secrets, one contains your DockerHub username and the other should contain the Access Token that we created from Dockerhub
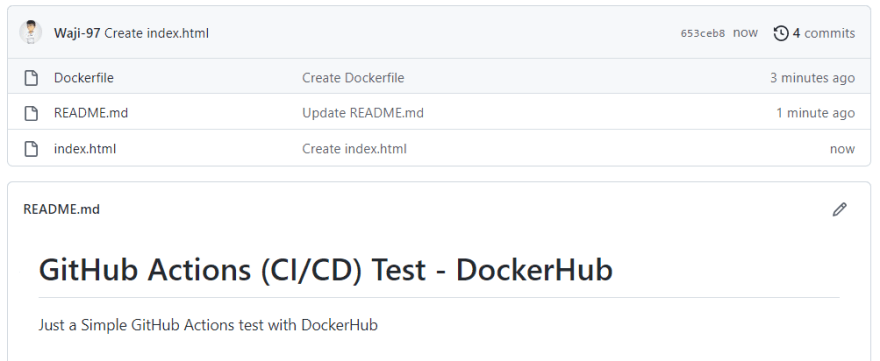
Now from our Github repository, we will create a new Dockerfile and also add a test html file
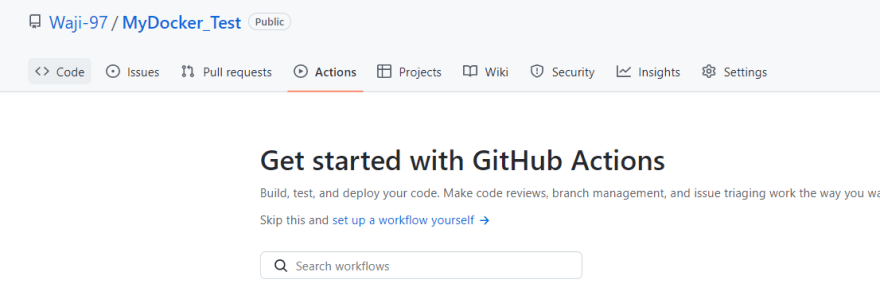
We will head to "Actions" and setup our custom workflow
My workflow YAML file looks like this
👉 This file will build an image and push it automatically to Dockerhub using Dockerfile present in the Github repository's main branch
Upon committing this file, we will have a new workflows folder in our repository
We can also check our actions section
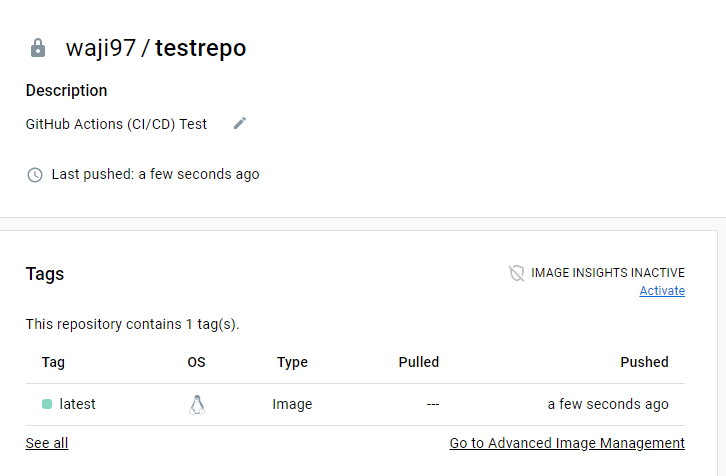
To test if this actually worked, we will go to our Dockerhub repository
👉 Dockerhub test repository
We will test this image from our Linux Terminal now
Creating a container using our image from Dockerhub
docker login

docker run -d --name Mynginx_1 -p 80:80 waji97/testrepo:latest
latest: Pulling from waji97/testrepo
.
.
Status: Downloaded newer image for waji97/testrepo:latest
6bd35189a8261f80ed6763bd75f78cb0172bd21a0abcdb871ffb047c0d9e9729
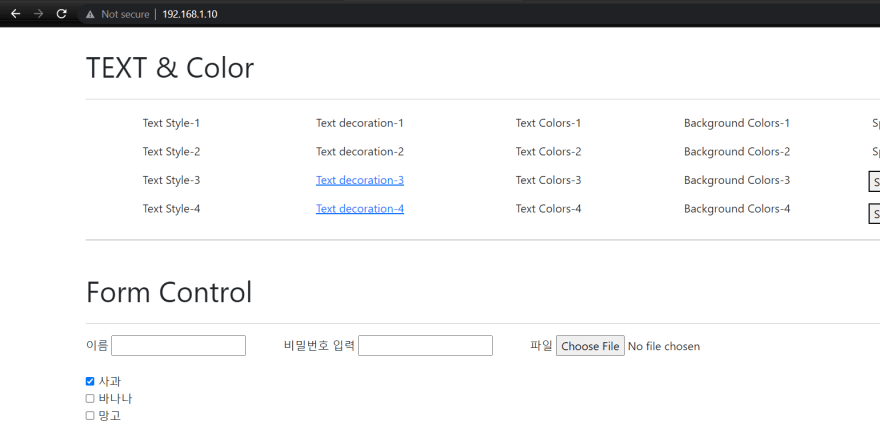
Testing from the browser
👉 We will now try changing our index.html file from Github and commit so that Github actions can actually integrate this automatically
Upon committing the changes, we will be able to see a new workflow
Now from the Linux System, we will delete the container and the image.
After deleting the current image, we will pull the latest image from our Dockerhub repository and create a new container using the image to check our results
✨ This is Continuous Integration
Conclusion
In conclusion, managing a Docker registry is an essential aspect of containerization. Dockerhub, Nexus Repository, and Github Actions CI are three popular options for Docker registry management, each with their own advantages and limitations ✔
This content originally appeared on DEV Community and was authored by Waji
Waji | Sciencx (2023-03-08T03:11:03+00:00) Docker Registry Management. Retrieved from https://www.scien.cx/2023/03/08/docker-registry-management/
Please log in to upload a file.
There are no updates yet.
Click the Upload button above to add an update.

