This content originally appeared on DEV Community and was authored by Sameer's Code Canvas
Here's a step-by-step guide to installing Laravel on Ubuntu:
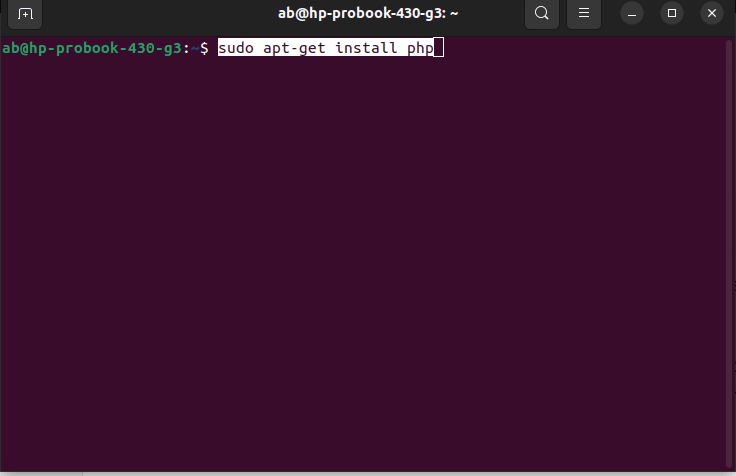
Step 1: Install PHP: Laravel is a PHP framework, so you need to have PHP installed on your Ubuntu system. To install PHP, open a terminal window and run the following command:
"sudo apt-get install php"
Step 2: Install Composer: Laravel uses Composer, a package manager for PHP, to manage its dependencies. To install Composer, run the following commands in your terminal:
"curl -sS https://getcomposer.org/installer | php
sudo mv composer.phar /usr/local/bin/composer"
Step 3: Install Laravel: Once you have PHP and Composer installed, you can use Composer to install Laravel. Run the following command in your terminal:
"composer global require laravel/installer"
Step 4: Add Laravel to your PATH: To use the laravel command globally, you need to add it to your system's PATH. Open the ~/.bashrc file using your preferred text editor and add the following line at the end of the file:
"export PATH="$PATH:$HOME/.config/composer/vendor/bin"
Step 5: Save and close the file. To activate the changes, run the following command:
"source ~/.bashrc"
Step 6: Create a new Laravel project: Now that you have installed Laravel, you can create a new Laravel project by running the following command:
"laravel new project-name"
That's it! You have successfully installed Laravel on your Ubuntu system and created a new Laravel project.
This content originally appeared on DEV Community and was authored by Sameer's Code Canvas
Sameer's Code Canvas | Sciencx (2023-05-12T03:30:31+00:00) How to easily install Laravel on Ubuntu. Retrieved from https://www.scien.cx/2023/05/12/how-to-easily-install-laravel-on-ubuntu/
Please log in to upload a file.
There are no updates yet.
Click the Upload button above to add an update.


