This content originally appeared on Telerik Blogs and was authored by Hassan Djirdeh
Astro’s strong performance in static site generation pairs nicely with React’s component-based architecture. See how to integrate the two.
Astro is a relatively new, high-performance static site generator (SSG) that simplifies the process of building websites by pre-rendering content into static HTML at build time. It supports multiple frontend frameworks, such as React, Vue, Svelte and more, allowing developers to use their preferred stack.
For a more detailed introduction to Astro, be sure to check out our previously written article: An Introduction to Astro—A Web Framework for Content-Driven Websites.
In today’s article, we’ll focus on integrating Astro with React, illustrating how to create a static site that leverages React’s component-based architecture while benefiting from Astro’s pre-rendering and fast load times. This article is a sibling article to the Vue-focused article we’ve written before, Creating a Fast Static Site with Astro and Vue.
Creating a New Astro Project
Before we begin integrating React into Astro, we first need to create a new Astro project. Astro offers a simple setup process that allows us to get started quickly with minimal configuration.
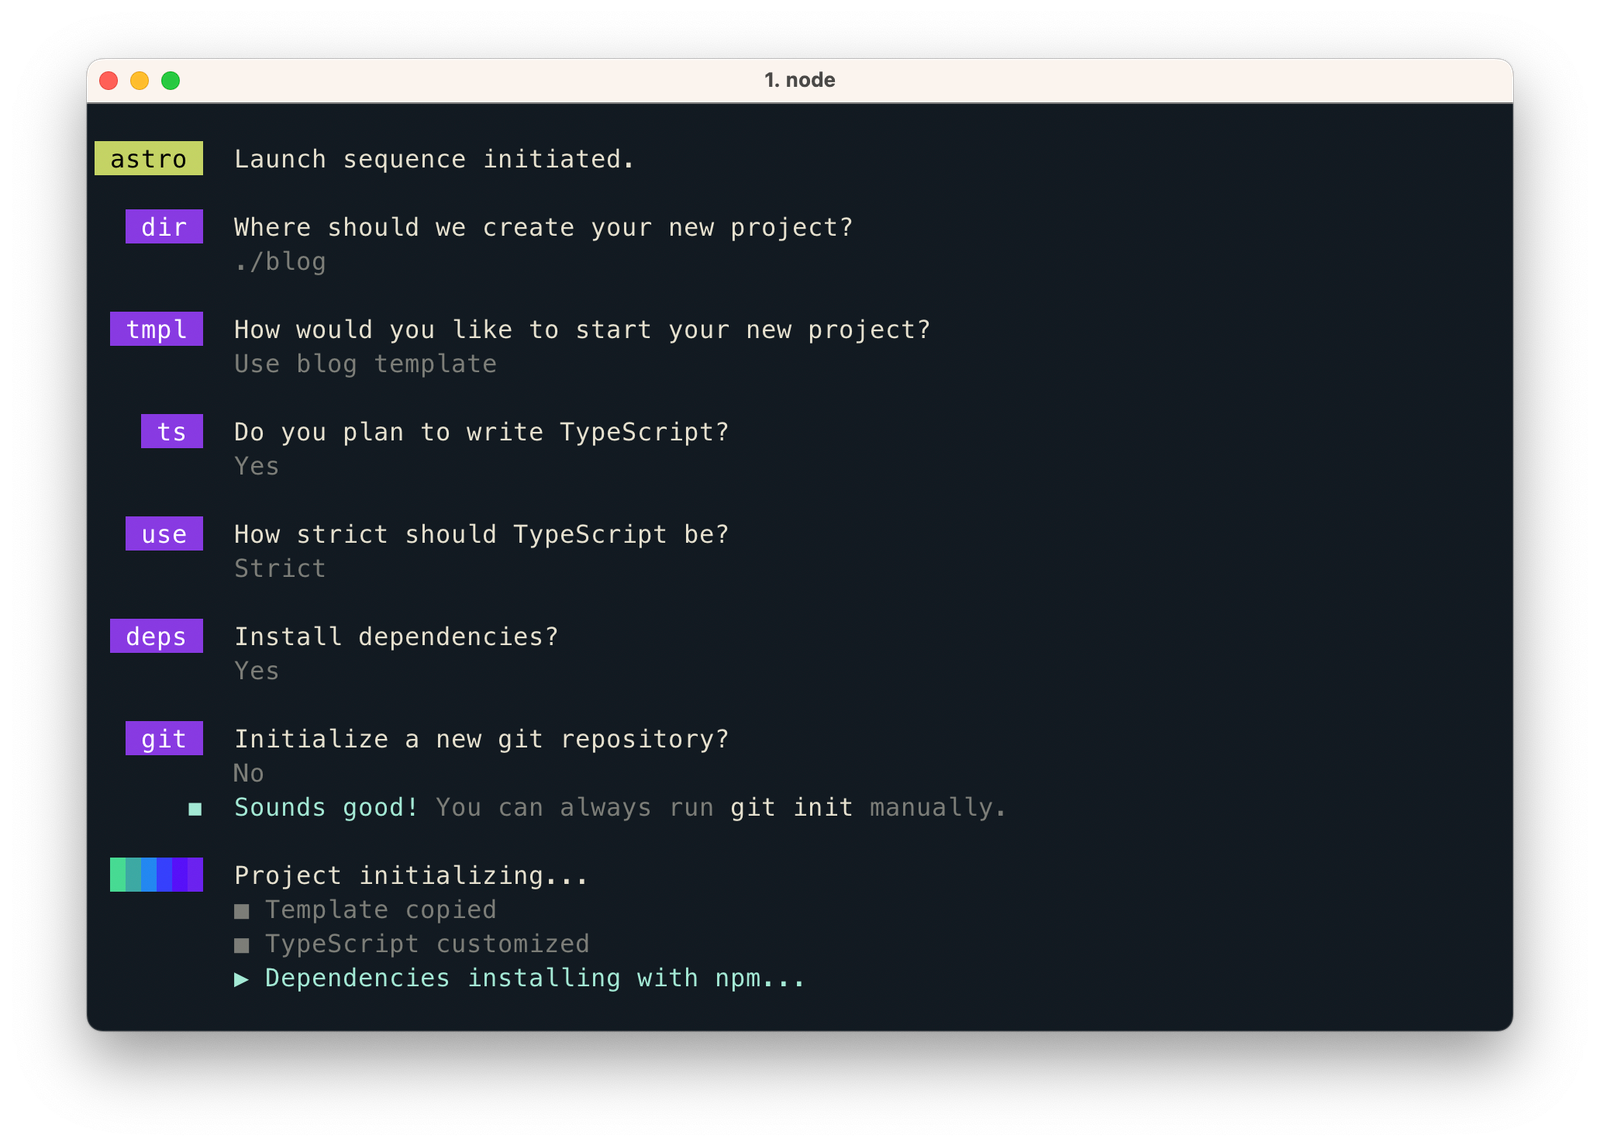
In our terminal, we’ll navigate to the directory where we’d like to create a new Astro project. We’ll then run one of the following commands depending on our package manager of choice:
npm create astro@latest

---

yarn create astro
After running the above command, Astro’s project creation wizard will guide us through the setup process. We’ll be prompted to choose a project directory and select a project template.

Once the setup is complete, we can navigate to the project folder:
cd my-astro-project
And start the local development server:
npm run dev
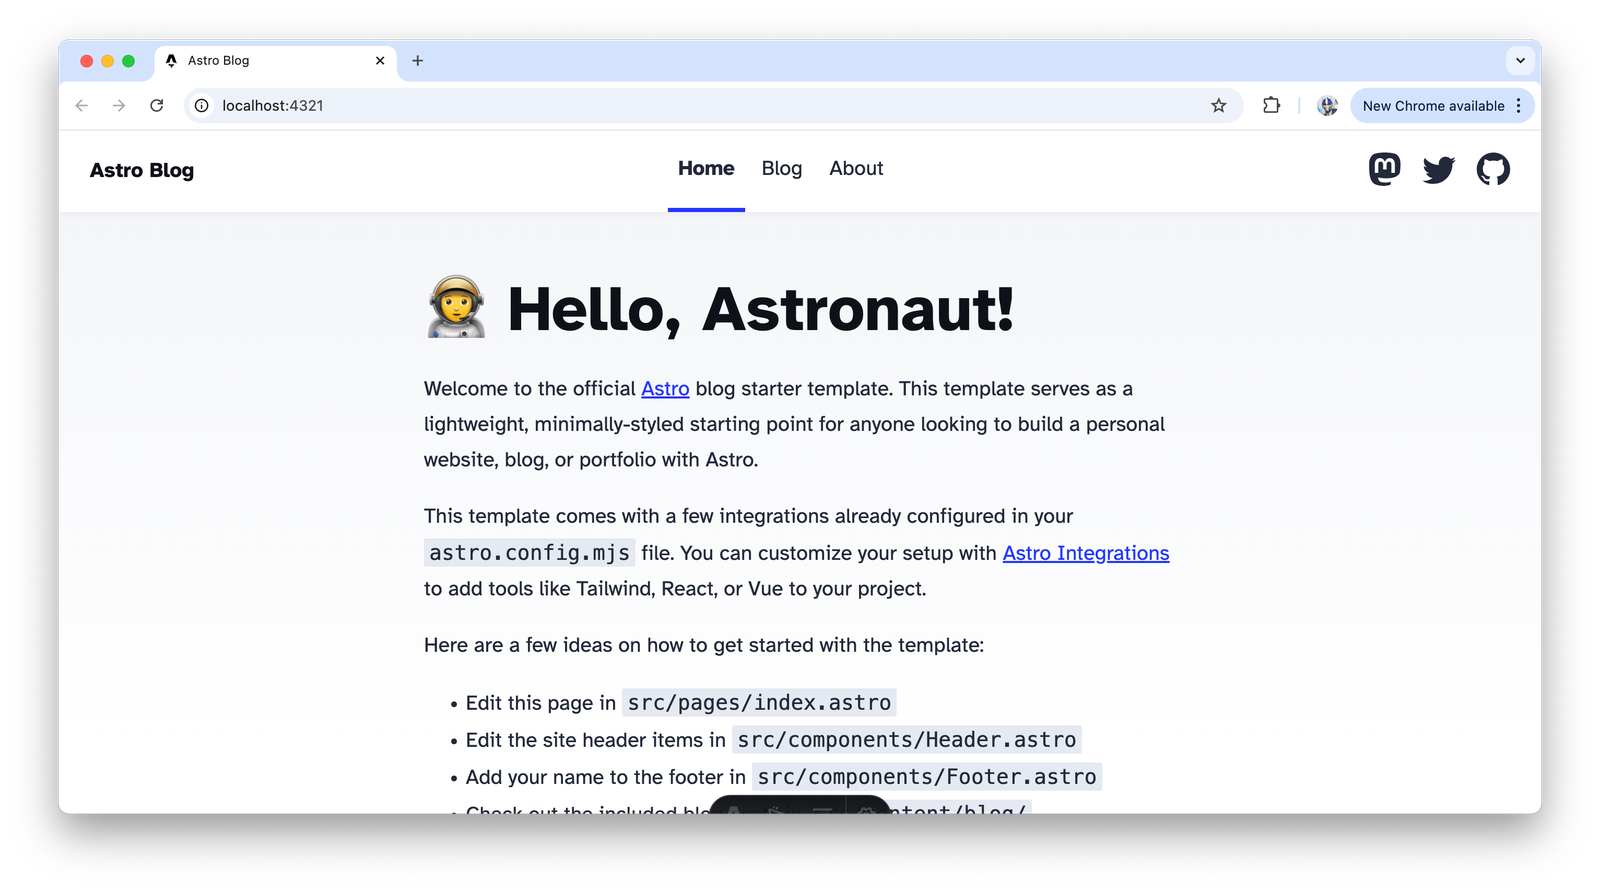
This will launch the project on http://localhost:4321, where we’ll see our new Astro site in action.

Integrating React into Astro
Astro’s framework-agnostic approach allows it to work seamlessly with React. First, in our Astro project folder, run the following command to add React support:
npx astro add react
The above command will install React, set up the necessary dependencies and configure Astro to use React components. Once the integration is done, Astro will automatically enable React-based components in .astro files. We can now use React components alongside Astro’s HTML templating features, allowing us to take full advantage of React’s ecosystem while still maintaining Astro’s performance-first philosophy.
Creating React Components in Astro
We’ll now create a simple React component called Greeting.jsx inside our project. React components live inside the src/components folder of an Astro project.
// src/components/Greeting.jsx

import React from "react";

export default function Greeting({ name }) {
  return (
    <div>
      <h1>Hello, {name}!</h1>
      <p>Welcome to our Astro + React site!</p>
    </div>
  );
}
In the above component, we’re simply rendering a greeting with a name passed as a prop. The next step is to use this React component inside an .astro page.
Using React Components in an Astro Page
Astro allows us to integrate React components into our pages seamlessly. To do this, we’ll open the src/pages/index.astro file and import the Greeting.jsx component. Then, use the component within the Astro page like so:
---
import Greeting from '../components/Greeting.jsx';
---

<html lang="en">
  <head>
    <meta charset="UTF-8" />
    <meta name="viewport" content="width=device-width, initial-scale=1.0" />
    <title>Astro + React</title>
  </head>
  <body>
    <main>
      <Greeting name="Hassan" />
    </main>
  </body>
</html>
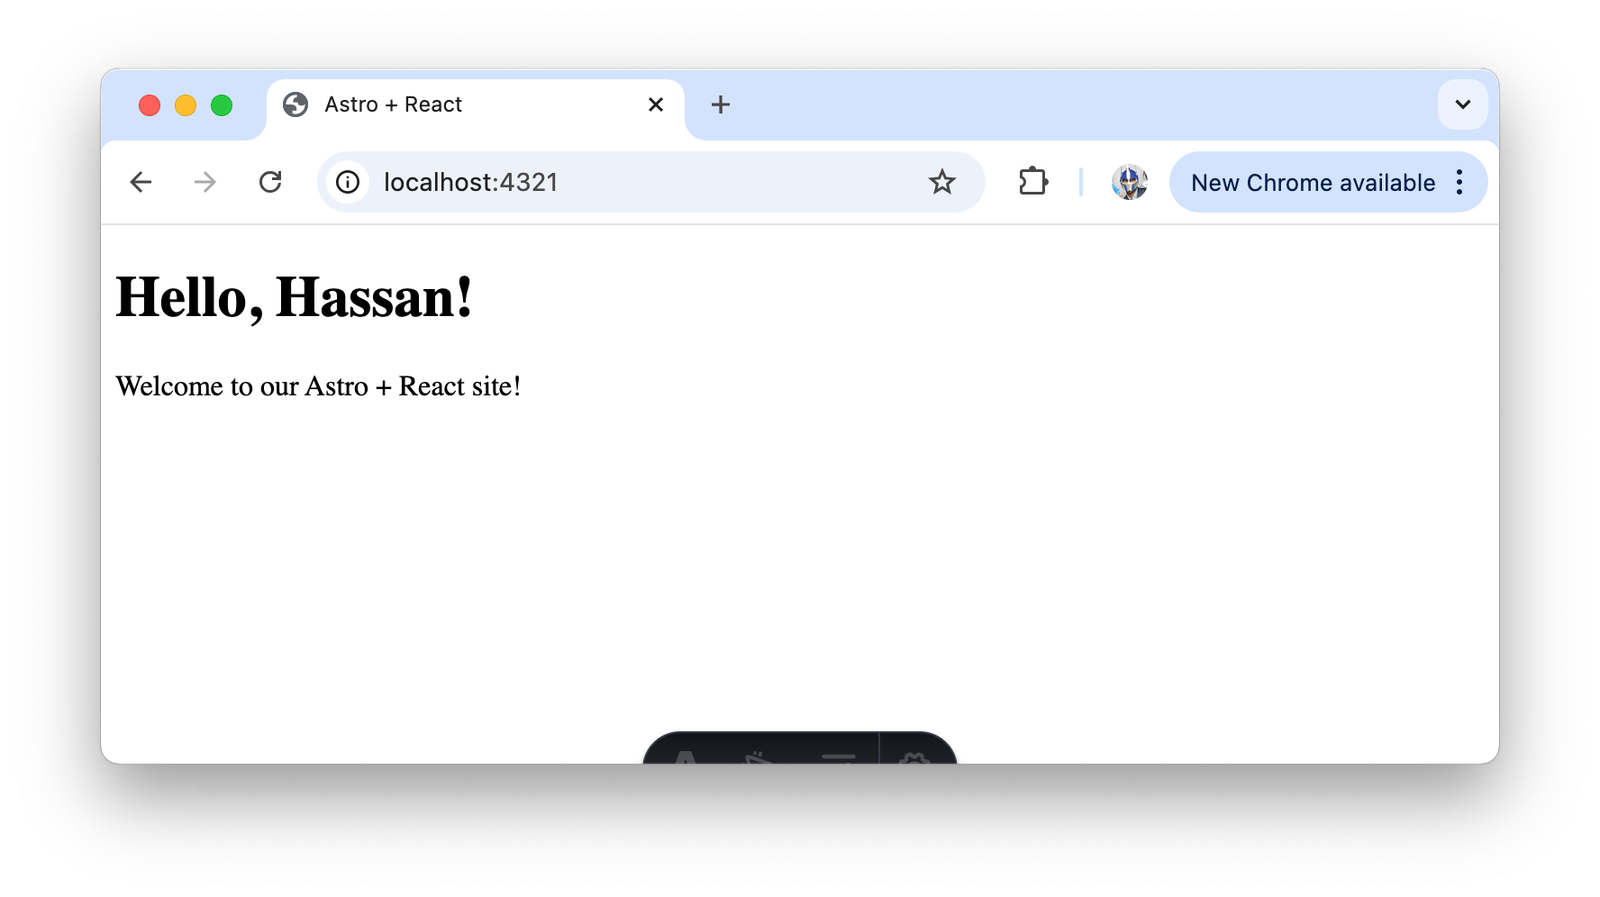
In the above example, the Greeting component is passed a prop name="Hassan", which will display a personalized message on the homepage. This component is a fully functional React component, but because of Astro’s pre-rendering, it is output as pure HTML during the build process, ensuring faster load times and optimal performance.

Adding Interactivity with React
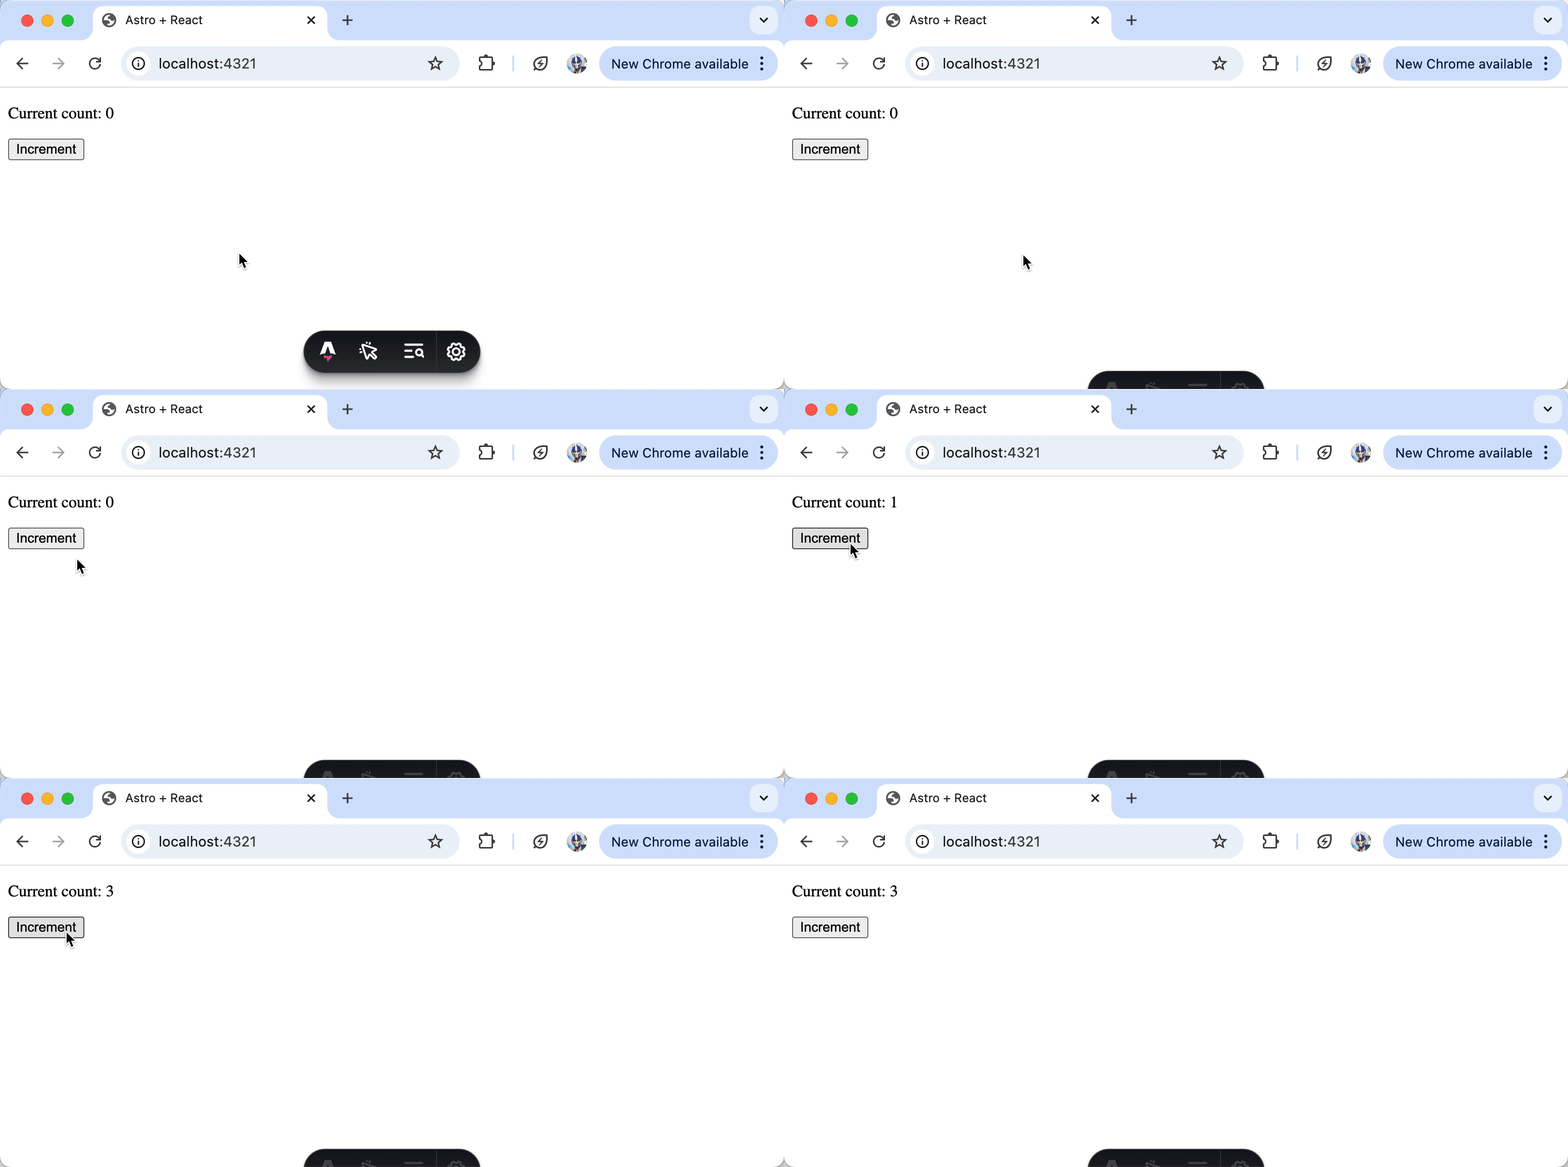
Although Astro encourages minimal JavaScript on the frontend, there are cases where interactivity is required. Suppose we want to add a simple counter component to the page, allowing users to increment a value. Let’s create a new Counter.jsx component:
// src/components/Counter.jsx

import React, { useState } from "react";

export default function Counter() {
  const [count, setCount] = useState(0);

  return (
    <div>
      <p>Current count: {count}</p>
      <button onClick={() => setCount(count + 1)}>Increment</button>
    </div>
  );
}
This is a standard React component using useState to manage the count. To use this component interactively in your Astro page, we can import it into index.astro and apply the client:load directive:
<Counter client:load />
With the client:load directive, the Counter component will be loaded on the client, meaning the interactive features of React (like state management) are fully functional. Astro handles the hydration of this component, so only the necessary JavaScript is sent to the client.

For more details on using directives with React components in Astro, check out Astro’s official documentation—Astro | Template Directives Reference.
Wrap-up
Astro’s combination of static-site generation and framework flexibility makes it a perfect fit for React developers looking to optimize performance without sacrificing the power of React components. By pre-rendering most of our sites and using client-side JavaScript only when necessary, we can deliver fast, scalable sites that still leverage the interactive power of React.
If you’re building content-driven sites, blogs or complex applications, Astro can be a great tool for balancing performance and interactivity.
This content originally appeared on Telerik Blogs and was authored by Hassan Djirdeh
Hassan Djirdeh | Sciencx (2024-11-12T09:46:11+00:00) Integrating React with Astro. Retrieved from https://www.scien.cx/2024/11/12/integrating-react-with-astro/
Please log in to upload a file.
There are no updates yet.
Click the Upload button above to add an update.
