This content originally appeared on Bits and Pieces - Medium and was authored by Kevin Vogel
As you might know, I work with Nest.js since 2018 when I had to rewrite the backend at my former company Karzo. Back then, I wondered why it has only ~6k stars on Github since it’s such a game-changer in the Node.js universe.
Anyway, in today’s article, I want to introduce you a little bit to my favorite backend framework based on TypeScript.

Before I start, let’s talk about some basics first.
What is Node.js?
Node.js is an open-source and cross-platform runtime environment that runs JavaScript outside of the browser. It was designed to build scalable network applications. Read more about it in my article to Node.js.
What is TypeScript?
TypeScript is a strongly typed programming language that builds on JavaScript, giving you better tooling at any scale.
What is Nest.js?
NestJS is a framework for building efficient, scalable Node.js web applications. It uses modern JavaScript and is built with TypeScript. If you develop an API built with TypeScript, then Nest.js is the way to go!
Requirements
It’s required to have a basic understanding of Node.js, NPM, and TypeScript. I will choose Visual Studio Code as my code editor. You can use whatever you prefer.
Let’s start
First, we are going to install the Nest.js CLI, so open the terminal of your choice and type:
$ npm i -g @nestjs/cli
We initialize a new Nest.js project with its CLI. That might take up to a minute. The CLI script will ask you what package manager you want to use. For this example, I select NPM.
$ nest new nest-sample
After this command is done you can open your project in your code editor. Since I use Visual Studio Code, I gonna open the project by typing:
$ cd nest-sample
$ code .
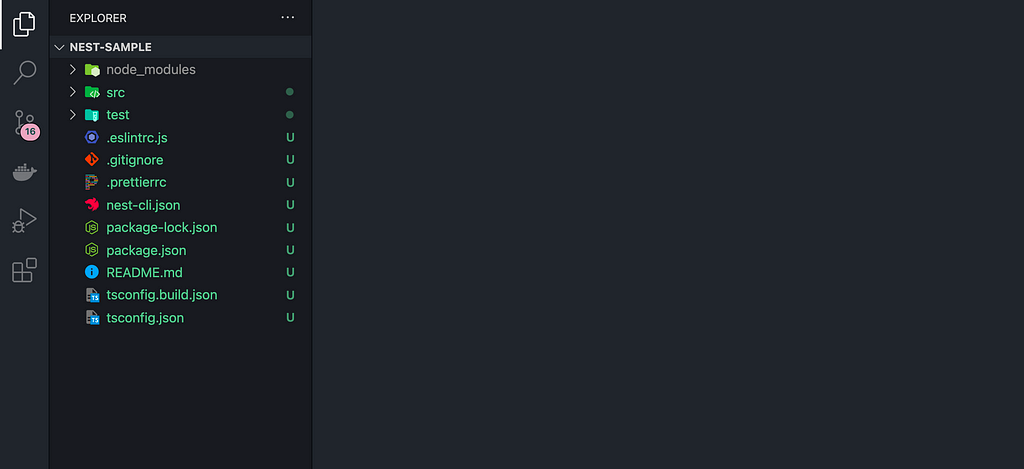
My project looks like this in VSC (Visual Studio Code):

Usually, I commit the original installation, so I gonna type:
$ git add .
$ git commit -m "chore(): init nest.js"
Now we can start the application.
$ npm run start:dev
This command means that we run the application while watching for changes. If we do a change, Nest.js is smart enough to rebuild the application.
We can open the application now in our browser: http://localhost:3000
As you can see, the default port is 3000. You might wanna change it in src/main.ts.
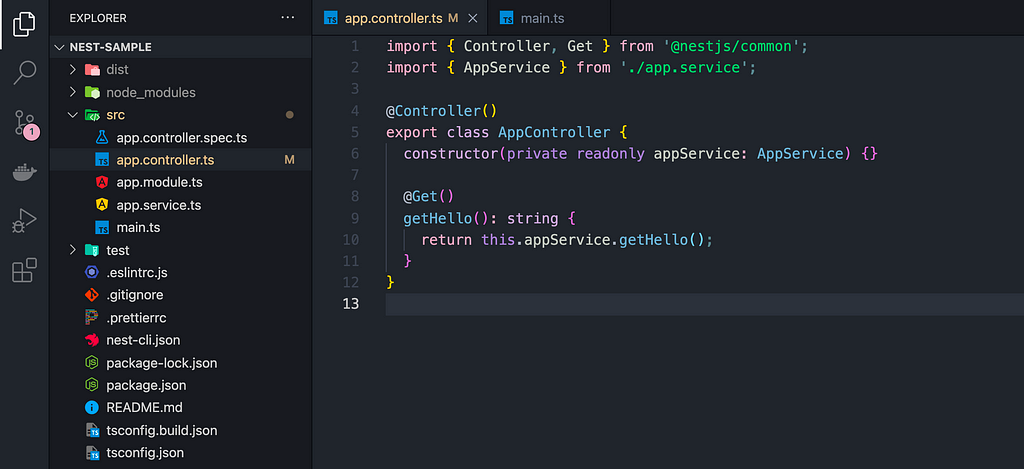
Let’s open this file: src/app.controller.ts it will look something like this:

Let’s add a new route:
Now let’s open http://localhost:3000/hello/typescript

Great! This is our first custom route and it seems like everything works as expected.
Thanks for reading this article about Nest.js. I hope, I could leave some cool impressions about my favorite backend framework in TypeScript.
If you want to know more about Nest.js, please check out the official website.
Cheers
Unlock 10x development with independent components
Building monolithic apps means all your code is internal and is not useful anywhere else. It just serves this one project. And as you scale to more code and people, development becomes slow and painful as everyone works in one codebase and on the same version.
But what if you build independent components first, and then use them to build any number of projects? You could accelerate and scale modern development 10x.
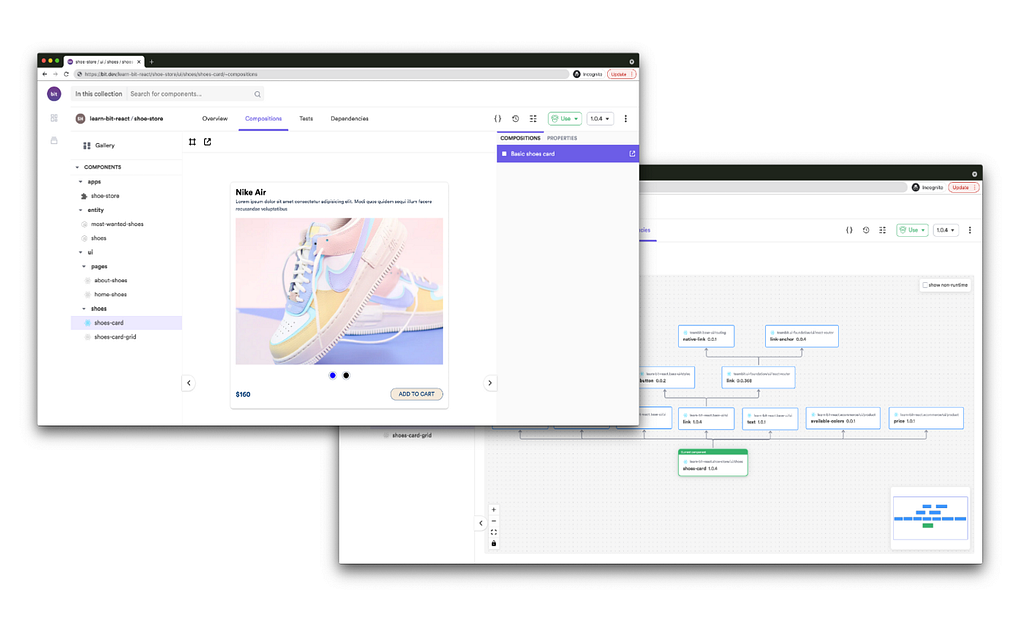
OSS Tools like Bit offer a powerful developer experience for building independent components and composing modular applications. Many teams start by building their Design Systems or Micro Frontends, through independent components. Give it a try →

Learn more
Building a React Component Library — The Right Way
Build a Simple API in TypeScript with Nest.js was originally published in Bits and Pieces on Medium, where people are continuing the conversation by highlighting and responding to this story.
This content originally appeared on Bits and Pieces - Medium and was authored by Kevin Vogel
Kevin Vogel | Sciencx (2022-02-17T12:28:12+00:00) Build a Simple API in TypeScript with Nest.js. Retrieved from https://www.scien.cx/2022/02/17/build-a-simple-api-in-typescript-with-nest-js/
Please log in to upload a file.
There are no updates yet.
Click the Upload button above to add an update.
