
.jpg)
.jpg)


This content originally appeared on Envato Tuts+ Tutorials and was authored by Jonathan Lam
In this tutorial, you will learn how to use the Warp Tool in Illustrator. The Warp Tool is great for distorting your shapes to fit a particular shape or for creating the illusion of motion and fluidity.
Do you prefer video tutorials? Then check out this new video from the Envato Tuts+ YouTube channel:
What You'll Learn in This Warp Tool Illustrator Tutorial
In this tutorial, I'll teach you the basics of the Adobe Illustrator Warp Tool. Topics we cover will include:
- How to warp objects in Illustrator
- How to warp an image in Illustrator
- How to warp text in Illustrator
You can also check out this tutorial to learn more about this useful tool:
How to Warp in Illustrator
Step 1
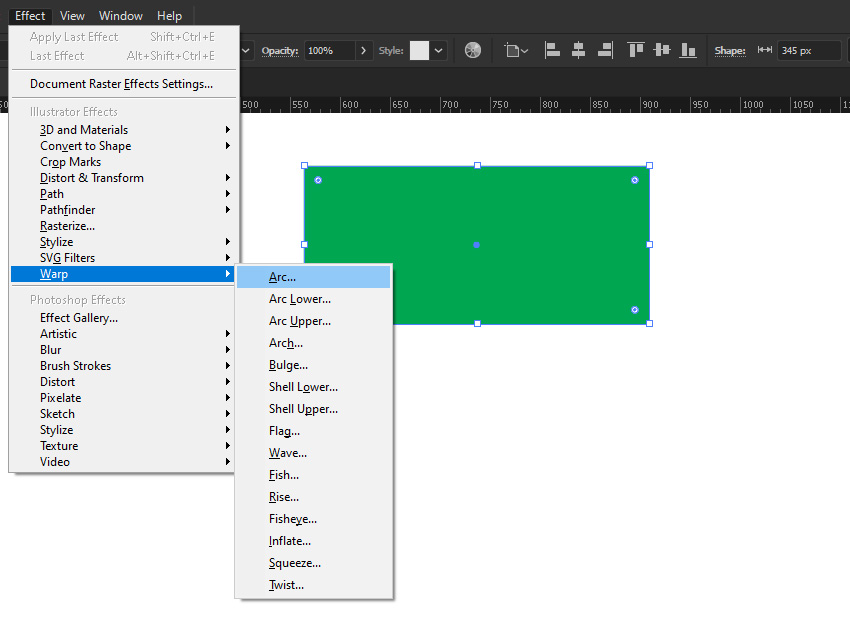
Now let's learn how to warp objects in Illustrator! Select the object that you want to make changes to using the Selection Tool (V). Then go to Effect > Warp to see a selection of warp options to choose from.


Step 2
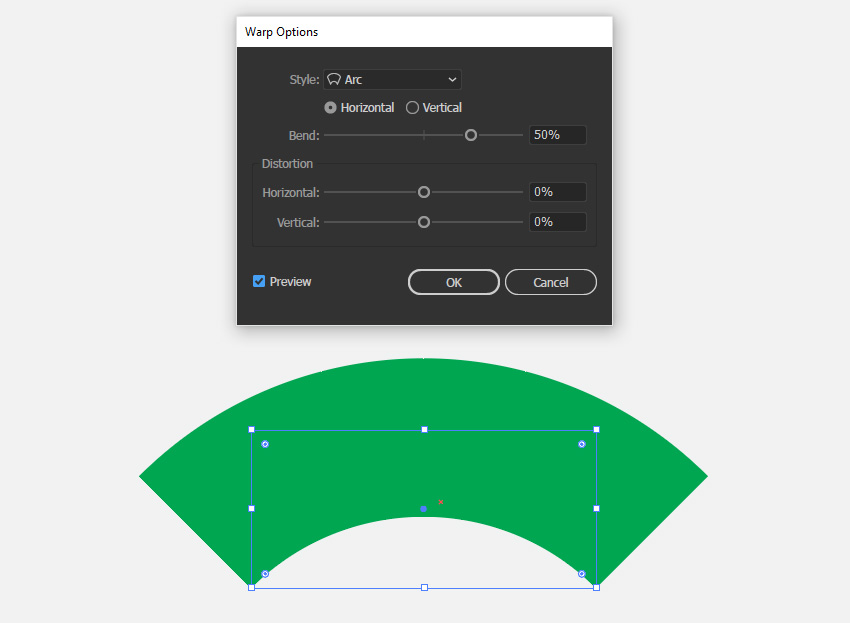
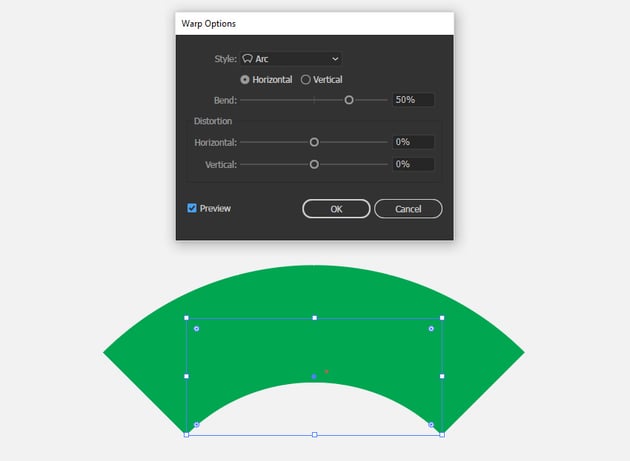
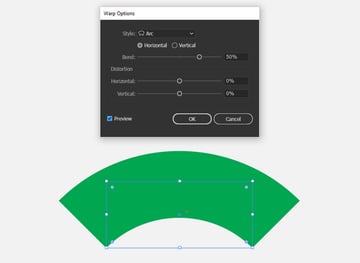
Once you've chosen a warp style, you can then customise it to your liking using the warp options available. Make sure to select the Preview option so that you can see the changes you make in real time.
Step 3
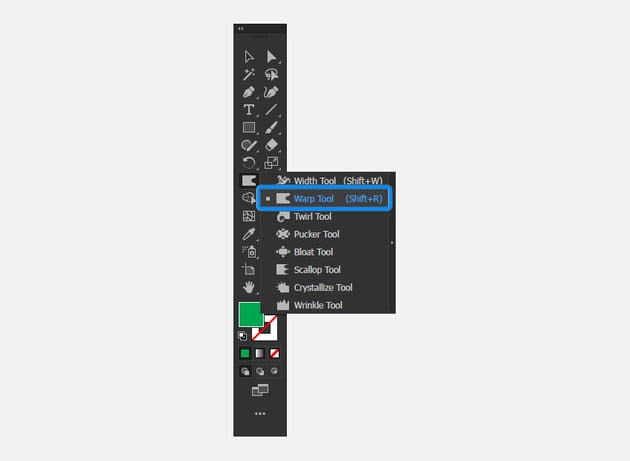
For a more freestyle effect, you'll want to use the Warp Tool (Shift-R) using the mouse or tablet. The warp Illustrator tool is located in a popup menu in the left toolbar.


Step 4
When using the Warp Tool in Illustrator, simply click and drag across your shape in the direction you want it to move.


Step 5
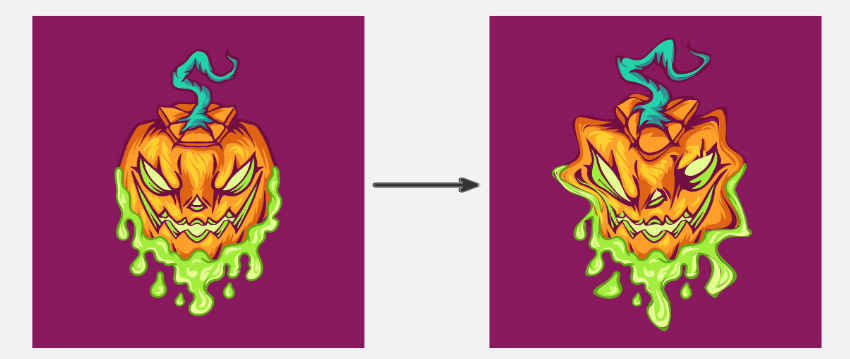
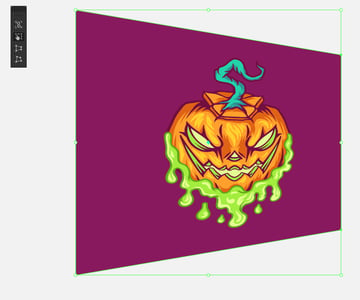
These techniques can also be applied to imported images and photos. Let's learn how to warp an image in Illustrator. Simply select the shape(s) that you want to warp and use a tool like the Warp Tool to modify it.


Step 6
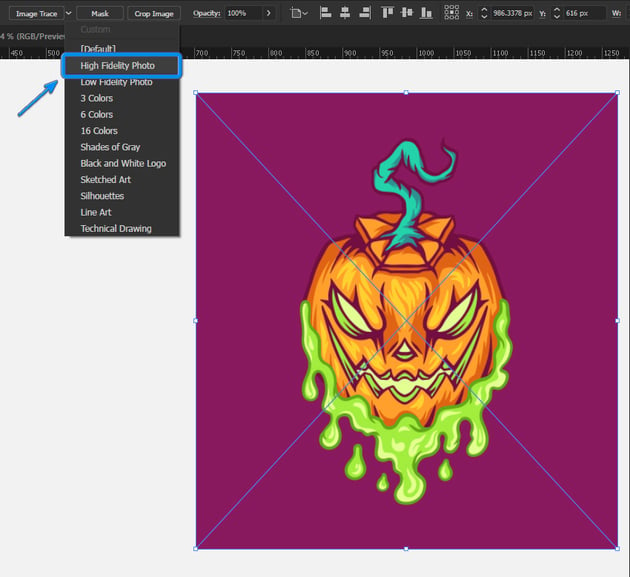
For photographic images or imported files like JPEGs, you will need to first convert the image into vectors. This can be done by selecting the image and then using Image Trace (High Fidelity Photo).


Step 7
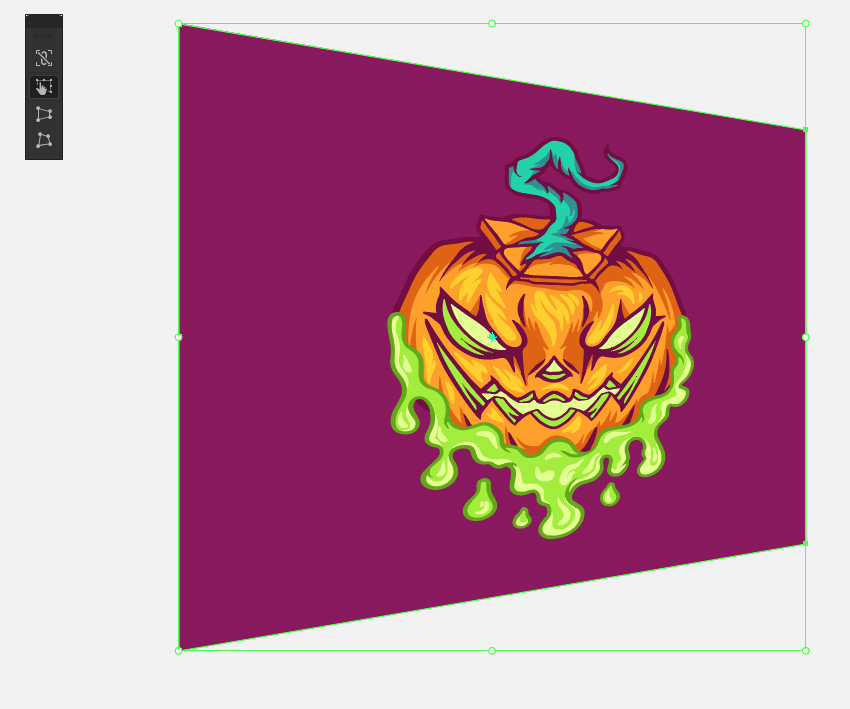
Once you've done that, you can use the Free Transform Tool (E) to distort the perspective, as well as using the other warp tools mentioned.

Step 8
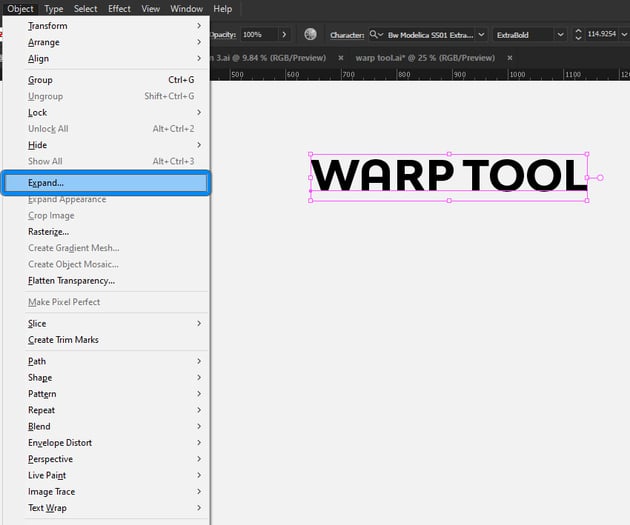
Use the same technique for text as well! In order to warp text, you will need to first convert it into vector shapes. This can be done by going to Object > Expand.


Step 9
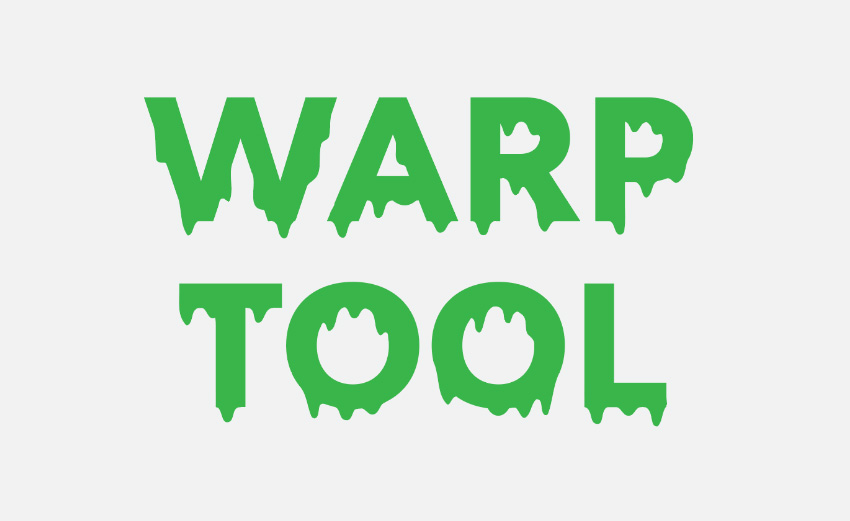
Once the text has been converted, use the Warp Tool to modify it to your liking.


Awesome! You're Finished!
Congratulations! And that's how you can use the Adobe Illustrator Warp Tool. I hope you found this tutorial helpful and that you've learned some new tips and tricks that you can use for your own projects. See you next time!


Top 5 Items From Envato Elements
The Warp Tool works best when working on vector images and illustrations. Practise the techniques on other images by heading to Envato Elements, where you can download many different illustrations and designs. Here are five of my favourites.
Pumpkin Skull With Slime: Illustration (AI, EPS, JPG, PNG)


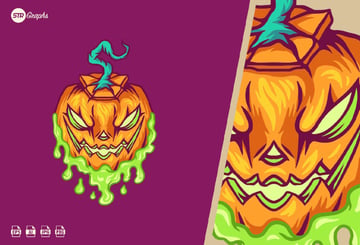
Here's the featured graphic that we used for this tutorial. This spooky illustration is the perfect file for you to edit using the Warp Tool. This file contains several different file formats including EPS, AI, JPEG, and PNG. The pumpkin skull with a slime illustration is perfect for logos, branding, posters, and more.
Honey: Editable Text Effect, Font Style (AI, EPS)


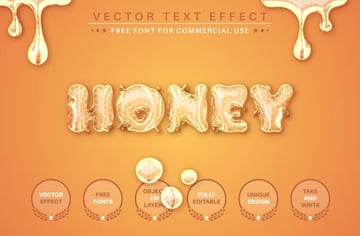
If you're looking for something more text-based, here's a gooey text effect that you can use. Just type in the words, and the honey effect will be applied. This text effect is easy to customise, including resizing, colours, and rotation.
Stinky Slime: Dripping Halloween Font (OTF, TTF)


If you're looking for a font instead, here's a slimy one that you can use. This font features both uppercase and lowercase characters and is great for logotypes, book covers, posters, packaging, and more.
Pastel Liquids (AI, EPS, JPG)
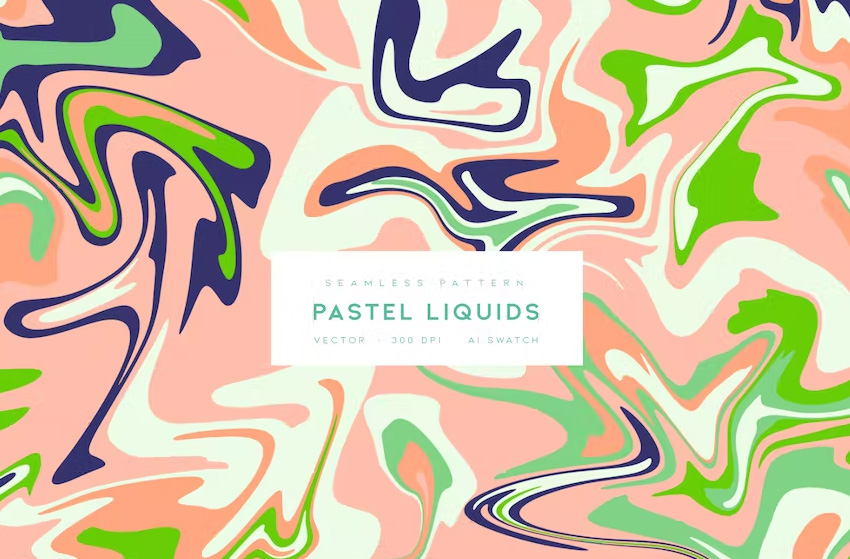

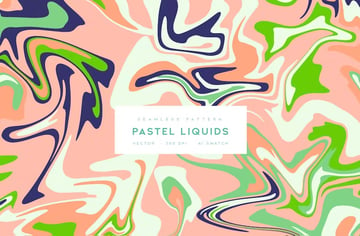
This package is great for the warp effect and includes a seamless pattern design that you can easily edit and use for your packaging, branding, and graphic design projects.
Warped Liquid Backgrounds (JPG)


For more warped backgrounds, why not try this package, which contains 15 high-quality liquid backgrounds? Each background is completely unique and is 6000 x 4000.
I hope you've enjoyed this tutorial on how to use the Warp Tool in Illustrator. If you'd like to learn more cool Illustrator or Photoshop skills, we've got more tutorials for you:

 How to Create a Dripping Blood Text Effect in Adobe Illustrator


 How to Create a Tie-Dye Pattern in Adobe Photoshop


 How to Add Outer Glow in Illustrator


 Design a Crazy Retro Poster With Quirky Lettering in Adobe Illustrator


 How to Create a Honey Text Effect in Photoshop


 How to Create a Super Easy Liquid Metal Text Effect in Photoshop

This content originally appeared on Envato Tuts+ Tutorials and was authored by Jonathan Lam
Jonathan Lam | Sciencx (2022-12-02T09:17:40+00:00) How to Use the Warp Tool in Illustrator. Retrieved from https://www.scien.cx/2022/12/02/how-to-use-the-warp-tool-in-illustrator/
Please log in to upload a file.
There are no updates yet.
Click the Upload button above to add an update.