This content originally appeared on DEV Community and was authored by Nada Ahmed
In this post, I’ll guide you through the creation of a secure customer support system leveraging various AWS services, integrated with Slack for streamlined communication. This architecture effectively manages support tickets while ensuring data security and efficient workflow.
Project Overview
The system facilitates customer ticket creation and management through a robust backend, utilizing the following components:
- Ticket Creation: Customers initiate support requests via a user-friendly interface, which sends the data to AWS API Gateway.
- Data Storage: Upon receiving the request, API Gateway triggers a Lambda function that processes the ticket information and stores it in DynamoDB.
- Notifications: An SNS (Simple Notification Service) notification is dispatched to alert support agents of the new ticket, ensuring they can respond promptly.
- Ticket Retrieval: Support agents can retrieve tickets by sending a request to another API Gateway endpoint. This request invokes a Lambda function that fetches ticket details from DynamoDB using the ticket ID.
- Customer Messaging: To communicate with customers, another Lambda function is invoked, sending messages through Slack's API.
- Ticket Closure: When the status of a ticket changes to "closed," a Lambda function triggers to transfer the ticket data from DynamoDB to S3 and to an archival DynamoDB table.
Step-by-Step Implementation
1. Create DynamoDB for Ticket Storage
a. Set Up a New Table
- Go to DynamoDB in the AWS Management Console.
- Create Table: Click “Create table.”
-
Table Settings:
- Name: SupportTickets
- Primary Key: TicketID (String)
- Capacity: Use default for testing and adjust later.
- Save: Click “Create.”
b. Add Attributes:
- Consider adding fields such as:
- CustomerName (String)
- IssueDescription (String)
- Status (String) - Default "Open."
1.1 Create a DynamoDB Table for Archiving
- Follow the same steps to create another table:
- Table name: ArchivedTickets
- Primary key: ticket_id (String)
Enable Dynmodb stream for both table
3. Set Up API Gateway
a. Create API
- Open API Gateway in the AWS Console.
- New API: Select "Create API."
- Type: Choose "HTTP API."
- API Name: CustomerSupportAPI
- Save: Click “Create.”
b. Define Endpoints
-
Create Ticket Endpoint:
- Path: /createticket
- Method: POST
- Integration: Connect to a Lambda function for createticket
-
Retrieve Ticket Endpoint:
- Path: /tickets/{ticketId}
- Method: GET
- Integration: Connect to another Lambda function for retrieving details.
- Send Message Endpoint:
- Path: /sendmessage
- Method: post
- Integration: Connect to another Lambda function for sending messages.
4. Create AWS Lambda Functions
a. Function Setup
- Navigate to Lambda in the AWS Console.
- Create New Function: Click "Create function."
-
Configuration:
- Name: CreateTicket
- Runtime: Python (or Node.js)
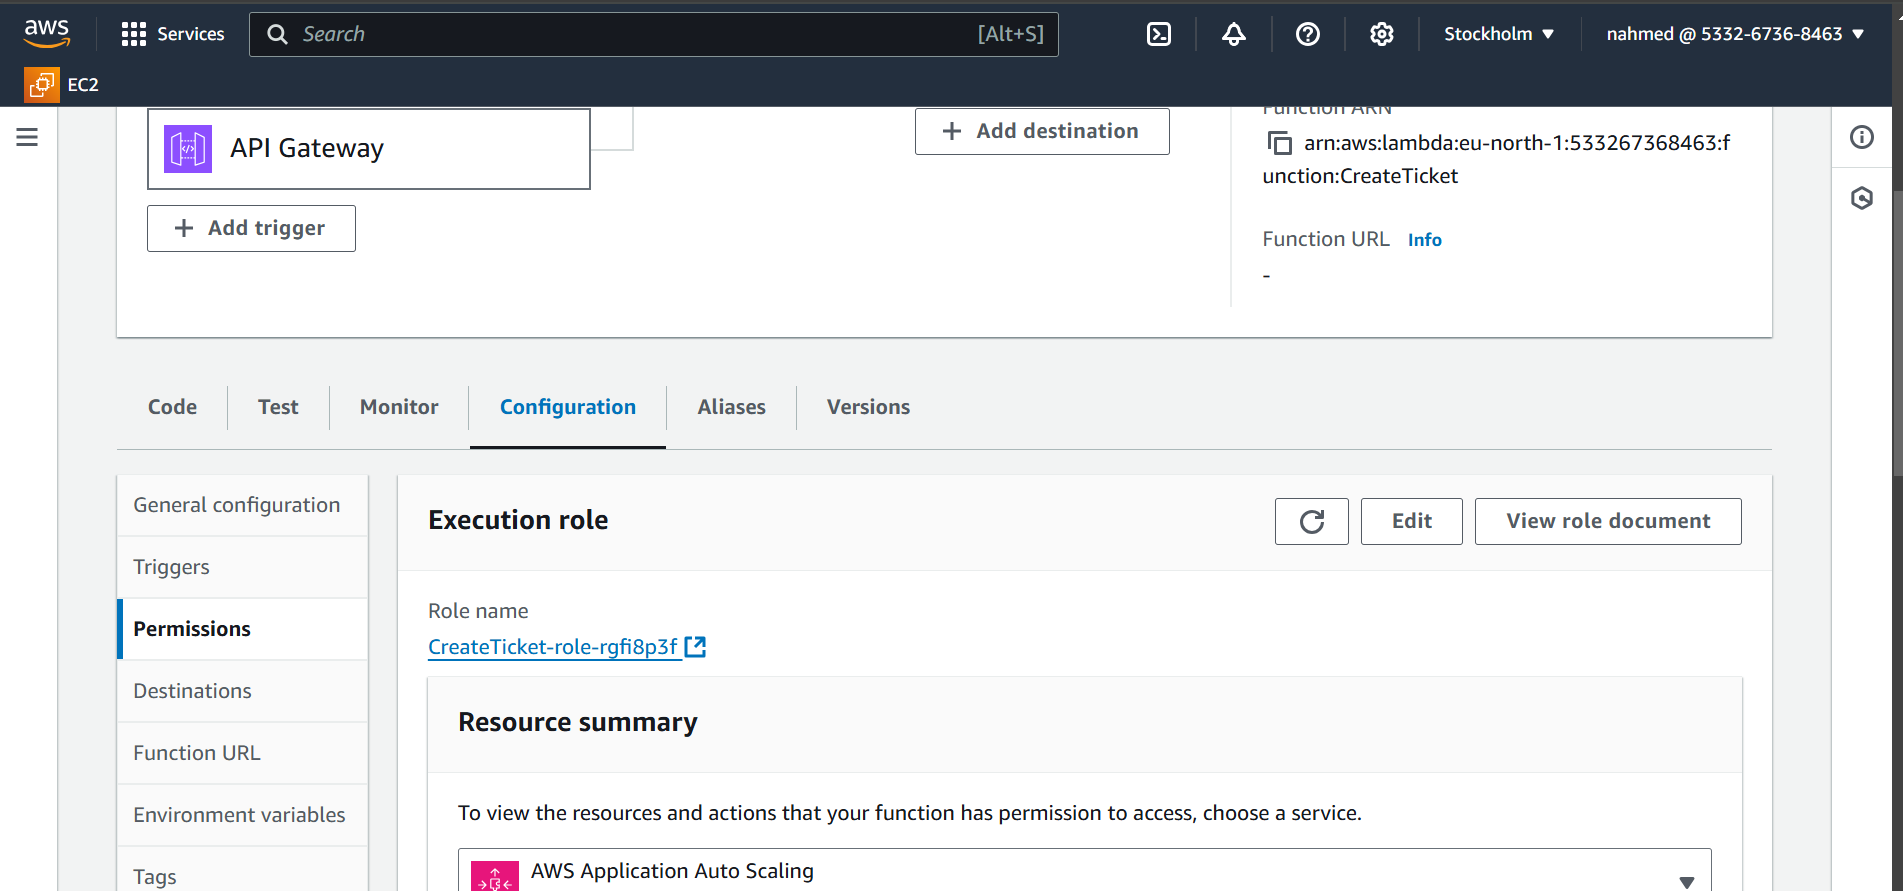
- Permissions: Create a new role with Lambda permissions.
- Save: Click “Create.”
b. Code the CreateTicket Function
- Replace the default code with this:
import json
import boto3
from uuid import uuid4
dynamodb = boto3.resource('dynamodb')
sns = boto3.client('sns')
table = dynamodb.Table('SupportTickets')
def lambda_handler(event, context):
body = json.loads(event['body'])
ticket_id = str(uuid4())
response = table.put_item(
Item={
'TicketID': ticket_id,
'CustomerName': body['customerName'],
'IssueDescription': body['issueDescription'],
'Status': 'Open'
}
)
message = f"New ticket created: {ticket_id} - {body['customerName']}"
sns.publish(TopicArn='arn:aws:sns:eu-north-1:533267368463:SupportTicketNotifications', Message=message)
return {
'statusCode': 201,
'body': json.dumps({'TicketID': ticket_id})
}
*Note*
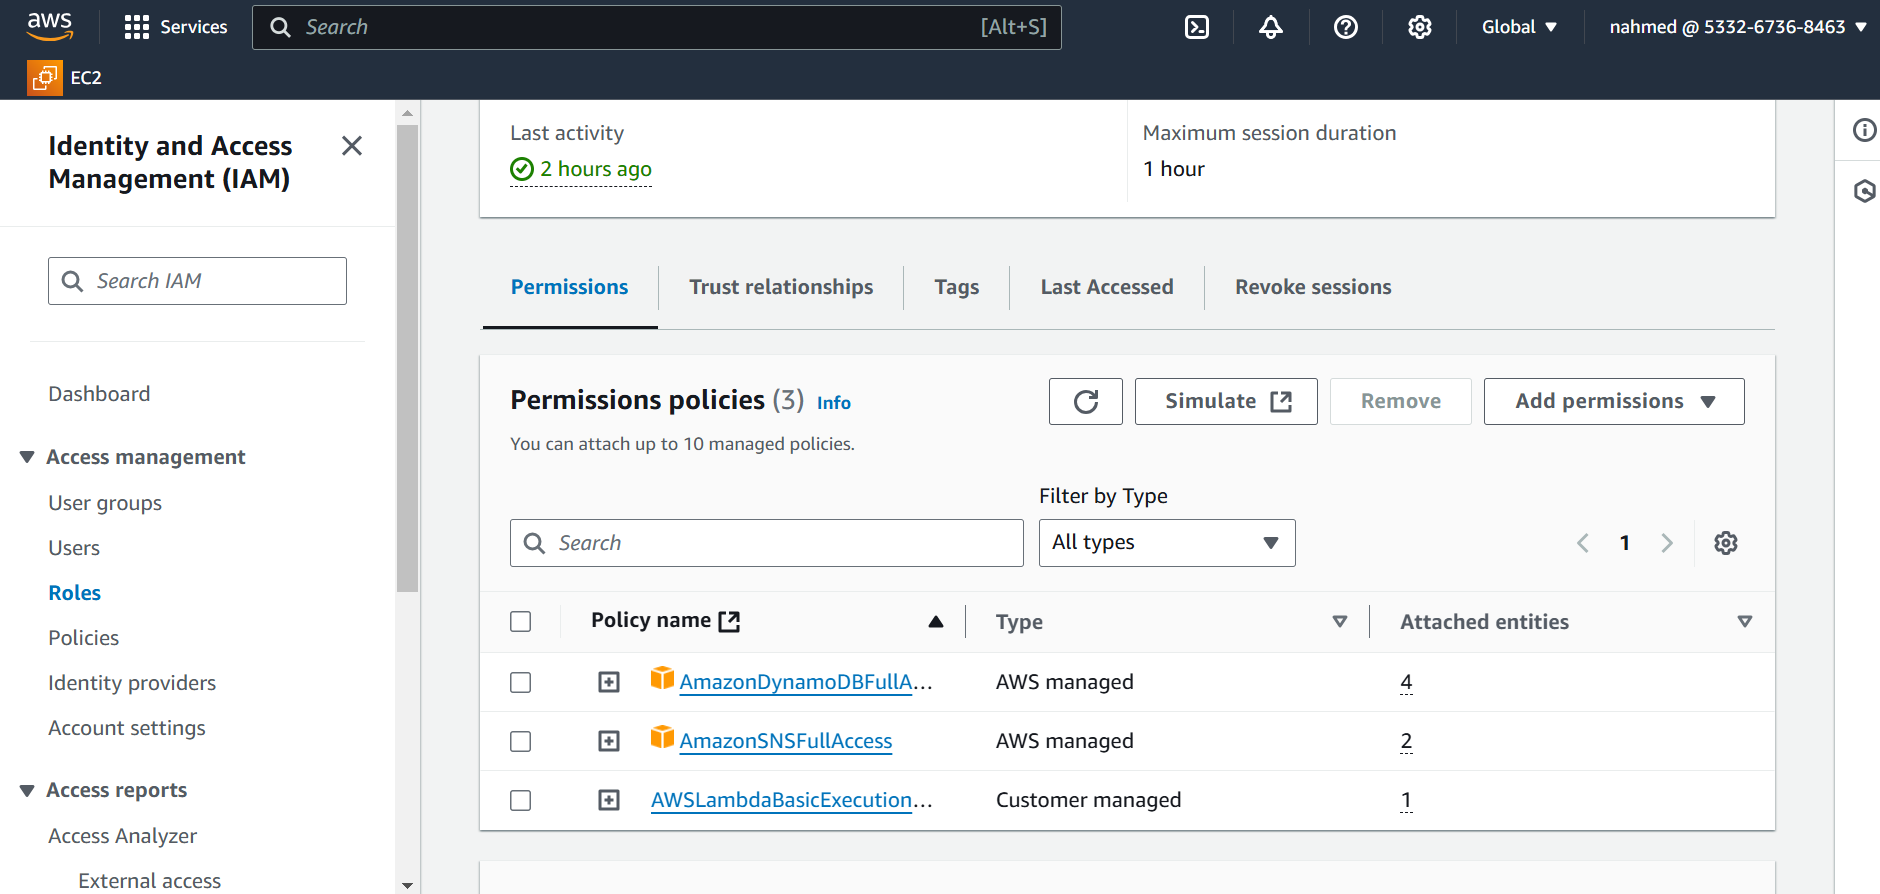
Make sure you select required policy that attach lambda role


4.1 Create Another AWS Lambda Functions for retrieve
messages
- Create a new function called GetTicket by same steps for Lambda function to create ticket
c. Code the GetTicket Function
import json
import boto3

dynamodb = boto3.resource('dynamodb')
table = dynamodb.Table('SupportTickets')

def lambda_handler(event, context):
    ticket_id = event['pathParameters']['ticketId']
    response = table.get_item(Key={'TicketID': ticket_id})
    item = response.get('Item')

    if item:
        return {
            'statusCode': 200,
            'body': json.dumps(item)
        }
    else:
        return {
            'statusCode': 404,
            'body': json.dumps({'error': 'Ticket not found'})
        }
Make sure you attach required permission for lambbda role
4.2 Create Another Lambda function for sendmessage
c. Code the sendmessage function Function
import json
import requests
import os

def lambda_handler(event, context):
    # Extract the message from the API Gateway event body
    try:
        message = json.loads(event['body']).get('text', 'Default message to Slack')
    except json.JSONDecodeError:
        message = 'Default message to Slack'

    # Define Slack webhook URL from environment variable
    slack_webhook_url = os.environ['SLACK_WEBHOOK_URL']

    # Prepare the payload to send to Slack
    slack_payload = {
        'text': message
    }

    # Send the message to Slack
    response = requests.post(slack_webhook_url, json=slack_payload)

    # Check for success or error in the Slack response
    if response.status_code == 200:
        return {
            'statusCode': 200,
            'body': json.dumps('Message sent to Slack successfully!')
        }
    else:
        return {
            'statusCode': 500,
            'body': json.dumps(f'Failed to send message to Slack: {response.text}')
        }
Make sure you use environment variable to store these info for security you can use secret manager and install requests library local and make zip file
4.3 Create last lambda function for ArchiveClosedTickets
That lambda Trigger with two tables in dynmo db when message status change to close lambda invoke and move this ticket metadata to s3 and archivetable in dynmodb so make sure the lambda role have required permission for s3 and dynmodb
code for this lambda
import json
import boto3
import datetime
import logging

# Set up logging
logger = logging.getLogger()
logger.setLevel(logging.INFO)

s3 = boto3.client('s3')
dynamodb = boto3.resource('dynamodb')
archive_table = dynamodb.Table('ArchivedTickets')
archive_bucket = 'support-ticket-archive'
tickets_table = dynamodb.Table('SupportTickets')

def lambda_handler(event, context):
    for record in event['Records']:
        if record['eventName'] == 'MODIFY':
            new_image = record['dynamodb']['NewImage']
            old_image = record['dynamodb']['OldImage']

            if new_image['Status']['S'] == 'closed' and old_image['Status']['S'] != 'closed':
                ticket_id = new_image['TicketID']['S']

                # Log ticket ID
                logger.info(f'Processing ticket: {ticket_id}')

                # Create JSON object for the archived ticket
                ticket_data = {
                    'TicketID': ticket_id,
                    'CustomerName': new_image.get('CustomerName', {}).get('S', 'Unknown'),
                    'IssueDescription': new_image.get('IssueDescription', {}).get('S', 'No description'),
                    'Status': new_image['Status']['S'],
                    'Comments': new_image.get('Comments', {}).get('S', ''),
                }

                # Define file path in S3
                file_name = f"{ticket_id}.json"

                # Upload JSON to S3
                s3.put_object(
                    Bucket=archive_bucket,
                    Key=file_name,
                    Body=json.dumps(ticket_data)
                )

                # Get S3 URL
                s3_url = f"s3://{archive_bucket}/{file_name}"

                # Save archive metadata to DynamoDB
                archive_table.put_item(
                    Item={
                        'TicketID': ticket_id,
                        'DateArchived': datetime.datetime.utcnow().isoformat(),
                        'S3URL': s3_url
                    }
                )

                # Log before deletion
                logger.info(f'Deleting ticket from SupportTickets: {ticket_id}')

                # Delete the original ticket from DynamoDB
                response = tickets_table.delete_item(
                    Key={
                        'TicketID': ticket_id
                    }
                )

                # Log the response from the delete operation
                logger.info(f'Delete response: {response}')

    return {'status': 'success'}
5. Configure Amazon SNS for Notifications
a. Create a New Topic
- Open SNS in the AWS Console.
- New Topic: Click "Create topic."
- Name: SupportTicketNotifications
- Save: Click “Create.”
b. Subscribe Agents
- Open Topic: Select SupportTicketNotifications.
-
Create Subscription:
- Protocol: Email/SMS
- Endpoint: Add agent emails or phone numbers.
- Confirm: Agents confirm via email or SMS.
6. Set Up Amazon S3 for Document Storage
a. Create S3 Bucket
- Open S3 in AWS Console.
- New Bucket: Click “Create bucket.”
- Name: support-documents
- Region: Same as other resources
- Save: Click “Create.”
b. Set Permissions
- Adjust S3 bucket policy to allow Lambda function access.
{
"Version": "2012-10-17",
"Statement": [
    {
        "Effect": "Allow",
        "Principal": {
            "AWS": "arn:aws:iam::533267368463:role/service-role/ArchiveClosedTickets-role-qbc73yay"
        },
        "Action": [
            "s3:PutObject",
            "s3:GetObject",
            "s3:DeleteObject"
        ],
        "Resource": "arn:aws:s3:::support-ticket-archive/*"
    }
]
}
Integration with slack for realtime and secure communication
This content originally appeared on DEV Community and was authored by Nada Ahmed
Nada Ahmed | Sciencx (2024-10-30T15:01:41+00:00) Securing Customer Support with AWS Services and Slack Integration. Retrieved from https://www.scien.cx/2024/10/30/securing-customer-support-with-aws-services-and-slack-integration/
Please log in to upload a file.
There are no updates yet.
Click the Upload button above to add an update.


