
This content originally appeared on HackerNoon and was authored by Timmy
Mobile apps have almost become indispensable to businesses because of their ability to provide users with the needed services quickly and with ease. However, what if I told you it is possible to have a mobile app-like experience on the web? This is what Progressive Web Apps (PWAs) are for.
\ There is an increasing demand for mobile apps, as shown by the Top Design Firms survey. In 2022, almost half – 48% – of small businesses had their mobile apps compared to one-third 32% in 2021. This trend shows a shift in user needs demanding mobile-like interactions on all platforms.
\ By developing a PWA, businesses can directly provide this native-app experience via the web browser, giving end users a dependable and engaging application without the need for a separate mobile application
What are PWAs?
A Progressive Web App is an app that provides users with native support, akin to mobile devices without, having to build with platform-specific considerations that vary from Android to IOS to desktops. They are lightweight, accessible on all devices, and automatically update when connected to the internet.
Why consider a PWA for your Business?
- They are less expensive compared to developing native apps
- They can be easily installed on users’ home screens without an App store
- PWAs offer push notifications just like mobile apps
- They offer offline functionality by caching content
- They are designed to work on different devices
Overview of Next.js’ new native support for PWAs
I was recently researching the best possible to make my NextJs app a Progressive Web App when I came across the Reddit comment below about recent Next.js updates including native support for PWAs.
\
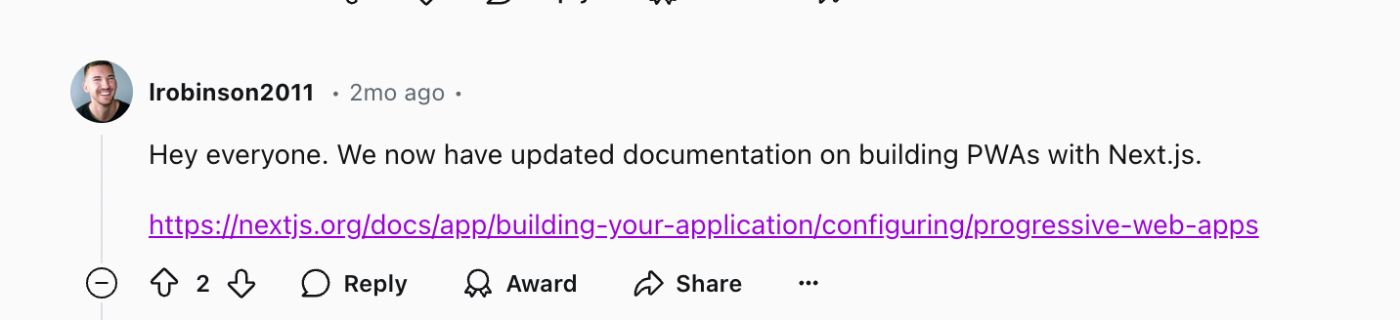
Check out the comment here.
\ After reviewing the update, I can say that it has never been easier to create PWAs and I’ll prove it.
Project Setup and Requirements
\ PS: Two files are very important to get your app recognized as a PWA - the manifest file and the service worker file.
\
- Manifest file: The web app manifest is a file that contains information about our app that essentially makes it installable. This information includes the theme color, icons, starting URL, etc.
- Service worker: The service worker is a file containing the script that runs in the background of the application. It allows for features like push notifications, caching, and offline support.
1.) Setting up the App
\
npx create-next-app@latest my-pwa-app
Or
yarn create next-app my-pwa-app
\ After running the command, follow the prompts for your installation specifics then navigate into the project directory
cd my-pwa-app
\ Start up the dev server
npm run dev
\
\
2.) Create the manifest file
Create a manifest.json or manifest.ts file in the app directory.
import type { MetadataRoute } from 'next'

export default function manifest(): MetadataRoute.Manifest {
  return {
    name: 'Next.js PWA',
    short_name: 'NextPWA',
    description: 'A Progressive Web App built with Next.js',
    start_url: '/',
    display: 'standalone',
    background_color: '#ffffff',
    theme_color: '#000000',
    icons: [
      {
        src: '/icon-192x192.png',
        sizes: '192x192',
        type: 'image/png',
      },
      {
        src: '/icon-512x512.png',
        sizes: '512x512',
        type: 'image/png',
      },
    ],
  }
}
\
- name: Official name of the app. This name appears on the home screen and allows users to identify the app.
- short_name: The short name appears when the name is long and there’s not much space to display
- description: Describes the application and what it does.
- start_url: When a user launches the app, it starts from the route specified here.
- display: The display property configures its appearance when launched and could be any of
standaloneminimal-uifullscreenorbrowser - background_color: It is important to use a background color that matches the app’s theme for smooth transition and user experience
- theme_color: This specifies the color of the UI elements like the browser’s toolbar and status bar.
- icons: The icons array contains properties of the icons to be used across different platforms, specifying the
src,size, andtype. For your PWA, it’s important to have at least icons with sizes192x192and512x512.
Websites like manifest-generator can be used to generate the manifest file and different sizes of icon quickly
\ \
3.) Create the service worker file.
The service worker would listen to push events and carry out the below function for push notifications
self.addEventListener("push", function (event) {
  if (event.data) {
    const data = event.data.json();
    const options = {
      body: data.body,
      icon: data.icon || '/icon.png',
      badge: "/icons/timer-icon-144.png",
      vibrate: [100, 50, 100],
      data: {
        dateOfArrival: Date.now(),
        primaryKey: "5",
      },
    };
    event.waitUntil(self.registration.showNotification(data.title, options));
  }
});

self.addEventListener("notificationclick", function (event) {
  console.log("Notification click received.");
  event.notification.close();
  event.waitUntil(clients.openWindow("<https://your-website.com>")); //This should be the url to your website
});
\
4.) Register the service worker
To register the service worker, you need to provide the route where the service worker is created.
const registration = await navigator.serviceWorker.register("/sw.js", { //provide the route to the service worker
      scope: "/",
      updateViaCache: "none",
    });
\ Install web-push to handle notifications and subscriptions
npm install web-push --save
\ We then need to get the subscription if it the user has one or subscribe the user to push events. In a real application, this subscription should be sent to the server for storage
 async function registerServiceWorker() {
    const registration = await navigator.serviceWorker.register("/sw.js", {
      scope: "/",
      updateViaCache: "none",
    });
    const sub = await registration.pushManager.getSubscription();

    if (sub) {
      setSubscription(sub); //This would be sent to a server
    } else {
      const pushSubscription = await registration.pushManager.subscribe({
        userVisibleOnly: true,
        applicationServerKey: process.env.NEXT_PUBLIC_VAPID_PUBLIC_KEY, // Your VAPID public key
      });

      setSubscription(pushSubscription);
    }
  }
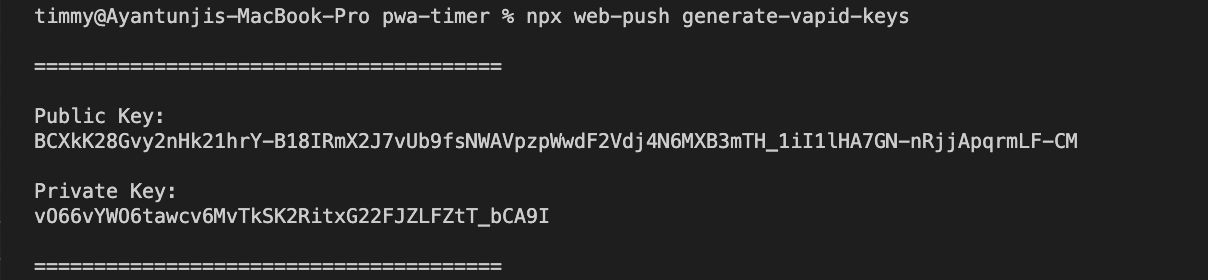
To generate the VAPID keys, run:
npx web-push generate-vapid-keys
\
\ Putting it all together for the UI with a function to test the push notification
"use client";

import { useEffect, useState } from "react";

const Home = () => {
  const [subscription, setSubscription] = useState<PushSubscription | null>(
    null
  );

  useEffect(() => {
    if ("serviceWorker" in navigator && "PushManager" in window) {
      registerServiceWorker();
    }
  }, []);

  async function registerServiceWorker() {
    const registration = await navigator.serviceWorker.register("/sw.js", { //provide the route to the service worker
      scope: "/",
      updateViaCache: "none",
    });
    const sub = await registration.pushManager.getSubscription();

    if (sub) {
      setSubscription(sub); //This would be sent to a server
    } else {
      const pushSubscription = await registration.pushManager.subscribe({
        userVisibleOnly: true,
        applicationServerKey: process.env.NEXT_PUBLIC_VAPID_PUBLIC_KEY, // Your VAPID public key
      });

      setSubscription(pushSubscription);
    }
  }

//Create a function to test the notification
  const handleSendNotification = async () => {
    await fetch("/api/sendNotification", {
      method: "POST",
      body: JSON.stringify({
        message: "Your timer has completed!",
        subscription: subscription, // This ideally, should not be included in the body. It should have already been saved on the server
      }),
      headers: {
        "Content-Type": "application/json",
      },
    });
  };

  return (
    <div>
      <h1>My PWA with Push Notifications</h1>
      <button onClick={handleSendNotification}>Notify Me!</button>
    </div>
  );
};

export default Home;
\ \
5.) Creating the endpoint
- Inside the
appdirectory, create a new folder calledapi. - Within the
apifolder, create another folder namedsendNotification. - Inside the
sendNotificationfolder, create a file namedroute.ts.
\ The structure should be as follows
app/
└── api/
    └── sendNotification/
        └── route.ts
\ In the route.ts file, include the following lines of code
import { NextResponse } from "next/server";
import webpush from "web-push";

webpush.setVapidDetails(
  "mailto:your-email@example.com", // Your email
  process.env.NEXT_PUBLIC_VAPID_PUBLIC_KEY!,
  process.env.VAPID_PRIVATE_KEY!
);

export async function POST(req: Request) {
  const { message, subscription } = await req.json();

  if (!subscription) {
    return NextResponse.json(
      { error: "No subscription available" },
      { status: 400 }
    );
  }

  try {
    await webpush.sendNotification(
      subscription,
      JSON.stringify({ title: "Notification", body: message })
    );
    return NextResponse.json({ success: true });
  } catch (error) {
    console.error("Error sending notification:", error);
    return NextResponse.json(
      { error: "Failed to send notification" },
      { status: 500 }
    );
  }
}
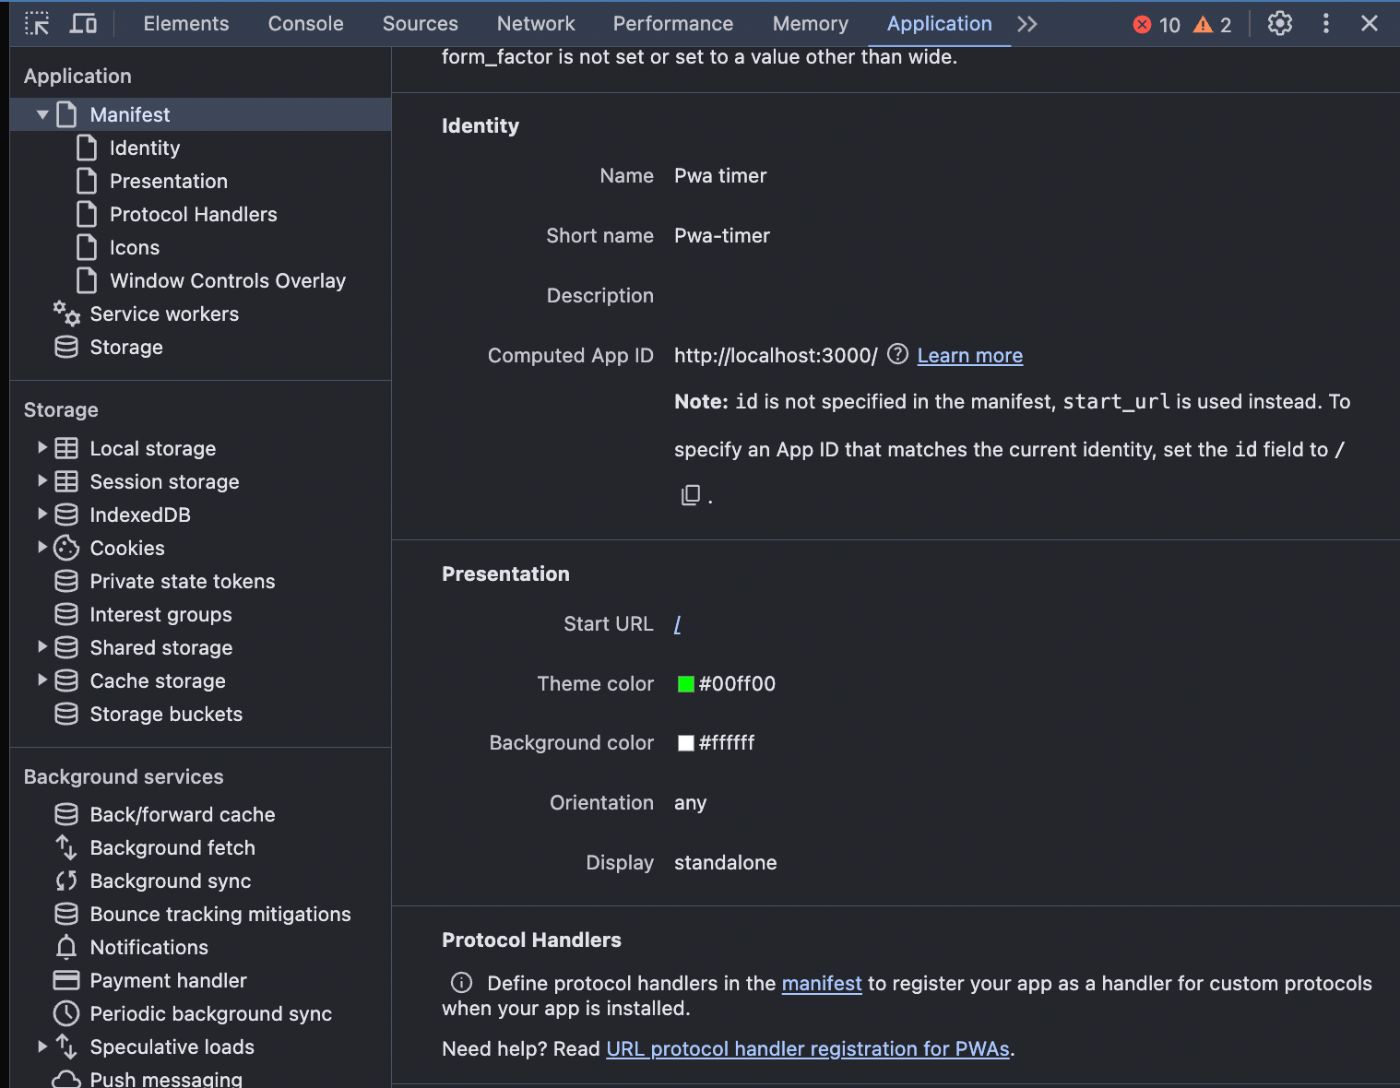
\ \ To confirm the app is now a PWA, the download Icon should appear on the far right in the url bar. You should also be able to see information about the web manifest it in the applications tab.

\
\
Conclusion
Next.js’s recent update with native PWA support has made the process of creating progressive web apps very seamless. With Next.js, developing and deploying a PWA is now a straightforward process in part of modern web development as developers can now quickly create applications with the native-like features users expect, all from within a web browser.
This content originally appeared on HackerNoon and was authored by Timmy
Timmy | Sciencx (2024-11-07T12:11:09+00:00) Learn How Build a Progressive Web App in Minutes with Next.js. Retrieved from https://www.scien.cx/2024/11/07/learn-how-build-a-progressive-web-app-in-minutes-with-next-js/
Please log in to upload a file.
There are no updates yet.
Click the Upload button above to add an update.