This content originally appeared on Level Up Coding - Medium and was authored by Dennisse Pagán Dávila
Adding power-ups!
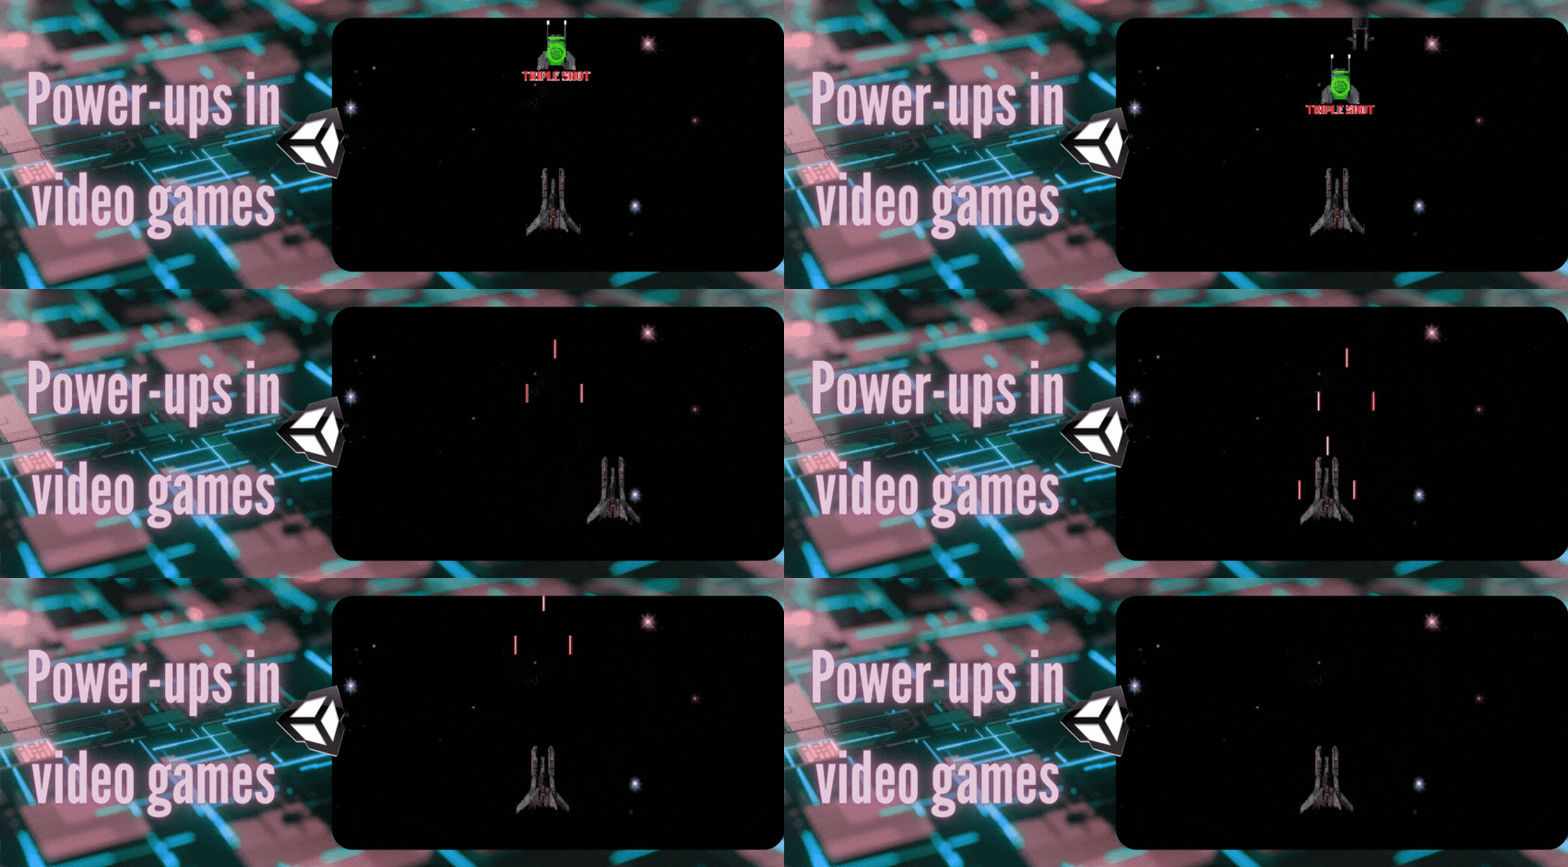
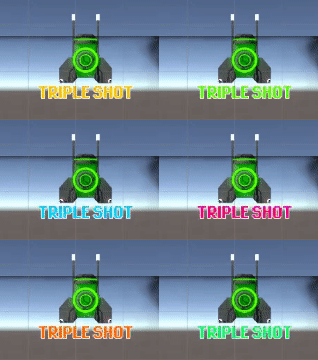
A power-up is a game feature that provides temporary advantages or extra abilities to the player character. Power-ups are normally placed in the game world with predetermined locations, spawned randomly, dropped by defeated enemies, or picked up from containers. The embedded ability takes effect immediately after coming in contact with the player character, and their designs are made to stand out in contrast to the overall game so that they are easy to identify. For this reason, their designs don’t always fit into the game world as they are embellished with vibrant colors, pulsating animations, or even letters that represent the ability they bestow.
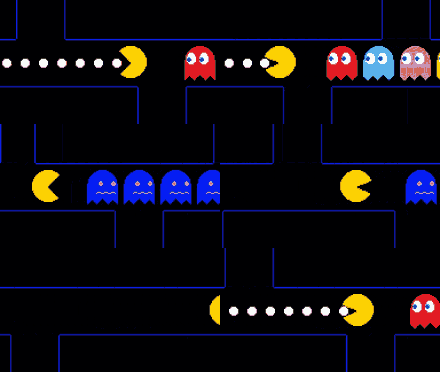
The first power-up is considered to have originated in the 1980s, from the ultra-popular arcade game Pac-Man. Every maze in the game contains four Power Pellets, which allow Pac-Man to eat ghosts for a limited time.
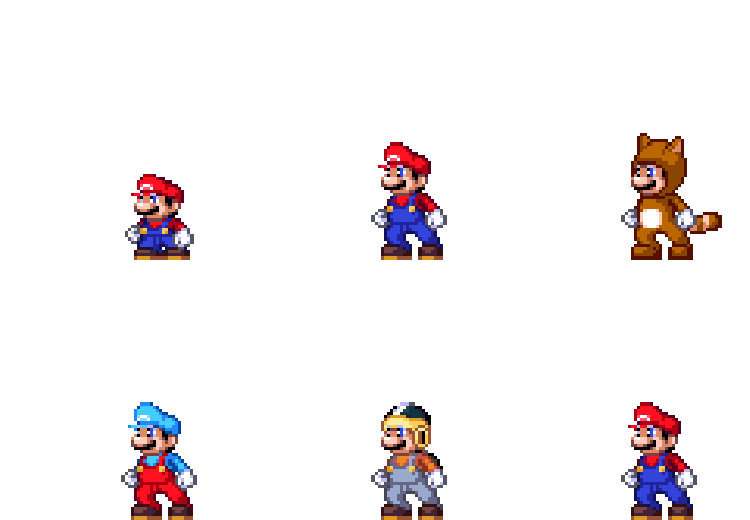
The addition of this power-up effectively added more replayability to an otherwise minimalistic game, as such, countless games followed the example to spice up their gameplay. While working on my 2D Space Shooter game, I make use of Unity’s collision system to implement fully working collectible power-ups!
Adding a collectible power-up in Unity
As previously mentioned, a power-up becomes active when the player character comes in contact with it by “collecting it”. This no more than a bit of smoke and mirrors powered by programming ingenuity.
What does it mean to “collect”?
For us Unity Developers, collecting a power-up can mean no more than destroying an object at the right time after its effect has become active. The object is destroyed as a means to create the illusion that the collectible is no longer there because the player has just consumed it. This can be further embellished by adding things like particle effects and sound effects.
Note: This article will focus on the practical implementation of a power-up, the addition of sound effects and particles will be covered later as they deserve their own spot in the lime light.
Let’s take a look at this process step-by-step!
- Add an object to be your power-up. This can be anything from a sprite, 3D model, or even a primitive. The important part is that you have an object that can be scripted. Even if you use a placeholder, the transition between a prototype to a work of art is extremely simple as noted in this article.
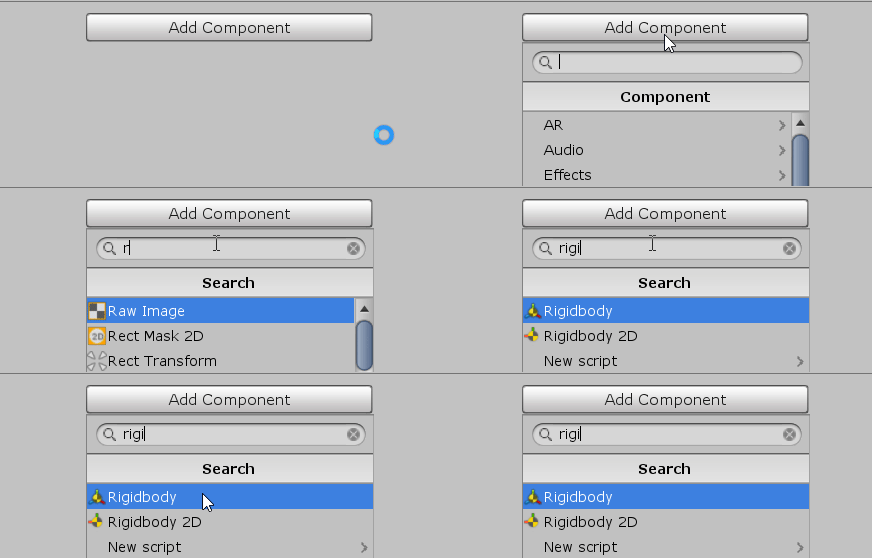
2. Add a Rigidbody component to the power-up object and set Gravity Scale to 0. Make sure you add the right kind of component for your project. In my case, I added a Rigidbody 2D because my Space Shooter is a 2D game.
3. Add a collider for both the player object and the power-up. Make sure you add the appropriate type of collider so that Unity can properly calculate the pertinent physics later.
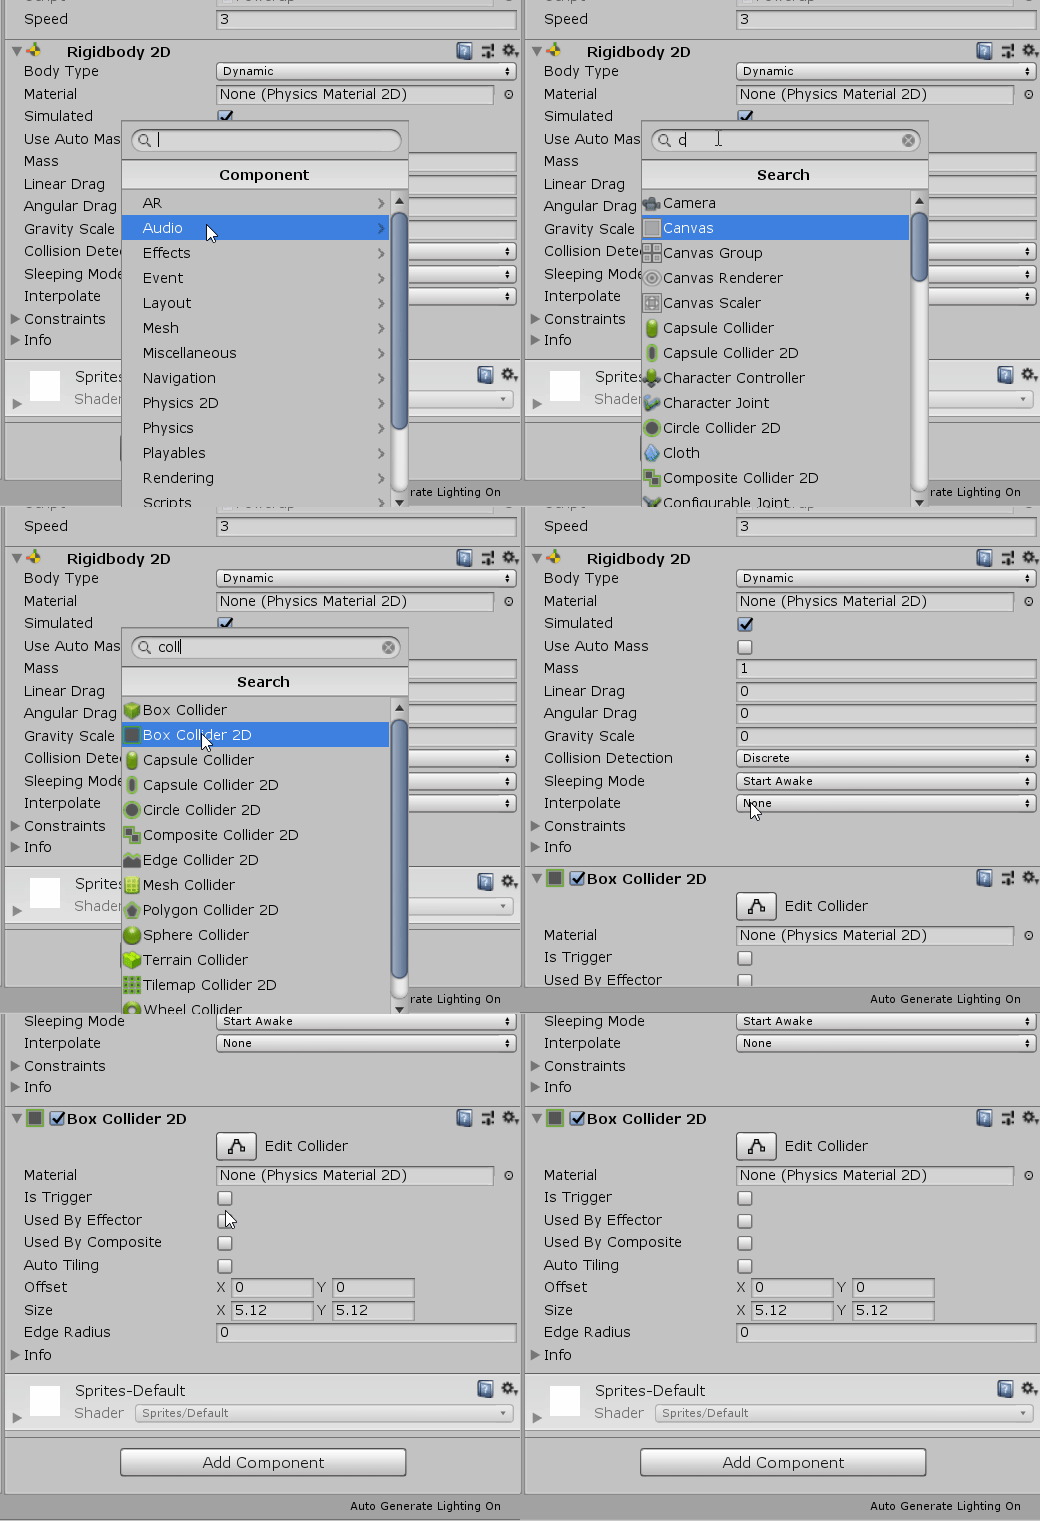
4. Power-ups are not solid objects — they do not interrupt your movement therefore, you cannot collide against them as if they are a solid wall. For this reason, make sure to tweak the is Trigger box, this is what will make you go through the power-up rather than collide against it.

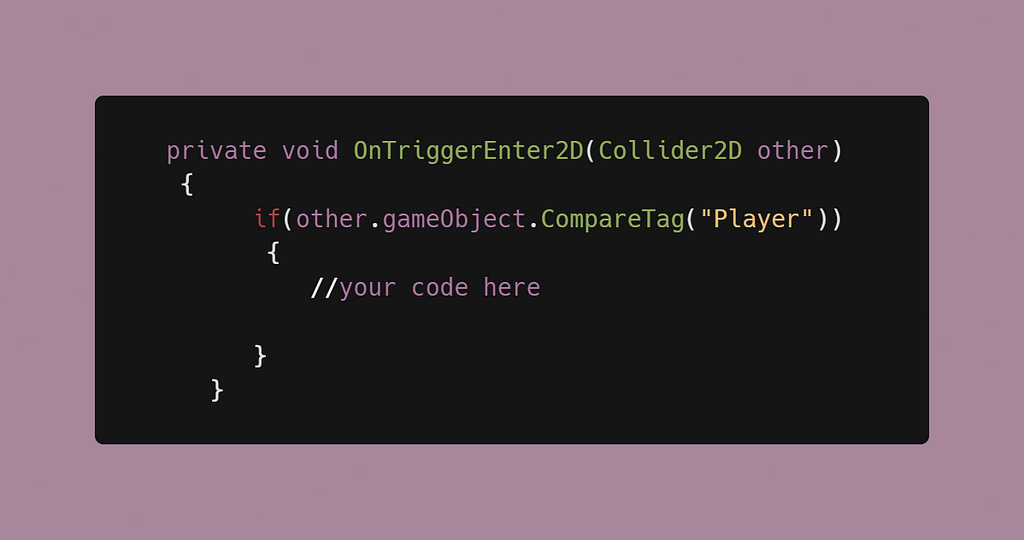
5. In order to activate our power-up, we need to detect when our player character collides with it, this can be done via the Unity Collision System. Since we are working with an object that will become triggered or active once we go through it, our code will rely on a OnTriggerEnter function.
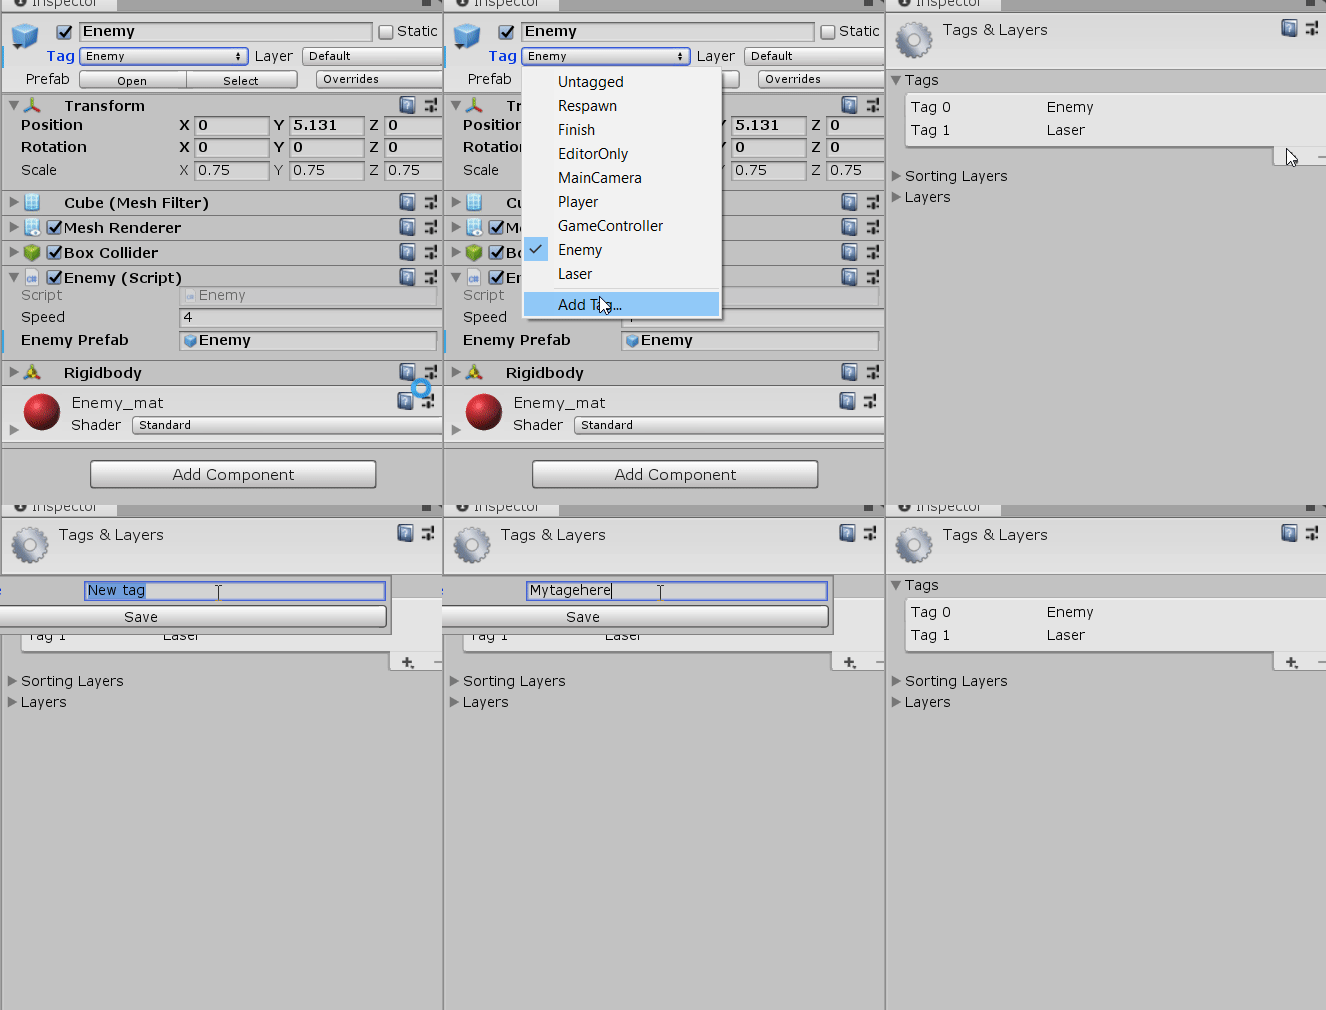
6. Add a Player Tag to your player game object to make sure only the player character can activate the power-up.
7. Now that you have a way to detect collisions, you can add code that will activate once the player character collects the power-up. This is how we will execute the destruction of the power-up object and create the illusion of collection by adding the following code:
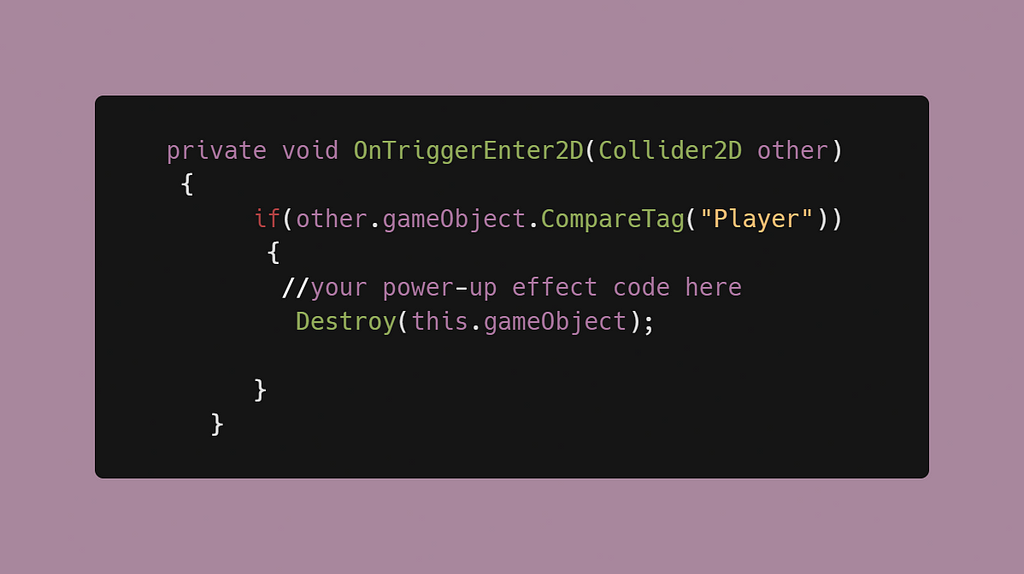
Now you have a power-up that can be collected by the player, and will actually disappear after being collected! You can add all sorts of code within the OnTriggerEnter function to execute a variety of interesting effects, or you can call methods via script communication and have them execute within this function.
In my Space Shooter game, I used a randomized prefab instantiation to make a Triple Shot Power-up, and a coroutine to handle how long it is active.
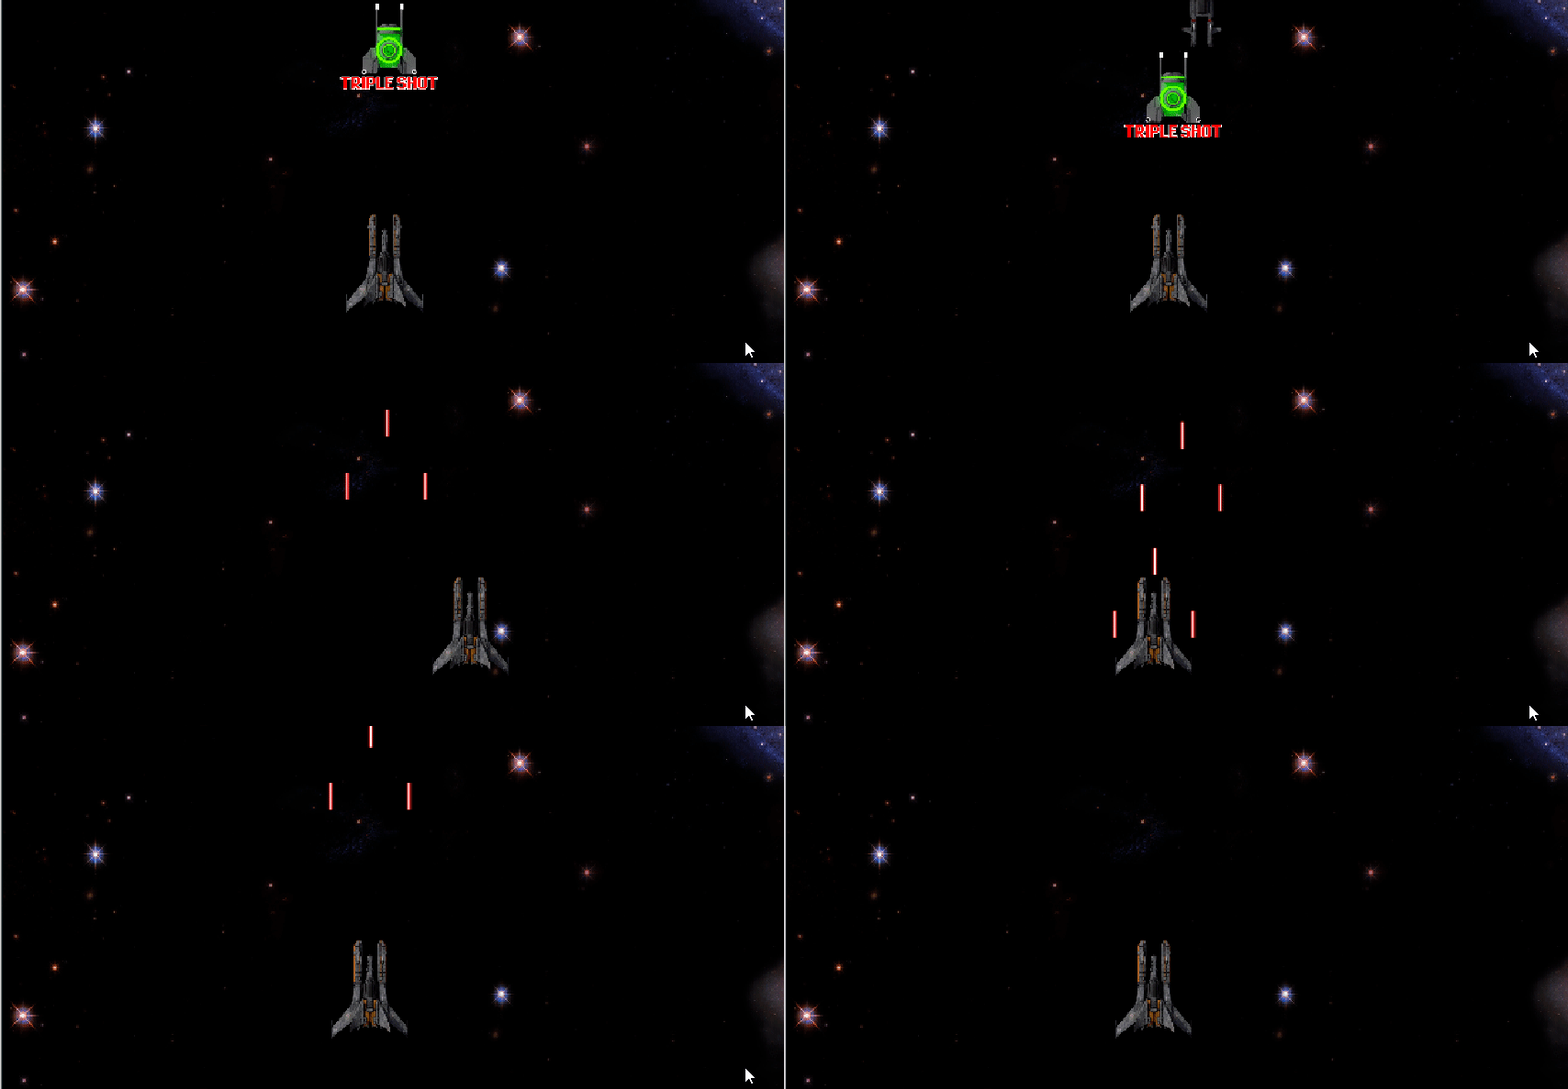
In the coming articles, we’ll be taking a look at how I added sprite animations for the Triple Shot Power-up, and how to determine the length of a power-up’s effect!
Adding Power-ups was originally published in Level Up Coding on Medium, where people are continuing the conversation by highlighting and responding to this story.
This content originally appeared on Level Up Coding - Medium and was authored by Dennisse Pagán Dávila
Dennisse Pagán Dávila | Sciencx (2021-04-21T22:01:12+00:00) Adding Power-ups. Retrieved from https://www.scien.cx/2021/04/21/adding-power-ups/
Please log in to upload a file.
There are no updates yet.
Click the Upload button above to add an update.
