This content originally appeared on Zell Liew and was authored by Zell Liew
I always use MongoDB as a database when I work on an app. And I like to connect to a database on my computer because it speeds up dev and test-related work.
Today, I want to share how to create and connect to a local MongoDB Database.
Installing MongoDB
You need to install MongoDB on your computer before you can connect to it. You can install MongoDB by following these instructions (Mac and Windows).
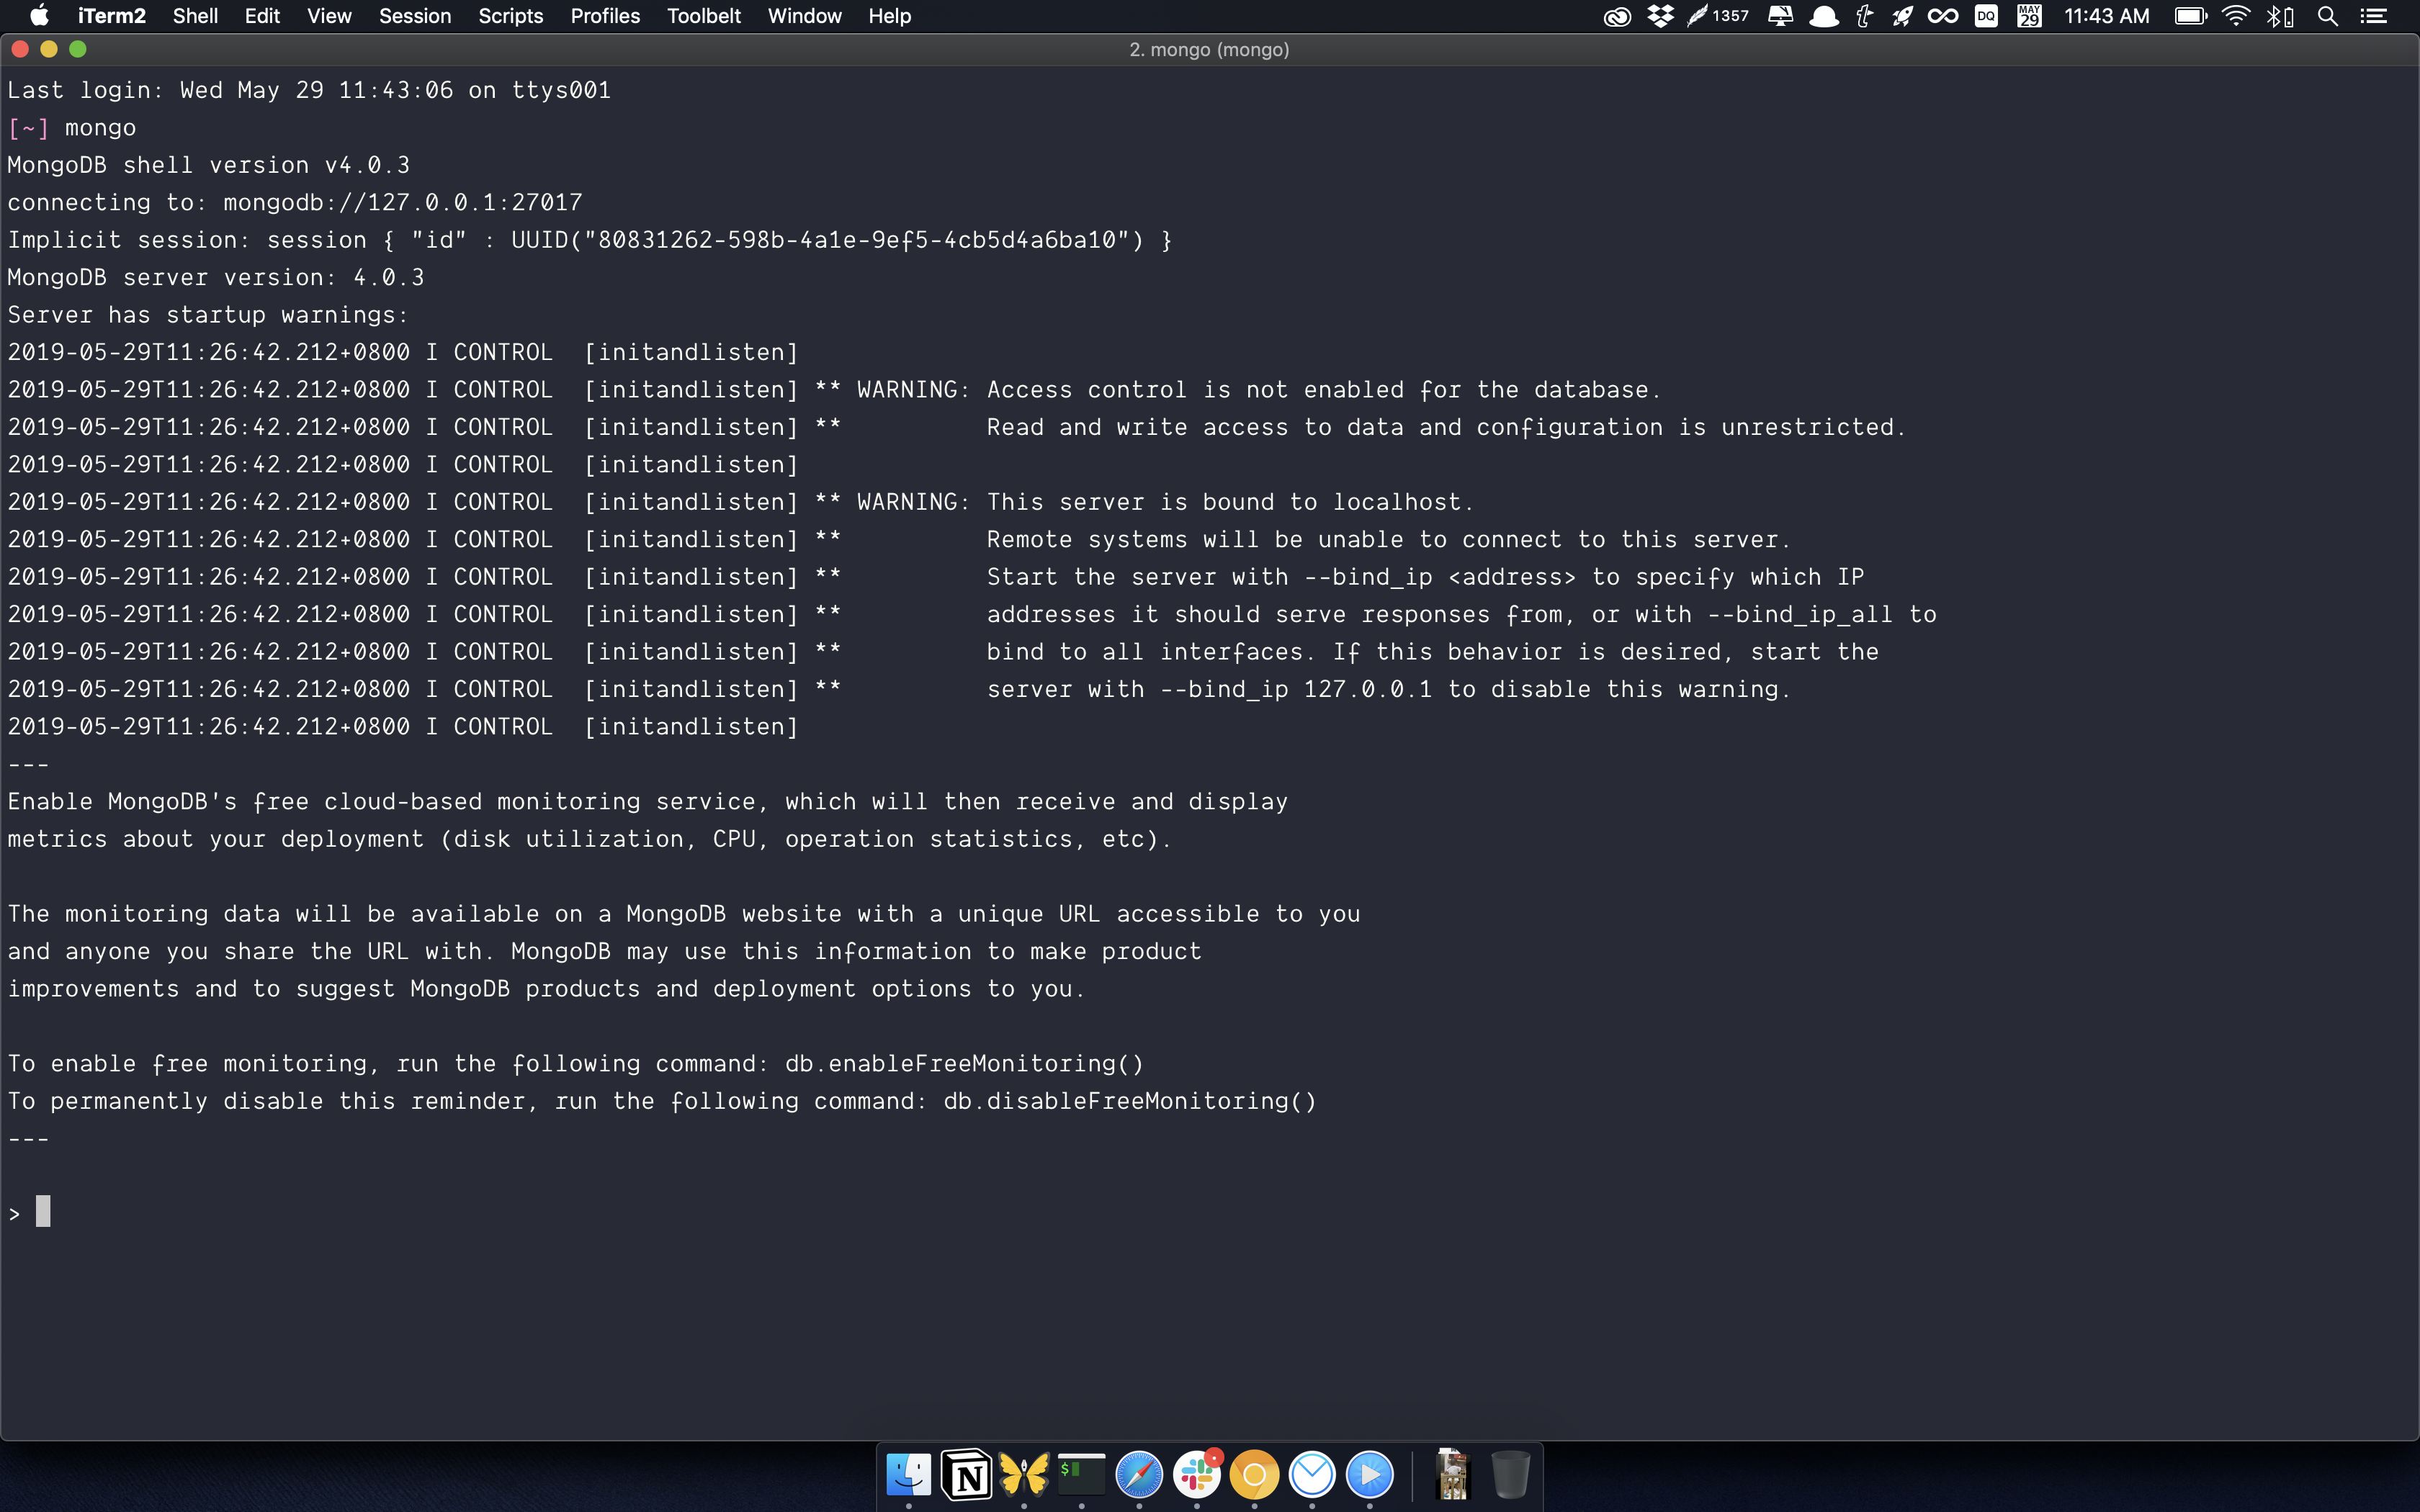
Once you have completed the installation process, try typing mongo --version into your command line. You should get a response similar to the following:
mongo --version

Starting MongoDB
You can start MongoDB on your computer with the mongod command.
mongod

Keep the mongod window running when you want to work with your local MongoDB. MongoDB stops when you close the window.
Brief overview of how MongoDB works
MongoDB lets you store things (called documents) inside databases. Each database contains multiple collections.
To make it easier to understand, you can think of MongoDB as a building. It contains many rooms.
Each room is a database. Each database is responsible for storing information about one application. You can store as much information as you want.
You have an unlimited supply of boxes in each room. Each box is a collection. Each collection can only contain one type of data.
For example, one collection can be used for books, one collection for users, one collection for toys, and so on.
Adding items to a database
One way to add items to a MongoDB database is through the Mongo Shell. To open up the Mongo Shell, you open another command line window and run mongo.
mongo

Note: Make sure you keep the mongod window open! You won’t be able to interact with the Mongo Shell if you close the mongod window.
First, we need a database to work with. You can see the currently selected database with the db command. (By default, you should be on the test database).
> db
Note: The > in the code above signifies the Mongo Shell. You don’t need to type >. It is not part of the command.

For this article, we’ll create a database called game-of-thrones. You can use the use <database> command to create and switch to a new database.
> use game-of-thrones

We’re going to add a character into the game-of-thrones. Here, we need to put the character into a collection. We’ll use characters as the name of the collection.
To add an item to a collection, you can pass a JavaScript object into db.<collectionName>.insertOne().
db.characters.insertOne({ name: 'Jon Snow' })

Let’s add one character into the database before we continue.
db.characters.insertOne({ name: 'Arya Stark' })

You can see the characters we’ve added by using the find command. (db.<collectionName>.find()).
db.characters.find()

This is all you need to know about the Mongo Shell for now.
Accessing MongDB with MongoDB Compass
MongoDB Compass gives you another way to access MongoDB. It’s an app that makes checking (and editing) databases easier if you’re not a fan of the command line.
To use MongoDB Compass, you have to install it first. You can download and install MongoDB Compass from the this page.
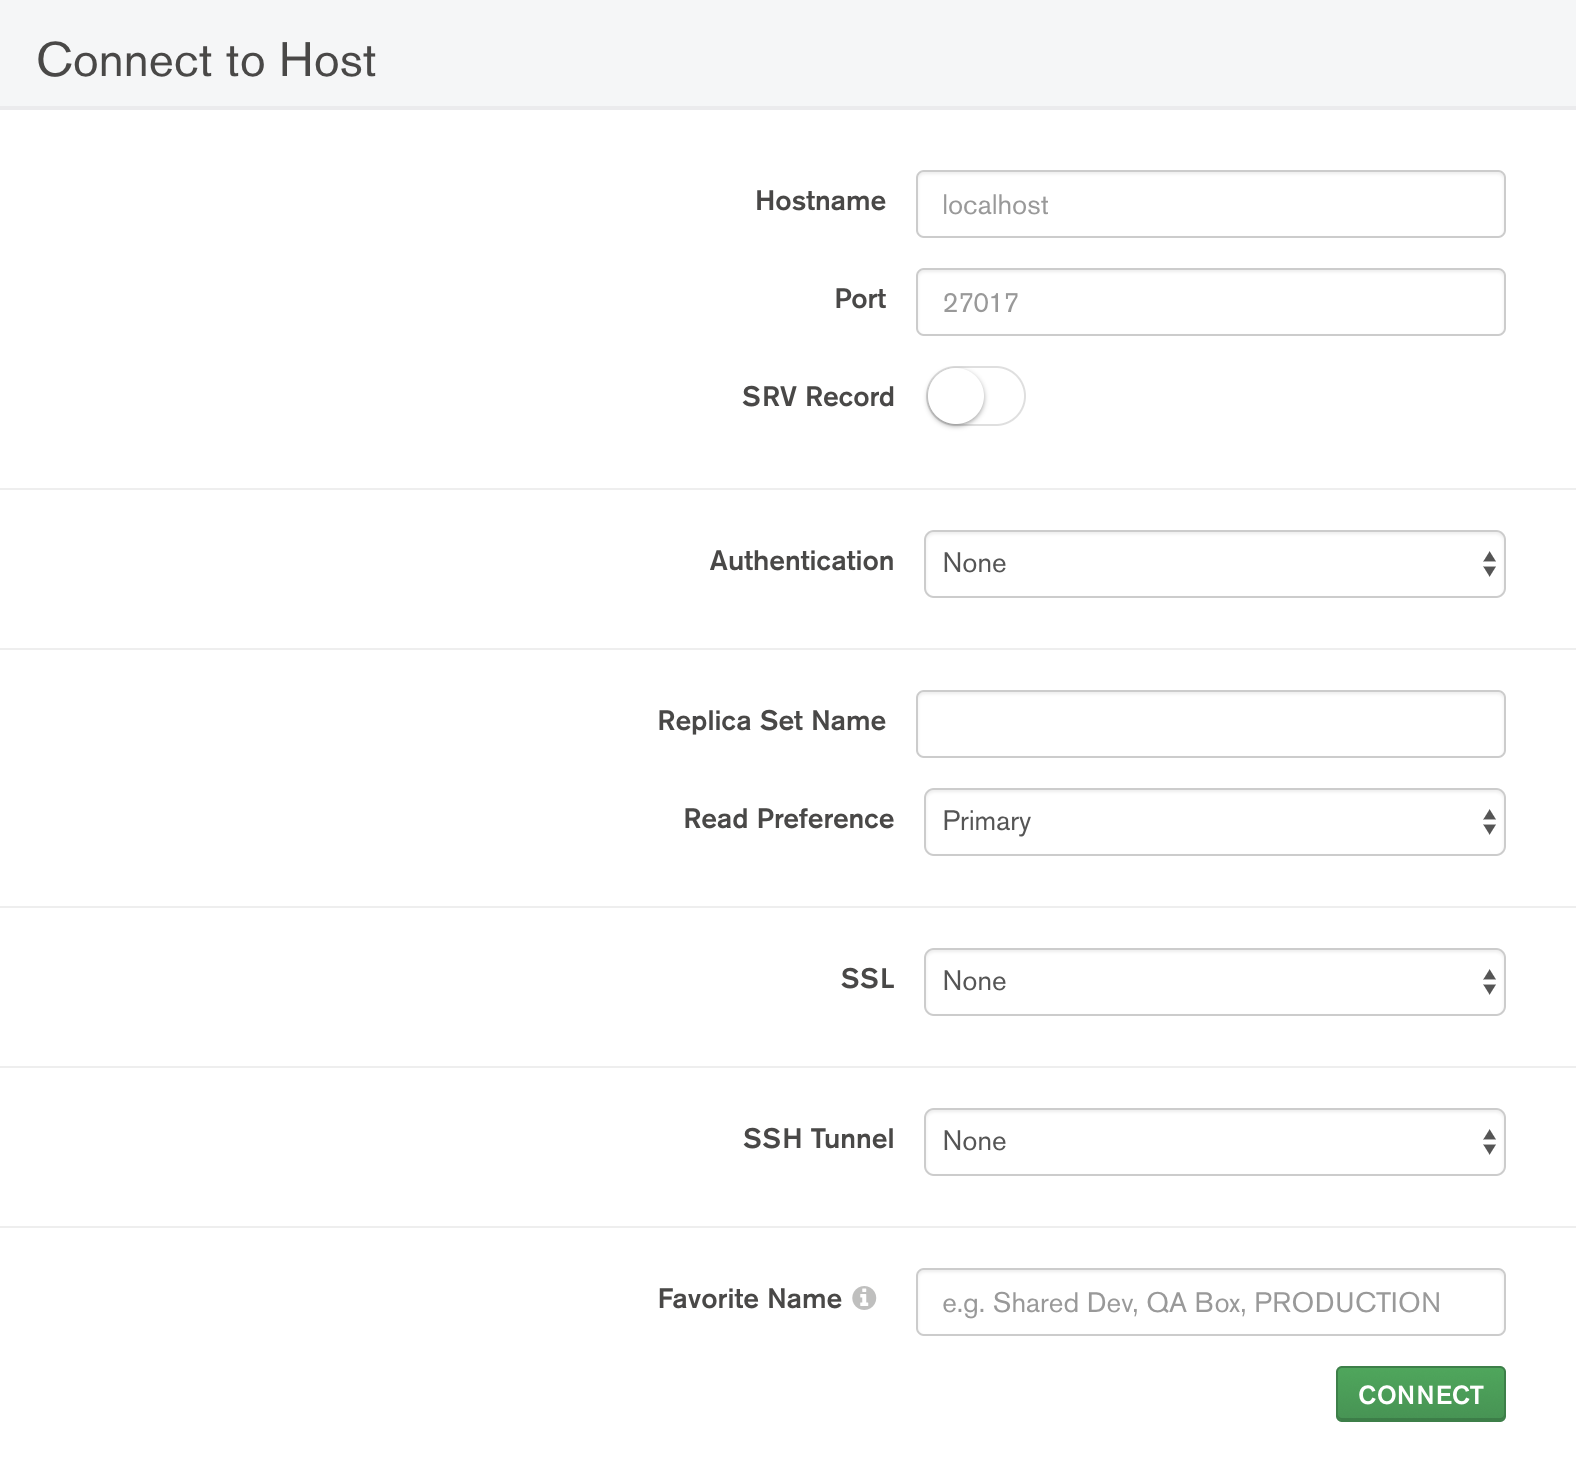
When you open MongoDB Compass, you’ll see a screen that looks like this:

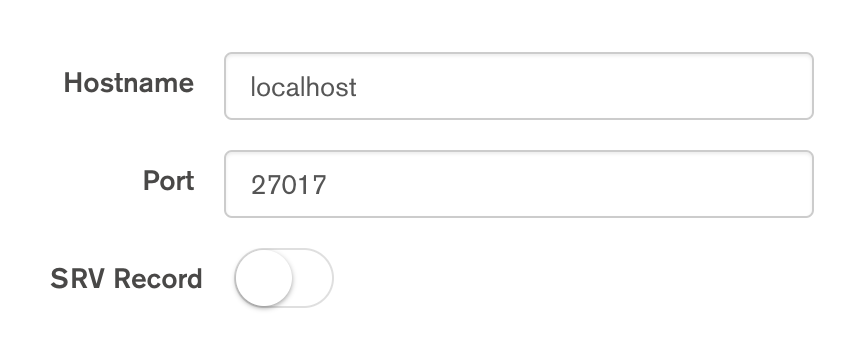
To connect to your local MongoDB, you set Hostname to localhost and Port to 27017. These values are the default for all local MongoDB connections (unless you changed them).

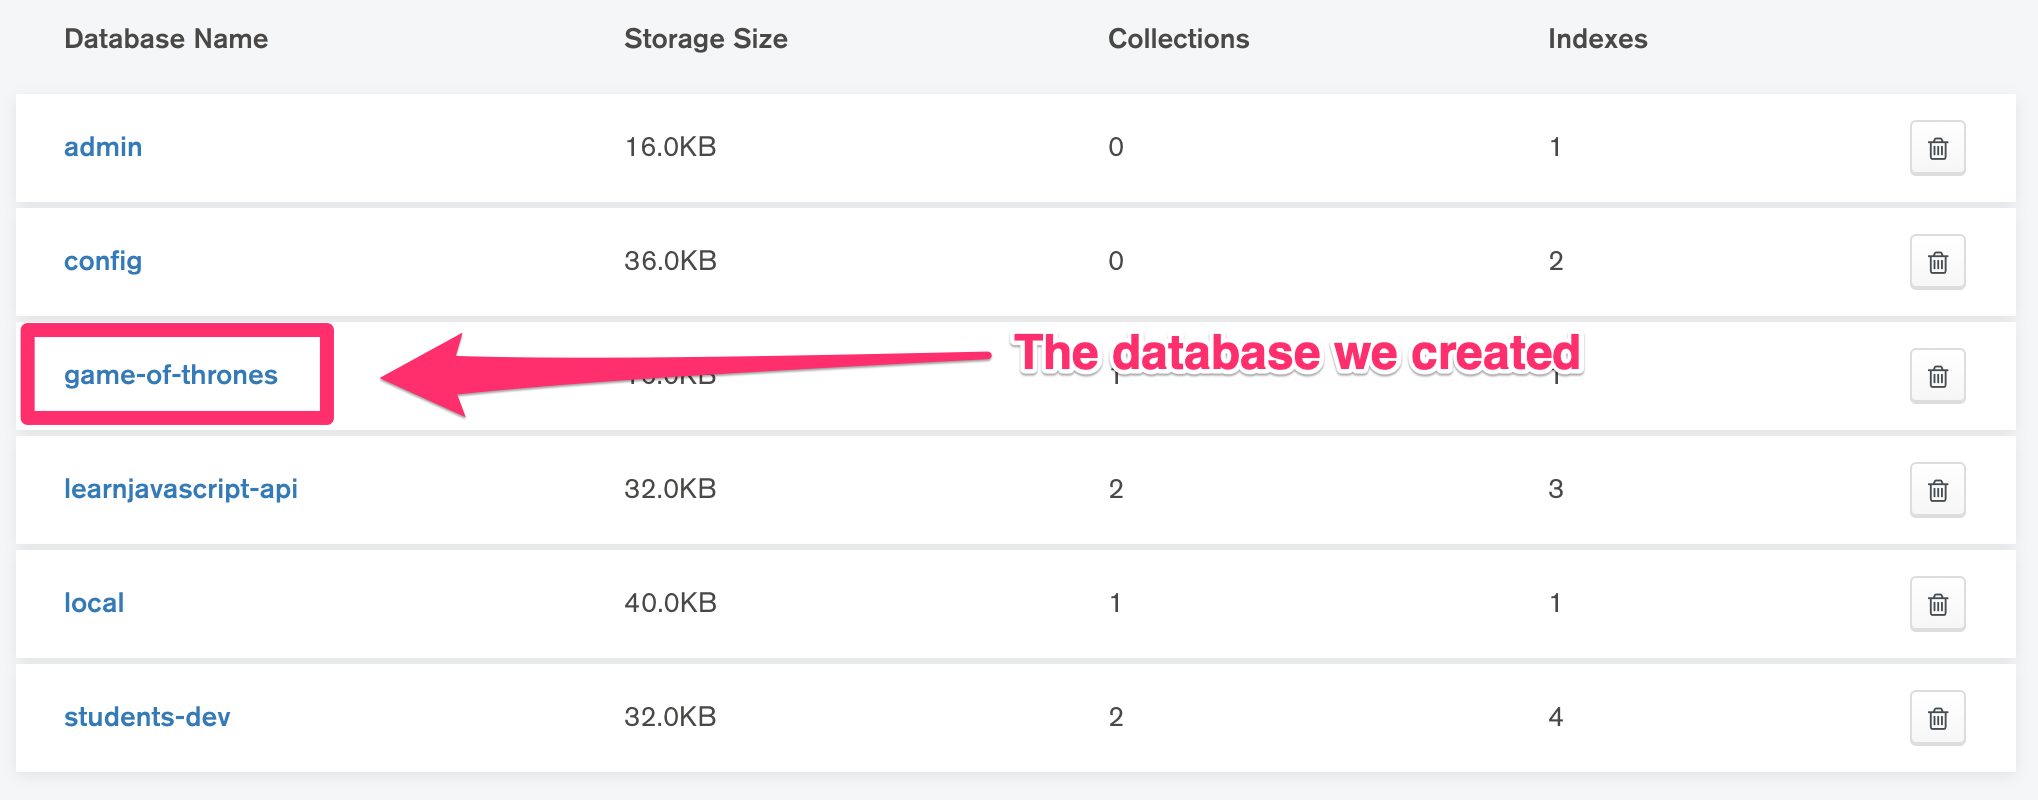
Press connect, and you should see the databases in your local MongoDB. Here, you should be able to see game-of-thrones (the database we created for this tutorial).

If you click on game-of-thrones, you’ll see a characters collection.

And if you click on characters, you’ll see the two characters we created in the earlier section.

This is how you can use MongoDB Compass to connect to a MongoDB that’s running on your own computer.
Connecting to MongoDB with a Node server
When we build applications, we connect to MongoDB through our applications (not through Mongo Shell nor MongoDB Compass).
To connect to MongoDB, we need to use the mongodb package. Alternatively, you can also use Mongoose.
(By the way, I prefer using Mongoose over the MongoDB native driver. I’ll share why in a future article).
Connecting with MongoDB native driver
First you have to install and require the mongodb package.
npm install mongodb --save
const MongoClient = require('mongodb').MongoClient
You can connect to your local MongoDB with this url:
const url = 'mongodb://127.0.0.1:27017'
With the Mongo Client, you need to specify the database you’re using after you connect to MongoDB. Here’s what it looks like:
const dbName = 'game-of-thrones'
let db

MongoClient.connect(url, { useNewUrlParser: true }, (err, client) => {
  if (err) return console.log(err)

  // Storing a reference to the database so you can use it later
  db = client.db(dbName)
  console.log(`Connected MongoDB: ${url}`)
  console.log(`Database: ${dbName}`)
})

Connecting with Mongoose
To connect with Mongoose, you need to download and require mongoose.
npm install mongoose --save
const mongoose = require('mongoose')
When you use Mongoose, the connection url should include the database you’re connecting to:
const url = 'mongodb://127.0.0.1:27017/game-of-thrones'
You can connect to MongoDB with the connect method:
mongoose.connect(url, { useNewUrlParser: true })
Here’s how you can check whether the connection succeeds.
const db = mongoose.connection
db.once('open', _ => {
  console.log('Database connected:', url)
})

db.on('error', err => {
  console.error('connection error:', err)
})

This content originally appeared on Zell Liew and was authored by Zell Liew
Zell Liew | Sciencx (2019-07-31T00:00:00+00:00) How to setup a local MongoDB Connection. Retrieved from https://www.scien.cx/2019/07/31/how-to-setup-a-local-mongodb-connection/
Please log in to upload a file.
There are no updates yet.
Click the Upload button above to add an update.
