
This content originally appeared on Level Up Coding - Medium and was authored by James West
Over the last few articles, I have discussed creating cinematics using Timeline and Cinemachine in Unity. Today we will look at a more complex cinematic that utilizes multiple cameras and two audio tracks.
All assets used in this project are available on the Unity Asset Store:
The Great Fleece | Tutorials | Unity Asset Store

When working with cutscenes that utilize a voiceover, our core animation should align to the voiceover track. In our initial articles, we created cutscenes that only used cinematic cuts and timeline animations. Voiceover tracks add another layer of complexity.
Here is my process. First, I added the two audio tracks to the cutscene, the Cinemachine brain, and the actor prefab animation. I could work with directors’ notes for this cutscene, so I roughly knew how many cameras I needed for the sequence and where the cuts needed to be. So it was just a matter of aligning those to the voiceover track. To make this easier I first synced up the audio track to the base animation, after that was completed I began to add in my virtual cameras and develop the cinematic cuts where they were described in the director’s notes.
This process requires a lot of iteration to align things with the audio track, especially when working with multiple virtual cameras.
Working from scratch
If you don’t have directors notes to work with, try creating your own, aligning any speech from the audio track with head and mouth animations when the camera is on a subject. Once you have done that you can then plan where the cinematic cuts make the most sense. Utilizing cinematic techniques like the 180 rule and the rule of thirds to create a more professional cinematic experience.
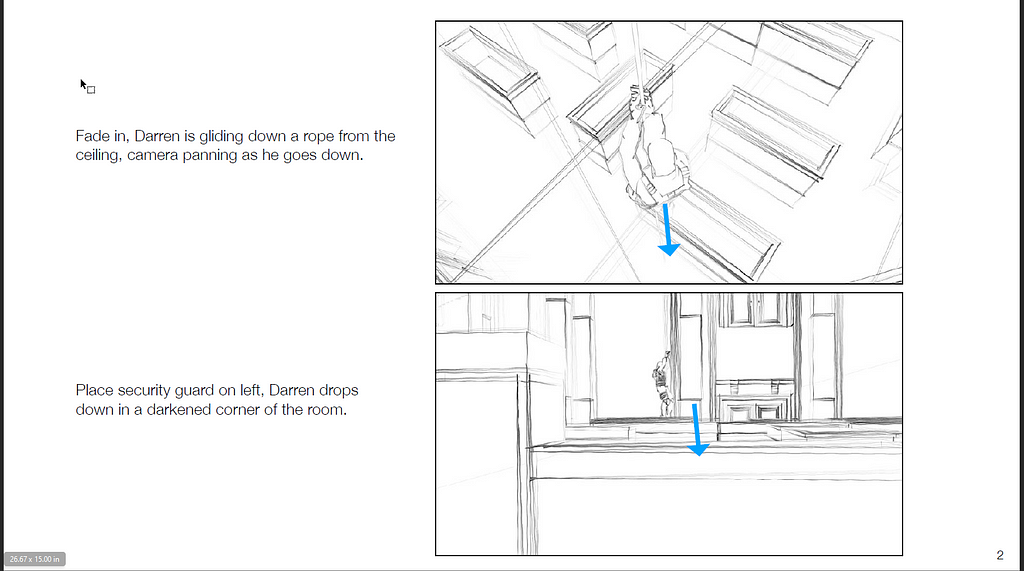
My cutscene above was a first pass, I show is the demo for this article so you can see where things can be improved upon through polish and iteration. While I worked from a set of directors notes to create this into cutscene I see places where I might make adjustments that changes the initial vision.
Testing
In previous versions of Unity you had to play the actual game in order to test your audio sync, Unity 2021 takes away this requirement, you can now play the audio track along with the rest of the timeline preview. This makes the workflow so much faster since you don’t have to wait for Unity to launch the game in the game window.
Conclusion
Timeline and Cinemachine have so much power and potential, if you are working as an indy dev or a hobbyist I suggest taking the time to learn these awesome tools to give your games a more professional look and feel.
Lining up Audio & Visual to Build Cutscenes in Unity Using Timeline was originally published in Level Up Coding on Medium, where people are continuing the conversation by highlighting and responding to this story.
This content originally appeared on Level Up Coding - Medium and was authored by James West
James West | Sciencx (2021-05-12T17:01:35+00:00) Lining up Audio & Visual to Build Cutscenes in Unity Using Timeline. Retrieved from https://www.scien.cx/2021/05/12/lining-up-audio-visual-to-build-cutscenes-in-unity-using-timeline/
Please log in to upload a file.
There are no updates yet.
Click the Upload button above to add an update.