This content originally appeared on Bits and Pieces - Medium and was authored by JANAKA
A Guide to Use Netlify for your FullStack App.

Using Netlify is a unique experience for any developer. It barely needs any guidance. With few clicks, you can connect your GitHub, GitLab, or BitBucket repository and configure CI/CD and hosting in one go.
It also provides a generous free tier, sufficient for low-traffic websites.
Netlify is Unique
Netlify is specialized in hosting frontend static content.
And some of you might wonder how we can connect backends when using Netlify? Netlify also supports Serverless backends.
You can host the frontend and backend both in Netlify and use its Proxy features route traffic accordingly.
So, let’s look at how we can use Netlify to host a full-stack application.
Getting Started
First of all, you need to have the following to try it out;
- A simple frontend application, ready to publish in a Git repository. You can use this GitHub repository, if you need one.
- A Netlify account.
Once you have the frontend ready in a Git repository, you can go to your Netlify account and start deploying.
Note: If you use a Monrepo for both backend and frontend, use the Build Path to configure the CI/CD accordingly.
Step 1: Add new site from Git
After you log in to the Netlify account, click the button “New site from Git”.
Select the repository
Then you can authorize to access either GitHub, Bitbucket, or GitLab accounts and select your frontend application repository from the list.
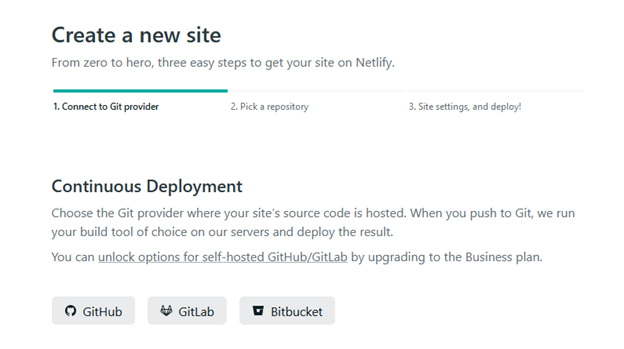
After the bridge between your repository and Netlify is made, we are almost done with the primary setup.
Select the branch
Then, you can select the branch you want to deploy. Typically, the main branch is selected.
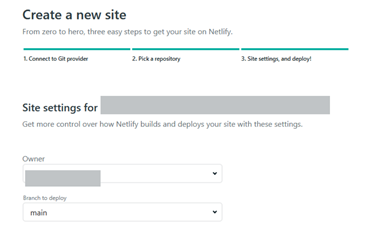
Step 2: Configure frontend deployment.
Before deploying the frontend of the application, you need to configure the build commands. For example, if your project is JavaScript-based, the build command is something like npm run build.
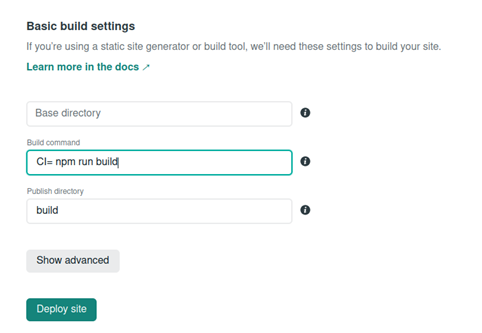
Then you can complete the deployment by clicking the Deploy site button. And, you will be able to find the URL of deployed application in the overview tab.
Note: You can change this URL or configure a custom domain you desire by navigating to the site settings.
Step 3: Deploy the API
I have created a simple NodeJS API for the demo. So let’s see how we can deploy it using Netlify.
If you look at the backend project in this GitHub repository, you will notice a file called netlify.toml .
netlify.toml file is a configuration file that specifies how Netlify builds and deploys your site.
Also, I have used serverless-http library and netlify-cli to create this application and you can run it using Netlify dev command.
// Installing serverless http library
npm install serverless-http
// Installing netlify cli
npm install netlify-cli -g
And then, I followed the same procedure as the frontend, to deploy the backend on Netlify.
Note: Keep the build command and publish directory empty for the API deployment

Step 4: Proxy configuration
Now, you can go to the URL provided by Netlify and see your application action.
However, if you closely monitor, you will notice that the application’s backend URL is still pointing to directories inside the project folder.
We can use Proxy redirect features of Netlify to solve this.
For that, you need to modify netlify.toml file with the following lines;
[[redirects]]
  to=”/.netlify/functions/api:splat”
  from=”/*”
  status=200
This setting will redirect all the API requests to the given URL.
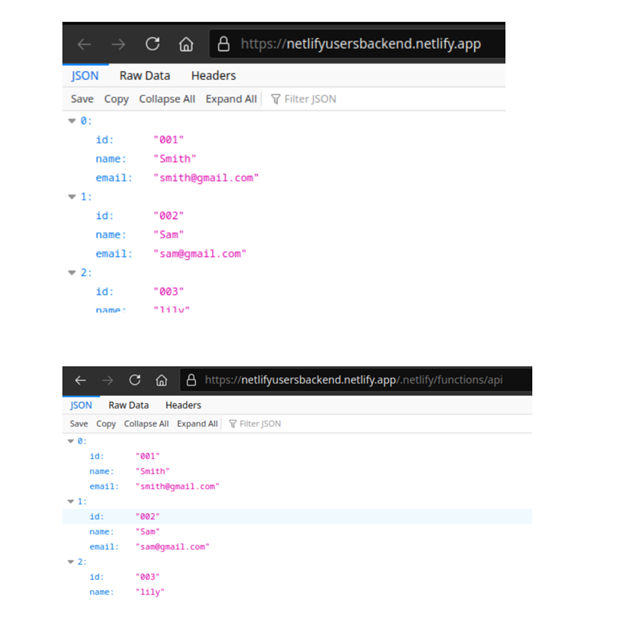
Note: You can also add the proxy configuration to the frontend project, to forward traffic to the API (/api/* -> API_URL/*) so that the entire application runs on the same origin.
Step 5: Configure the Environment Variables
As the final step, I recommend configuring all the environment variables of the application with Netlify to increase security.
You can edit site setting environmental variables by navigating to, Site settings > Build & deploy > Environment > Environment variables
Site setting variables have a higher priority than the team level variables.
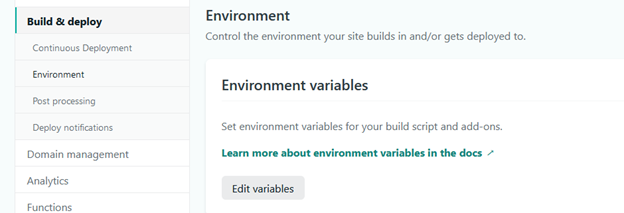
You can find the team level environment variables by navigating to, Team settings > Sites > Global site settings > Shared environment variables

That’s it. I hope you all got a good understanding of hosting full-stack applications with Netlify in this article.
Thanks for reading !!!
Build & share Javascript components with Bit
Bit is an extensible tool that lets you create truly modular applications with independently authored, versioned, and maintained components.
Use it to build modular apps & design systems, author and deliver micro frontends, or simply share components between applications.
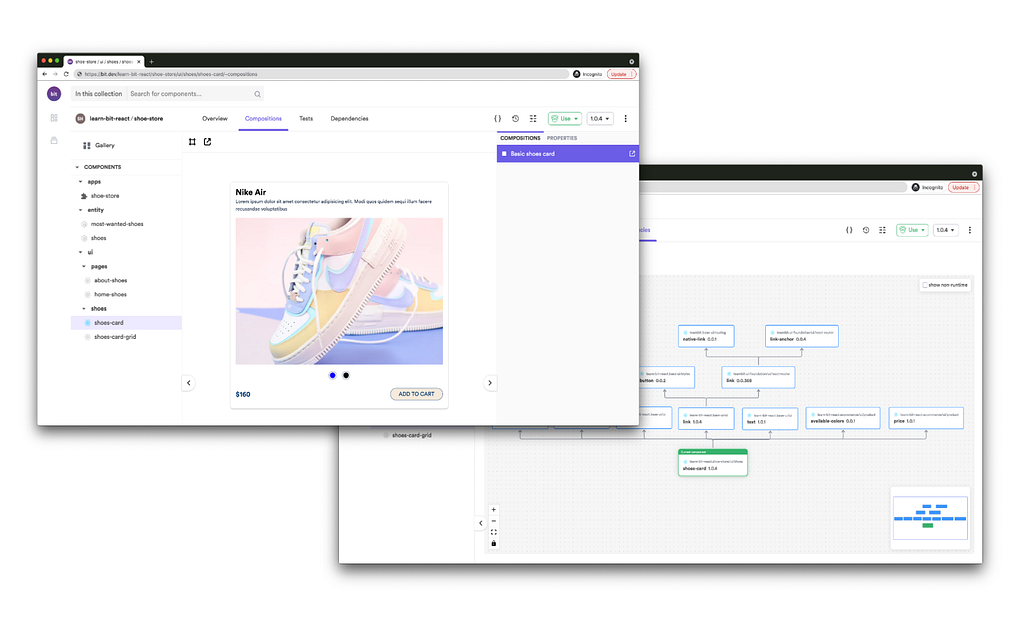
Bit: The platform for the modular web
Learn More
- Independent Components: The Web’s New Building Blocks
- React Production Deployment with Netlify
- Use Netlify CMS with Gatsby Blogs
Using Netlify for FullStack Apps was originally published in Bits and Pieces on Medium, where people are continuing the conversation by highlighting and responding to this story.
This content originally appeared on Bits and Pieces - Medium and was authored by JANAKA
JANAKA | Sciencx (2021-07-27T16:38:51+00:00) Using Netlify for FullStack Apps. Retrieved from https://www.scien.cx/2021/07/27/using-netlify-for-fullstack-apps/
Please log in to upload a file.
There are no updates yet.
Click the Upload button above to add an update.
