This content originally appeared on DEV Community and was authored by Mohammad Saiful Islam
Today we are going to make a multistep form app with Svelte. So let's start.
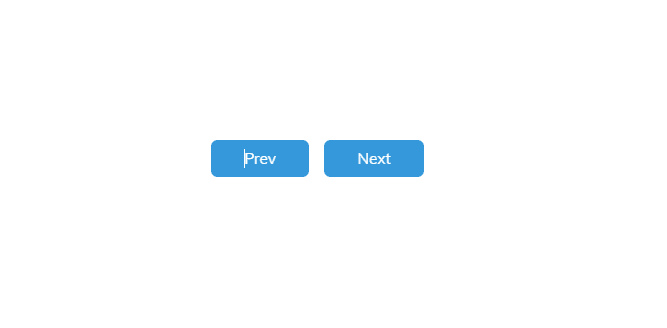
First, let's make a basic template with Start and Prev buttons:
<main>
  <div class="container">
    <div class="step-button">
      <button class="btn">Prev</button>
      <button class="btn">Next</button>
    </div>
  </div>
</main>

<style>
  @import url('https://fonts.googleapis.com/css?family=Muli&display=swap');

  * {
    box-sizing: border-box;
  }

  main {
    font-family: 'Muli', sans-serif;
    display: flex;
    align-items: center;
    justify-content: center;
    height: 100vh;
    overflow: hidden;
    margin: 0;
  }

  .btn {
    background-color: #3498db;
    color: #fff;
    border: 0;
    border-radius: 6px;
    cursor: pointer;
    font-family: inherit;
    padding: 8px 30px;
    margin: 5px;
    font-size: 14px;
  }

  .btn:active {
    transform: scale(0.98);
  }

  .btn:focus {
    outline: 0;
  }

  .btn:disabled {
    background-color: #e0e0e0;
    cursor: not-allowed;
  }

  .step-button{
    margin-top: 1rem;
    text-align: center;
  }
</style>
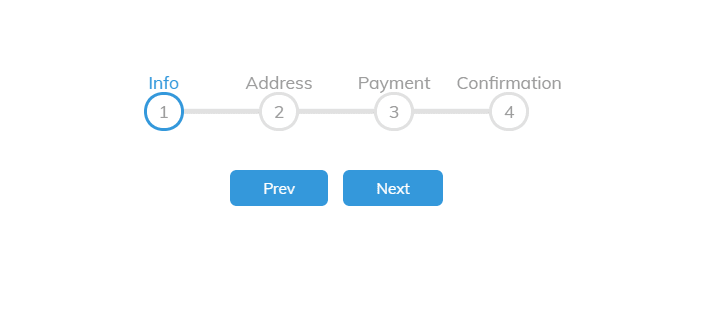
Now we are going to build a steps progress bar component, So first create this ProgressBar.svelte component:
<script>
  export let steps = ['Info', 'Address', 'Payment', 'Confirmation'];
</script>

<div class="progress-container">
  <div class="progress"></div>
  {#each steps as step, i}
    <div class="circle {i == 0 ? 'active' : ''}" data-title={step} >{i+1}</div>
  {/each}
</div>


<style>
  .progress-container {
    display: flex;
    justify-content: space-between;
    position: relative;
    margin-bottom: 30px;
    max-width: 100%;
    width: 350px;
  }

  .progress-container::before {
    content: '';
    background-color: #e0e0e0;
    position: absolute;
    top: 50%;
    left: 0;
    transform: translateY(-50%);
    height: 4px;
    width: 100%;
    z-index: -1;
  }

  .progress {
    background-color: #3498db;
    position: absolute;
    top: 50%;
    left: 0;
    transform: translateY(-50%);
    height: 4px;
    width: 0%;
    z-index: -1;
    transition: 0.4s ease;
  }

  .circle {
    background-color: #fff;
    color: #999;
    border-radius: 50%;
    height: 30px;
    width: 30px;
    display: flex;
    align-items: center;
    justify-content: center;
    border: 3px solid #e0e0e0;
    transition: 0.4s ease;
    cursor: pointer;
  }

  .circle::after{
    content: attr(data-title) " ";
    position: absolute;
    bottom: 35px;
    color: #999;
    transition: 0.4s ease;
  }

  .circle.active::after {
    color: #3498db;
  }

  .circle.active {
    border-color: #3498db;
  }
  </style>
Our progress bar UI is ready, Now we need to implement functionality for the Step panel and Prev, Next button.
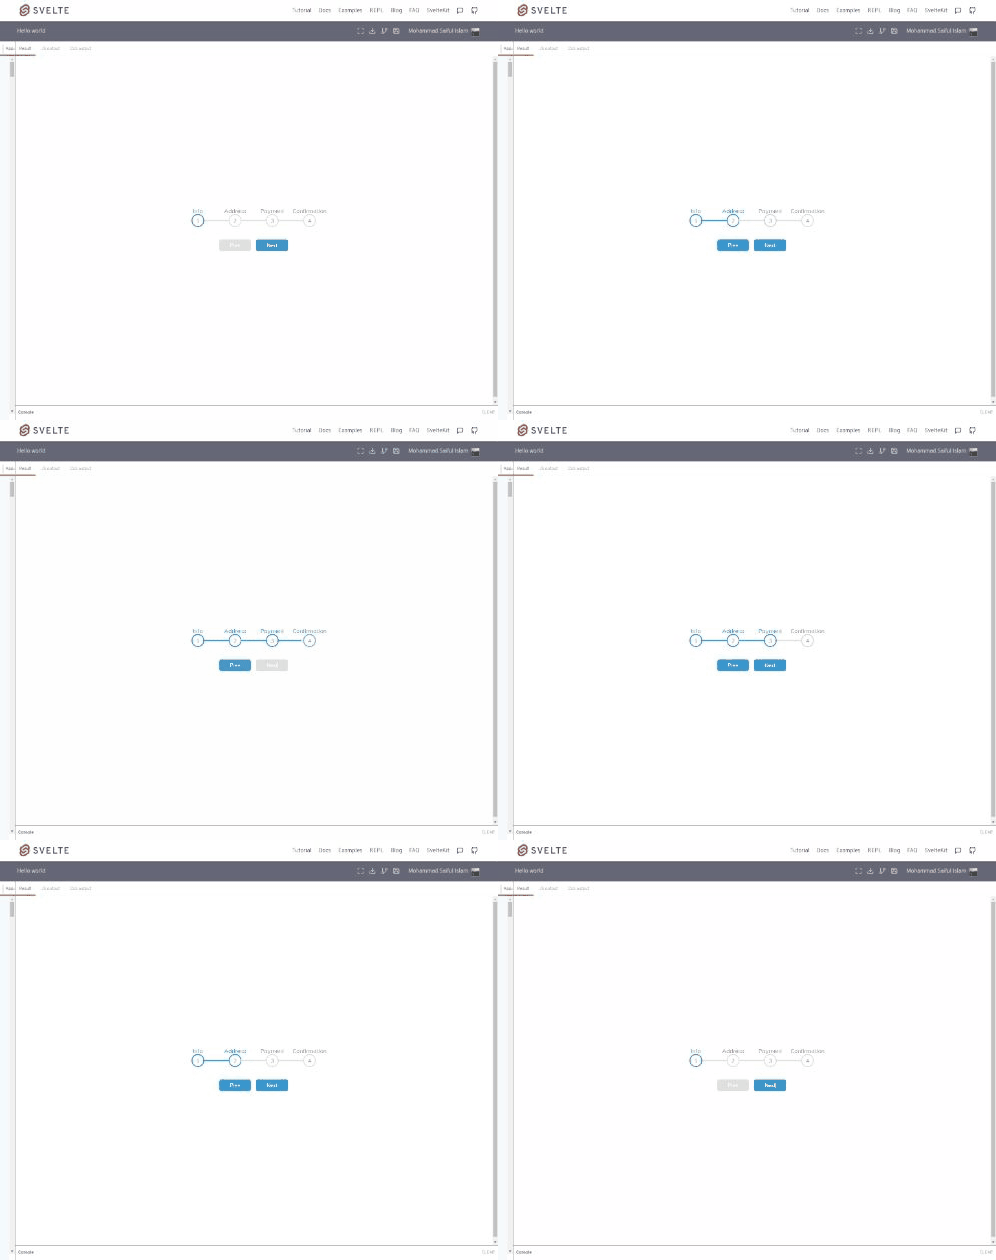
The Prev button should be disabled for the first step Info and the Next button should be disabled for the last step Confirmation. So need to track the current active step currentActive and also for the handling progress we write a function handleProgress and for update the progress bar steps add a function update and declare circles for reference all steps elements and progress for progress bar element. So our latest ProgressBar.svelte version like this:
<script>
  export let steps = [], currentActive = 1;
  let circles, progress;

  export const handleProgress = (stepIncrement) => {
    circles = document.querySelectorAll('.circle');
    if(stepIncrement == 1){
      currentActive++

      if(currentActive > circles.length) {
          currentActive = circles.length
      }
    } else {
      currentActive--

      if(currentActive < 1) {
          currentActive = 1
      }
    }


    update()
  }

  function update() {
    circles.forEach((circle, idx) => {
        if(idx < currentActive) {
            circle.classList.add('active')
        } else {
            circle.classList.remove('active')
        }
    })

    const actives = document.querySelectorAll('.active');

    progress.style.width = (actives.length - 1) / (circles.length - 1) * 100 + '%';
  }
</script>

<div class="progress-container" bind:this={circles}>
  <div class="progress" bind:this={progress}></div>
  {#each steps as step, i}
    <div class="circle {i == 0 ? 'active' : ''}" data-title={step} >{i+1}</div>
  {/each}
</div>
And update App.svelte:
<script>
let steps = ['Info', 'Address', 'Payment', 'Confirmation'], currentActive = 1, progressBar;

const handleProgress = (stepIncrement) => {
  progressBar.handleProgress(stepIncrement)
}
</script>

<ProgressBar {steps} bind:currentActive bind:this={progressBar}/>

<button class="btn" on:click={() => handleProgress(-1)} disabled={currentActive == 1}>Prev</button>
<button class="btn" on:click={() => handleProgress(+1)} disabled={currentActive == steps.length}>Next</button>
Now we are going to make Form.svelte component, first, make an input component for reusability InputField.svelte.
<script>
  export let value, label, type = 'text';

  function typeAction(node){
    node.type = type;
  }
</script>

<p class="form-control">
  {#if label}
    <label class="label" for>{label}:</label>
  {/if}
  <input use:typeAction class="input" bind:value={value}/>
</p>

<style>
  .form-control{
    margin: .5rem 0;
    text-align: left;
  }
  .input{
    width: 100%;
    display: block;
    padding: 0.5rem 0;
    margin-top: 0.5rem;
    border-width: 1px;
    border-radius: 0.25rem;
  }
</style>
Here we see a new directive use:typeAction its use for set dynamic input type. Ok InputField is ready now move to Form.svelte:
<script>
  import InputField from './InputField.svelte';
  export let active_step;
  let formData = {
    name: '',
    surname: '',
    email: '',
    password: '',
    address: '',
    city: '',
    country: '',
    postcode: '',
    account_name: '',
    card_no: ''
  }

  const handleSubmit = () => {
    console.log("Your form data => ",formData)
  }
</script>

<form class="form-container" on:submit={handleSubmit}>
  {#if active_step == 'Info'}
    <InputField label={'Name'} bind:value={formData.name}/>
    <InputField label={'Surname'} bind:value={formData.surname}/>
    <InputField label={'Email'} bind:value={formData.email}/>
    <InputField type={'password'} label={'Password'} bind:value={formData.password}/>
  {:else if active_step == 'Address'}
    <InputField label={'Address'} bind:value={formData.address}/>
    <InputField label={'City'} bind:value={formData.city}/>
    <InputField label={'Country'} bind:value={formData.country}/>
    <InputField label={'Postcode'} bind:value={formData.postcode}/>
  {:else if active_step == 'Payment'}
    <InputField label={'Account Name'} bind:value={formData.account_name}/>
    <InputField label={'Card No'} bind:value={formData.card_no}/>
  {:else if active_step == 'Confirmation'}
    <div class="message">
      <h2>Thank you for choosing us</h2>
      <button class="btn submit">Finish </button>
    </div>
  {/if}
</form>

<style>

.form-container {
  background-color: #fff;
  border-radius: 10px;
  box-shadow: 0 10px 20px rgba(0, 0, 0, 0.1), 0 6px 6px rgba(0, 0, 0, 0.1);
  padding: 50px 20px;
  text-align: center;
  max-width: 100%;
  width: 350px;
}
.btn{
  color: white;
  padding: 0.5rem 0;
  margin-top: 0.5rem;
  display: inline-block;
  width: 100%;
  border-radius: 0.25rem;
  cursor:pointer;
}
.submit{
  background:linear-gradient(to bottom, #44c767 5%, #50b01c 100%);
  background-color:#44c767;
}
.submit:hover {
  background:linear-gradient(to bottom, #50b01c 5%, #44c767 100%);
  background-color:#50b01c;
}
.message{
  text-align: center;
}
</style>
And update App.svelte:
<script>
  import Form from './Form.svelte';
  import ProgressBar from './ProgressBar.svelte';
  let steps = ['Info', 'Address', 'Payment', 'Confirmation'], currentActive = 1, progressBar;

  const handleProgress = (stepIncrement) => {
    progressBar.handleProgress(stepIncrement)
  }
</script>

<main>
  <div class="container">
    <ProgressBar {steps} bind:currentActive bind:this={progressBar}/>

    <Form active_step={steps[currentActive-1]}/>

    <div class="step-button">
      <button class="btn" on:click={() => handleProgress(-1)} disabled={currentActive == 1}>Prev</button>
      <button class="btn" on:click={() => handleProgress(+1)} disabled={currentActive == steps.length}>Next</button>
    </div>
  </div>
</main>
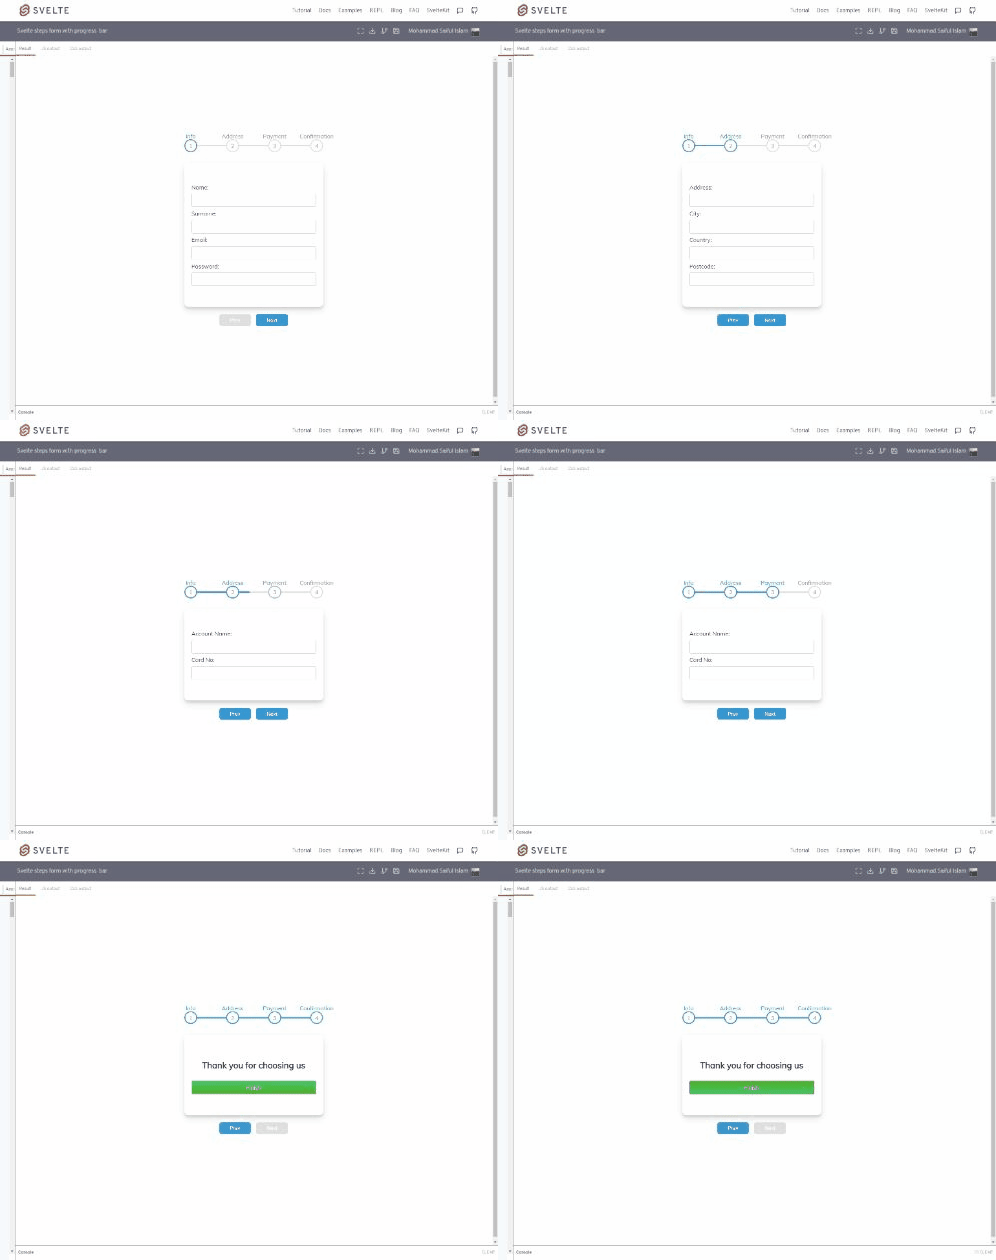
Here is the final output:
Full source code in this repl.
You find me in Github.
This content originally appeared on DEV Community and was authored by Mohammad Saiful Islam
Mohammad Saiful Islam | Sciencx (2021-10-25T05:51:42+00:00) Svelte multi step form apps. Retrieved from https://www.scien.cx/2021/10/25/svelte-multi-step-form-apps/
Please log in to upload a file.
There are no updates yet.
Click the Upload button above to add an update.


