This content originally appeared on DEV Community and was authored by Saharsh Laud
With the changing times, the recruitment process in many companies has evolved significantly as organizations are now more interested in skills in an individual rather than their educational qualifications. Many companies have even removed the criteria for college degrees in their hiring process and only look at your skills and expertise.
Now you might think, how can I show my skills and expertise to a recruiter? The most straightforward and powerful answer is Open-source and Github. Contributing to Open-source projects is considered one of the most effective ways to demonstrate your expertise and your ability to take the initiative on your own and collaborate with a community.
GitHub is the most popular platform for Open-source collaborations, but it might be slightly challenging to get started with Open-source contributions as a beginner.
Worry no more since I have brought the best beginner-friendly GitHub repository to give you the required boost in your Open-source journey.
So let us get started with the entire process that I've myself used to begin my opensource collaboration journey.
Let's get familiar😎
Before diving into our open-source contribution on GitHub, let us understand some of the important terms we will come across while contributing.
- Repository - It is a storage space or a directory where your projects can reside. You can keep all your code files, text files, image files, etc., inside a repository.
- Fork - It is a copy of the GitHub repository under your account that you can manage. This way, you can make changes to a project without affecting the original repository and even fetch updates from or submit changes to the original repository with pull requests.
- Clone - It is a copy of the repository on GitHub.com on your local system. Cloning pulls down a full copy of all the online repository data at that point in time, including all versions of every file and folder in the repo.
- Branch - It is a new version of the repository that diverges from the main working project and can be used to create an isolated development space without affecting other branches. You can merge a branch into another branch using a pull request.
- Commit - It is similar to the save command except that every time you save, it creates a unique ID (“SHA” or “hash”) that allows you to keep a record of what changes were made, when they were made and by whom.
- Push - It is the process of uploading or committing changes from your local clone repository to the remote repository (i.e. the online repo). Pushing sends the recent commit history from your local repository up to GitHub.
- Pull Request - It is a way to notify the maintainers about the changes you have pushed in your branch and ask them to review these changes and merge them with the main repository.
Prerequisites🧐
Before we begin the process for our open-source contribution, let me quickly tell you some prerequisites for this tutorial:
- Git - Git backs all GitHub repositories. Since we will be performing all changes on a local copy and then pushing these to the remote repository, we will definitely require Git installed on our system to clone, create a branch and push changes to the remote branch. You can download Git for your system from this link: Git Download
- VS Code - VS Code is an Integrated Development Environment that will help us to perform actions such as clone, branching, push, publish, etc., with minimal effort. We will also make the required code changes using VS Code. You can download VS Code for your system from this link: VS Code Download
Time to Contribute🤩🚀
Finally, we can get started with our contribution. The project that we will be contributing to is called First Contributions, which is primarily meant for beginners to open-source and aims at providing them with a simplified guide to make their first contribution. The repository has more than 21k stars and more than 40k forks so far, showing how popular it is among beginners in the open-source community.
Let us begin with the steps to make our first contribution to open-source.
Step-1 : Forking the Repository
The first step to get started with any open-source contribution through GitHub us forking the main project repository. Go to the first-contributions GitHub repository and fork it by clicking on the fork icon on the top right corner.
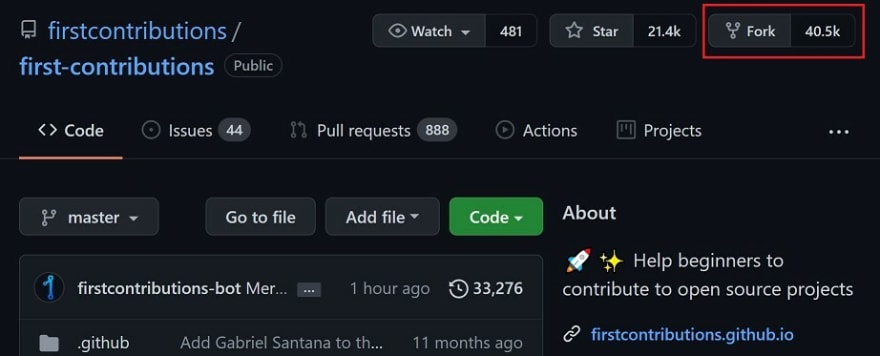
This is how your forked repository will look like:
Step-2 : Cloning to local system
The next step is cloning the forked repository to your local system so that you can easily make the required changes.
For this, head over to your forked repository, click on the Code button and copy the URL shown.
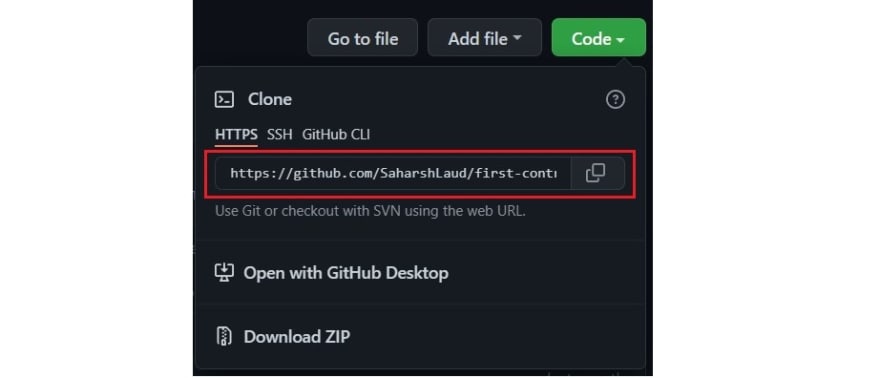
CAREFUL: While cloning the repository make sure that you clone the repo you forked from rather than cloning your repo. Check your browser's address bar and make sure you are cloning your repo and not the original repository.
Next we'll head over to Visual Studio Code to clone the repository. Open the Command Palette by pressing the shortcut key F1 and then type in git clone, only git or clone (it works like a search). Select the Entry Git: Clone and press Enter.
If you have properly installed Git on your system you will automatically see the Git: Clone option.

Paste the URL of the forked repository that you copied earlier and press Enter.
VS Code asks you to select the location at which you want to store your cloned repository.
Select the location and the cloning process will start automatically.
After the successful clone, VS Code asks you to Open the cloned repository in the same window or a new window. Select any option to see the contents of your cloned repository.
Step-3 : Creating a Branch
Now that you've cloned your repository, it's always a good habit to create a branch when you're doing development work that is somewhat experimental in nature. This way you can work on a feature or an issue and merge and see if many features work well together or not.
Open up the command palette again by pressing F1. Type in branch and select the create branch command from there.
The next dialog box asks for your branch name. Provide a proper branch name and press Enter. The branch will be created with the given name and it is also already checked out.
The git checkout command is used to switch between branches in a repository. It checks the branches and updates the files in the working directory to match the version already available in that branch, and it forwards the updates to Git to save all new commit in that branch.
Step-4 : Making code changes
Now its time to add your name as a Contributor to this repository. Open the Contributors.md file and add your name anywhere in the file. The code in this file is in Markdown language which is a lightweight markup language for creating formatted text using a plain-text editor.
You can also copy-paste anyone of the existing entries and make changes to it. Add your name and GitHub profile link anywhere in the file and save it. You can see that as soon as you save, an icon appears in the source control tab in the left panel indicating that there are changes made to the code.
Step-5 : Commit & Push changes to GitHub
On the left panel click on the Source Control icon. You can see all the files that have been altered after the last commit.
Click on the plus (+) icon to stage the changes. The staging area is a file, in your Git directory, that stores information about what will go into your next commit.
Type a commit message in the top line and click on the check mark icon to commit changes to your local repository.
After committing the changes, you can see an option for Publish Changes to push your changes back to GitHub. Click on this option to publish your changes back to GitHub.
Uh-Oh! Something's not right. You must have got an error message as shown below.
It seems that you need to tell your identity to Git in order to proceed further. Let's rectify this issue. Head over to the terminal by pressing shortcut key Ctrl+Shift+`.
Then run the following commands to set the global username and global email.
// Set your username:
    git config --global user.name "FIRST_NAME LAST_NAME"
// Set your email address:
    git config --global user.email "MY_NAME@example.com"
Note: If you don't get any such error, there is nothing to worry. It simply means that your global username and email are already registered with Git.
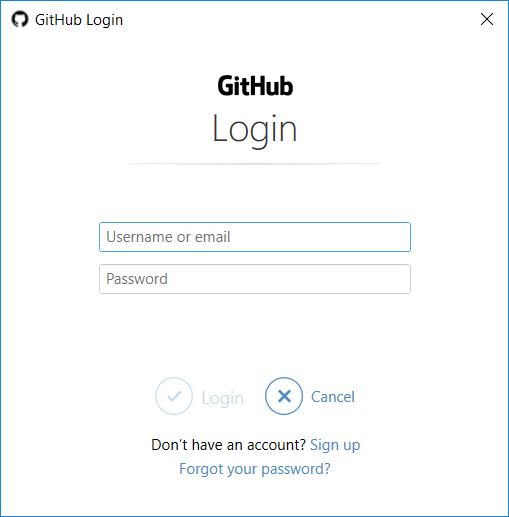
Now that we have set our global username and email, head back to the Publish Changes option in the Source Control Panel. A dialog box opens that asks you to login to your GitHub account. Login using your GitHub credentials and if all goes well, your commits will be pushed from your local repository to your GitHub repository online.
Step-6 : Create a Pull Request
If you have followed all the above steps correctly, then you should see a message in your forked repository that shows your new branch.
At this point the changes that you have made reside on your side of the repository. Now we will create a pull request to submit a request to the administrator of the top-level repo to merge your change into the main branch.
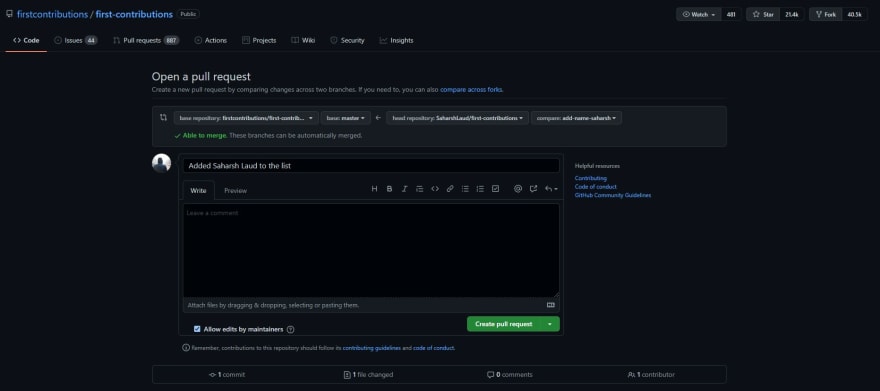
Click on the Compare & pull request option as shown in the image above. This opens up the Pull Request page where you will edit your Pull Request.
Here you can also see if your branch can be merged with the main branch or not. You need to provide a title for your pull request and you can also provide some extra comments for the maintainer of the repository.
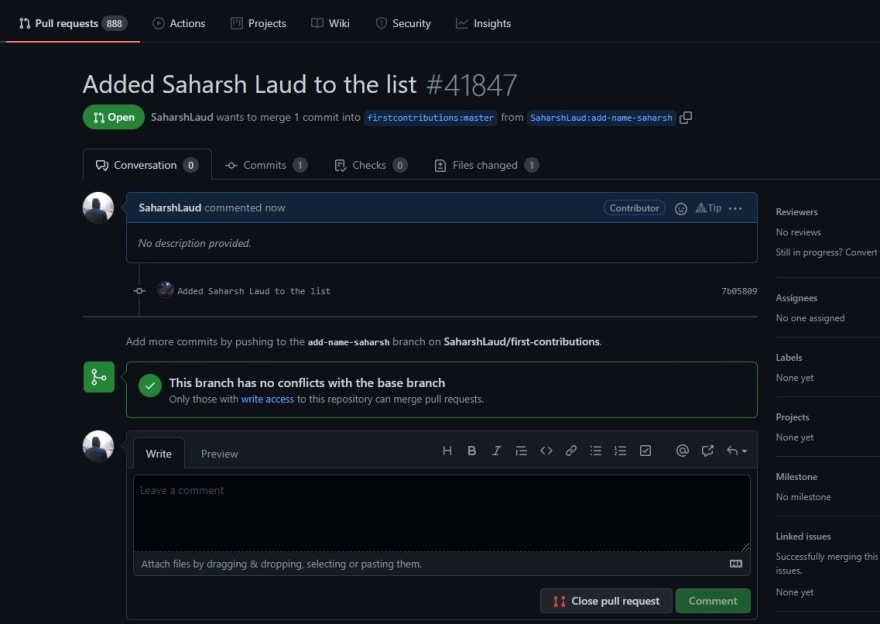
After this your Pull Request will be assigned a number and marked as Open until the maintainer reviews it and merges your code.
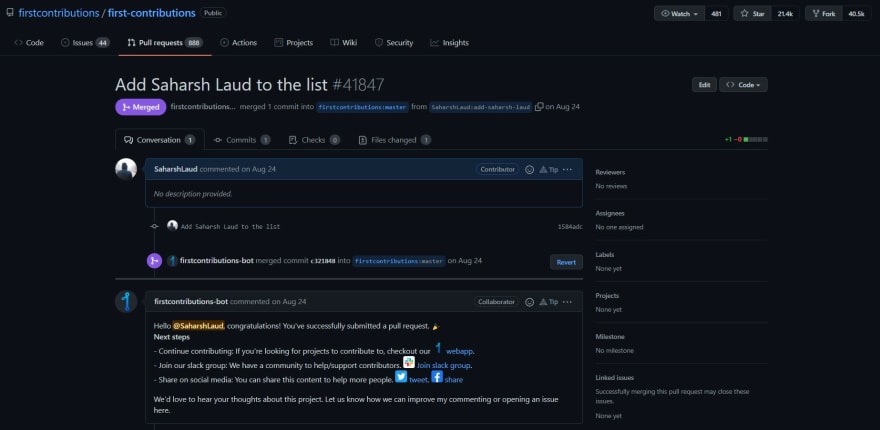
The maintainer might ask you to make some changes or if everything is fine, your pull request will be successfully accepted and your code changes will be merged into the master branch of this project.
Now that your code changes have been merged into the master branch, you can see your name in the Contributor's list.
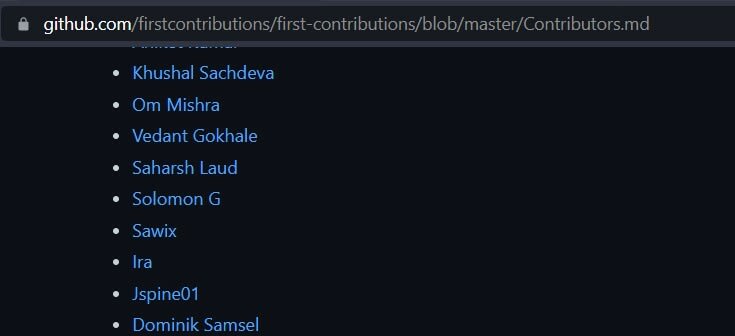
You have now successfully made your first open-source contribution with just a single line of code!
Made my first contribution now what?
Congratulations! You’ve successfully made your first open-source contribution and completed the standard fork -> clone -> edit -> PR workflow that you’ll often encounter as a contributor!
Don’t let this momentum die! Try to find more repositories based on your skillset and contribute to these projects. The best thing is that you don’t need to be an expert to contribute to open-source. You can even visit the First-Contributions website to see some of the amazing open-source projects you can contribute to.
I have also published an article that focuses on how you can become an active open-source contributor which you can access here.
Hope you enjoyed my blog. Thanks for reading and keep contributing!
Feel free to comment, share and reach out to me on Dev.to , Twitter , or LinkedIn .
This content originally appeared on DEV Community and was authored by Saharsh Laud
Saharsh Laud | Sciencx (2021-10-26T19:00:18+00:00) How I started my Opensource journey with just 1 line of code!. Retrieved from https://www.scien.cx/2021/10/26/how-i-started-my-opensource-journey-with-just-1-line-of-code/
Please log in to upload a file.
There are no updates yet.
Click the Upload button above to add an update.


