This content originally appeared on DEV Community and was authored by Shantanu Jana
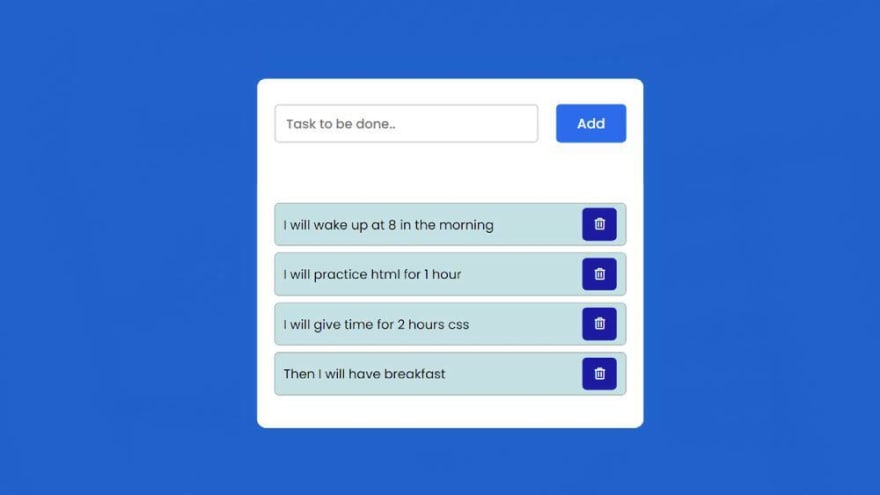
In this article you will learn how to create Todo List using JavaScript. JavaScript Todo List helps you create a list of things you want to do throughout the day. Suppose you want to do something throughout the day that you can list here. Whenever you complete that task then you can delete it.
Watch its live demo to learn how it works. I have taken HTML, CSS and JavaScript help to create this Todo List. html and css helped to design it and JavaScript made it work.
First I created a box on the webpage and then I created an input place to input. You will input something in that place and then you can add that text in the list with the help of add button next to it. Each list has a delete button. Whenever you click on that button, that text will be deleted from the list.
Step 1: Basic structure of Todo List
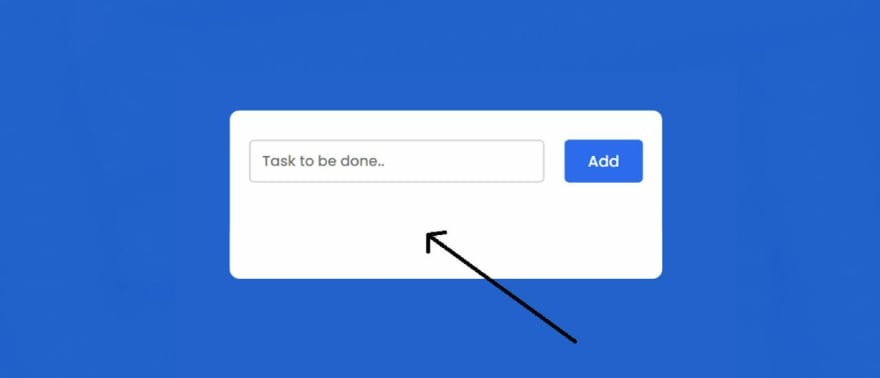
Using the HTML and CSS code below, I have created the basic structure for creating this todo list html css. First I designed the webpage using CSS code. Here the width of the box is 450px and min-height: 100px is used. background-color I used white.
<div class="container">

</div>
*,
*:before,
*:after{
    padding: 0;
    margin: 0;
    box-sizing: border-box;
}
body{
    height: 100vh;
    background: #066acd;
}
.container{
    width: 40%;
    top: 50%;
    left: 50%;
    background: white;
    border-radius: 10px;
    min-width: 450px;
    position: absolute;
    min-height: 100px;
    transform: translate(-50%,-50%);
}
Step 2: Create input place and button
Now we have created a button and input space using some amount of HTML code. The width of the input space is 75% and the height is 45px. This button has a width of 20% and a height of 45px.
<div id="newtask">
    <input type="text" placeholder="Task to be done..">
    <button id="push">Add</button>
</div>
#newtask{
    position: relative;
    padding: 30px 20px;
}
#newtask input{
    width: 75%;
    height: 45px;
    padding: 12px;
    color: #111111;
    font-weight: 500;
    position: relative;
    border-radius: 5px;
    font-family: 'Poppins',sans-serif;
    font-size: 15px;
    border: 2px solid #d1d3d4;
}

#newtask input:focus{
    outline: none;
    border-color: #0d75ec;
}
#newtask button{
    position: relative;
    float: right;
    font-weight: 500;
    font-size: 16px;
    background-color: #0d75ec;
    border: none;
    color: #ffffff;
    cursor: pointer;
    outline: none;
    width: 20%;
    height: 45px;
    border-radius: 5px;
    font-family: 'Poppins',sans-serif;
}
Step 3: Create a place to view information
Now I have made a list in this project where all the tests can be seen. I did not set any specific height for this because you can add as many texts as you want here.
<div id="tasks"></div>
#tasks{
    border-radius: 10px;
    width: 100%;
    position: relative;
    background-color: #ffffff;
    padding: 30px 20px;
    margin-top: 10px;
}

.task{
    border-radius: 5px;
    align-items: center;
    justify-content: space-between;
    border: 1px solid #939697;
    cursor: pointer;
    background-color: #c5e1e6;
    height: 50px;
    margin-bottom: 8px;
    padding: 5px 10px;
    display: flex;
}
.task span{
    font-family: 'Poppins',sans-serif;
    font-size: 15px;
    font-weight: 400;
}
.task button{
    background-color: #0a2ea4;
    color: #ffffff;
    border: none;
    cursor: pointer;
    outline: none;
    height: 100%;
    width: 40px;
    border-radius: 5px;
}
Step 4: Enable Todo List JavaScript
Above we have made the basic design of Todo List. Now is the time to implement it with JavaScript. Watch its live demo to learn how it works.
First I made this condition using the 'if' condition
➤ If you do not input anything in the place of input, then you will see a kind of error message. This message will alert you to input something. For this I have taken the help of alert.
➤ Then I added the above conditions using else. We have determined what kind of work will be done if you input something in the input space.
➤ First I used innerhtml to display all the information added here in the web page. I have already created an area in the webpage. All this information can be found in that area.
➤ We've added a delete button that can be found with each text.
When that button is clicked, the text will be deleted from the list.
document.querySelector('#push').onclick = function(){
    if(document.querySelector('#newtask input').value.length == 0){
        alert("Please Enter a Task")
    }

    else{
        document.querySelector('#tasks').innerHTML += `
            <div class="task">
                <span id="taskname">
                    ${document.querySelector('#newtask input').value}
                </span>
                <button class="delete">
                    <i class="far fa-trash-alt"></i>
                </button>
            </div>
        `;

        var current_tasks = document.querySelectorAll(".delete");
        for(var i=0; i<current_tasks.length; i++){
            current_tasks[i].onclick = function(){
                this.parentNode.remove();
            }
        }
    }
}

I hope you have learned from this tutorial how I created Todo List javascript.
If you want, you can download the source code required to create this project. Be sure to comment on how you like this design.
You can visit my blog for more tutorials like this. 😊
https://www.foolishdeveloper.com/
This content originally appeared on DEV Community and was authored by Shantanu Jana
Shantanu Jana | Sciencx (2021-11-14T16:49:30+00:00) How to Make a Todo List using JavaScript. Retrieved from https://www.scien.cx/2021/11/14/how-to-make-a-todo-list-using-javascript/
Please log in to upload a file.
There are no updates yet.
Click the Upload button above to add an update.


