This content originally appeared on Bits and Pieces - Medium and was authored by Joseph Olabisi
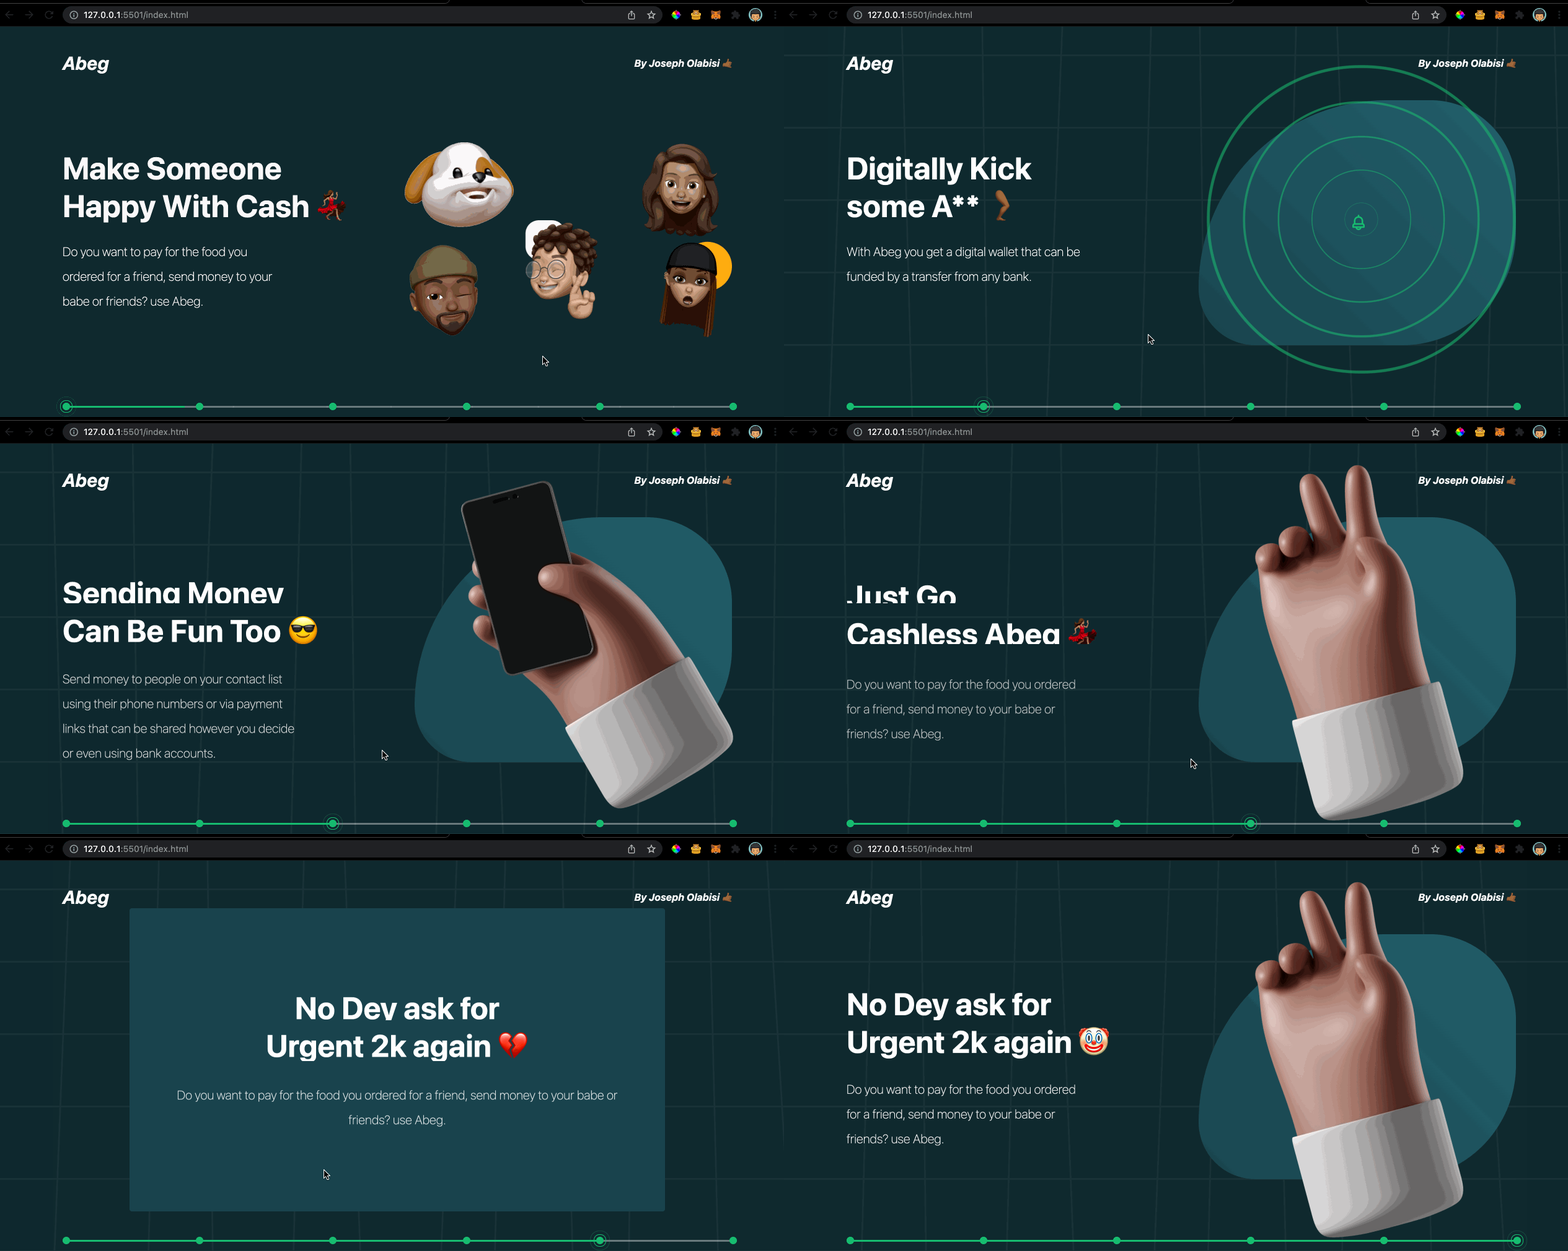
A step by step guide in creating appealing animations in real world web apps using GSAP. In this article we will clone the Abeg website (previous website).
Prerequisite
For this article all you need is a basic knowledge of HTML, CSS, CSS transitions and JavaScript. The code and concepts should be understandable even if you have never used GSAP. If you’d like to familiarise yourself with the basics of GSAP before getting into the article in order to get the most out of this article the best place to begin is here or here.
Note: For the scope of this tutorial we will only be implementing the third and fourth section
Introduction
Websites with beautiful animations are an eye candy, they provide an immersive experience which sometimes gives a creative sense of story telling.
I’ve always wanted to clone the Abegs website since it had a lot of interactive transitions, unfortunately it was redesigned before I had the chance. Luckily I found a clone of the website and decided to clone the clone 😄
So what is GSAP?
GSAP (GreenSock Animation Platform) is a feature rich animation library that allows us create dynamic effects in web apps, games, and interactive stories. With GSAP anything can be animated on the browser.
This guide demonstrates not just the basics of GSAP but its implementation in a real-world project.
In this article we will be picking up the following GSAP concepts:
- Tweens
- ScrollTrigger
- Timelines
Now let’s work on the page’s background. Looking at the website, there’s a grid that moves along the x-axis when the user scrolls.
Create an assets folder with two sub-folders svg and images.
Then create an index.html file in the root directory, then add the following:
Create a folder in the root of your project and name it css. In the folder create main.css file, then copy and paste the following lines:
Add the lines.svg to the svg folder
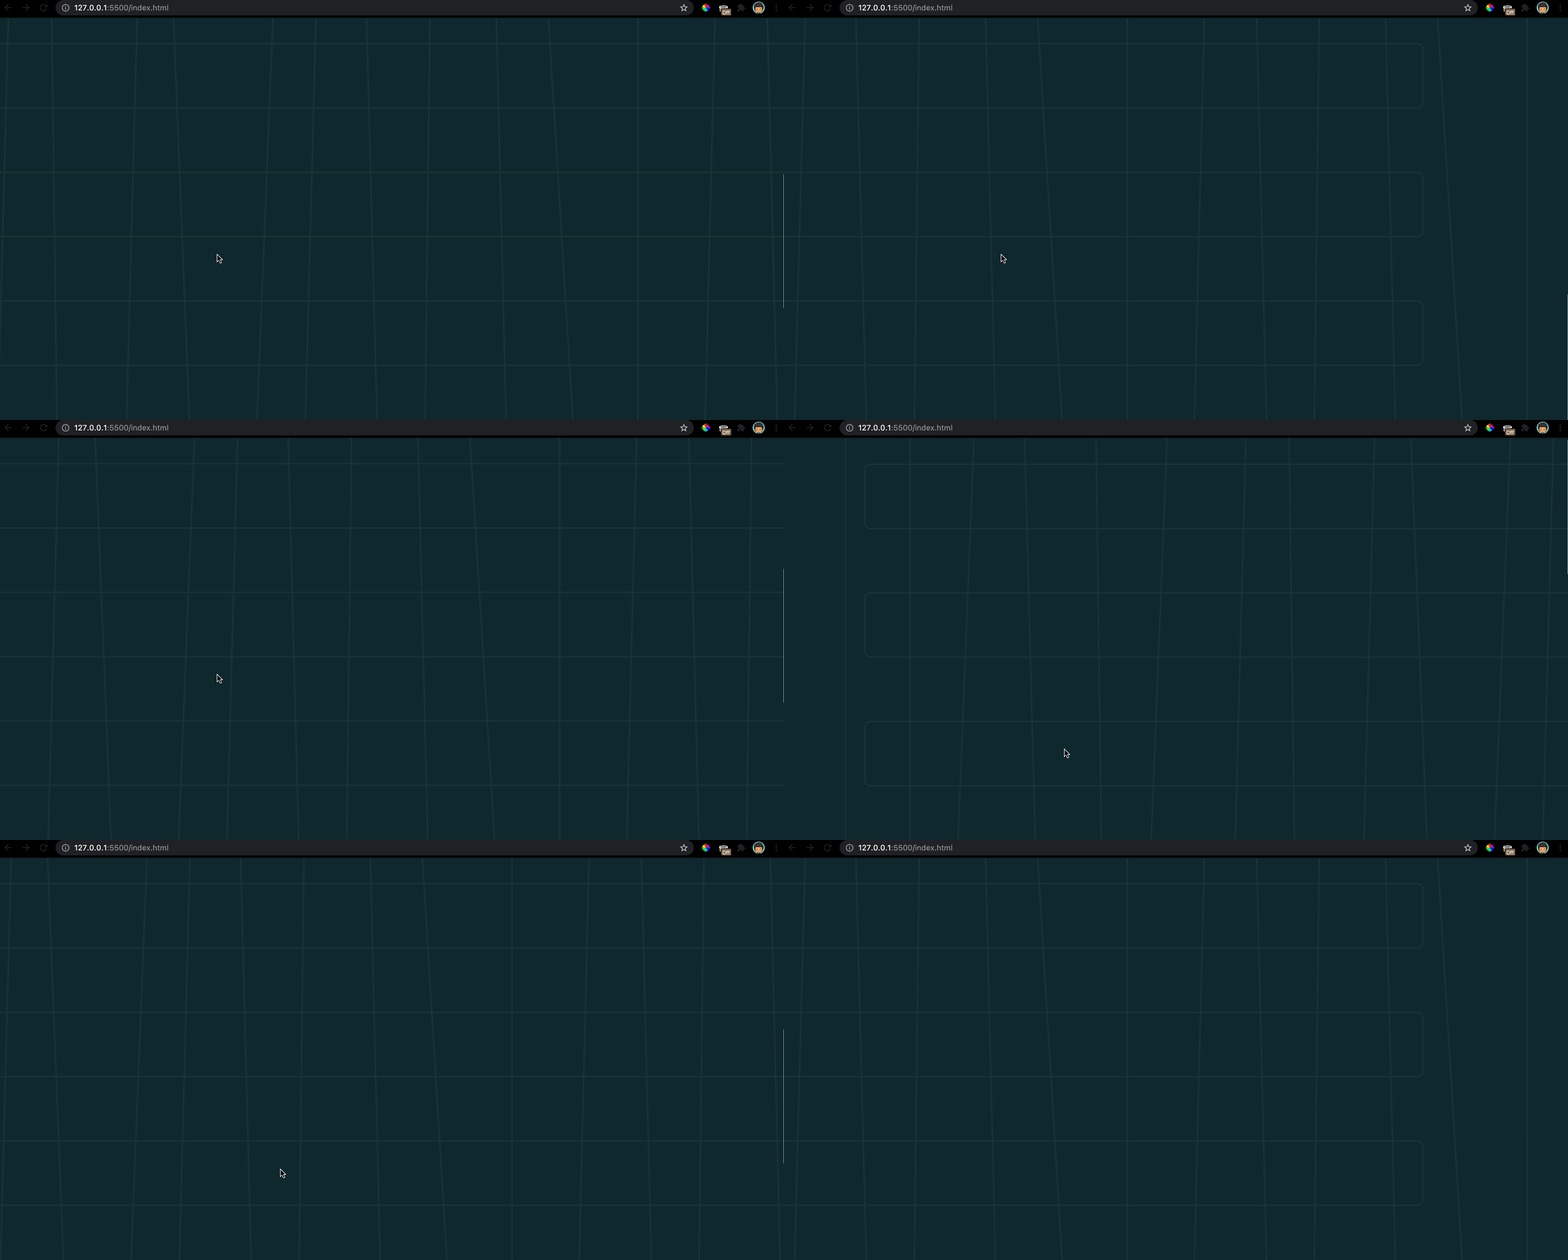
Doing everything above the page should look like this:
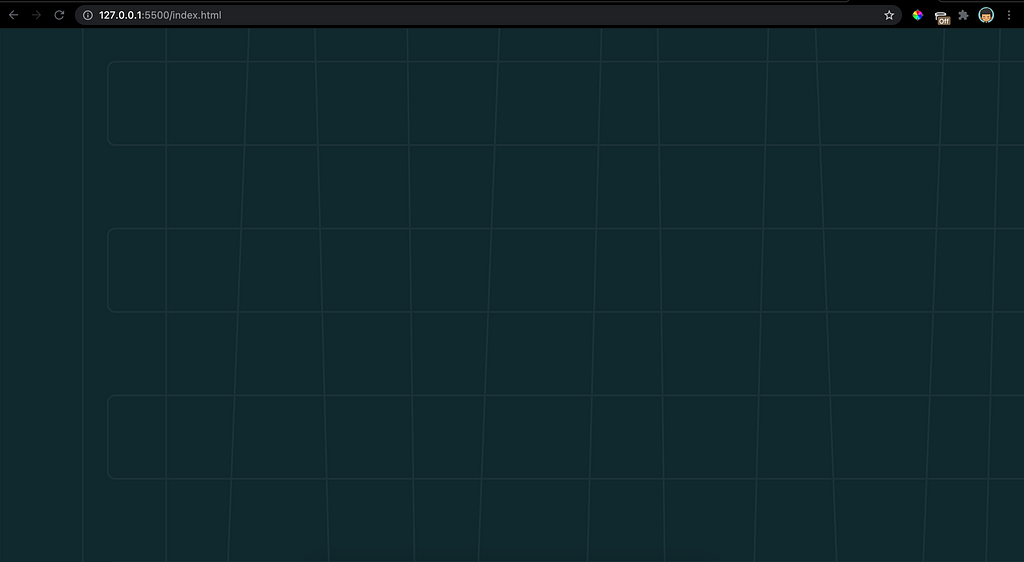
Now let us focus on translating the image horizontally as the user scrolls through the page using GSAP.
Installing GSAP
There are many ways to install GSAP. The easiest way to use a CDN. To load GSAP into our page use the script tag:
<script src=”https://cdnjs.cloudflare.com/ajax/libs/gsap/3.8.0/gsap.min.js"> defer></script>
Understanding Tweens
Tweens are the basis for creating animations in GSAP. We set the properties we want to animate, duration of the animation, the animations easing and other properties like delay using tweens. Check here for the complete documentation of tweens.
There are three common methods for creating a Tween:
- gsap.to()
- gsap.from()
- gsap.fromTo()
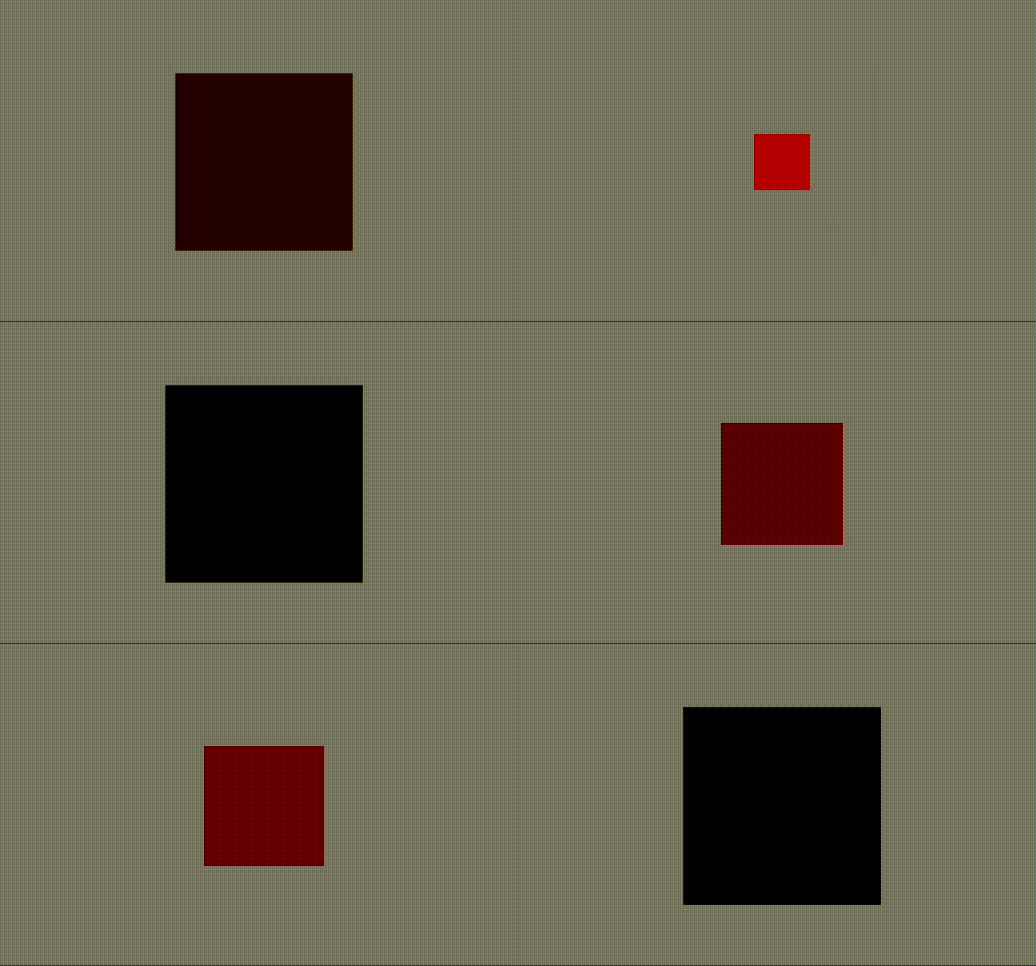
For example, to animate the size and color of a rectangle from red to black:
To animate the line grid image, first create a folder called js then in the folder create a file main.js. This is where all most of our JavaScript code will recide.
Don’t forget to include it in your index.html file:
<script src="js/main.js" defer></script>
Next we create a tween that translates the grid horizontally:
gsap.to('.lines', {delay: 4, x: '-50%', ease: 'none'});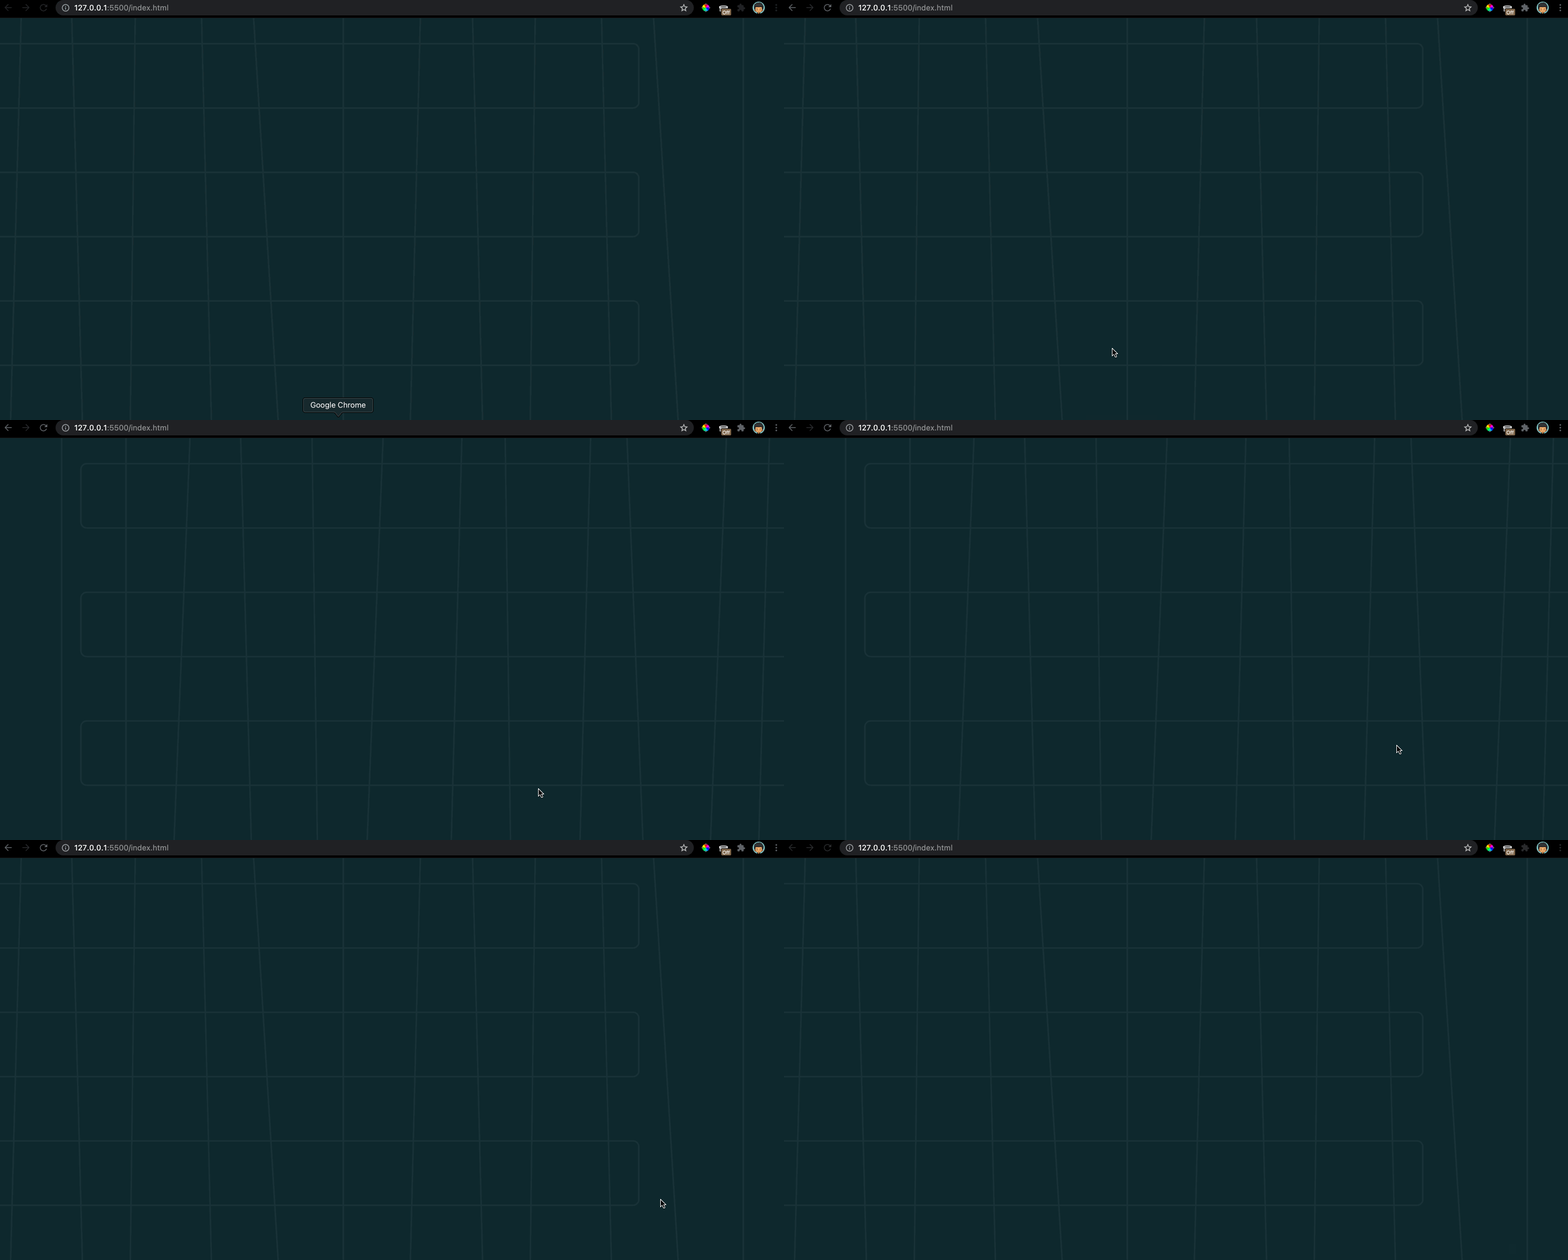
From the GIF we can see how easy it was to animate the grid lines using GSAP.
The next step is to drive the animation when the user scrolls through the page and not on page load. Which brings us to ScrollTrigger.
Understanding ScrollTrigger
GSAP ScrollTrigger is one of the many plugins provided by GSAP. ScrollTrigger allows us create scroll based animations with minimal code. You can check out all the GSAP plugins here.
ScrollTrigger can perform different actions on an animation (play, pause, resume, restart, reverse, complete, reset) when entering/leaving the defined area or viewport.
To use ScrollTrigger in our project add the script:
<script src="https://cdnjs.cloudflare.com/ajax/libs/gsap/3.8.0/ScrollTrigger.min.js"></script>
In our JavaScript file main.js we register the plugin before using it. This ensure the plugin works seamlessly with GSAP.
gsap.registerPlugin(ScrollTrigger)'
Link any animation to an element and drive animations based on the position of the element in the viewport.
There are two ways to use ScrollTrigger
Or passing a tween to an instance of ScrollTrigger:
To get more details about ScrollTrigger check out the docs.
Now let’s see how we can use ScrollTrigger in translating the grid lines. Copy and paste the following lines to main.js
Taking a look at each property passed to the ScrollTrigger
- trigger is the element whose position is used by ScrollTrigger to calculate where it starts/pauses an animation. In this case .container is the trigger element. .container is the parent element of each section we would write later on.
- animation is basically the tween controlled by ScrollTrigger.
- pin forces our trigger element .container to stick to the viewport while other contents are animated.
- scrub allows ScrollTrigger to be linked directly to the scrollbar. scrub can be a value or boolean. scrub: 1 means it will take a second for ScrollTrigger to catch up to the scrollbar.
Note: Don’t animate the trigger element as this may cause weird behaviors with ScrollTrigger.
Currently nothing happens when we scroll, and thats because we’ve not set the height of .container. We need to set a height that’s more than the viewport, and with pin: true, this will create the illusion of the container element remaining in the same position.
Copy and paste this to main.css
Adding the header, copy/paste to index.html
Copy/past to main.css
The header is a simple flex view fix to the top of the viewport.
Next is the footer

When the user scrolls or click on one of the dots we would animate components of the footer.

From the snippet above; for each section, there are two sets of animations. The first set of animations are played on the section entering the viewport, we then track the section actively in the viewport using currentSection. The second set of animations are played on the section leaving the viewport, we keep track of the section leaving the viewport using prevSection.
Therefore on user scroll we want to increment/decrement the values of currentSection depending on the direction the user scrolls. Also right before we update currentSection, we pass its value to prevSection.
To know what direction the user scrolls the page (up or down), we add an event listener window.addEventListener('wheel', callback);, hence update the values of currentSection based on the user scroll direction, then drive our animations.
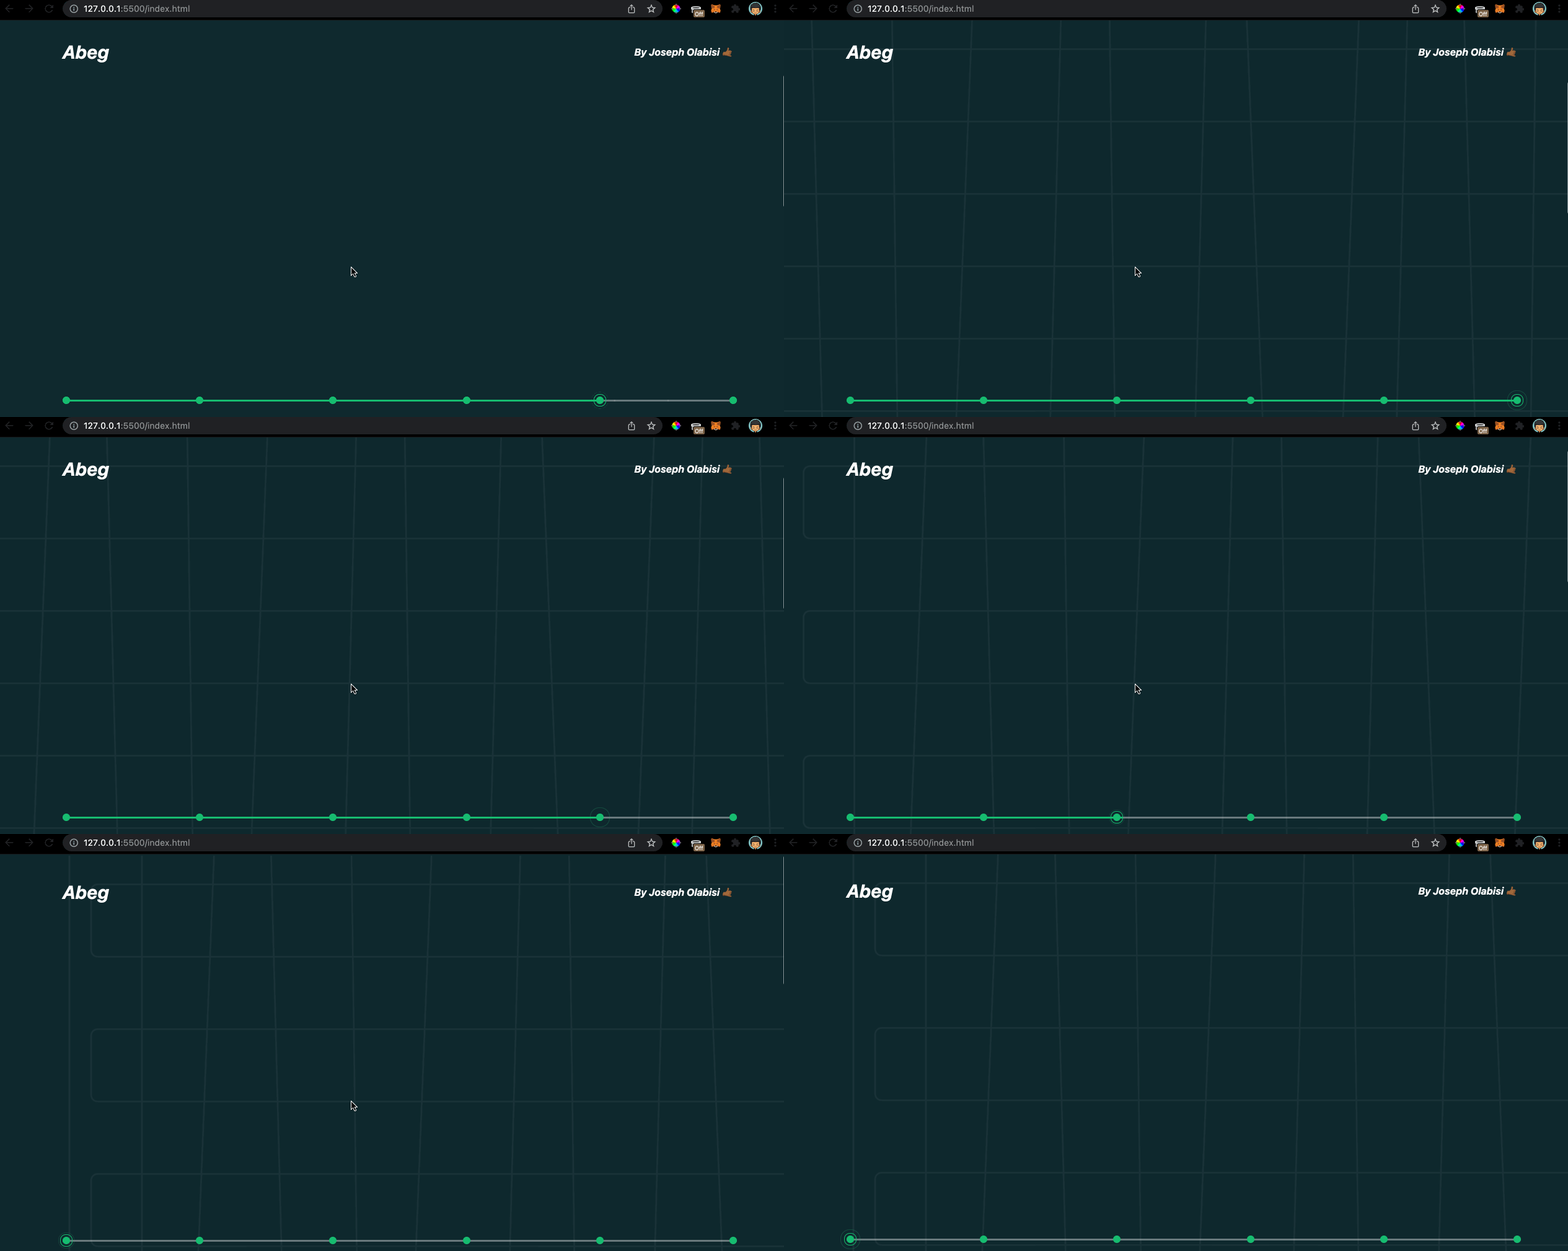
From the above we add or remove the class active to the corresponding dot of the section entering or leaving the viewport, at the same time we increase or reduce the width of the div with class progress-tracker.
Below are the properties that change when the active class is added to a dot.
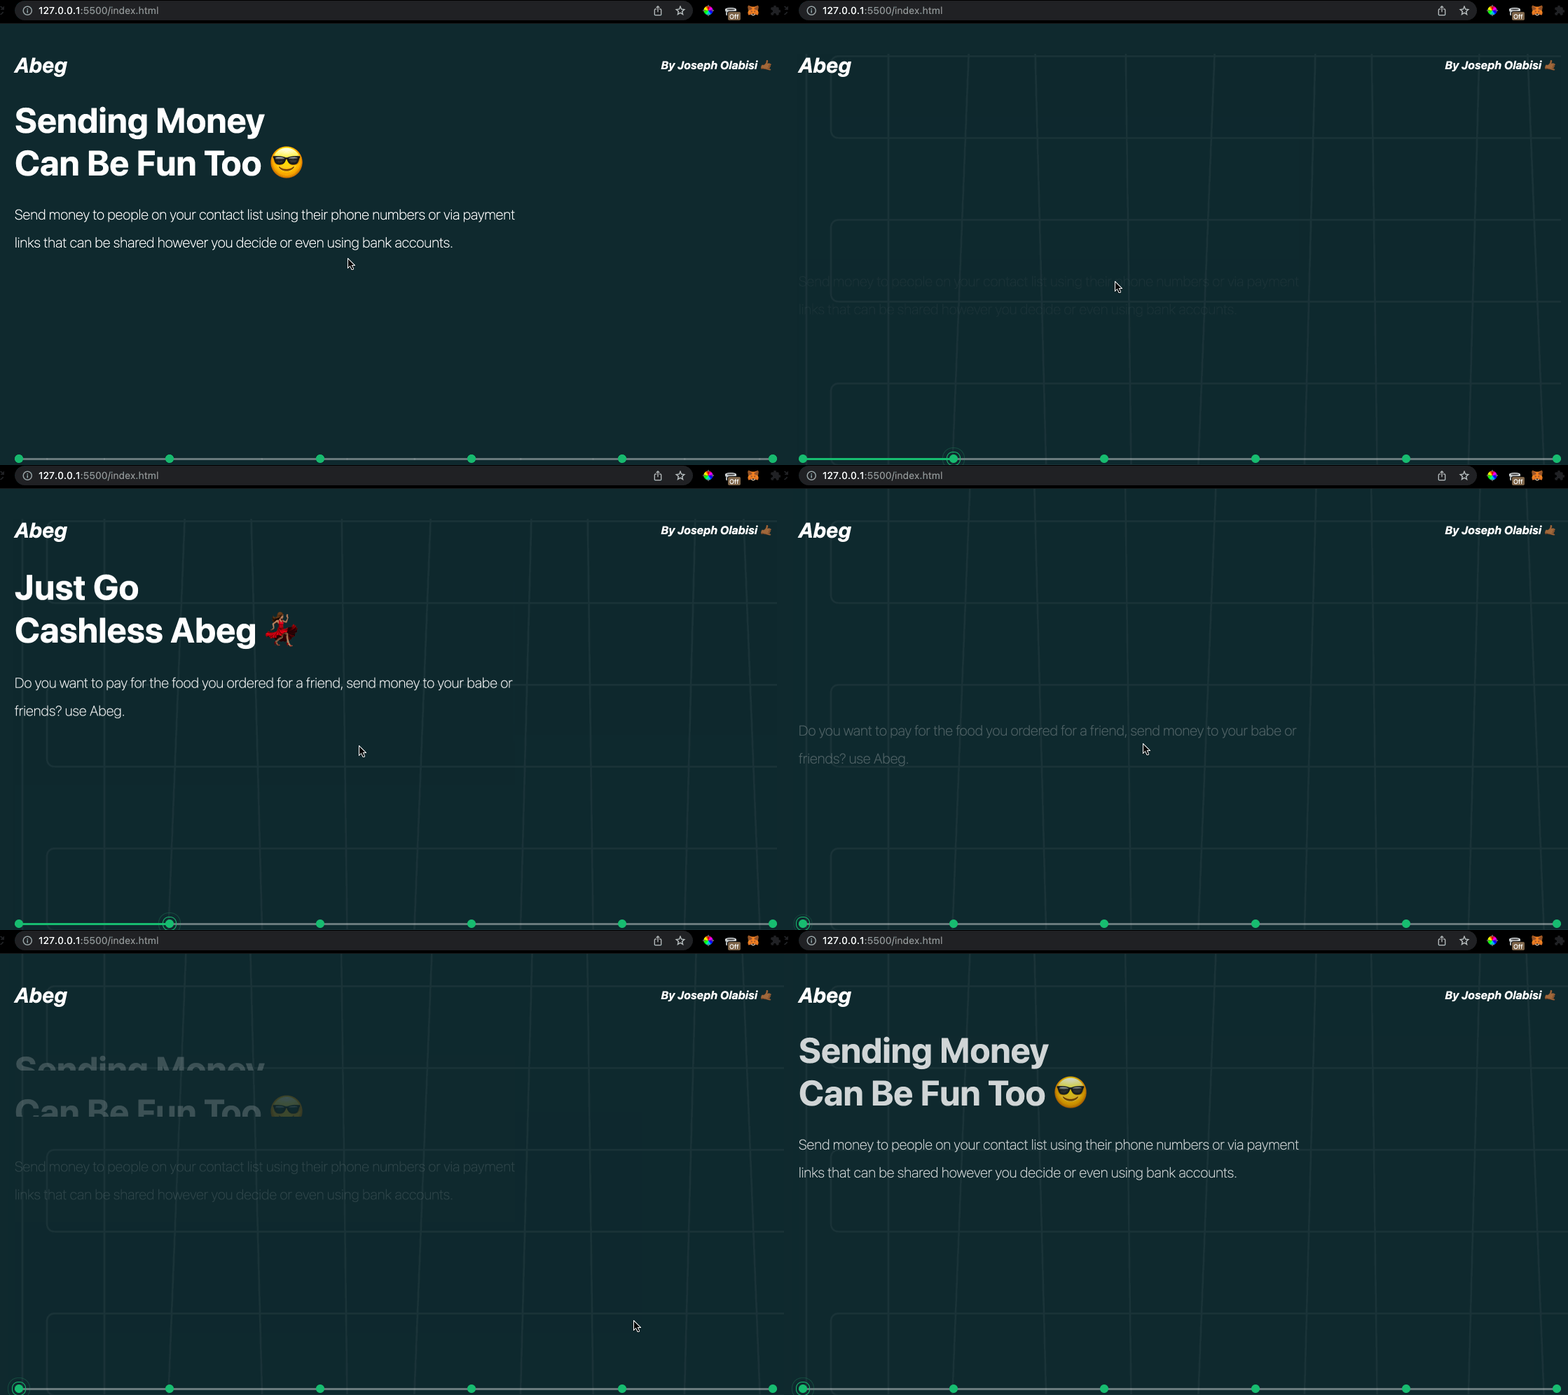
End result:
Understanding Timelines
Timelines in GSAP allow us to control different tween or other timelines as a whole, giving us a better control of each individual tweens timing in relation to other tweens of the same timeline.
A Timeline is a powerful sequencing tool that acts as a container for tweens and other timelines, making it simple to control them as a whole and precisely manage their timing. Without Timelines, building complex sequences would be far more cumbersome because you’d need to use a delay for every animation. https://greensock.com/docs/v3/GSAP/Timeline
In our project we have to major set of animations, animations that occur when section enters the viewport and those that occur when a section leaves the viewport. With timelines we can control this animation as successions of each other.
Focusing on section 3 and section 4 copy/paste into index.html
Copy/paste into main.css
We stacked each section above each other by setting their position to absolute. Our aim is to create an illusion of a section entering and leaving the viewport.
Each section is a flex view with the text contents on the left and images on the write.
We use gsap.set() to initialize the properties of the elements currently in the viewport on page load.
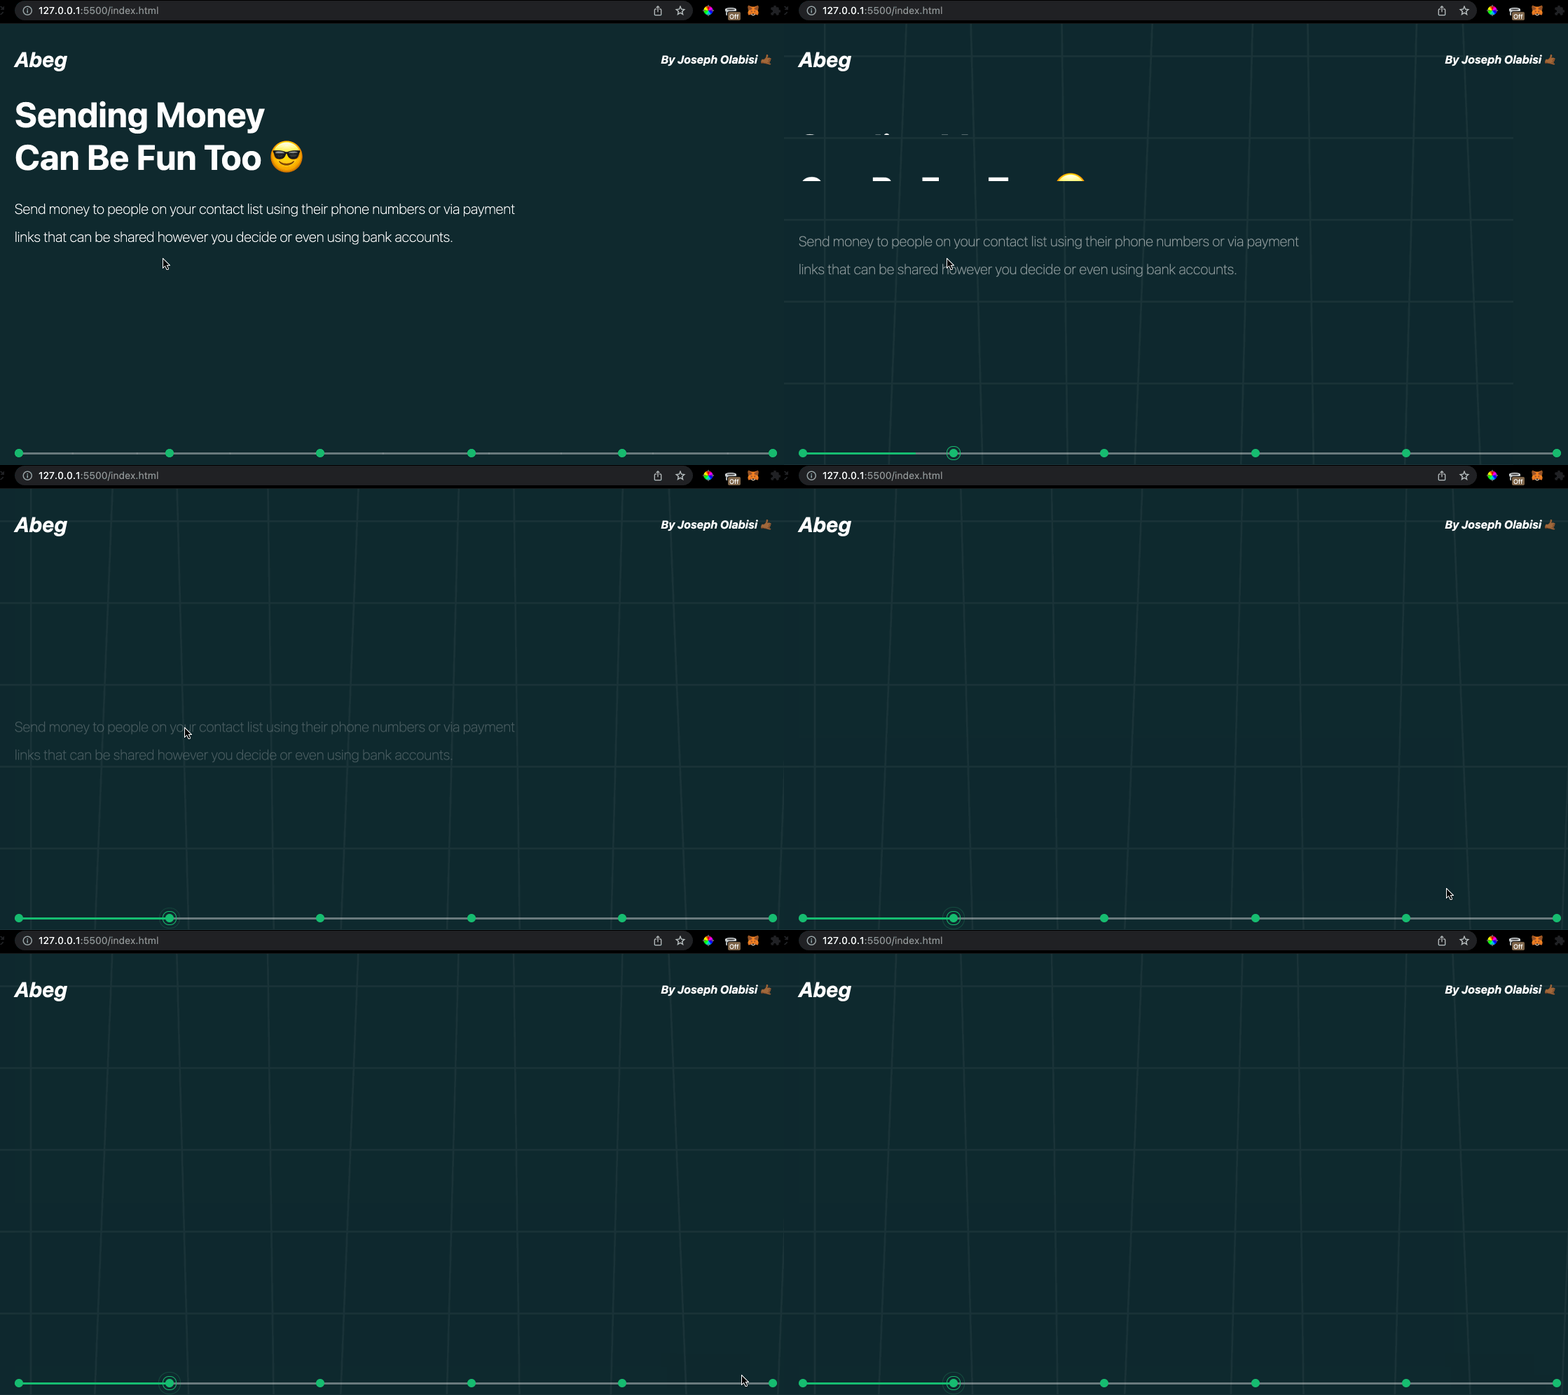
Now lets focus on the animations of a section leaving the users view port:
The snippet above defines a function called sectionOutAnim. This function takes in the index of the section leaving the users viewport. The function returns a timeline of tweens, which are animated in sequence. The first tween translates the h1 element along the y-axis, giving the impression of it sliding into the page. The next tween does the same thing on the p element with addition to animating the elements opacity, giving it a fade-in effect.
Looking at the tweens above, they take a third parameter, which is the position parameter, and it basically controls the placement of the tween in the timeline, for this timeline we set the position parameter of each tween to 0, this allows all the tweens to start animating at the beginning of the timeline. To learn more about the position parameter check out Understanding the Position Parameter.
Afterwards create a function called sectionInAnim. The idea is the same as sectionOutAnim, which takes in the index of the section entering the users viewport, and then the function returns a timeline of tweens, that animates the section elements entering the viewport.
We set the position parameter on the first tween as >+0.5, which means the tween would run 0.5 seconds after the end of the previous animation. > references the time to complete the most recently added animation.
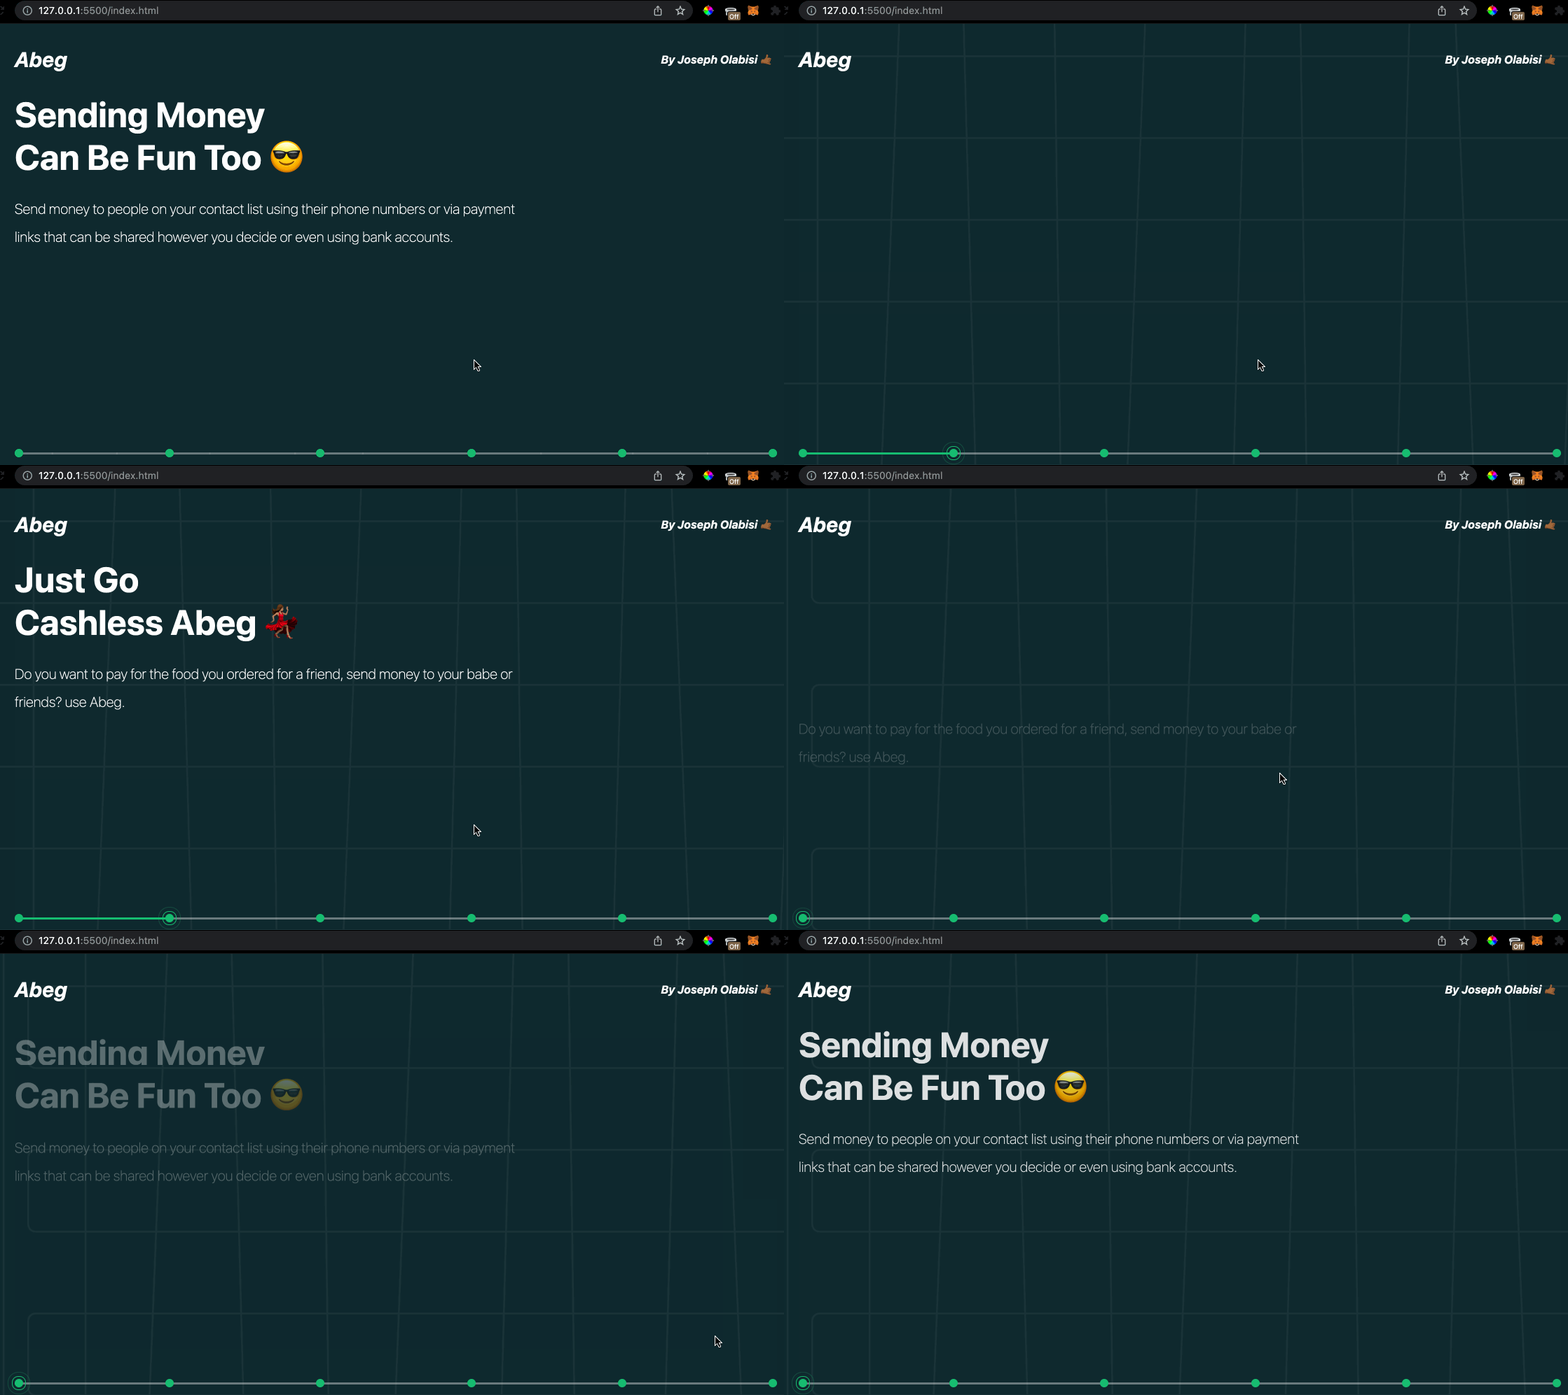
Putting it all together we have:
Overriding the scroll behavior
To create the snap effect when the user scrolls through the page between each section we override the page’s scroll behavior, this gives us better control over the animations with relation to user scroll.
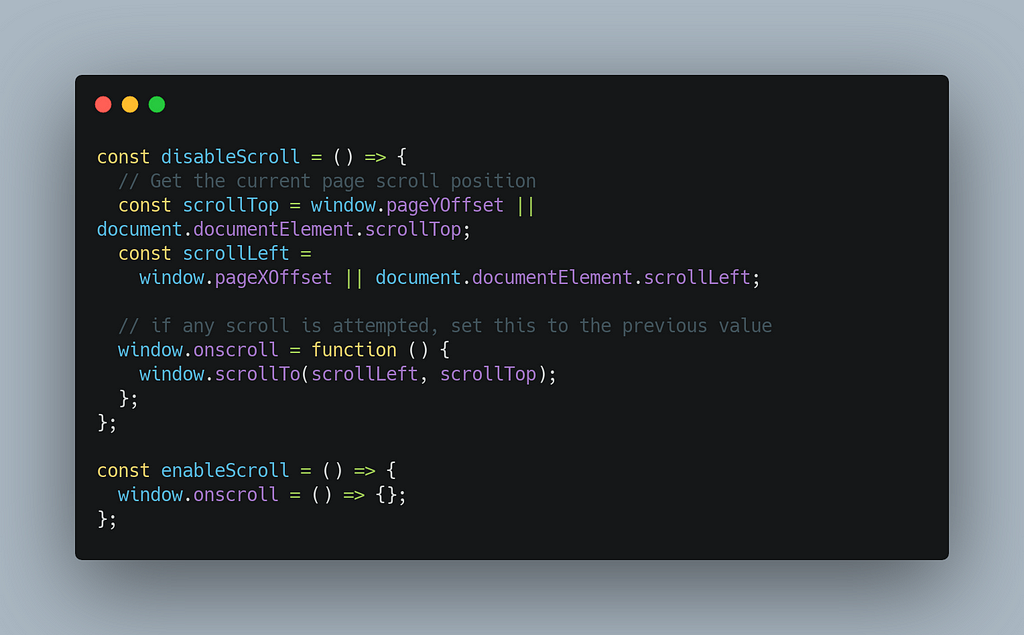
In the jumpToSection() method we want to add the following:
disableScroll() is called when the user loads the page, and then in jumpToSection() , enableScroll() is called after the animation ends.
gsap.delayedCall() delays a function call after a specified period, while still remaining in sync with the rendering loop, unlike setTimeout(), which may fire outside of the browser’s screen refresh cycle. You can also send any number of parameters to the function as an optional parameter.
Finally, hide the scrollbar.
In the second part of this article we would implement the right side (images) of the sections.
Link to the live site https://abeg-clone-gsap.netlify.app
Link to the GitHub repo https://github.com/dabigjoe6/abeg-clone-gsap — Don’t forget to give the repo a star! ⭐️
Turn your GSAP animations into scaleable, modular components with Bit
Build independent components and compose them into features and applications. It makes development faster and helps teams build more consistent and scalable applications.
Bit offers a great developer experience for building independent components and composing applications. Many teams start by building their Design Systems or Micro Frontends, through independent components.
Give it a try →
Learn more
- Building a React Component Library — The Right Way
- Microservices are Dead — Long Live Miniservices
- 7 Tools for Faster Frontend Development in 2022
Getting Started with GSAP: A Practical Guide was originally published in Bits and Pieces on Medium, where people are continuing the conversation by highlighting and responding to this story.
This content originally appeared on Bits and Pieces - Medium and was authored by Joseph Olabisi
Joseph Olabisi | Sciencx (2022-01-09T20:06:24+00:00) Getting Started with GSAP: A Practical Guide. Retrieved from https://www.scien.cx/2022/01/09/getting-started-with-gsap-a-practical-guide/
Please log in to upload a file.
There are no updates yet.
Click the Upload button above to add an update.
