This content originally appeared on DEV Community and was authored by Siddhesh Agarwal
This post is on "Packaging and Publishing a python library on PyPI".
There is a tutorial on Packaging Python Projects in the official PyPI website, but these docs are... outdated.
What is PyPI?
As the website says:
The Python Package Index (PyPI) is a repository of software for the Python programming language.
This means that PyPI is the official third-party software repository for Python. Anyone (with a PyPI account) can publish a Python Package for the use of the other developers. PyPI hosts these Python packages in the form of sdists (source distributions) or precompiled "wheels".
File structure
You have to maintain a certain file structure before packaging your project.
package_name/
├── src/
|    ├── __init__.py
|    ├── example.py
|    └── py.typed
├── LICENSE
├── pyproject.toml
├── README.md
├── setup.py (or) setup.cfg
└── tests/
So here is what each file does:
-
src/__init__.py: This file contains all the import statements. We add statements that look likefrom .example import <function names> -
src/example.py: This file contains all the function and class definitions. -
src/py.typed: An empty file. Read more here -
LICENSE: This file contains the license for the code you are publishing.- You can choose a license from choosealicense.com
-
pyproject.toml: This file tells build tools (like build and pip) what is required to build your package. For now, this will do:
[build-system] requires = [ "setuptools>=42", "wheel" ] build-backend = "setuptools.build_meta" README.md: This file acts as a guide. It gives developers a detailed description of your project.-
setup.py(dynamic) orsetup.cfg(static) are files that give "setuptools" information about your package (such as the name, version, author etc.). They also informsetuptoolswhich code files to include. tests/: This folder is a placeholder for test files.
Packaging Project
First, make sure that the pip installed on the device is of the latest version. To do that, run:
$ pip install --upgrade pip
After this, install build using:
$ pip install --upgrade build
Now, let's package the project. To package the project, run:
$ python -m build
This command will output lots of text and create a build/ folder and a dist/ folder.
The project has been packaged! Now we have to publish it on PyPI.
Publishing on PyPI
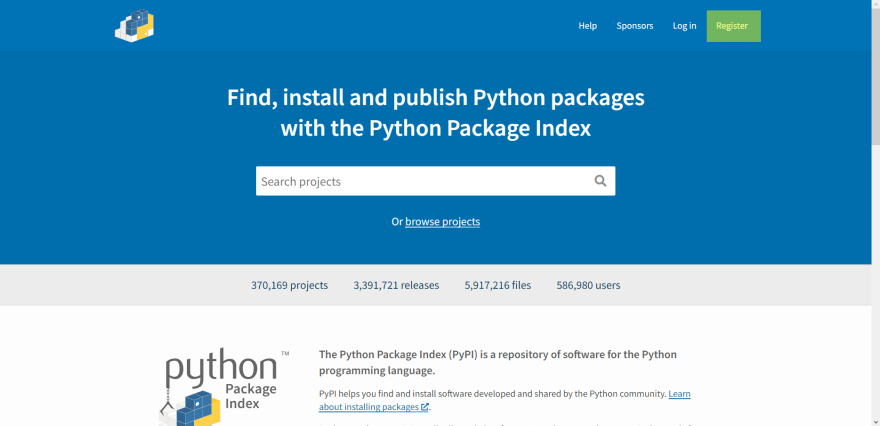
The first step to publishing on PyPI is creating an account there. Head over to PyPI and click on register (the text at the top right corner, that I highlighted in green):
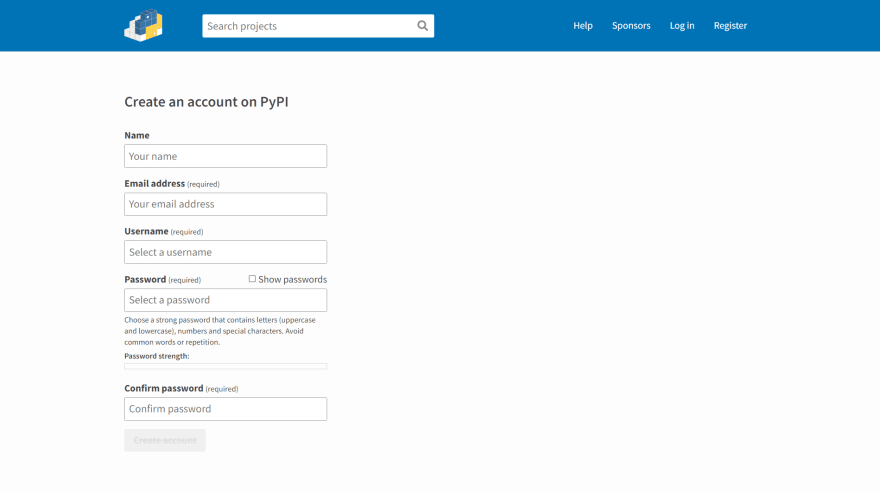
You will get a form like this:
Fill out the form and remember the username and password. You will need it while publishing your project.
Now head back to the terminal and run:
$ pip install --upgrade twine
This command will upgrade twine to the latest version if twine is already present. If it isn't present, then it will install the latest version. Now, it is time to upload the package!
$ twine upload dist/*
You will be prompted to enter your PyPI username and password for authentication purposes. After entering them, you will see a URL in the last line of the output. the URL will be of the format https://pypi.org/project/<package_name>
Congratulations, the python package has been published on PyPI!!!
Now, let's pip install the library!
$ pip install <package_name>
This content originally appeared on DEV Community and was authored by Siddhesh Agarwal
Siddhesh Agarwal | Sciencx (2022-04-19T03:17:07+00:00) Packaging and Publishing on PyPI. Retrieved from https://www.scien.cx/2022/04/19/packaging-and-publishing-on-pypi/
Please log in to upload a file.
There are no updates yet.
Click the Upload button above to add an update.


