This content originally appeared on DEV Community 👩💻👨💻 and was authored by Pavan Belagatti
Docker made a revolution with containerization. It truly helped to bridge the gap between Dev and Ops teams. Similarly, the cloud providers introduced their own container registries to provide more security and governance. For example, Amazon has Elastic Container Registry (ECR), Microsoft has Azure Container Registry (ACR), and Google has a Google Container Registry (GCR). Container registries have become an integral part of any CI/CD pipeline to store images, metadata, and other important artifacts. In addition, they provide a secure way to store and share container images across a distributed system to help development teams build their software efficiently. In this article, we will explore the Amazon ECR container registry and see how to use it to push container images.
Understanding container registries
As the name suggests, container registries are used to store some valuable data related to a pipeline. In particular, for storing and sharing container images securely and reliably in a central repository, which multiple users and systems can access. This makes managing and deploying container images easy across a distributed system. Container registries also provide the ability to store multiple versions of a single container image, which allows for version control and rollback if needed. In addition, container registries can store and share sensitive data, such as credentials and secrets, across the team.
Overview of Amazon ECR
Amazon ECR is a fully managed service from Amazon Web Services (AWS). It is used to store and manage Docker images securely and reliably. In addition, Amazon ECR provides a simple web-based interface for creating, managing, and sharing Docker images and integrating them with other AWS services.
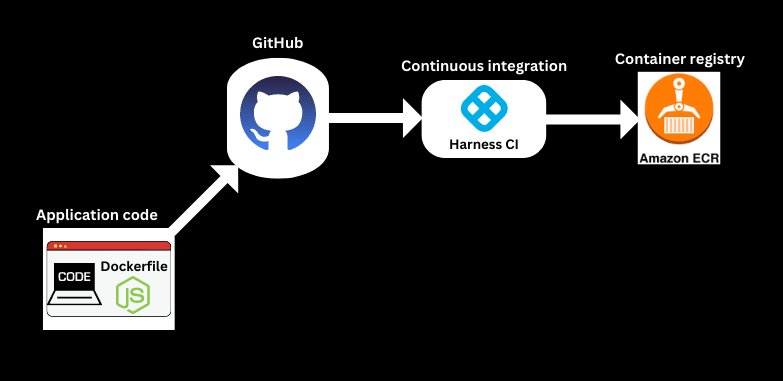
The following graphic shows how to push your container image to ECR from Harness CI:

Prerequisites
Before you can push your container image to ECR from Harness, there are a few prerequisites:
- You must have an AWS account and have created a repository in ECR.
- You must have a Docker image of your application ready to push to ECR - We have a sample application with a Dockerfile. You can clone it and use it in this tutorial.
- You must have access to the AWS CLI or the AWS Management Console.
- To use Harness CI, you must have an account on Harness (it is Free). Harness offers hosted virtual machines (VMs) to run your builds. With Harness Cloud, you can build your code worry-free on the infrastructure that Harness provides. You don't have to spend time and effort to maintain build infrastructure; you can focus on developing great software instead.
Push your container image to ECR using Harness
We have a sample application you can fork and use. This sample code repo has a Dockerfile with instructions to build our image. We need to create an ECR repository on AWS to push our image. Then, we will use the Harness CI module to test, build, and push the image to our ECR repo.
This tutorial assumes you have the ECR repo created on AWS.
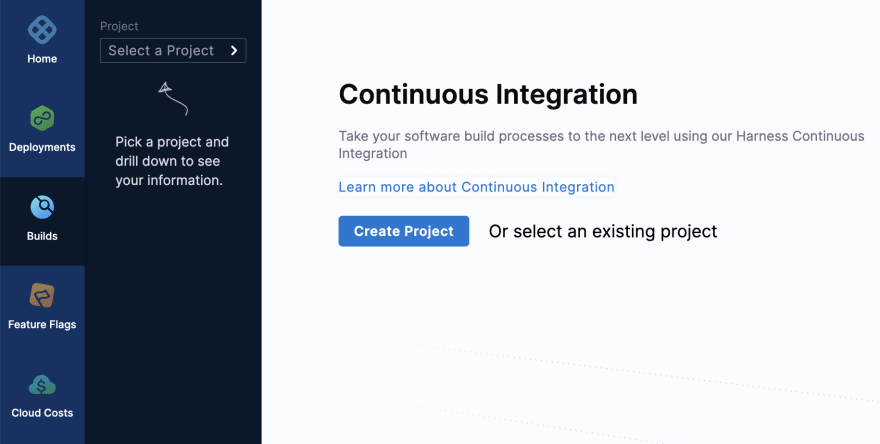
Log in to your Harness CI module and create a project.

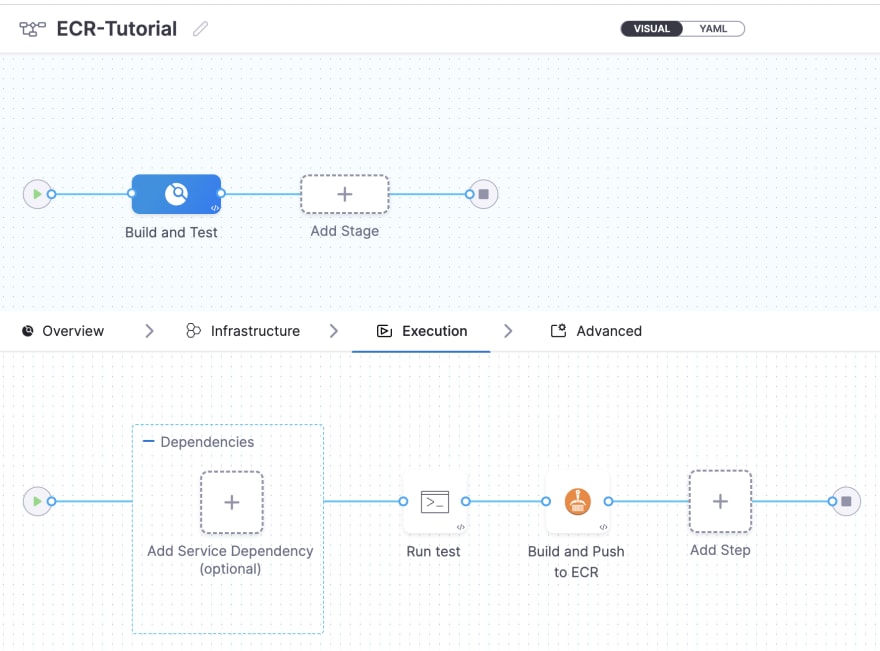
Create your pipeline and add run step and ECR step to it.

Finally, your pipeline should look like this.

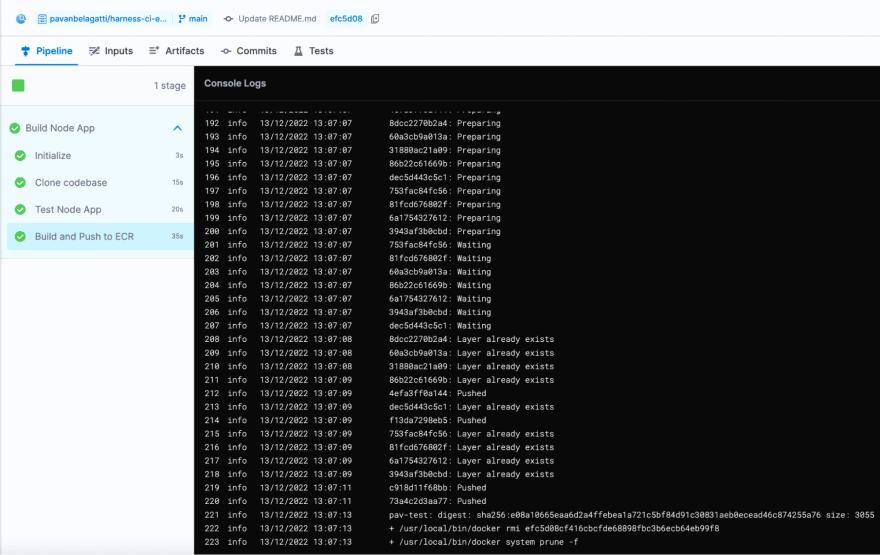
Basically, we are testing the application with a simple ‘npm test’ command as configured in the ‘Run’ step and pushing the built image to Amazon ECR (configured in the last step).
In this tutorial, we explored Amazon ECR and saw how to use it to push our container images using Harness CI. Now that you have a better understanding of ECR and Harness CI, why not give it a try? Push your container images to ECR using Harness and speed up your build process.
This content originally appeared on DEV Community 👩💻👨💻 and was authored by Pavan Belagatti
Pavan Belagatti | Sciencx (2023-01-12T06:11:58+00:00) Understand How to Test Build and Push Your Artifacts. Retrieved from https://www.scien.cx/2023/01/12/understand-how-to-test-build-and-push-your-artifacts/
Please log in to upload a file.
There are no updates yet.
Click the Upload button above to add an update.


