This content originally appeared on Telerik Blogs and was authored by Jon Hilton
Need to accept user signatures in your Blazor app? The new Telerik UI for Blazor Signature component has your back.
When asked to add a feature to my Blazor application’s user interface, I typically have an instinctive response that falls somewhere along this spectrum:
- Oh that’s simple, I’ve done this a thousand times before.
- That sounds a little complicated, I might need to spend some time building custom UI, but shouldn’t be too bad.
- Oh the horror, where do I even start?!
That last category response doesn’t happen too often, but when it does it’s typically because the requirement is so niche, complicated or rare (something I don’t have to do very often) it runs the risk of eating up weeks of dev time.
Which brings us to … e-signatures!
You’ve probably encountered e-signatures. Maybe you’ve been sent documents to sign electronically. Or perhaps you’ve accepted a delivery and been asked to sign to confirm receipt (so you waved your finger around the screen and they captured the resulting squiggles and passed it off as your signature).
But how exactly do you set about capturing those signatures in your Blazor app?
One answer is to set about building this component yourself, figuring out how to capture user input and store it as an image. But who’s to say how long that will take?
Enter Progress Telerik UI for Blazor’s new Signature component, which aims to have you accepting user signatures within minutes.
The Blazor Signature UI Component
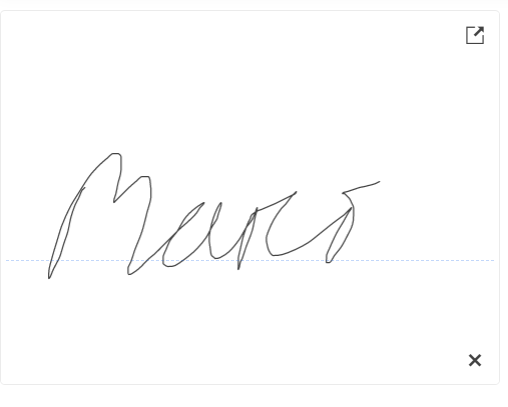
With Blazor Signature, you can capture handwritten signatures (drawn using a mouse or hand gestures on touch devices).
You can embed the Signature component in an edit form, or elsewhere in your UI, and offer the option to open the Signature popup in a modal (to maximize the signature canvas and make it easier for users to draw their signature).
Here’s a simple example:
<TelerikSignature Width="400px" Height="300px" HideLine="false" />
With this you’ll get the default Signature box.

If the user clicks the little “popup” icon they’ll get popup modal version of the signature box. The “PopupScale” property allows you to configure the popup dimensions by a scale factor depending on the width and height.
If the user needs to clear the entered signature, they can click the x (bottom right corner) of the popup.
Tweaking the UI
We can customize the Signature component’s appearance in various ways. Here some of the most useful options:
- Hide the dotted line.
<TelerikSignature HideLine="true" ... /> - Change the background color.
<TelerikSignature BackgroundColor="Purple" ... /> - Change the color of the signature itself.
<TelerikSignature Color="White" ... />
For a complete list, check out the comprehensive docs on changing the signature’s appearance.
How to Use the Resulting Signature?
To actually use the signature, we can bind the value of the Signature component to a field.
<TelerikSignature Width="400px" Height="300px" HideLine="false" @bind-Value="Signature" />
@code {
    public string Signature { get; set; }
}
At first glance, you might be wondering why this is a string—surely a signature needs to be stored as some sort of image.
To figure out what’s going on, let’s display the value of Signature in our UI somewhere.
<TelerikSignature Width="400px" Height="300px" HideLine="false" @bind-Value="Signature" />
@Signature
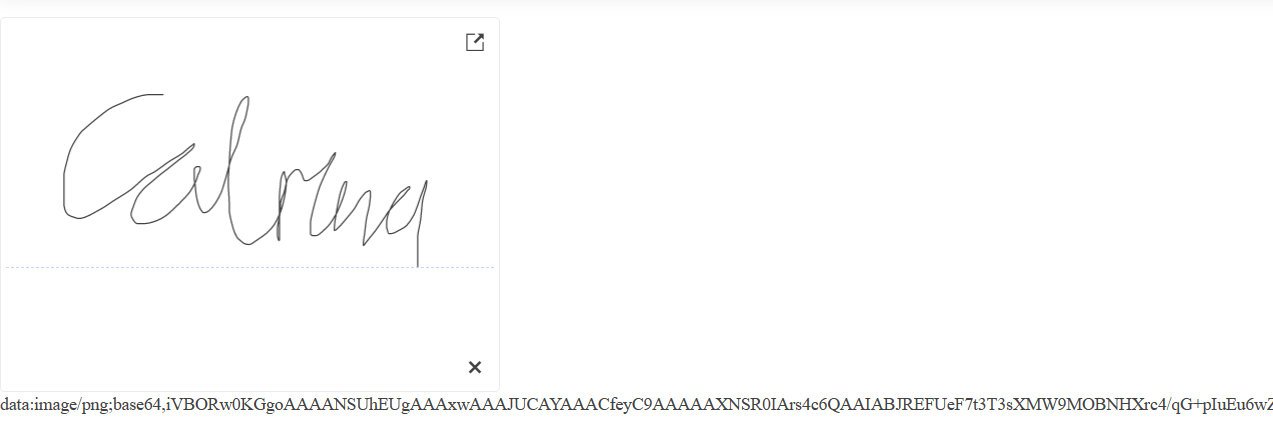
Run this and we discover that the value is a Base64 encoded image.

If you’re not familiar, Base64 Encoding is a way of encoding binary values as text. Our signature here is a binary value (an image), but Blazor Signature has exposed it as a Base64 encoded string.
We can display the resulting image in our UI using a standard HTML image element.
<TelerikSignature Width="400px" Height="300px" HideLine="false" @bind-Value="Signature" />
<img src="@Signature" />
Equally we can send that value to a backend API and use it as we please (decode it and store it as an image file, keep it as a string and put it in a database, etc.).
But what if we’ve already got a signature, and want to show that in the Signature component? @bind-Value takes care of that for us.
Say we’ve already captured a signature as a Base64 encoded string. We can assign that to our Signature field and let Blazor Signature handle the rest.
<TelerikSignature Width="400px" Height="300px" @bind-Value="Signature" />

<button @onclick="LoadExistingSignature">
    Load Signature
</button>
@code {
     public string Signature { get; set; }
     private void LoadExistingSignature()
    {
// existing signature, truncated here, would come from a DB or somewhere
        var signature = "data:image/png;base64,iVBORw0KGgoAAAANSUhEUgAAAxwAAAJUCAYAA...";

        // assign to the Signature field
        Signature = signature;
    }
 }
Here, when the user clicks the “Load Signature” button, we assign the existing signature to our signature field. The Blazor Signature component automatically updates to show the signature (thanks to our use
of @bind-Value).
This also raises the handy possibility of reusing the same signature multiple times on the same screen. For example, if you’re asking the user to sign a long-form document multiple times, they could:
- Enter their signature once.
- Click a button to (re)use that signature in every subsequent place where a signature is required.
Capture Signatures via a Form
If you’re capturing signatures, there’s a good chance you might want to do that as part of a form that the user is filling in.
You can use the TelerikSignature component directly in a Blazor EditForm:
@using System.ComponentModel.DataAnnotations;

<EditForm Model="formModel" OnValidSubmit="SubmitForm">
    <DataAnnotationsValidator />
    <InputText @bind-Value=" formModel.Name" DisplayName="Name"/>
    <TelerikSignature Width="500px" Height="300px" @bind-Value=" formModel.Signature" />

    <button type="Submit">Submit</button>
</EditForm>
Here we have an EditForm with a text input (for the user’s name) and an instance of TelerikSignature to capture their signature.
The EditForm is bound to a field called formModel. When the form is submitted, we can read the values from formModel (including the user’s signature),
ready for processing by the backend/database, etc.
@code {

    private Form formModel = new FormModel();

    private class FormModel
    {
        [Required]
        public string Name { get; set; }

        [Required]
        public string Signature { get; set; }
    }

    private void SubmitForm()
    {
        // handle the form data (save to backend etc.)
        // e.g. API.SubmitForm(formModel);
    }
}
Note how we’ve marked the Signature and Name properties as required.
This ensures the form can only be submitted when the user has entered both their name and signature (in this example this is handled via the DataAnnotationsValidator).
Hook up Business Logic When the Signature Changes
Finally, you may need to perform additional logic when someone has entered their signature.
Blazor Signature exposes a few handy events you can hook in to:
OnBlurandOnChangewill fire when the Signature component loses focus.ValueChangedoccurs when the signature is fully drawn.
In practice there’s some overlap between these events, so to see how they work I’ve modified this useful example from the Telerik Docs.
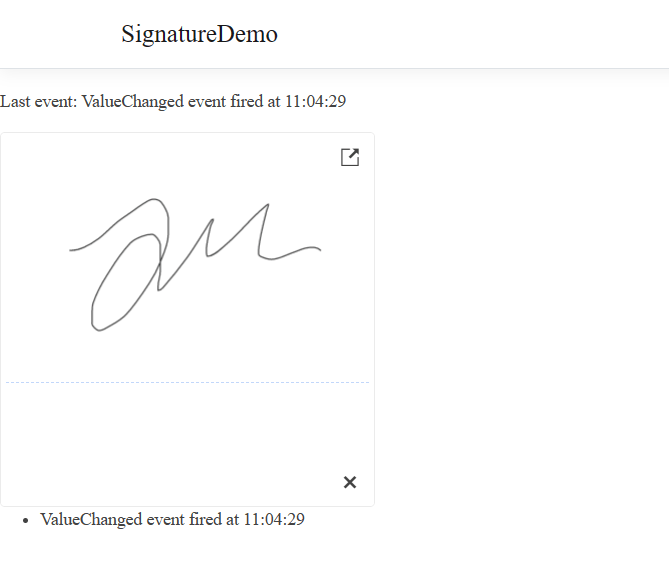
That example shows only the last event to occur. Here’s a modified version which shows a log of all the events (not just the most recent one).
@page "/Signature"

<p>Last event: @LastEvent</p>

<TelerikSignature Value="@SignatureValue"
                  ValueChanged="@ValueChangedHandler"
                  OnBlur="@OnSignatureBlur"
                  OnChange="@OnSignatureChange"
                  Width="300px"
                  Height="300px">
</TelerikSignature>

<ul>
    @foreach(var evt in EventLog)
    {
        <li>@evt</li>
    }
</ul>
@code {
    private string SignatureValue { get; set; }

    private List<string> EventLog = new List<string>();

    private string LastEvent => EventLog.LastOrDefault("...");

    private void ValueChangedHandler(string value)
    {
        SignatureValue = value;
        EventLog.Add($"ValueChanged event fired at {DateTime.Now.ToLongTimeString()}");
    }

    private void OnSignatureBlur()
    {
        EventLog.Add($"OnBlur event fired at {DateTime.Now.ToLongTimeString()}");
    }

    private void OnSignatureChange(string value)
    {
        EventLog.Add($"OnChange event fired at {DateTime.Now.ToLongTimeString()}");
    }
}
If you run this and draw a signature (using a mouse or touch screen), the ValueChanged event fires.

In most cases, if you need to run code when the signature changes, ValueChanged is the event you’re looking for; it fires every time the value of the signature changes.
In Conclusion
If you want a quick and easy way to capture user signatures in your Blazor app, Telerik’s Blazor Signature component has your back.
You can:
- Customize the appearance of both the component and the resulting signature
- Easily store the captured signatures
- Capture the signature via an
EditForm - Implement your own business logic for when the signature changes (by handling the
ValueChangedevent)
Try Telerik UI for Blazor
Develop new Blazor apps and modernize legacy web projects in half the time with a high-performing Grid and 100+ truly native, easy-to-customize Blazor components to cover any requirement. Try it for free with our 30-day trial and enjoy our industry-leading support.
This content originally appeared on Telerik Blogs and was authored by Jon Hilton
Jon Hilton | Sciencx (2023-02-07T15:51:00+00:00) Introducing Blazor Signature. Retrieved from https://www.scien.cx/2023/02/07/introducing-blazor-signature/
Please log in to upload a file.
There are no updates yet.
Click the Upload button above to add an update.
