This content originally appeared on Telerik Blogs and was authored by Hassan Djirdeh
Learn how to get started with Nuxt and the Nuxt CLI—create a new Nuxt project, understand the directory structure and use the Nuxt CLI to enhance our development workflow.
Nuxt.js is a progressive framework based on Vue.js designed to build powerful and modern web applications with minimal setup. In this article, we’ll explore how to get started with Nuxt, the benefits it brings and how to make effective use of the Nuxt Command Line Interface (CLI) to enhance your development workflow.
Nuxt
Nuxt.js was created to provide an intuitive and powerful framework for developers to build Vue.js applications. It integrates solutions for server-side rendering, static site generation and creating single-page applications, all within a unified architecture. This makes Nuxt a versatile choice for projects ranging from small websites to large-scale enterprise applications.
Setting up a Nuxt project is straightforward, thanks to its powerful CLI. The first step is to ensure that Node.js is installed. With Node.js installed, a new Nuxt project can be created by using the following command:
npx nuxi@latest init my-nuxt-project
The above command will create a new directory called my-nuxt-project containing the basic structure of a Nuxt project.

Directory Structure
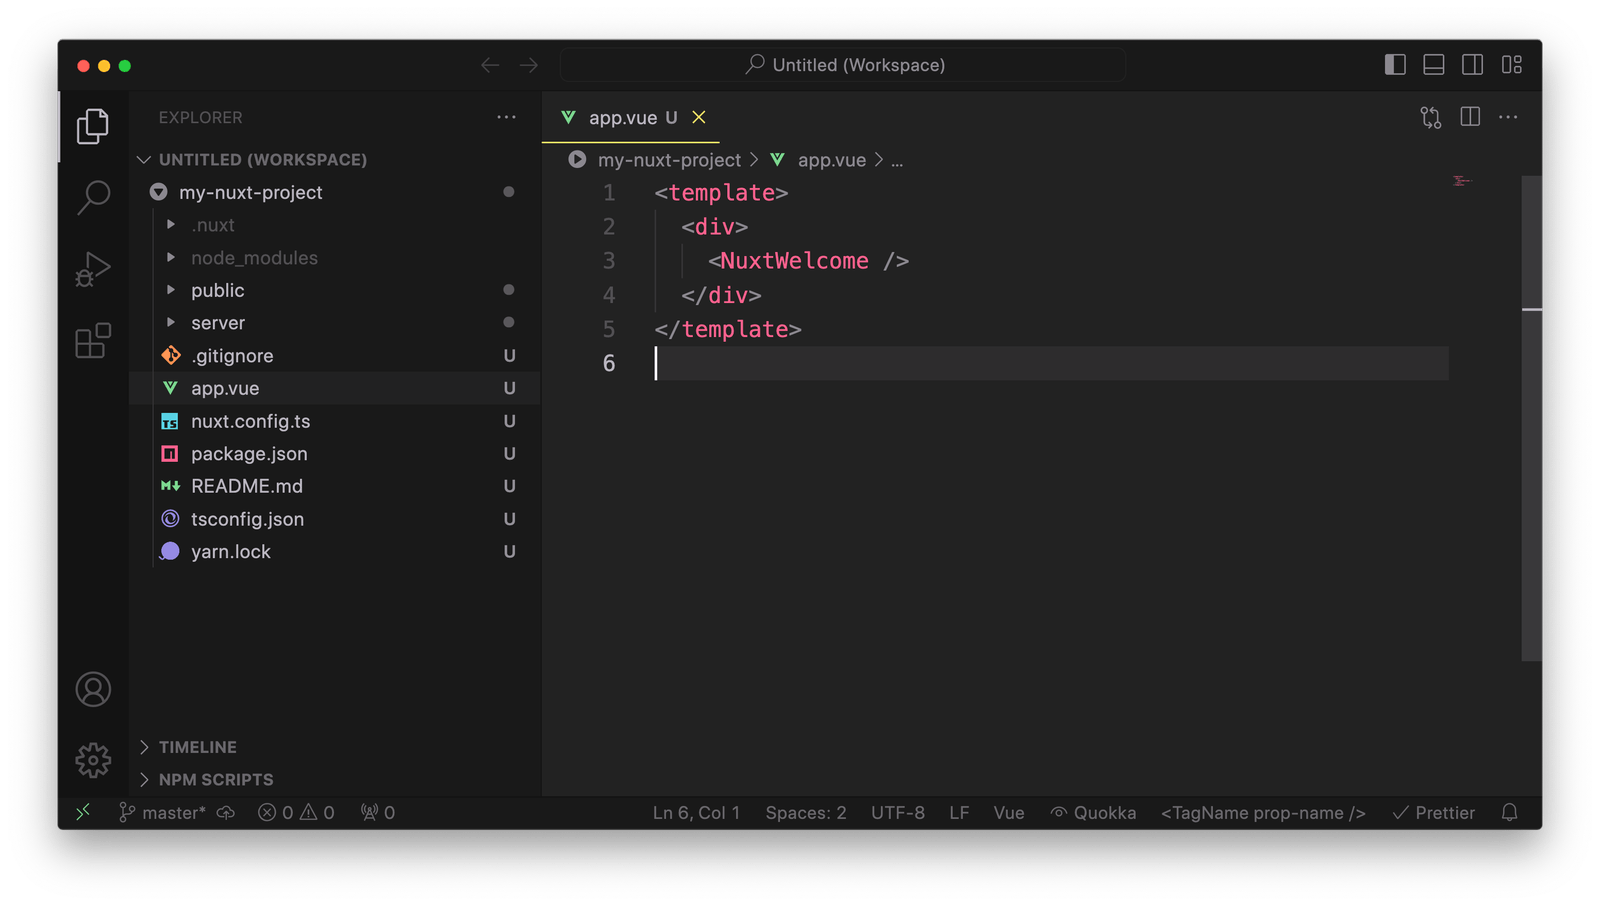
When a basic Nuxt project is created, it generates a specific directory structure. Here’s a summary of some of the main files and directories often found within a Nuxt project:
- .nuxt: A generated directory where Nuxt.js keeps its build and generated files. We typically don’t modify files here directly and this directory should be added to the
.gitignorefile. - .output: Used by Nuxt.js when generating a static version of the website. It contains the output files ready to be deployed and should also be added to the
.gitignorefile. - assets: Contains uncompiled assets such as styles, images or fonts that the project’s build tool will process.
- components: Vue components that can be used within the application’s pages.
- composables: Reusable composition functions that can be used across Vue components.
- node_modules: Contains all the application’s npm dependencies.
- pages: Includes the Vue files that are turned into application routes.
- public: Directory for static files that are not processed by the build tool and are directly accessible on the server root path.
- server: This can contain server-side code, such as server middleware or API endpoints, which is helpful if you are using Nuxt for server-side rendering or static generation with server-side logic.
- app.vue: The main application component where the app’s page components are loaded.
- nuxt.config.ts: The main configuration file for the Nuxt.js project.
- package.json: Lists all npm dependencies and defines npm scripts for the project.
For a full list of directories and their specific purposes, be sure to check out the Nuxt documentation on Directory Structure.
Starting the Server
After setting up the Nuxt project, the next step is to run the development server and begin building the application. We can start the server by navigating to our newly created project’s directory in the terminal and running the following command (assuming we’ve decided to use yarn as the project’s package manager):
yarn dev --open
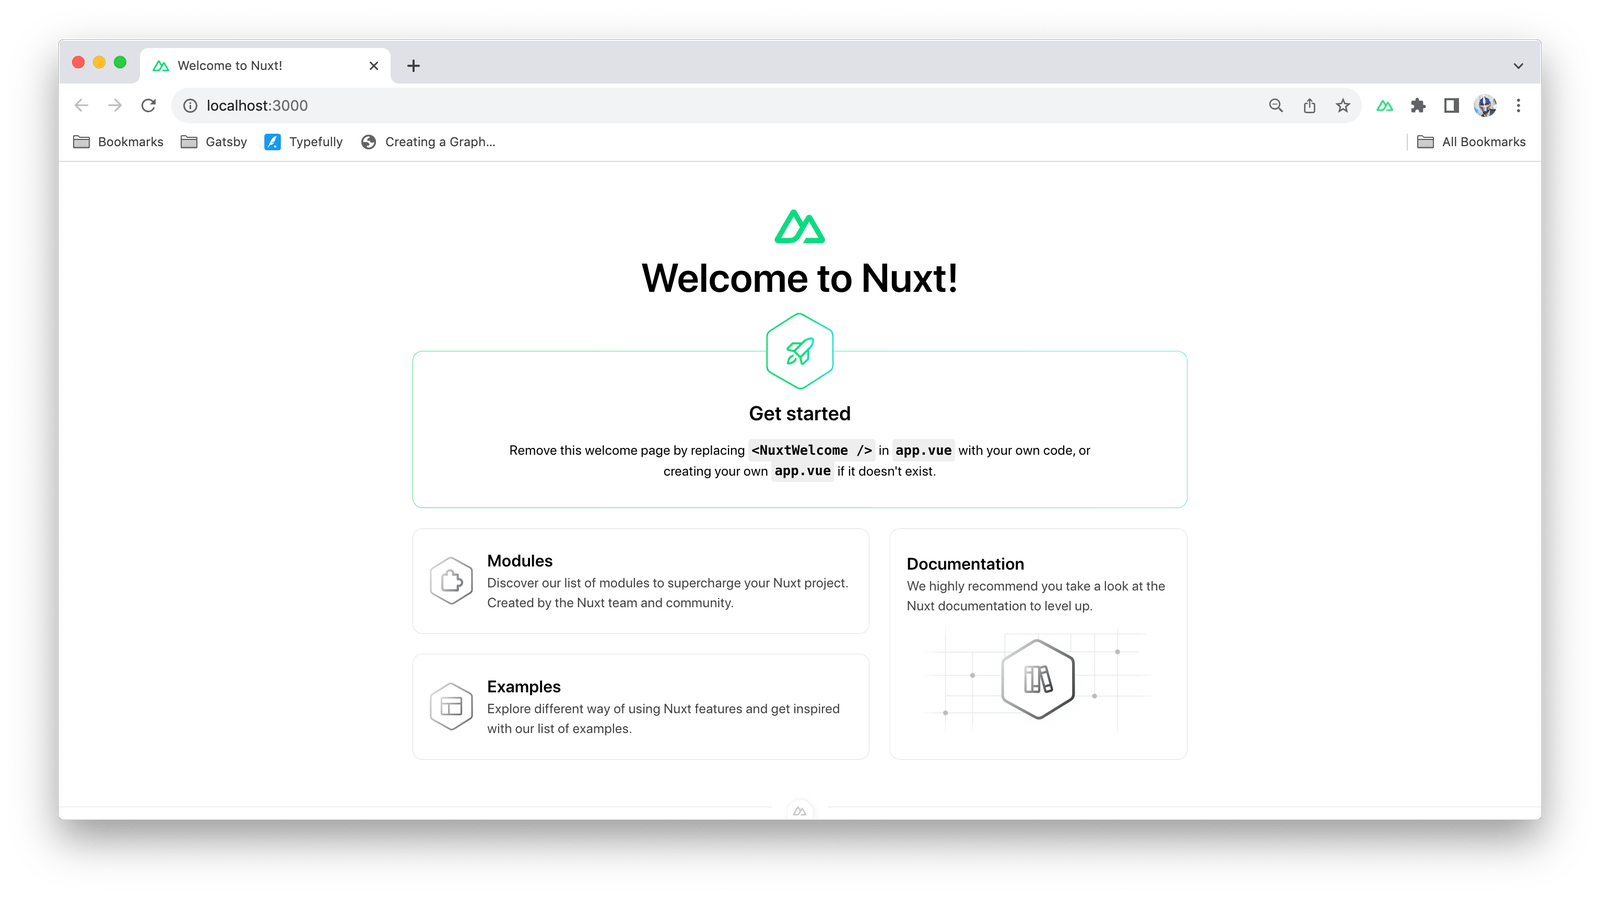
The above command will compile the application and start a local development server which by default will run on http://localhost:3000. Alternatively, we can use the CLI command nuxi dev to also start the development server.

The development server comes with hot module replacement, meaning changes we make to your Vue files will automatically update in the browser without needing a full page reload.
Development Workflow
Nuxt’s architecture is built around the concept of “convention over configuration” and it expects code files to be placed in specific directories. It uses this convention to automate a lot of the configuration for us.
For example, every .vue file placed inside the pages/ directory will automatically become a route in an application. The routing is created based on the file names and the hierarchy within the pages/ directory. For instance, pages/index.vue will be the homepage, and pages/about.vue will be accessible under /about.
Similarly, the components/ directory is where we can place reusable Vue components. These components can be automatically imported into our page components without the need to manually register them, thanks to Nuxt’s auto-import feature.
Using the Nuxt CLI
Using the Nuxt CLI within a Nuxt project can streamline the development process, making it easier and more efficient to manage different aspects of an application. The CLI offers various commands that cater to specific development needs, from project creation to deployment.
Initializing Projects
As demonstrated earlier, the nuxi init command initializes a new Nuxt project, setting up a scaffold that includes all necessary configuration files and directory structures.
Running the Development Server
The nuxi dev command starts a local development server on http://localhost:3000 by default. This server features hot module replacement, allowing you to see changes in real time without needing to reload the browser manually.
Building and Generating the Application
We can use nuxi build to compile and bundle our Nuxt application during the development phase. This can be helpful for debugging and for checking the build output before production.
We can execute nuxi generate to build a static version of an application, which compiles the application and renders each route as a static HTML file. This is ideal for static hosting environments.
Analyzing and Optimizing the Build
Nuxt CLI offers built-in options to analyze the build using nuxi analyze, which provides a visual representation of each bundle’s contents, helping you understand and optimize your application’s size and load times.
Deploying the Application
After building an application, we can deploy the static files generated by nuxi generate or the server-rendered application from nuxi build to any web hosting service or server that supports Node.js.
For a full list of Nuxt CLI commands, be sure to check the API/Commands section of the Nuxt documentation.
Using the Nuxt CLI effectively allows developers to focus on building their Vue.js applications while minimizing the overhead associated with configuration and environment setup. This makes Nuxt.js and its corresponding CLI an appealing choice for both new developers and seasoned professionals looking to streamline their web development workflows.
Wrap-up
In this article, we’ve explored the basics of getting started with Nuxt and the Nuxt CLI. We’ve learned how to create a new Nuxt project, understand the directory structure and use the Nuxt CLI to enhance our development workflow.
By using Nuxt and the Nuxt CLI, developers can focus on building powerful and modern web applications with minimal setup and configuration. Whether you’re a beginner or an experienced developer, Nuxt offers the tools to build better, faster and more reliable web applications, making it an invaluable addition to your development toolkit.
For more information, be sure to check out the official Nuxt documentation!
This content originally appeared on Telerik Blogs and was authored by Hassan Djirdeh
Hassan Djirdeh | Sciencx (2024-07-29T08:41:11+00:00) Vue Basics: First Steps with Nuxt and Nuxt CLI. Retrieved from https://www.scien.cx/2024/07/29/vue-basics-first-steps-with-nuxt-and-nuxt-cli/
Please log in to upload a file.
There are no updates yet.
Click the Upload button above to add an update.
